Fabric Dyeing Techniques: Shibori, Ice Dyeing & Low-Water
Hand-Dyeing Fabric at Home: A Gentle Guide to Shibori, Ice Dyeing, and Low-Water Techniques
There’s a quiet magic in transforming a plain white tea towel or an old cotton shirt into something with depth and story. Fabric dyeing feels like alchemy, but it’s really just chemistry you can hold in your hands. You don’t need a studio or expensive equipment. You need curiosity, a few simple supplies, and the willingness to let the colour surprise you. This project turns the ordinary into the personal — and every piece you dye becomes one-of-a-kind.
Materials List
- 100% natural fabric (cotton, linen, hemp, or rayon) — pre-washed and still damp. Old white sheets or thrifted shirts work brilliantly.
- Fiber-reactive dye (Procion MX type) in 1–2 colours. You can find starter kits online or at craft stores. Alternative: use food colouring with vinegar for a less permanent, kid-friendly version.
- Soda ash (also called sodium carbonate) — this fixes the dye to the fibre. Alternative: washing soda from the laundry aisle.
- Large plastic bucket or stainless steel pot — never use aluminium, it reacts with the dye.
- Rubber gloves and a dust mask (for powder dye).
- Plastic squeeze bottles or old jam jars for mixing dye.
- String, rubber bands, or wooden clothespins for resist patterns.
- Ice cubes (about 2 trays per small project) if you choose ice dyeing.
- Plastic sheeting or bin bags to protect your work surface.
- A large spoon or stick for stirring.
- Synthrapol or mild dish soap for washing out.
Don’t overthink the list. Most of it is probably in your kitchen or laundry cupboard already.
Step-by-Step
- Pre-wash your fabric. This removes any oils or finishes that block dye. Use hot water and a little dish soap, then rinse well. Keep the fabric wet — dye adheres better to damp cloth.
- Dissolve soda ash. For every litre of warm water, stir in 1 tablespoon of soda ash. Soak your wet fabric in this solution for 15–20 minutes. Wring it out gently — not bone dry, just no dripping.
- Mix your dye. Wearing gloves and a mask, dissolve dye powder in warm water. Start with 1 teaspoon of dye per 250ml of water. For deeper colours, add more dye, not more water. If using liquid dye, follow the bottle’s ratio.
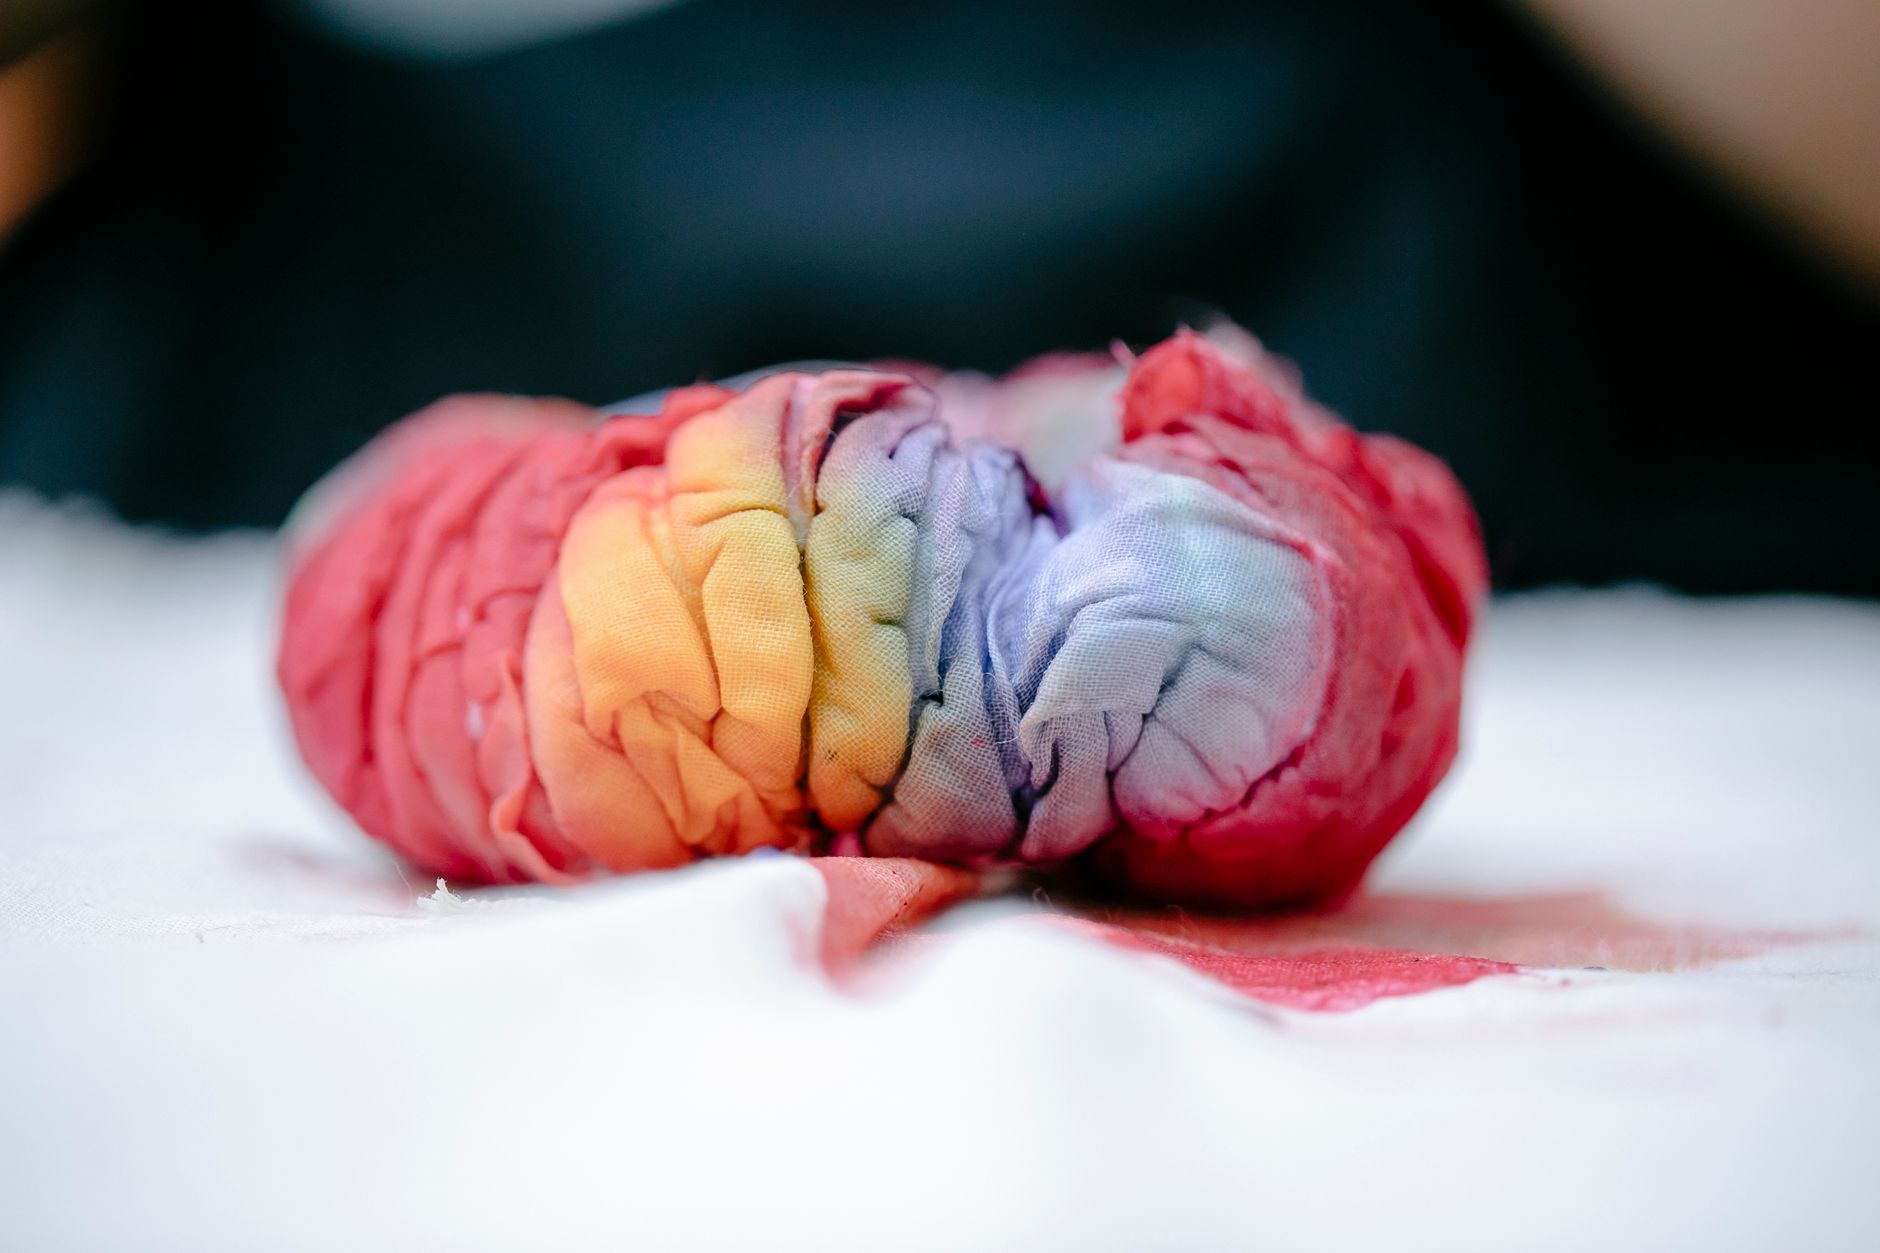
- Fold or bind your fabric. For shibori-style, accordion-fold the cloth, then wrap rubber bands tightly around sections. For a simpler look, scrunch the whole piece into a loose ball and secure with bands.
- Apply the dye. Here’s the fun part. You can squirt dye directly onto the bound fabric with squeeze bottles, or dip sections into separate dye baths for an ombre effect. Work over a plastic-covered tray to catch drips.
- Let it cure. Place your dyed fabric in a plastic bag or wrap it in cling film. Leave it for 12–24 hours at room temperature. The longer it sits, the richer the colour. Patience pays off here.
- Rinse and wash. Unbind the fabric over a sink. Rinse under cool running water until the water runs almost clear. Then wash it in warm water with Synthrapol or mild soap. Repeat if the water still shows colour.
- Dry and iron. Hang it to dry away from direct sun, which can fade fresh dye. Once dry, iron on medium heat to set the fibres and smooth out wrinkles.
That’s it. Eight steps between you and a fabric that didn’t exist before you made it.

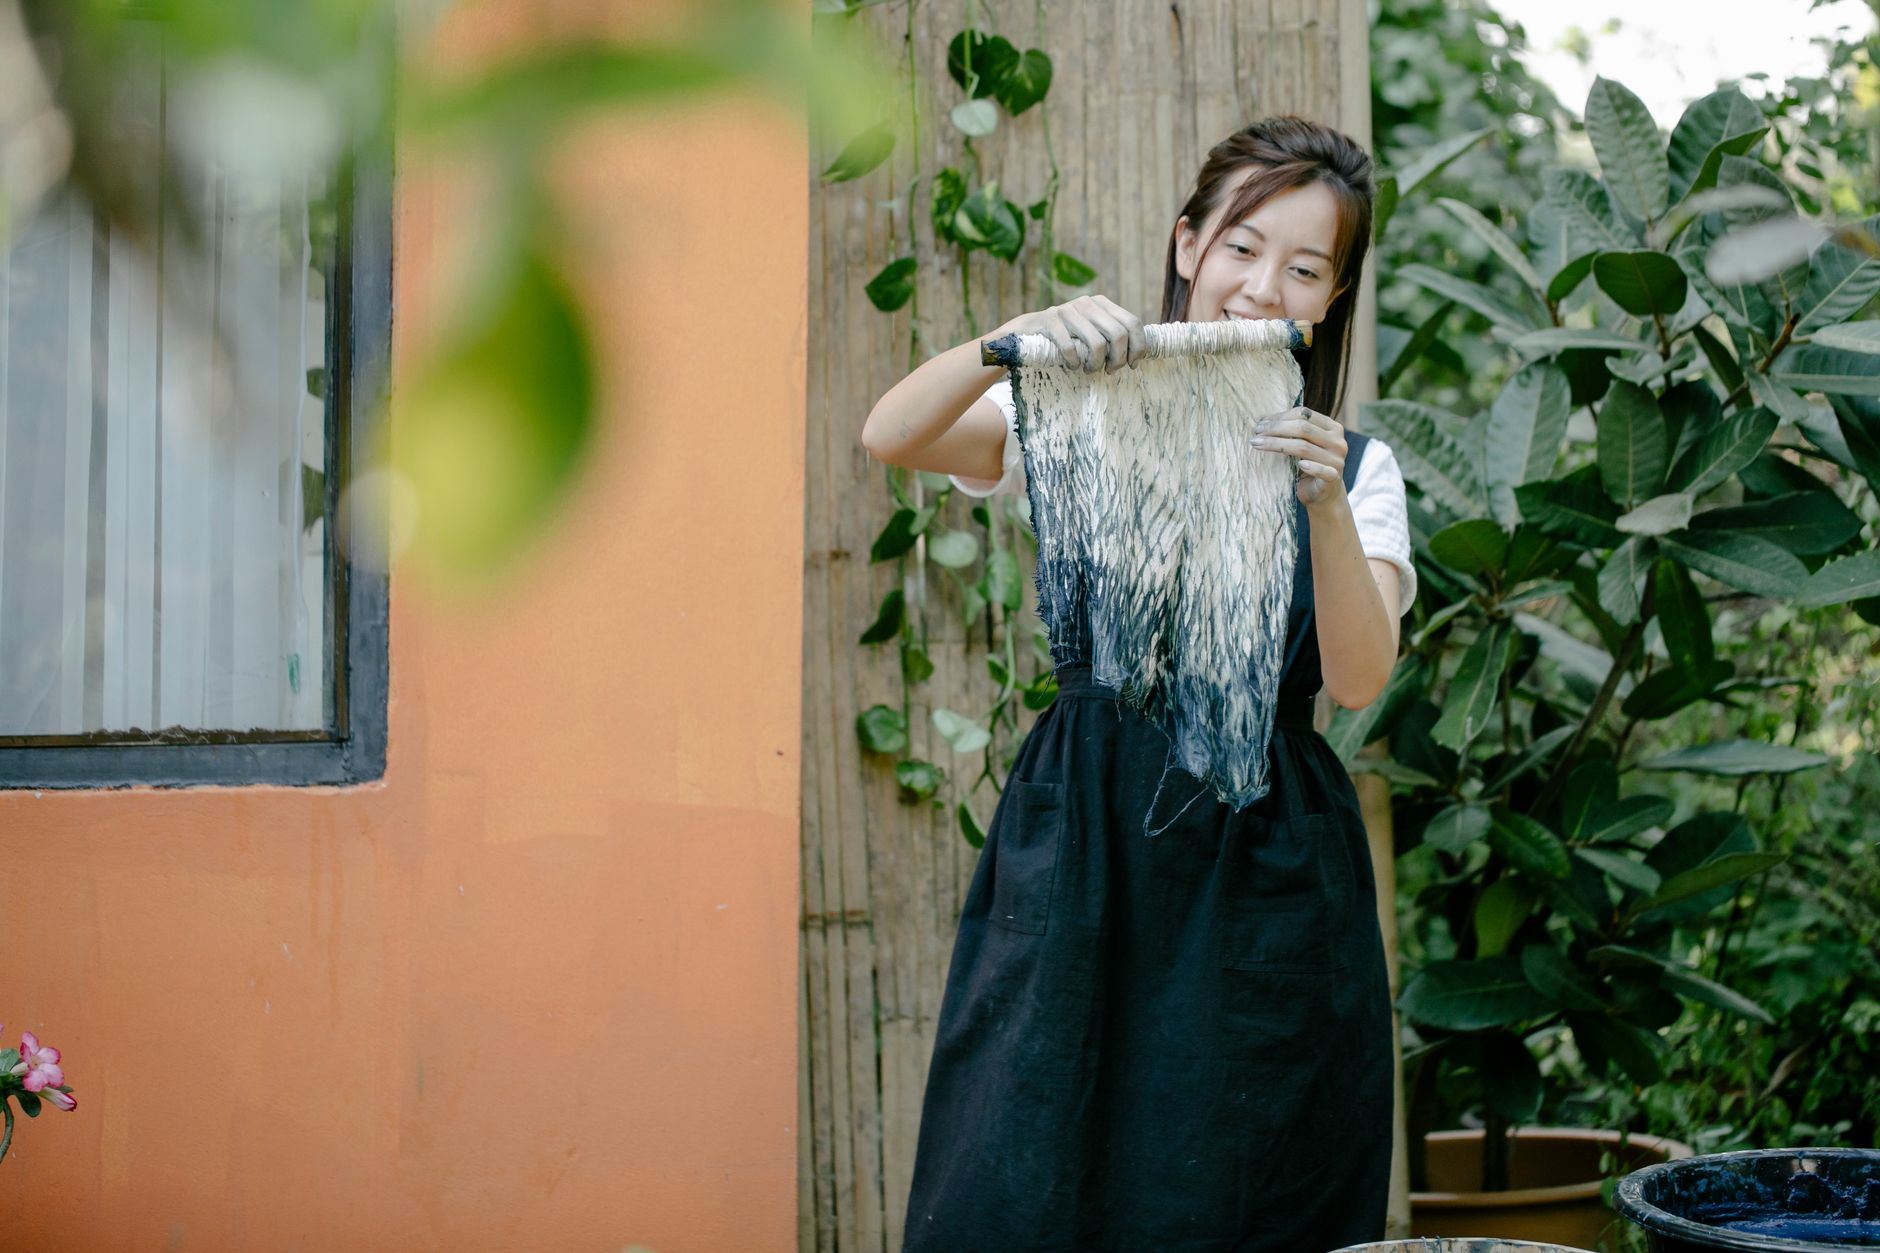
Placeholder for a photograph showing folded fabric with rubber bands, squeeze bottles of dye in jewel tones, and a finished piece drying on a line.
Beginner Tips
The biggest mistake I see in workshops is skipping the soda ash soak. You can’t skip it. Without soda ash, the dye washes right out and you’re left with a sad, pale ghost of a project. Trust the chemistry, even if it feels like an extra chore.
Another common slip is using fabric with any synthetic content. That “cotton blend” t-shirt might feel soft, but polyester won’t take fiber-reactive dye. Check the label. If it’s not at least 95% natural, save it for something else.
Don’t use too much dye. Beginners often squirt on twice as much as needed, thinking more colour equals deeper colour. In reality, oversaturation just creates muddy pooling and takes forever to rinse. A light, even coat gives you better control.
Work outside or on a covered table. Dye splatters are charming on fabric, not on your kitchen counters. And wear old clothes — the ones you’d be fine throwing away.
Finally, write down what you did. Snap a photo of your folding pattern and dye colours. When you make something you love, you’ll want to repeat it. When you make something you hate, you’ll want to avoid that exact combination. Memory is unreliable; notes aren’t.
One counter-intuitive thing: less dye often gives you more interesting results. A light hand lets the white space breathe, and those blank areas make the coloured parts sing. Restraint is a tool, just like the rubber bands.
Creative Variation
Try ice dyeing for a completely different effect. Instead of squirting dye onto damp fabric, place your soda-soaked cloth in a colander over a bucket. Cover it generously with ice cubes, then sprinkle dry dye powder over the ice. As the ice melts, it carries the dye down in unpredictable rivulets and pools. The result looks like watercolour — soft edges, organic bursts, no two pieces alike.
This technique works best with light colours on white fabric. Use two or three complementary shades, like turquoise and magenta, and watch them blend where the melt paths cross. You’ll need to let the ice fully melt, which can take several hours. Resist the urge to speed it up with warm water — slow melting gives finer patterns.
If you want to go further, try tying small pebbles or marbles into the fabric before binding. The round resist shapes create perfect little circles of white, like bubbles frozen in colour. Or fold your cloth into a fan and clamp it with wooden craft sticks for sharp geometric lines.
Troubleshooting
Your colour came out too pale. This almost always means the soda ash concentration was too low or the cure time was too short. Rewash the fabric and try again with a fresh soda soak, then leave it for the full 24 hours. You can overdye a pale piece — just treat it as new fabric and repeat the process.
You see blotches or uneven patches. That’s normal for hand-dyeing, and often it’s beautiful. But if it bothers you, the cause is usually uneven dye application or fabric that wasn’t thoroughly wetted. Next time, squirt dye in smaller amounts and spread it with a gloved hand. For an even solid colour, use a low-water immersion bath instead of direct application.
The dye bled onto your white sections after rinsing. This happens when the fabric wasn’t washed thoroughly after curing. Run it through another warm wash with mild soap. If bleeding persists, the dye wasn’t properly fixed — go back to the soda ash step and be more generous with the soak time.
Your fabric smells a bit odd after curing. That’s the soda ash and dye reacting — it’s not pleasant, but it’s harmless. A thorough rinse and wash will remove it. If you’re sensitive to smells, cure the fabric in a well-ventilated area.
You accidentally dyed your hands. It will fade over a few days. Rub lemon juice or a paste of baking soda and water on the stains, then wash with soap. Wear gloves next time — and I say this from experience, not judgment.
The pattern you wanted didn’t show up. Tighten your bindings. Loose rubber bands let dye seep into areas you wanted to keep white. For crisp lines, wrap the fabric multiple times and pull the bands snug. Also, make sure your fabric is folded tightly — loose folds create fuzzy edges.
What if you simply hate the result? Don’t throw it away. Overdye it with a darker colour, or cut it into squares and sew them into a patchwork cushion. Every mistake is just a base layer for the next experiment.
Fabric dyeing rewards the brave and forgives the messy. You’re not aiming for perfection; you’re aiming for evidence that you made something with your own hands.
So go ahead — raid that drawer full of white t-shirts you never wear. Mix up a small batch of dye in a colour that makes you happy. Bind, squeeze, and wait. When you unwrap that cloth and see the pattern you created, you’ll understand why people have been doing this for thousands of years. It’s not just about colour. It’s about the moment you realise you can transform the world around you, one square metre of fabric at a time.