Beginner Weaving on a Loom: Easy First Project
Twenty minutes in, something clicks. Your hands find a rhythm. The yarn stops fighting you. And you realise you’re not just making a rectangle of fabric — you’re making something that didn’t exist an hour ago. That feeling never gets old. It’s why weaving has kept humans busy for thousands of years.
Weaving rewards you immediately. No expensive equipment, no years of practice. A simple frame loom, some leftover yarn, and an afternoon are enough to produce a finished wall hanging, a coaster, or the start of something bigger. It’s also wonderfully forgiving — make a mistake and you can usually just un-weave it and carry on. Let’s get you started.
Materials List
- A frame loom. You can buy a basic one for under £20, or make your own from an old picture frame with small nails hammered evenly along the top and bottom edges. A piece of stiff cardboard with notches cut into it works too, though it won’t last as long.
- Warp yarn. This is the strong stuff that runs vertically and holds everything together. Cotton string, butcher’s twine, or a sturdy carpet warp all work well. Avoid anything stretchy — no acrylic or wool here.
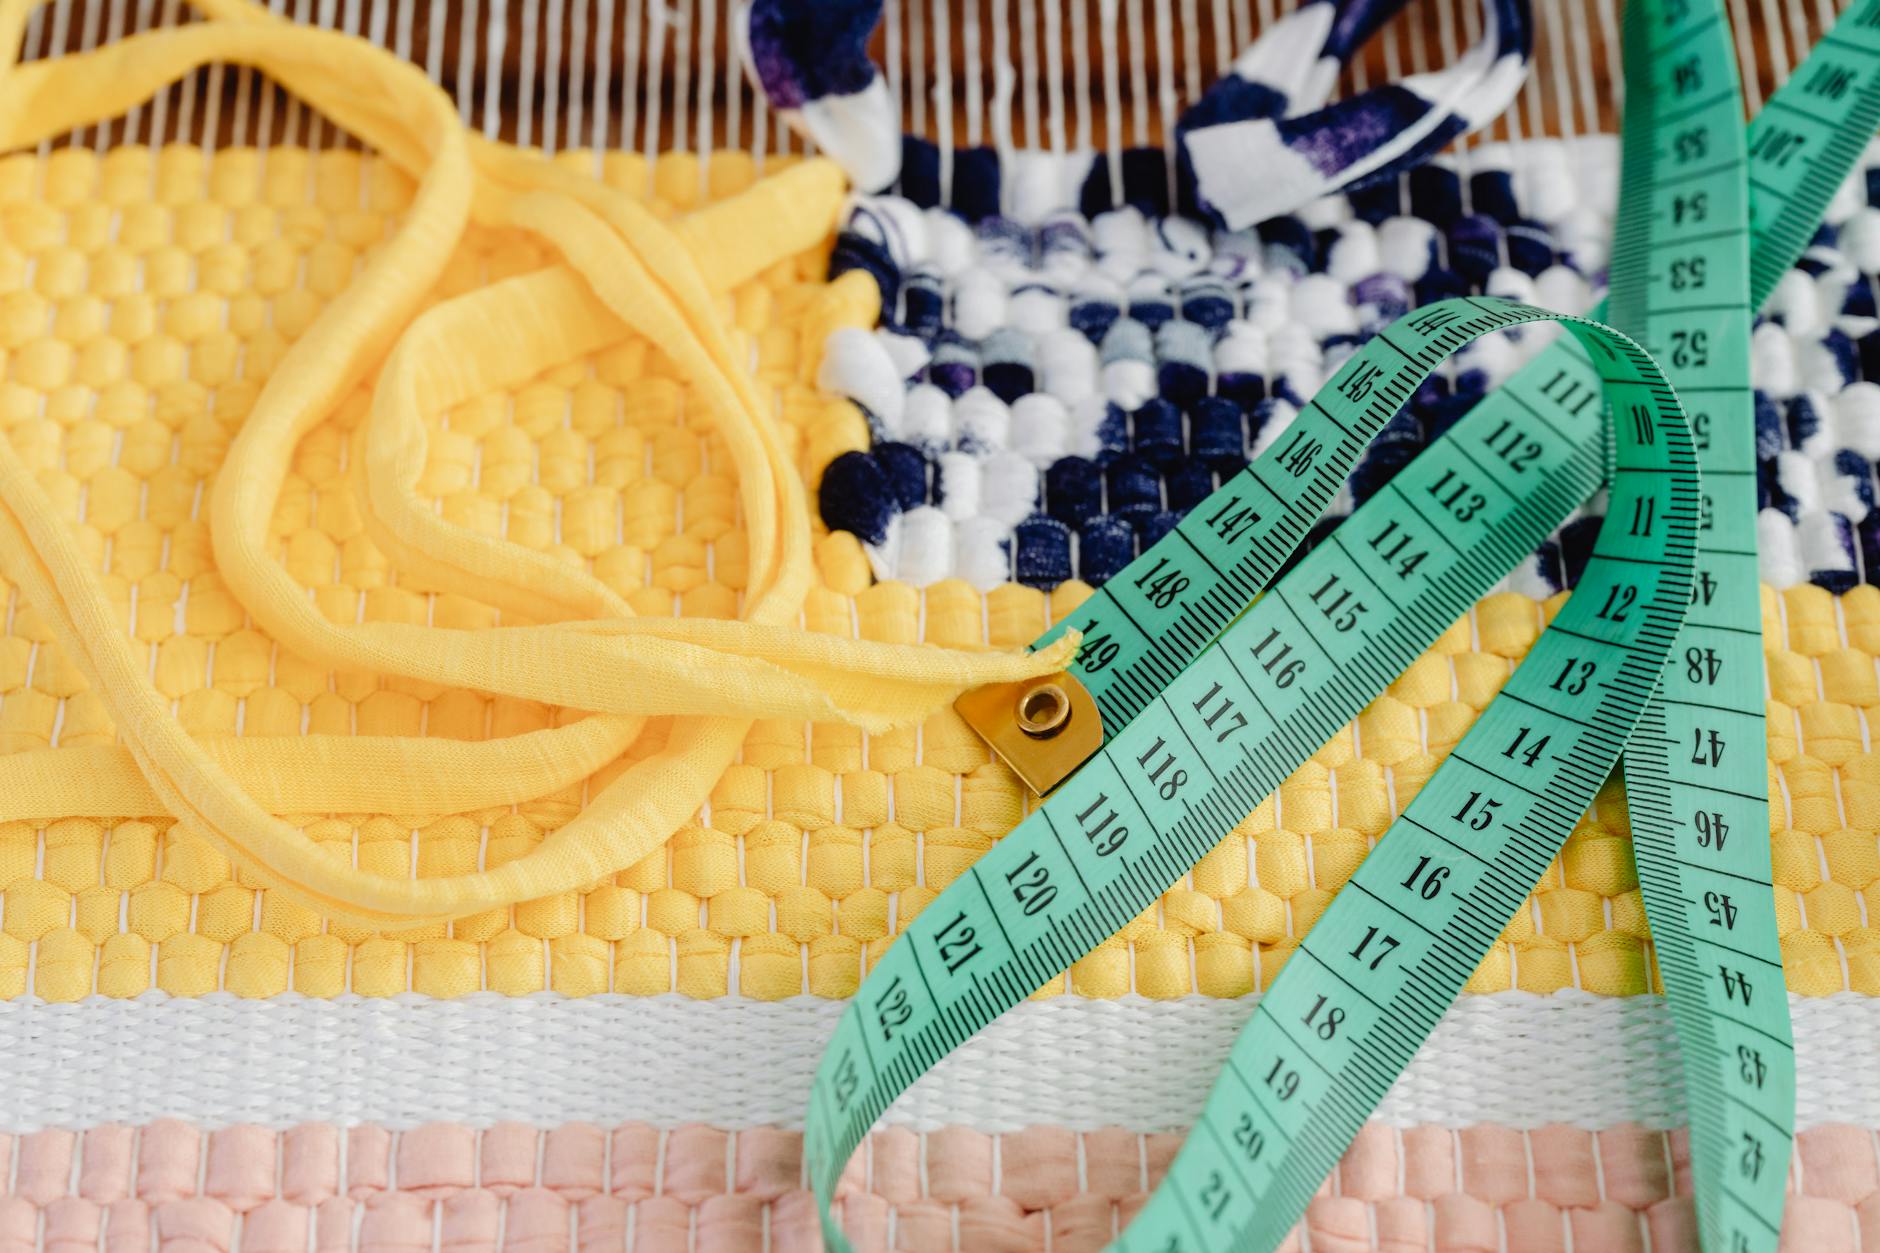
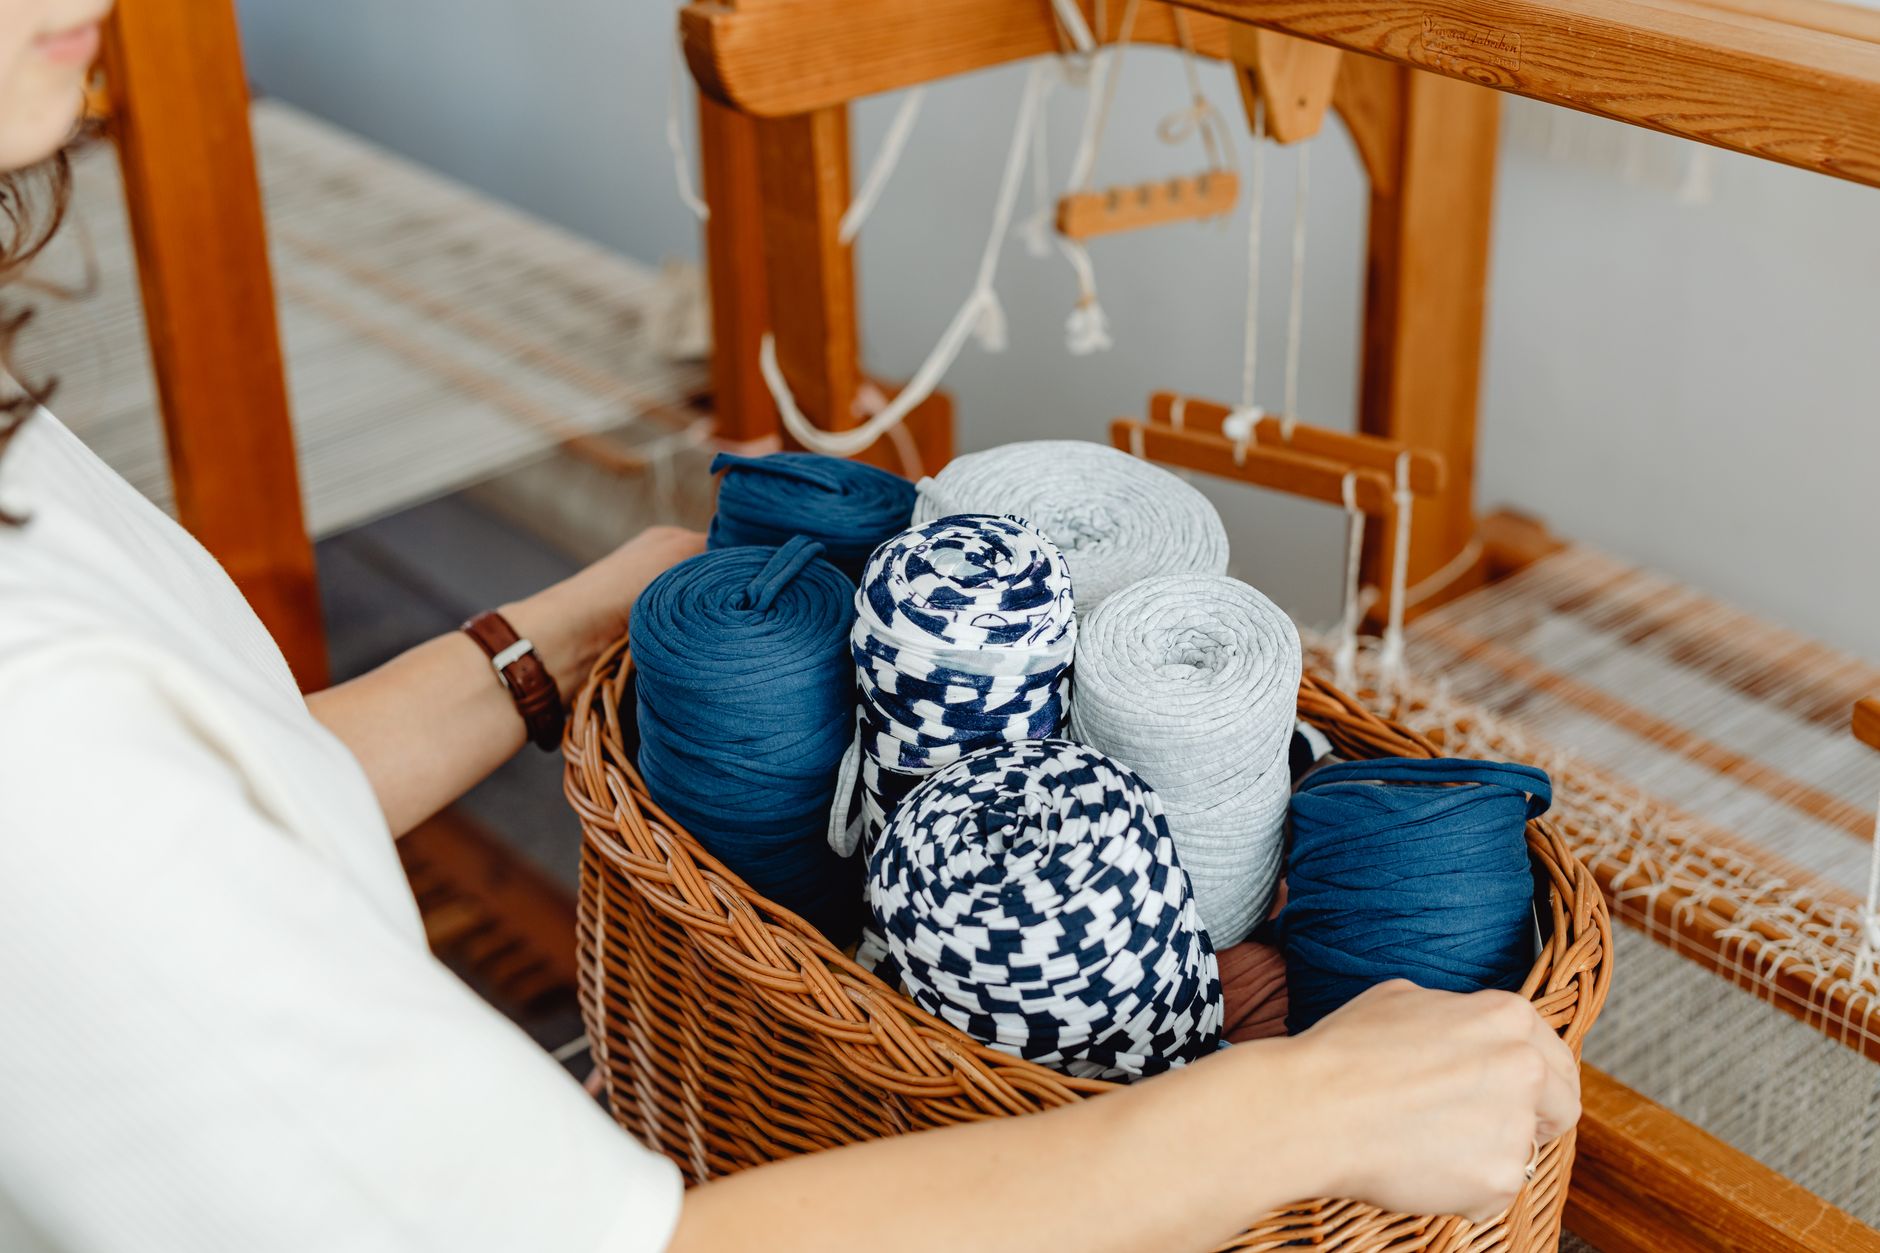
- Weft yarn. This is your creative yarn, the one that goes across. Use any leftovers you have: chunky wool, cotton, linen, even fabric strips. Thinner yarns show detail; thicker yarns build up rows fast.
- A shuttle or stick. A flat wooden shuttle is lovely, but a ruler, a piece of cardboard, or even a large plastic needle will do the job. A table fork is brilliant for pushing rows down.
- A tapestry needle. Blunt-tipped, large eye. You’ll use this for finishing off ends.
- Scissors. Sharp ones, kept away from the good fabric scissors if you’re precious about those things.
- A comb or fork. For beating down each row. A wide-tooth comb is ideal.
Step-by-Step
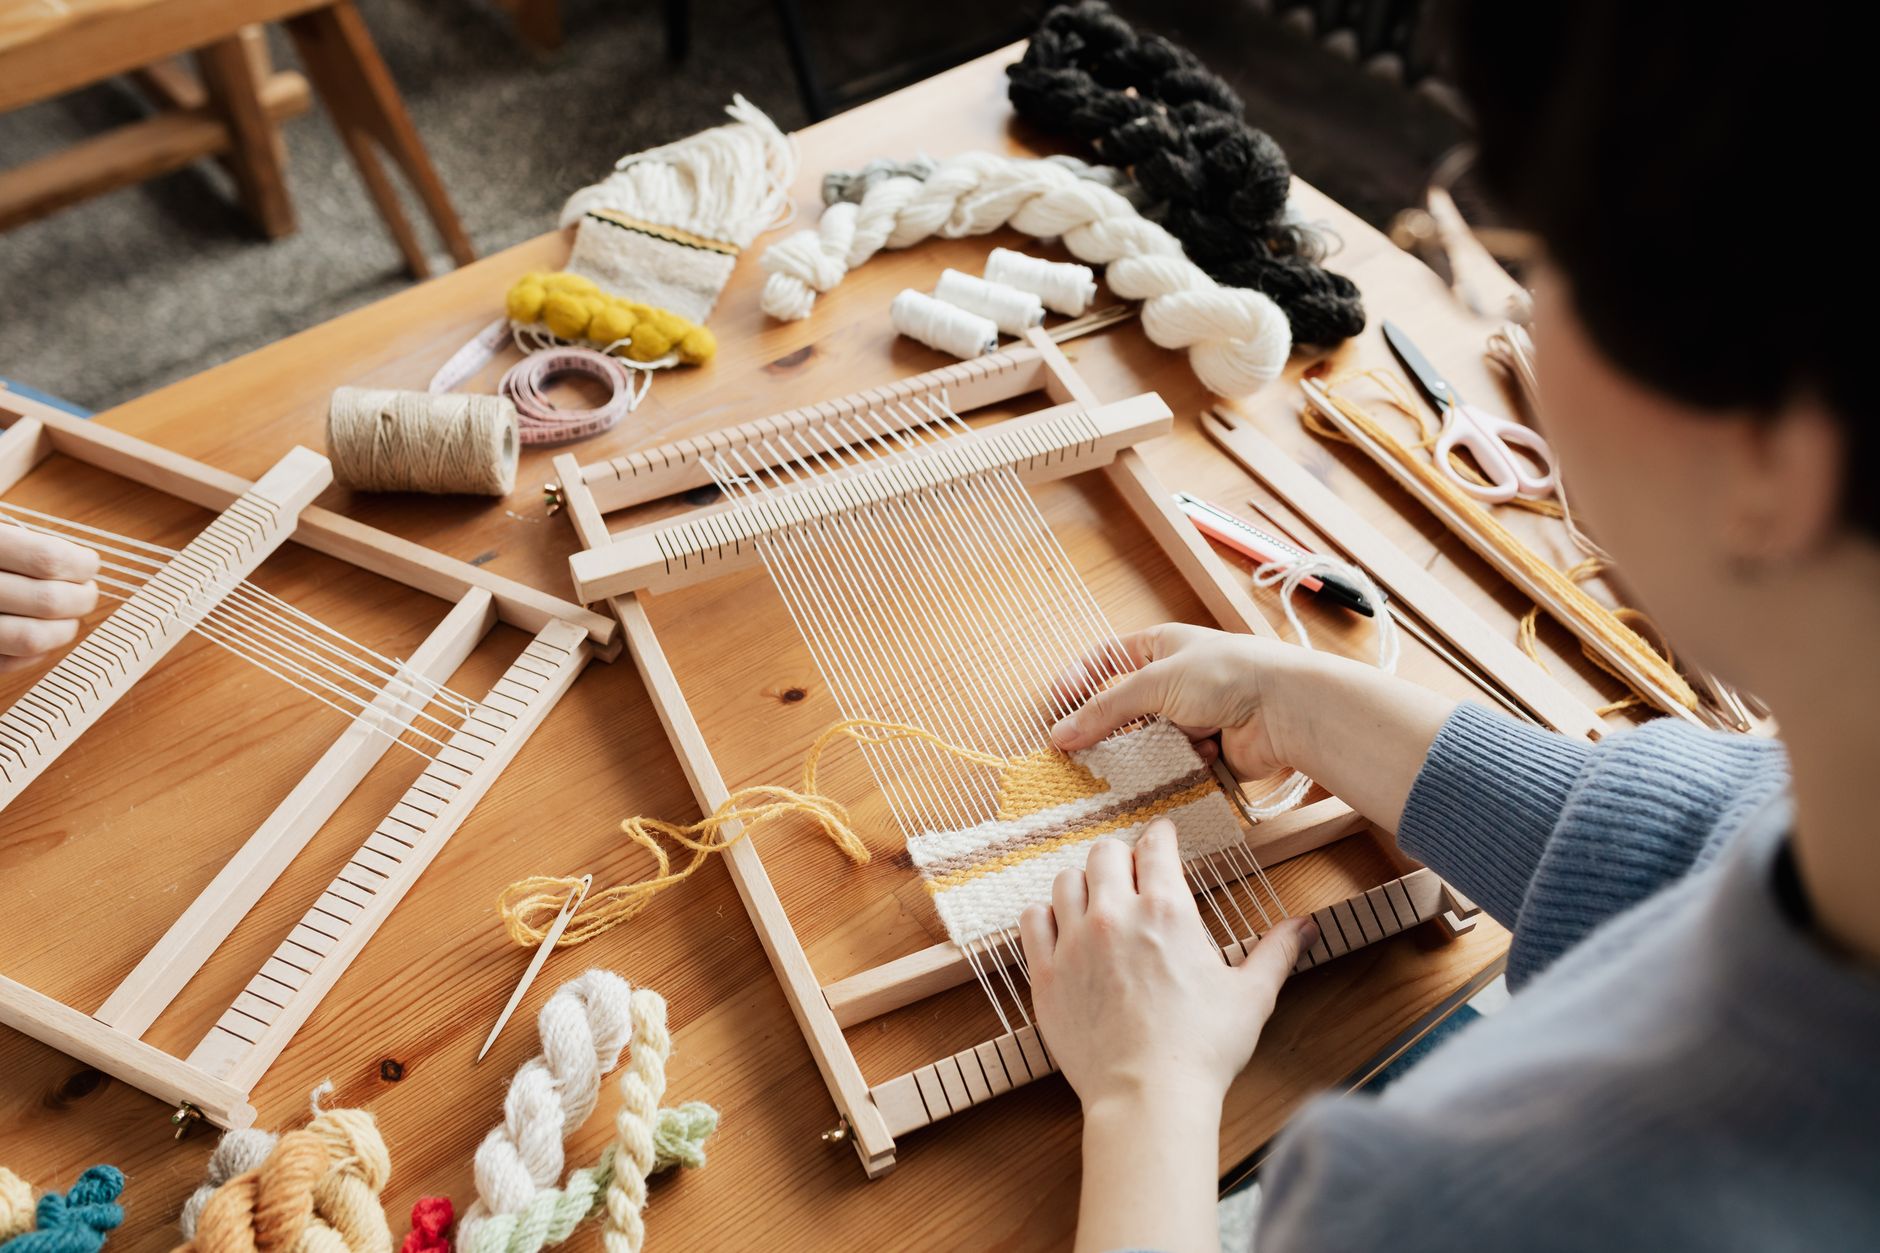
- Set up your warp. Tie your warp yarn to the first nail or notch at the top left of your loom. Take it straight down to the corresponding notch at the bottom, loop it around, and bring it back up. Keep the tension firm but not guitar-string tight. Continue across the whole width, spacing each warp thread about 1cm apart. When you finish, tie off the end at the bottom right. You should have an even set of parallel threads — this is your warp.
- Make your first row. Cut a length of weft yarn roughly three times the width of your loom. Thread it onto your shuttle or needle. Starting at the bottom right corner, pass it over the first warp thread, under the second, over the third, and so on, all the way across. Leave a 10cm tail hanging out at the side — don’t cut it yet.
- Weave the second row. Now go back the other way. This time, go under the first warp thread, over the second, under the third. You’re creating a simple over-under pattern called plain weave. The yarn will naturally sit next to the row below it.
- Beat it down. After every two or three rows, use your comb or fork to gently push the weft yarn down towards the previous row. Don’t shove it hard — you want the rows snug, not squashed. This is called beating, and it’s what gives your fabric a clean, even look.
- Watch your edges. At the end of each row, the weft yarn needs to turn and go back into the weave. Don’t pull it tight, or your fabric will pinch inwards like a waist. Leave a small loop — about the height of one row — at the edge before you start the next pass. That loop will disappear as you beat the row down.
- Keep going. Continue weaving back and forth until you’ve filled about 5–8cm of your warp. You can change colours whenever you like: just cut the old yarn leaving a 10cm tail, and start the new colour exactly where the old one ended. Weave the tails in later.
- Finish the top. When you’re happy with the length, weave one final row. Then take your tapestry needle and run each loose tail through the back of your weaving for about 3cm, going under and over a few warp threads. Trim the ends close to the fabric.
- Remove from the loom. Carefully slide the loops off the top and bottom nails. If you want a wall hanging, tie the top loops onto a stick or dowel with a simple knot. If you’re making a coaster, tie the top and bottom warp threads together in pairs and trim them to a neat fringe.
Beginner Tips
Don’t pull your weft yarn tight. I know it feels like you should, because loose yarn looks messy. But tight weft is the number one reason beginners end up with a weaving that looks like an hourglass. The yarn should lie flat against the warp, no tension in it at all.
Beating too hard is another classic error. You’re not trying to compress the yarn into submission. Gentle, regular beats give you even rows. Uneven rows usually mean you’re beating some harder than others — slow down and be consistent.
Resist the urge to use only one type of yarn, too. Beginners often buy a single ball of cheap acrylic and weave the whole thing with it. The result is flat and a bit boring. Mix a chunky wool with a smooth cotton, or add a strip of ribbon. Texture is what makes weaving sing.
And please, don’t skip the tails. Those 10cm ends you leave hanging? They will unravel your entire piece if you don’t weave them in properly. Five minutes of finishing saves hours of frustration.
Creative Variation
Here’s one way to make your weaving completely your own: add a row of rya knots. Cut 15cm lengths of yarn, fold each in half, and use a simple knot to attach them to a single warp thread, then push them down. Do this across a whole row and you get a thick, fluffy fringe that stands out from the flat weave. It’s a brilliant way to use up oddments of chunky yarn, and it turns a plain rectangle into something that looks purposeful and designed.
Counter-intuitive as it sounds, I actually think beginners should try rya knots before they’ve mastered perfect plain weave. Why? Because it teaches you that weaving doesn’t have to be flat or uniform. Once you see how one row of knots changes the whole piece, you stop worrying about perfection and start playing instead.
Troubleshooting
My edges are pulling in. This means your weft is too tight. Un-weave the last few rows, and this time leave a slightly bigger loop at each edge. You can also try weaving on a slightly looser warp tension.
My rows look bumpy. Either you’re beating unevenly, or your yarn is too thick for the spacing of your warp. Try a thinner weft yarn, or space your warp threads a little further apart next time.
I’ve run out of warp but I want to keep going. You can’t add more warp once you’ve started weaving — that’s a job for the very beginning. But you can finish your piece and start a second one, then stitch them together side by side for a wider panel. It’s a lovely patchwork effect.
My weaving is curling at the bottom. That’s usually because the first few rows were woven too loosely. You can fix it by dampening the fabric slightly and pressing it flat with an iron on a low setting, or simply add a row of tight knots along the bottom edge to weigh it down.
A warp thread snapped. Don’t panic. Tie a new length of warp yarn to the broken end with a small knot, thread it through the same path, and tie it off at the bottom. Weave over the knot and it’ll disappear.
Weaving is one of those crafts where the process matters as much as the product. You’ll make mistakes. Your first piece probably won’t be perfect. But you’ll learn more from one wonky coaster than from ten perfect tutorials. So get your loom set up, pick a yarn you love, and give it a go. The rhythm will find you. And when it does? You’ll already be planning your next one. What will you weave first?