How to Make Fabric Flowers: Easy Beginner Guide
Fabric flowers look far more complicated than they are. I’ve taught this in church halls and community centres for years, and the same thing happens every time. Someone sits down convinced they can’t do it. Forty minutes later they’re holding a rose that makes people ask where they bought it. You don’t need a sewing machine. You don’t need to be able to draw. You just need a bit of fabric, a needle, and the willingness to beginner-guide/”>make one slightly wonky flower before the second one comes out gorgeous. Macramé Plant Hanger.
Why bother making fabric flowers at all? Because they last. Fresh flowers are lovely for a week; a fabric bloom can sit on a coat lapel or a gift box for years. They use up fabric scraps you’d otherwise throw away. They cost pennies. And they make genuinely thoughtful gifts. Best of all, the technique is forgiving — a little unevenness reads as handmade charm, not error.
Materials List
- Cotton fabric — quilting cotton is the easiest to work with. Old shirts and pillowcases work beautifully. Alternatives: lightweight linen, cotton poplin, or polyester satin if you want shine (though satin frays more, so keep that in mind).
- Fabric scissors — sharp ones, used only on fabric. Alternatives: pinking shears, which actually help reduce fraying.
- Hand-sewing needle — a standard sharp, size 7 or 8. Alternatives: a milliner’s needle if you have one, though it isn’t essential.
- Thread — matching or slightly darker than your fabric. Alternatives: embroidery floss for a chunkier gather, which looks lovely on rustic flowers.
- Pins — fine dressmaker pins. Alternatives: sewing clips, which many beginners find easier to handle.
- Fabric marker or chalk — for tracing circles. Alternatives: a pencil on light fabric (it washes out) or a paper template pinned in place.
- Circle templates — a mug, a small bowl, a jam jar lid. No need to buy anything.
- Felt scraps — for the backing disc. Alternatives: a circle of the same cotton, or a scrap of wool coating.
- Embellishments — a button, a bead, or a covered button for the centre. Alternatives: a fabric yo-yo, a small knot of yarn, or nothing at all.
- Brooch pin or hair clip — optional, for turning your flower into wearable art. Alternatives: a safety pin, or simply stitch it onto a bag or cushion.
Step-by-Step
- Cut five circles. Using your template, cut five circles from your fabric. For a rose roughly the size of a teacup, use a 10cm (4 inch) diameter template. You can absolutely vary the sizes — in fact, do. Cut one at 10cm, two at 9cm, and two at 8cm for a more natural, layered look. Don’t worry about perfect circles. Slightly organic edges are your friend here.
- Fold and press. Fold each circle in half, then in half again, so you have a quarter-circle wedge. Press the folds with a warm iron — no steam needed. This creases the fabric so it holds its shape while you stitch, and it makes the next step much less fiddly.
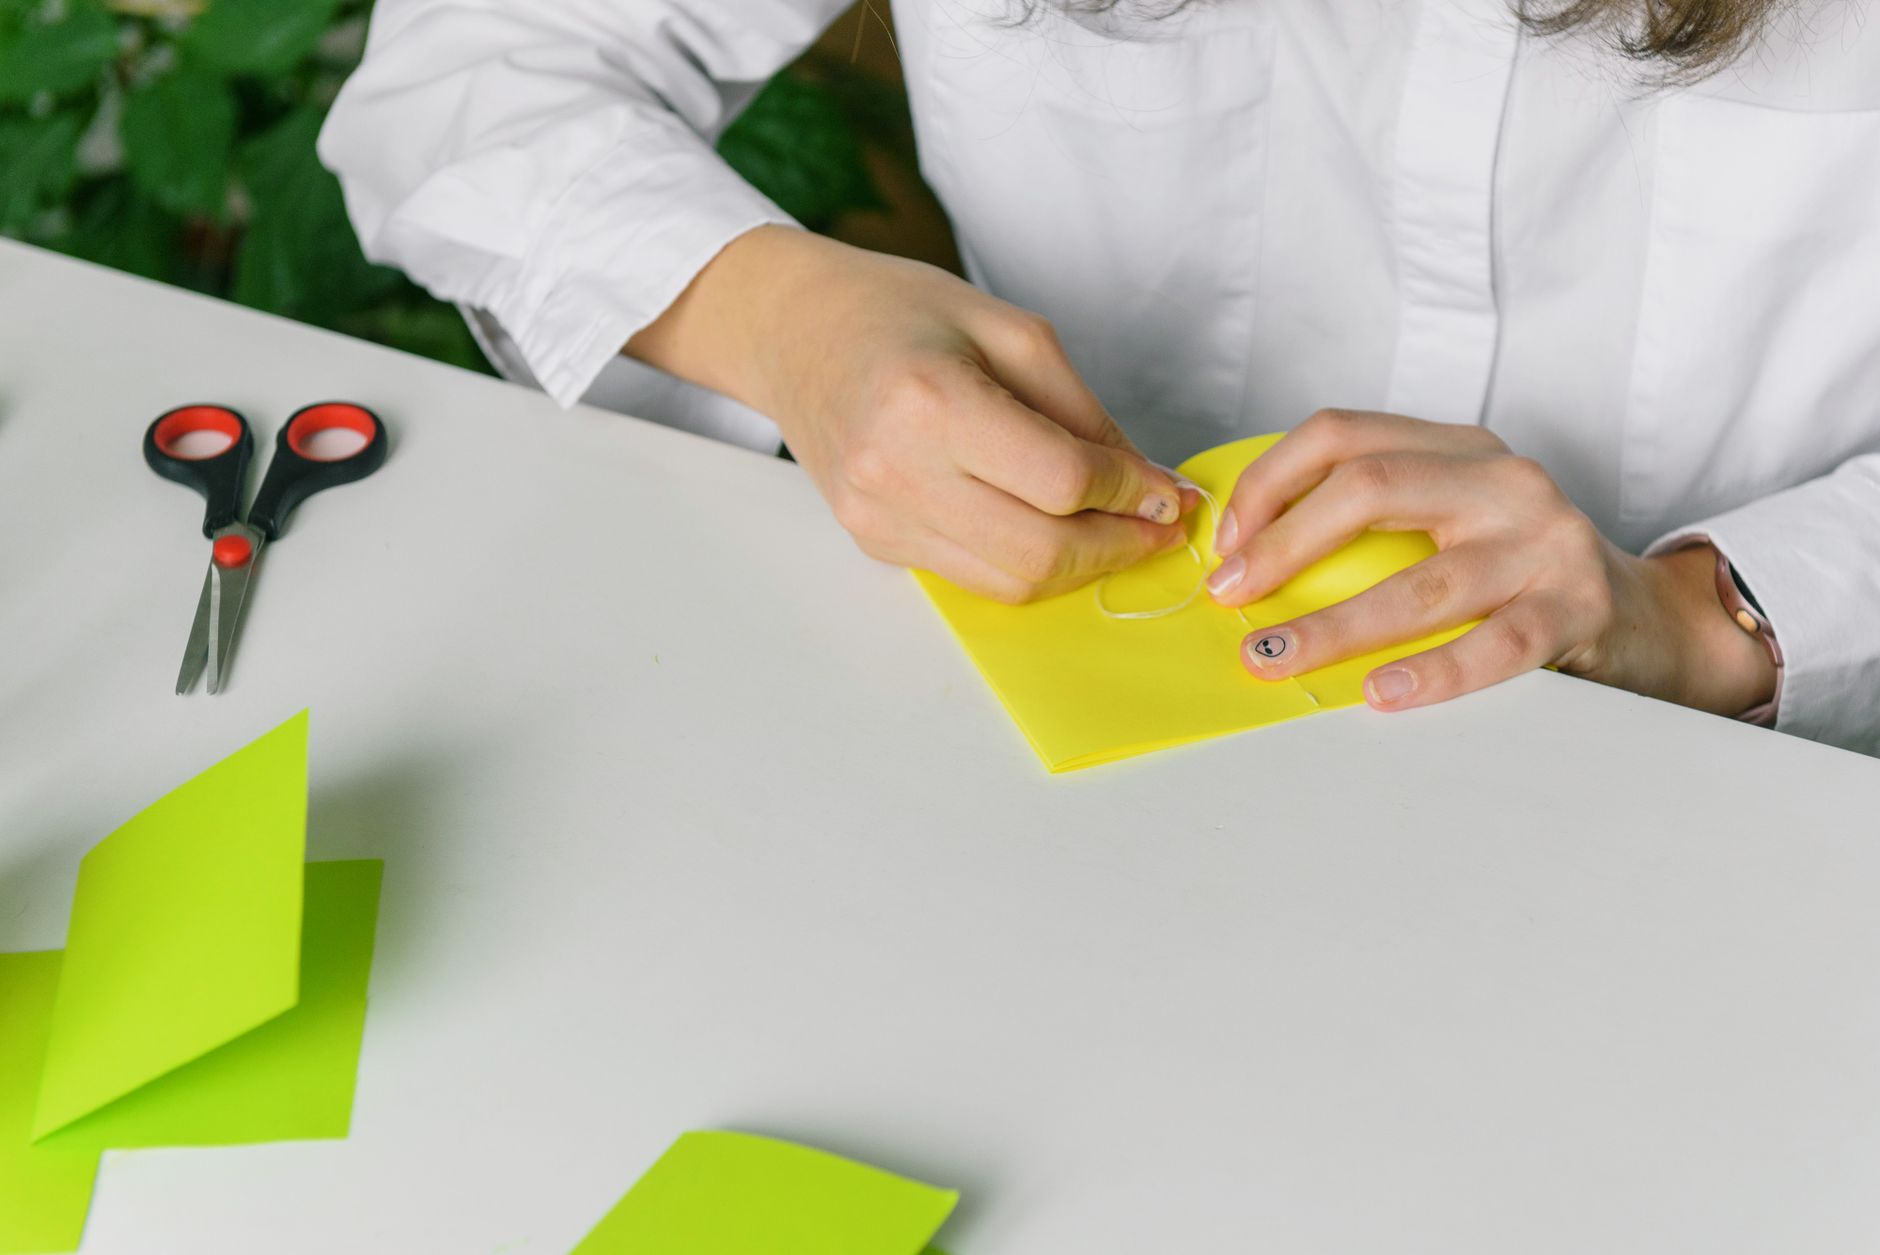
- Run a gathering stitch along the curved edge. Thread your needle with a double length of thread and knot the end. Working along the curved (not the folded) edge of each wedge, sew a simple running stitch about 5mm (¼ inch) from the raw edge. Use a generous stitch length — roughly 5mm each. Don’t knot off at the end; leave the thread tail loose.
- Gather each petal. Pull the thread tail gently so the curved edge puckers into a little fan shape. Gather it until the curved edge measures roughly 4cm (1½ inches). Tie off with a small knot to hold the gather. Repeat for all five wedges. You now have five petal shapes — this is the moment it starts looking like a flower.
- Arrange your petals. Lay the five gathered petals out in a circle on your work surface, overlapping the straight folded edges slightly. Play with the arrangement before you sew. Overlap more for a tight rose, less for a looser bloom. Snap a photo on your phone so you can remember the arrangement once you start stitching.
- Stitch the petals together. Thread a fresh needle with a single length of thread, knotted. Working from the back, stitch through the base of each petal where they overlap, joining them in a ring. Use small, firm stitches and go through each join two or three times. This base is the structural heart of the flower, so don’t rush it.
- Add the backing disc. Cut a felt circle about 3cm (1¼ inches) across. Stitch it to the back of the flower, covering the messy join, using a simple whip stitch around the edge. This hides your work and gives the flower a flat, stable base.
- Attach the centre. Sew your button or bead to the front centre of the flower, passing the needle right through to the back and catching the felt disc. Go through four or five times so it’s secure. A flower’s centre gets a lot of handling, so make it sturdy.
- Fluff and finish. Gently open out the gathers with your fingers, teasing each petal into a rounded shape. If you’re adding a brooch pin, sew it to the felt backing now with a few firm stitches. Give the whole flower a final press from the back only — never press the front, or you’ll flatten your gathers.
Beginner Tips
Buy cheap fabric for your first attempt. I know that sounds obvious, but the number one mistake I see is someone cutting into lovely Liberty print for their very first flower, then freezing up because they’re scared to ruin it. Use an old shirt. Make three flowers you don’t care about. The fourth will be the one you love.
Don’t over-gather. Beginners pull that gathering thread tight and end up with a crumpled ball instead of a petal. The curved edge should fan out, not clench. If it looks like a tiny accordion, loosen it.
Watch your thread tension on the joins. Loose stitches let the petals shift and the whole flower sags. Pull each stitch snug — not so tight the fabric puckers, but firm enough that the petals hold hands properly.
Here’s a counter-intuitive one: don’t iron your finished flower. It’s tempting, especially if the petals look rumpled. Don’t. The gathers and folds give the flower its dimension, and a hot iron flattens all of it into a sad fabric pancake. Press the pieces before assembly, then leave the finished bloom alone.
And cut more circles than you need. Five petals is the minimum, but seven or eight makes a fuller, more generous flower. Extra petals cost you almost nothing in fabric and time.
Creative Variation
Make a two-tone bloom. Cut three petals from one fabric and two from a contrasting one — a floral print with a solid, or two shades of the same colour. Arrange them so the contrast sits in the outer ring. It takes the same amount of time but looks like a completely different project, and it’s the variation my workshop students ask about most. Try a cream and mustard pairing, or navy with a soft blush. The contrast makes the layered petals read clearly from a distance, which matters if your flower is going on a bag or a coat.
Troubleshooting
My fabric is fraying badly. Some fabrics — linen, loose weaves, satin — fray more than others. Switch to pinking shears for cutting, or seal the raw edges with a tiny dot of fabric glue before gathering. Fray Check works too, though it can stiffen the edges slightly.
The gathering thread snapped. It happens, especially with cheap thread. Don’t panic. Remove the broken thread, re-thread your needle, and use a longer double strand this time. Pull more gently and in smaller increments.
My flower looks flat and sad. Usually this means the gathers were too tight or the petals were pressed flat. Try opening the petals out with your fingers and gently pushing the centre of each petal upward from behind. If that doesn’t rescue it, add a couple more petals — fullness hides a multitude of sins.
The petals keep slipping while I stitch. Pin them. Pin every overlap before you start joining, then stitch with the pins still in place, removing them as you go. Sewing clips are even better here if you have them.
My flower won’t sit flat on a headband or bag. Your felt backing disc is probably too small, or the base join is lumpy. Cut a larger disc — 4cm rather than 3cm — and stitch it down firmly all the way around. A flat, generous backing solves most mounting problems.
Fabric flowers are one of those rare crafts where the learning curve is short and the results are genuinely gift-worthy. You’ll make your first one in under an hour, and by the third you’ll be experimenting with sizes and colours without even thinking about it. So — what fabric scrap is sitting in your cupboard right now that could become a flower this afternoon? Grab it, cut five circles, and see what happens. I think you’ll surprise yourself.