Easy Soy Candle Making at Home for Beginners
How to Make Beautiful Soy Candles at Home (Even If You’ve Never Tried)
There’s something quietly magical about lighting a candle you made with your own hands. The warm glow, the gentle scent — it turns an ordinary evening into a small ritual. And honestly, it’s far easier than you think. No fancy equipment, no chemistry degree, just a bit of patience and a few basic supplies. Once you master this simple method, you’ll never look at a shop-bought candle the same way again. Let’s get started, shall we?
Materials List
You don’t need a dedicated craft room for this. A clean kitchen counter works perfectly. Here’s what to gather:
- Soy wax flakes (464 or 415 container wax work best) — alternative: beeswax pellets or recycled candle ends.
- Candle wicks with metal tabs — cotton or wooden. Pre-tabbed wicks save you fiddly work.
- Glass jars or tins — old jam jars, teacups, or small mason jars. Just make sure they’re heat-safe.
- Double boiler — a saucepan with a heatproof bowl on top. Or a dedicated melting pitcher.
- Candy or kitchen thermometer — a simple probe works fine.
- Fragrance oil or essential oil — choose candle-safe oils, roughly 40-60 drops per 250g of wax.
- Wick stickers or hot glue — to stick the wick base to the jar bottom.
- Wooden skewers or pencils — to hold the wick upright while the wax sets.
- Optional: a kitchen scale — if you want precise ratios, but cup measures work too.
One note: don’t use regular paraffin wax from old candles unless you’re prepared for more smoke. Soy is forgiving, cleans up with warm soapy water, and burns cleaner. Trust me on that.
Step-by-Step
- Prep your containers. Clean and dry your jars thoroughly. Any dust or grease will stop the wax from sticking properly. Then fix the wick to the centre of the jar bottom using a wick sticker or a dab of hot glue. Press firmly — this is your anchor.
- Wrap the wick around a skewer. Lay the skewer across the top of the jar and wind the wick around it, keeping it taut and straight. You want the wick to stand like a tiny flagpole. If it leans, your candle will burn unevenly later.
- Melt the wax. Fill your saucepan with about 2 inches of water and bring it to a gentle simmer. Place your wax in the heatproof bowl on top. Stir occasionally with a wooden spoon. Never leave it unattended. The wax should melt slowly, like butter on a warm pan.
- Watch the temperature. Heat the wax to about 175°F (80°C) but no higher. If it climbs past 200°F, you risk scorching — the wax will smell burnt and the candle might smoke. Use your thermometer. This is the step where people rush, and then they wonder why the candle weeps.
- Let it cool slightly. Remove the bowl from the heat and let the wax drop to about 135°F (57°C). This is the so-called “pour temperature”. Why wait? Because pouring too hot will cause cracking and sinkholes as it cools. Patience here pays off.
- Add your scent. Stir in your fragrance oil or essential oil. Give it a full two minutes of gentle mixing. The scent needs to bond with the wax molecules. If you skip this, you’ll end up with a light smell that vanishes after a few burns.
- Pour carefully. Slowly pour the melted wax into your prepared jar, leaving about half an inch of space at the top. Pour in a thin, steady stream. If you pour fast, you’ll trap air bubbles. Let the wax settle for a minute.
- Wait — but not too long. Let the candle sit undisturbed for 24 hours. Yes, a whole day. It’s tempting to light it after an hour, but the wax needs time to fully crystallise. This is what gives you a smooth, even burn.
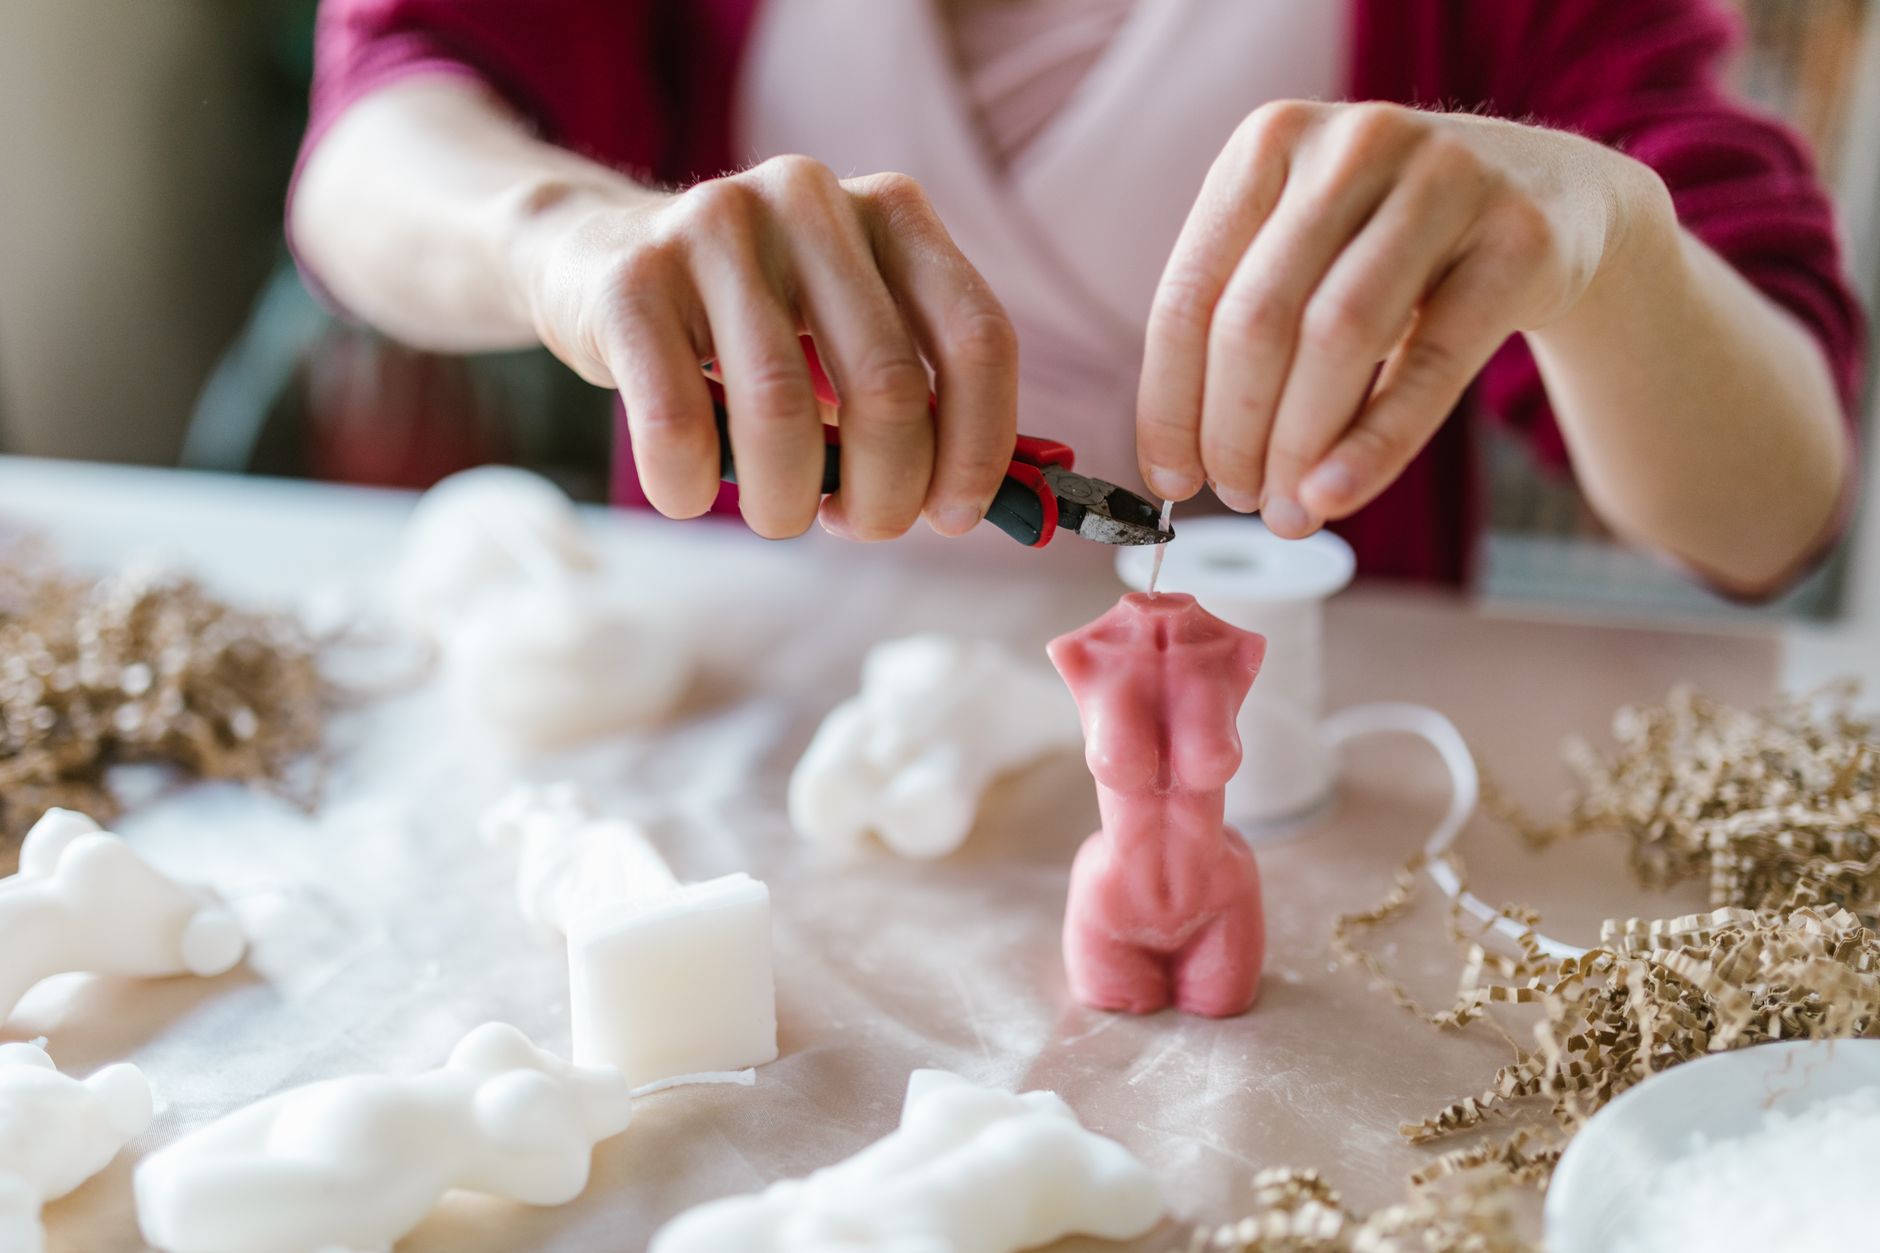
- Trim the wick. After the candle has set, cut the wick to about 5mm (a quarter inch). A long wick creates a smoky, sooty flame. Short is always better.
- First burn is special. When you finally light it, let it burn for at least 2 hours, or until the melted pool reaches the edges of the jar. This “memory burn” prevents tunnelling — where the candle burns straight down the middle, leaving a wall of wax behind.

Beginner Tips
Everyone makes the same three mistakes on their first go. I made all of them, and my kitchen smelled like a burnt toast factory for a week. Learn from my chaos.
First, don’t over-scent the wax. More oil doesn’t mean a stronger throw. In fact, too much fragrance can cause the wick to drown or the candle to smoke. Stick to the recommended proportion — about 6-8% of the wax weight. A scale helps here, but if you’re eyeballing, use fewer drops than you think.
Second, never pour wax straight from the stovetop. The temperature difference is too big. Always let it cool to that 135°F mark. I know it feels counter-intuitive — you’ve melted it, why wait? But hot-poured wax shrinks as it cools, leaving ugly cracks and sinkholes around the wick. Cooler wax sets more evenly.
Third, don’t blow out the candle after a short burn. If you only light it for twenty minutes, the wax pool doesn’t reach the edges, and you create a tunnel. Fixing that takes patience — either scraping out the walls or remelting the whole thing. So plan your first burn for a cosy evening, not a quick sniff test.
One extra tip that sounds silly but works: tap the jar gently after pouring. This releases tiny air bubbles that can cause holes in the surface. A few light taps, and you’re golden.
Creative Variation
Now that you have the basics, let’s make it yours. My favourite twist is the layered herbal candle. It looks like a geode slice and smells like a garden after rain.
Start with your plain, unscented soy wax. Pour your first layer — about a third of the jar — and before it sets completely, sprinkle dried lavender or chamomile flowers onto the surface. Wait for it to harden fully. Then melt a second batch, this time adding a few drops of eucalyptus oil, and pour it over the flowers. The herbs will sit suspended like tiny fossils. For the top layer, add a contrasting colour — a touch of natural mica powder in a pale green, for instance.
The trick is letting each layer cool completely before adding the next. It takes longer, but the result is a candle that looks like a terracotta garden in miniature. And when you burn it, the herbs release a gentle crackle. Not a roaring fire — more like a whisper. It’s oddly comforting.
Alternatively, press dried orange peel or rose petals onto the outside of the jar before pouring — the heat from the wax will fuse them to the glass. You get a textured, botanical look without any glue. Try one or try both. The point is to play, not to be perfect.
Troubleshooting
So the wick won’t stay lit? That’s usually a wick-too-small problem. Swap to a thicker wick next time, or trim the current one shorter — sometimes a long wick drowns in the melted wax. Also check your fragrance load; too much oil suffocates the flame.
Cracks and sinkholes appear after cooling? That’s a classic hot-pour issue. Your wax was too warm when you poured it. Don’t panic. You have two easy fixes. First, use a hairdryer on a low setting to gently heat the surface, letting the wax reflow and level out. Or, remelt the whole candle in a double boiler, cool it properly, and pour again. It’s okay to start over — I’ve done it three times in a row before getting it right.
The surface looks like a pockmarked moon — tiny pits and craters. That happens when air bubbles get trapped. Next time, pour more slowly and tap the jar. For now, smooth it over with a heat gun or hairdryer, holding it a few inches away. The heat melts the top layer just enough to level out.
The candle smokes when lit. That’s almost always a wick problem. Either it’s too long, or you’re using a wick that’s too thick for the jar diameter. Trim it to 5mm and check you’re burning in a draught-free spot. A flickering flame pulls in uneven air, which makes smoke.
The scent is weak. If you followed the ratio but can’t smell a thing, the problem is likely your pour temperature. If you add fragrance when the wax is too hot, the scent molecules evaporate before they bind. Next time, cool to 135°F before mixing. Also check the age of your fragrance oils — they go stale after a year, just like spices.
The candle tunnels — a deep hole down the middle. This is the most common beginner complaint. The fix is to burn it longer on the first go, as I said. If it’s too late, use a butter knife to gently scrape away the outer wax walls, levelling the surface, then light again. It’s not elegant, but it rescues the candle.
Conclusion
Making candles at home is one of those skills that feels like a secret superpower. You start with a bag of plain white flakes and end with something that holds light and scent, something you created from scratch. It’s messy, it’s slow, and it’s completely worth it. The first candle might wobble, the second might crack, but the third will be the one you light every evening for a month. And when a friend asks where you bought it, you’ll smile and say, “I made it.” That feeling never gets old. So go on — melt a little wax, make a little mess, and enjoy the glow of something truly your own.