Beginner Macramé Plant Hanger: Easy 2-Knot Tutorial
Macramé looks intimidating from the outside. All those knots, all that rope, all those perfect Instagram photos. But a plant hanger is genuinely one of the most forgiving projects you can make. You only need to know two knots. Two! And the whole thing takes about an hour once you get going.
If you’ve been wanting to try macramé but keep putting it off, this is your sign. A plant hanger is small, useful, and forgiving of small mistakes. You’ll finish something real in an afternoon, and your houseplants will thank you for it.
Materials List
- Rope or cord: About 25 metres (roughly 82 feet) of 4–5 mm cotton macramé cord. Three-ply twisted cotton is the classic choice because it holds knots beautifully. If you can’t find macramé cord, cotton clothesline works well. So does jute or hemp, though both are rougher on your hands and harder to undo. Avoid anything slippery like nylon — your knots will wiggle loose.
- Scissors: Sharp ones. Dull scissors fray cord ends and make you grumpy.
- A wooden ring or metal hoop: Around 4–6 cm in diameter. No ring? A sturdy stick from the garden, a shower curtain ring, or even a large keyring will do the job.
- A small potted plant: Something that trails — pothos, spider plant, string of pearls. Lightweight pots are easier on the hanger.
- A hook or doorknob: You’ll hang the ring here while you work. A carabiner clipped to a cupboard handle works brilliantly.
- Optional: a comb. For brushing out fringe if you decide to add one. Not essential for your first go.
Step-by-Step
-
Cut eight cords, each about 3 metres long. Yes, that sounds like a lot. Macramé eats cord. Each finished knot uses roughly four times its own length in cord, so always overestimate. Line all eight cords up so their ends match, then find the middle point of the bundle.
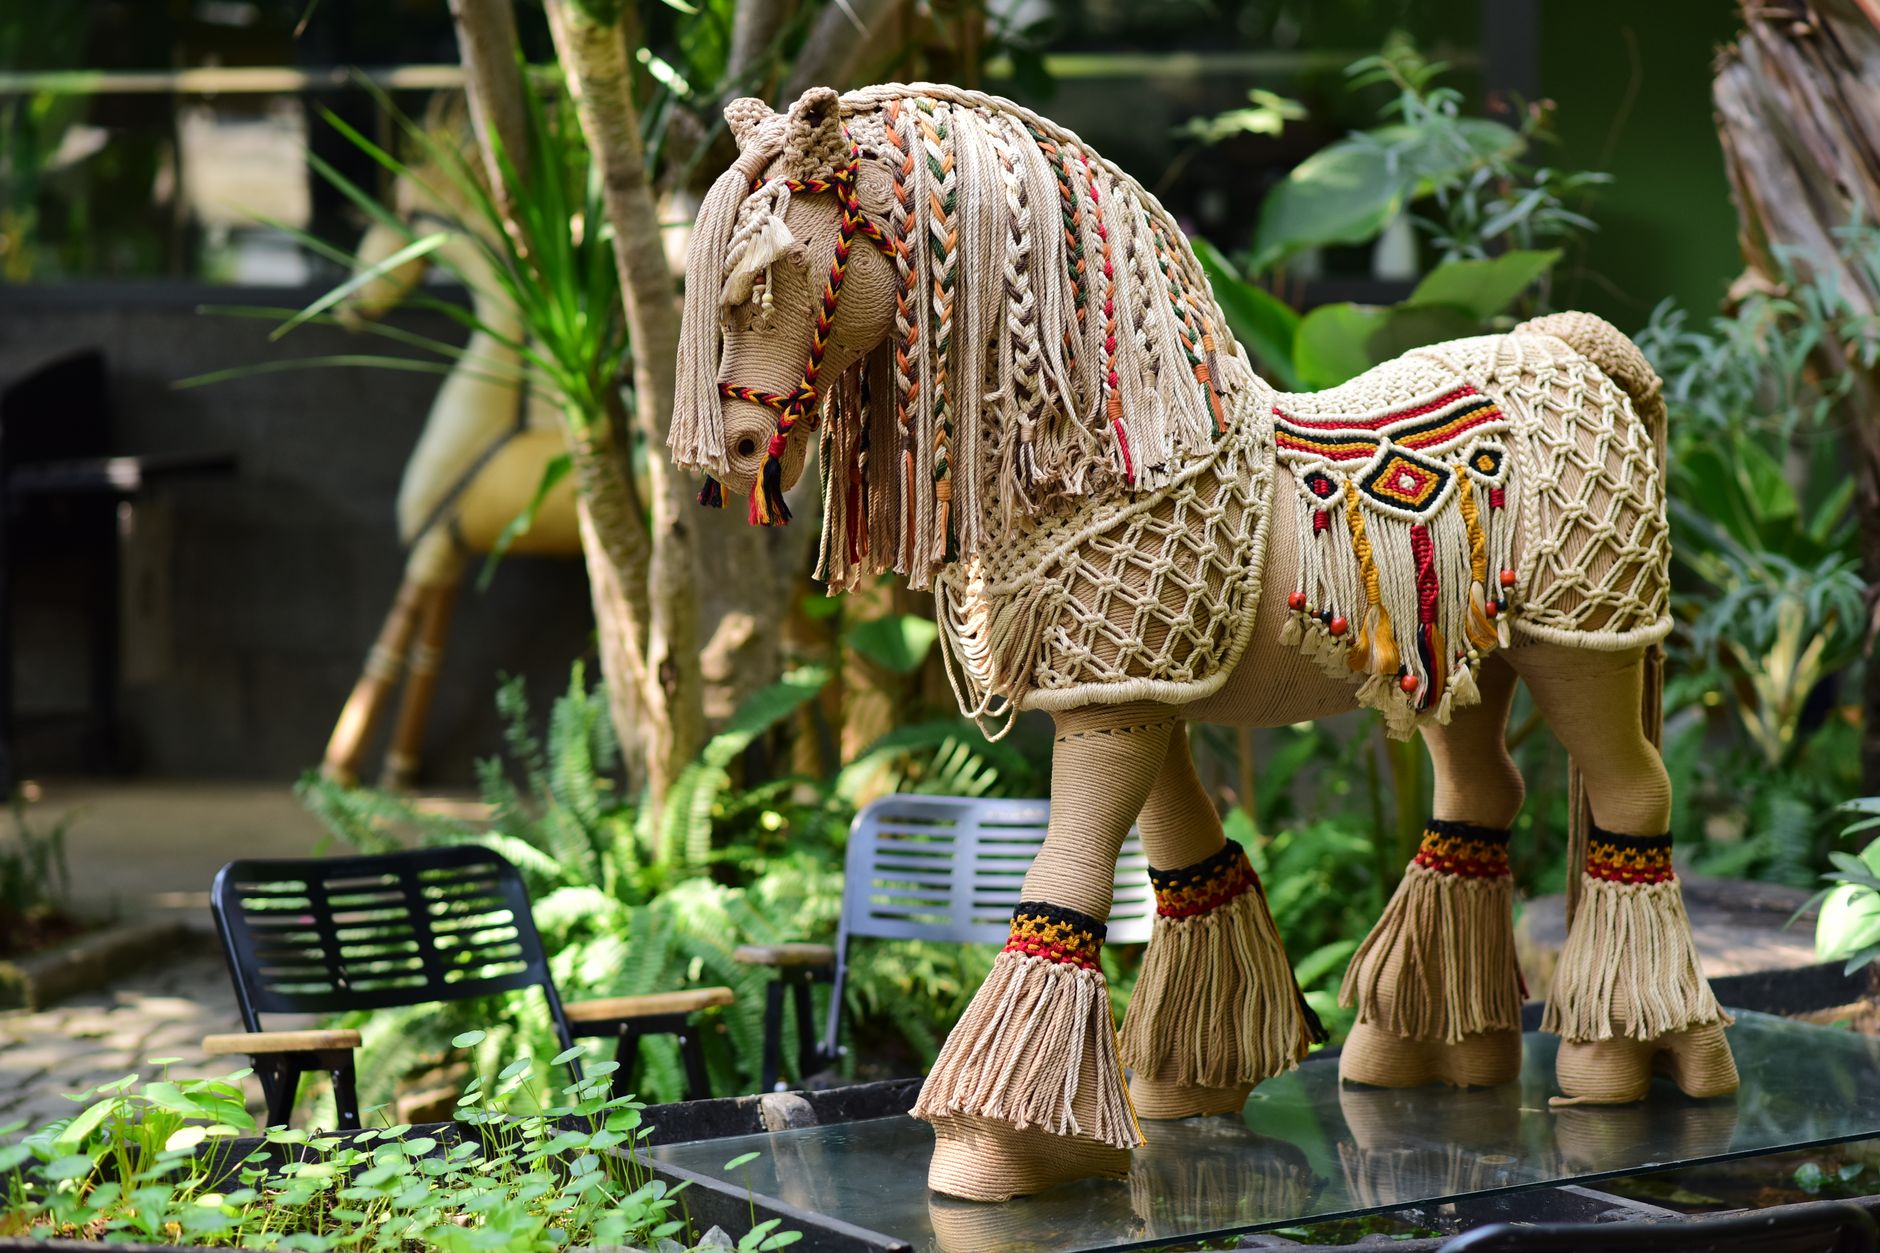
Photo by Sóc Năng Động on Pexels -
Attach the cords to your ring using a lark’s head knot. Fold the bundle in half at the midpoint and push the folded loop through the ring from front to back. Pull the loop down about 5 cm, then feed all the loose cord ends through that loop and pull tight. You now have sixteen hanging strands. Smooth them flat so they don’t tangle.
-
Separate your strands into four groups of four. Each group will become one hanging arm of the hanger. Straighten each group and let them hang — this is also a good moment to check nothing is twisted.
-
Tie a square knot in each group, about 10 cm below the ring. A square knot is just two half knots. Take the leftmost strand of a group and cross it over the middle two, then take the rightmost strand, pass it over the left strand, under the middle two, and up through the loop on the left. Pull. Then mirror it: right strand over the middle, left strand over the right, under the middle, up through the loop. Pull snug. That’s one square knot.
-
Repeat for the other three groups. Line up all four knots at the same height — this is what keeps your hanger level. If one looks higher, gently work the knot up or down before tightening fully.
-
Tie a second square knot in each group, about 5 cm below the first. Same process. Two square knots per arm gives a nice ladder effect and holds the pot securely.
-
Join the arms. Take the two rightmost strands from one group and the two leftmost strands from the next group. Tie a square knot with these four strands, about 12 cm below the last knot. Work your way around so all four arms are joined in a circle. This creates the basket that cradles the pot.
-
Gather all sixteen strands below the join and tie a wrapping knot. Hold the bundle together, take a spare 60 cm length of cord, and loop it so one end points up and the rest wraps tightly around the bundle about eight to ten times, working downward. Thread the wrapping end through the loop at the bottom and pull the top tail to lock it in place. Snip the tails.
-
Trim the ends to your preferred length. For a simple finish, cut them about 15 cm below the wrap. Fray the ends slightly with your fingers for a soft, natural look. If you’d like a fuller fringe, comb out the strands — but keep it simple for your first hanger.
-
Test the fit. Slide your pot into the basket and hang the whole thing up. Adjust the arm knots if the pot sits unevenly. If it’s too loose, slide the joining knots up a little. Too tight? Slide them down. That’s the beauty of macramé — nothing is permanent until you cut it.

Beginner Tips
Don’t cut your cord shorter than you think you need. I know I said it already, but the single most common beginner mistake is running out of cord three knots from the end. Add an extra metre. You’ll thank yourself.
Here’s a counter-intuitive one: your knots don’t need to be perfect. Tighten them firmly, yes, but obsessing over identical knot sizes will slow you down. Small variations look handmade in the best way. Nobody hangs a plant hanger at eye level and measures your knots with a ruler.
Keep your strands separated as you work. A quick tip is to clip unused groups out of the way with hair clips or bulldog clips. Tangled cord is the enemy of a pleasant afternoon.
Also — practise your square knot on a scrap piece first. Five minutes of practice saves twenty minutes of unpicking.
Creative Variation
Once you’ve made one, try swapping the plain square knot sections for a spiral (also called a half-knot) sinnet. Instead of alternating left and right half knots, always start with the same side. The cord twists into a lovely spiral, and it’s just as easy. Pair spiral arms with a simple wrapped base and you’ve got a hanger that looks completely different from the first one — same skills, new look.
Another easy twist: dip-dye the bottom fringe in fabric dye before you hang it. One colour, ten minutes, and suddenly it’s a statement piece.
Troubleshooting
Your hanger is lopsided. This almost always means the knots aren’t at matching heights. Untie the offending knot, measure against the others, and retie. Work from a fixed point — hold a ruler against the ring if it helps.
Knots keep slipping. You’re probably using a slippery cord or not pulling firmly enough. Cotton grips well; nylon doesn’t. If your cord is smooth, add an extra half knot and pull hard.
The pot wobbles or falls through. Your basket section is too wide. Slide the joining knots down to narrow the cradle, or add a third row of knots below the join.
Cord ends fraying while you work. Wrap a small piece of tape around each end, or tie a tiny overhand knot in each tip. Both stop fraying instantly.
You’ve cut a cord too short. Don’t panic. Tie a new length onto the short one with a secure double knot, tuck the join behind another strand, and carry on. Nobody will spot it.
Macramé rewards patience more than talent, and a plant hanger is the perfect place to learn that. Grab your cord, pick a plant that deserves a nicer spot, and give it an hour. You’ll end up with something you actually want to hang on your wall — and the confidence to make the next one. What are you waiting for?