Tie Dye Techniques for Beginners: Easy Step-by-Step Guide
Ever pulled a crumpled white t-shirt out of the back of a drawer and thought, “I could do something with this”? Tie dye is that something. Messy. Forgiving. Almost impossible to get wrong — which is exactly why I teach it to total beginners every single week.
No studio, no kiln, no years of practice required. A few rubber bands, some dye, and an afternoon are enough to turn plain cotton into something you’ll actually want to wear. Every piece comes out different, so nobody can tell you did it wrong. Ready to get your hands stained? Let’s make something.
Materials List
- A white cotton t-shirt or tote bag. Cotton takes dye best. If you only have a poly-cotton blend, aim for at least 60% cotton — the colour will be softer but still lovely. Old bedsheets and flour-sack towels work brilliantly too.
- Fiber-reactive dye kit. This is the good stuff for cotton. If you can’t find a kit, liquid fabric dye from the supermarket works for a beginner project — just expect slightly muted results. Avoid food colouring; it fades fast.
- Rubber bands. Thick ones hold tighter than thin ones. Hair elastics are a fine substitute, and so is cotton string or even zip ties in a pinch.
- Plastic squeeze bottles. Old ketchup or shampoo bottles, rinsed well, do the job. One per colour keeps things tidy.
- Rubber gloves. Not optional unless you enjoy purple hands for a week.
- A plastic bin or bucket. Line it with a bin bag if you don’t want it stained forever.
- Soda ash or salt. Soda ash helps the dye bond permanently. Table salt is a decent stand-in for a first attempt.
- Cold water and a drying rack. A clothes horse or even a shower curtain rail over the bath works.
Step-by-Step
- Wash your fabric first. Skip the fabric softener — it coats the fibres and blocks dye. A quick hot wash with plain detergent opens the cotton up so colour can grab on.
- Soak it in soda ash solution. Mix roughly one cup of soda ash per gallon of warm water. Submerge your shirt for about 20 minutes, then wring it out until it’s damp, not dripping. No soda ash? Soak in salty water instead — same idea, gentler result.
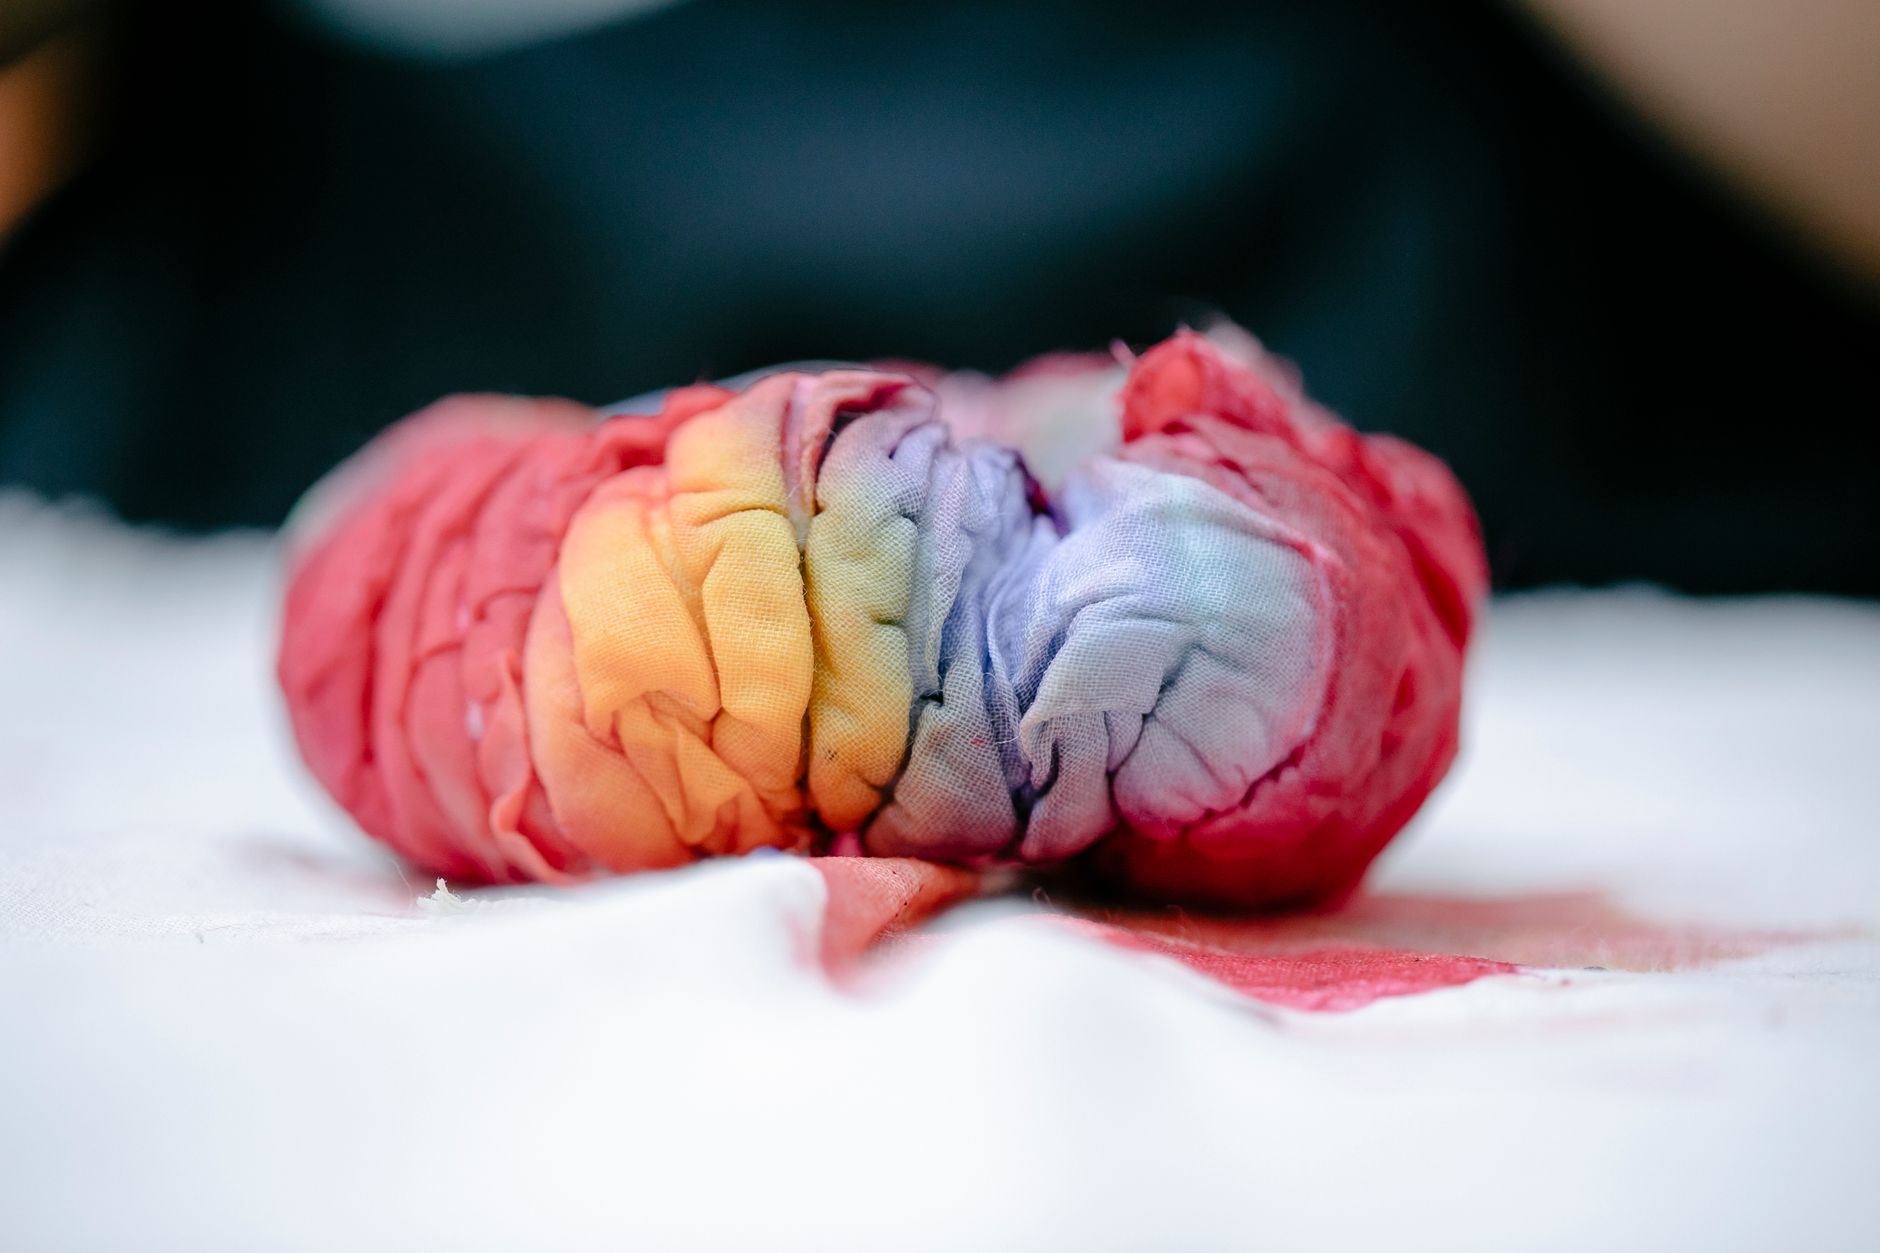
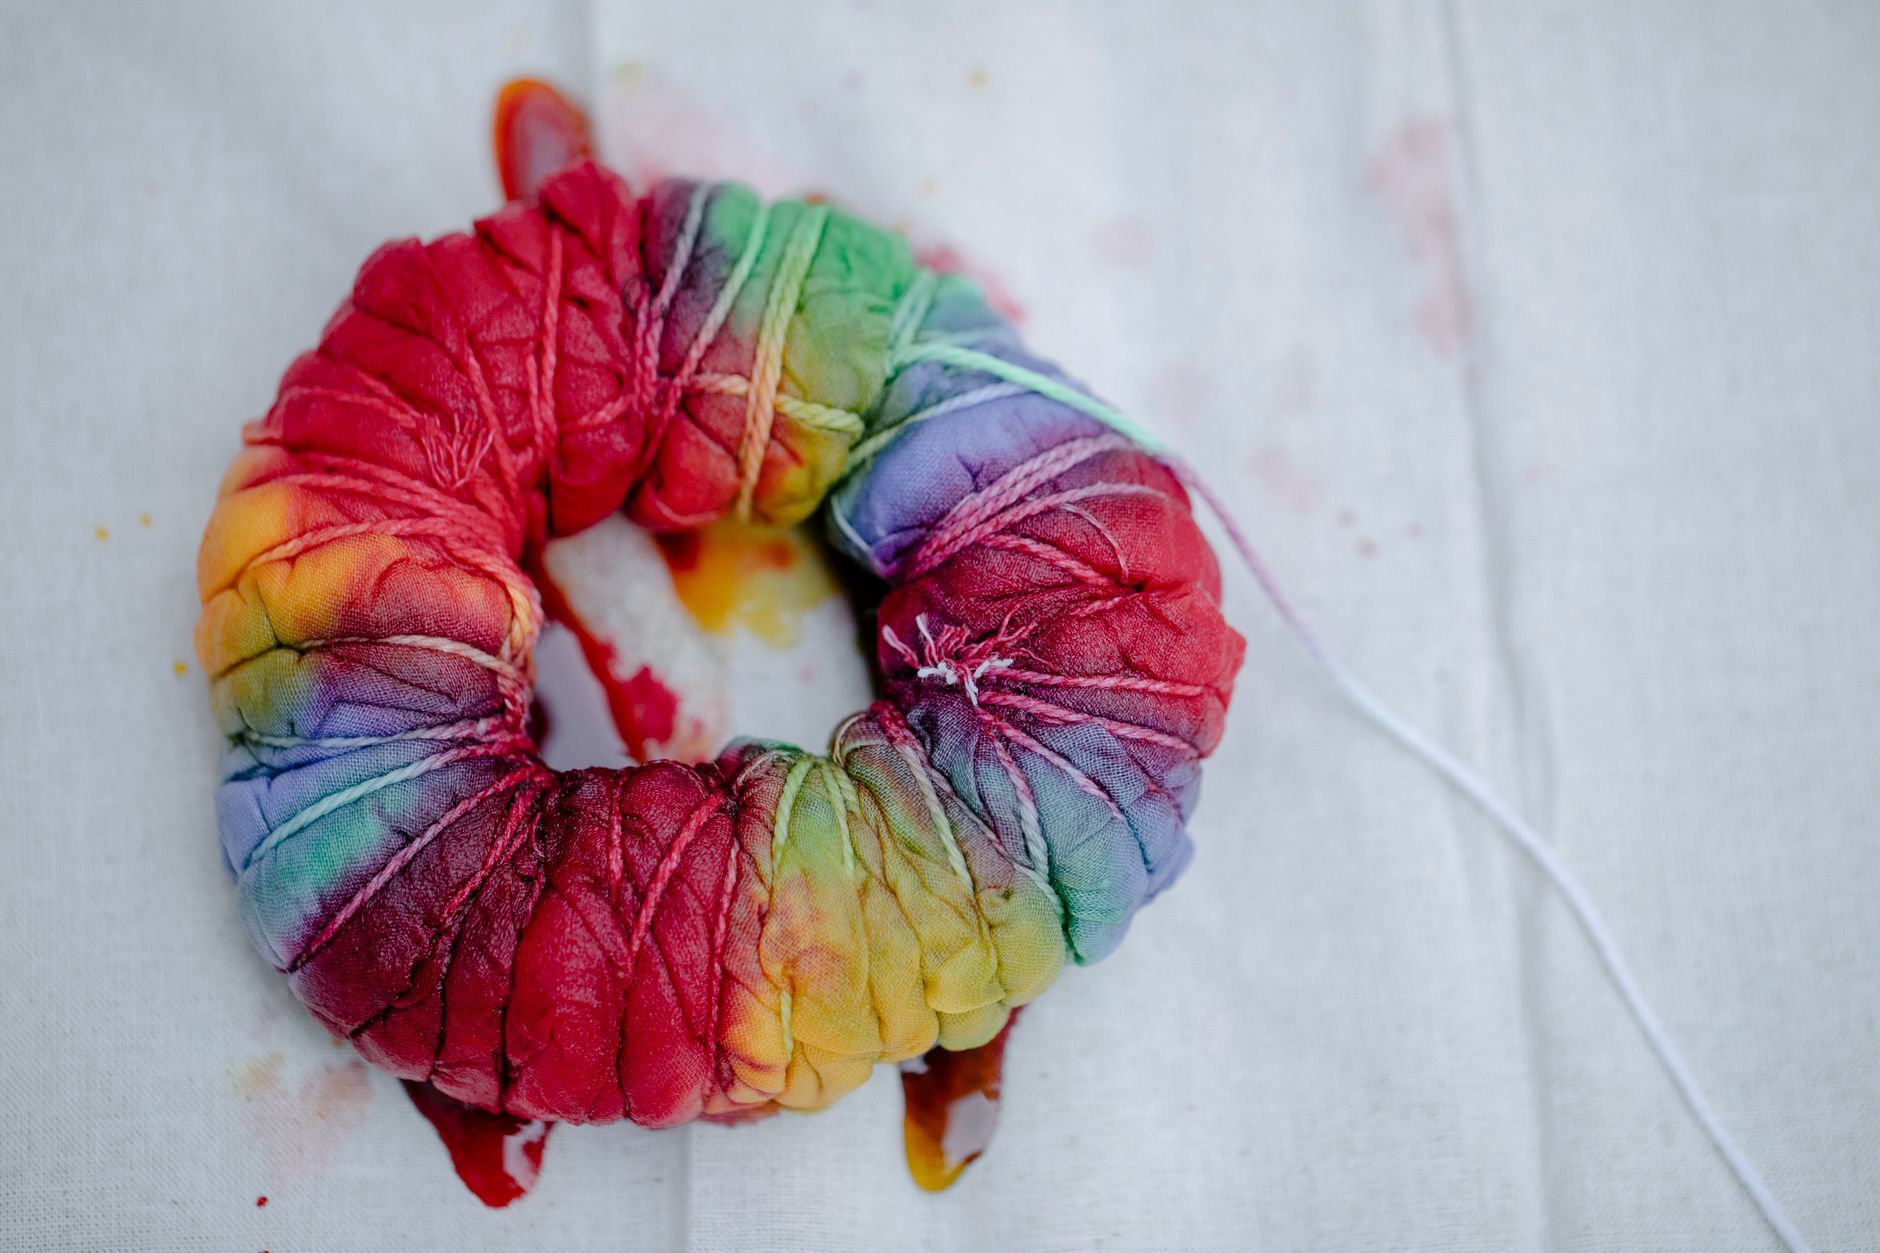
- Choose your pattern and tie it up. For a classic spiral, pinch the centre of the shirt and twist it into a flat cinnamon-roll shape, then wrap rubber bands across it like a pie chart — usually six to eight bands. For stripes, fold the shirt like a concertina and band it at intervals. For a bullseye, pinch a small point and band it in concentric rings.
- Mix your dyes. Follow the kit instructions, but as a rule, add dye powder to warm water in your bottle, shake hard, and let it sit for a few minutes. Wear gloves and open a window.
- Apply the dye. Squeeze colour into each section of your tied bundle, flipping it over to get both sides. Don’t be shy — you want the dye to soak in, not just sit on top. Leave a little white space if you like contrast; that’s where the magic shows up.
- Wrap and wait. Pop the bundle into a plastic bag or wrap it in cling film. Let it sit somewhere warm for at least 6 hours, ideally overnight. This is the boring part. Put the kettle on and forget about it.
- Rinse in cold water. Still tied, run the bundle under cold water until the water runs mostly clear. Then cut the bands off and rinse again. This stops the colours bleeding into a muddy brown.
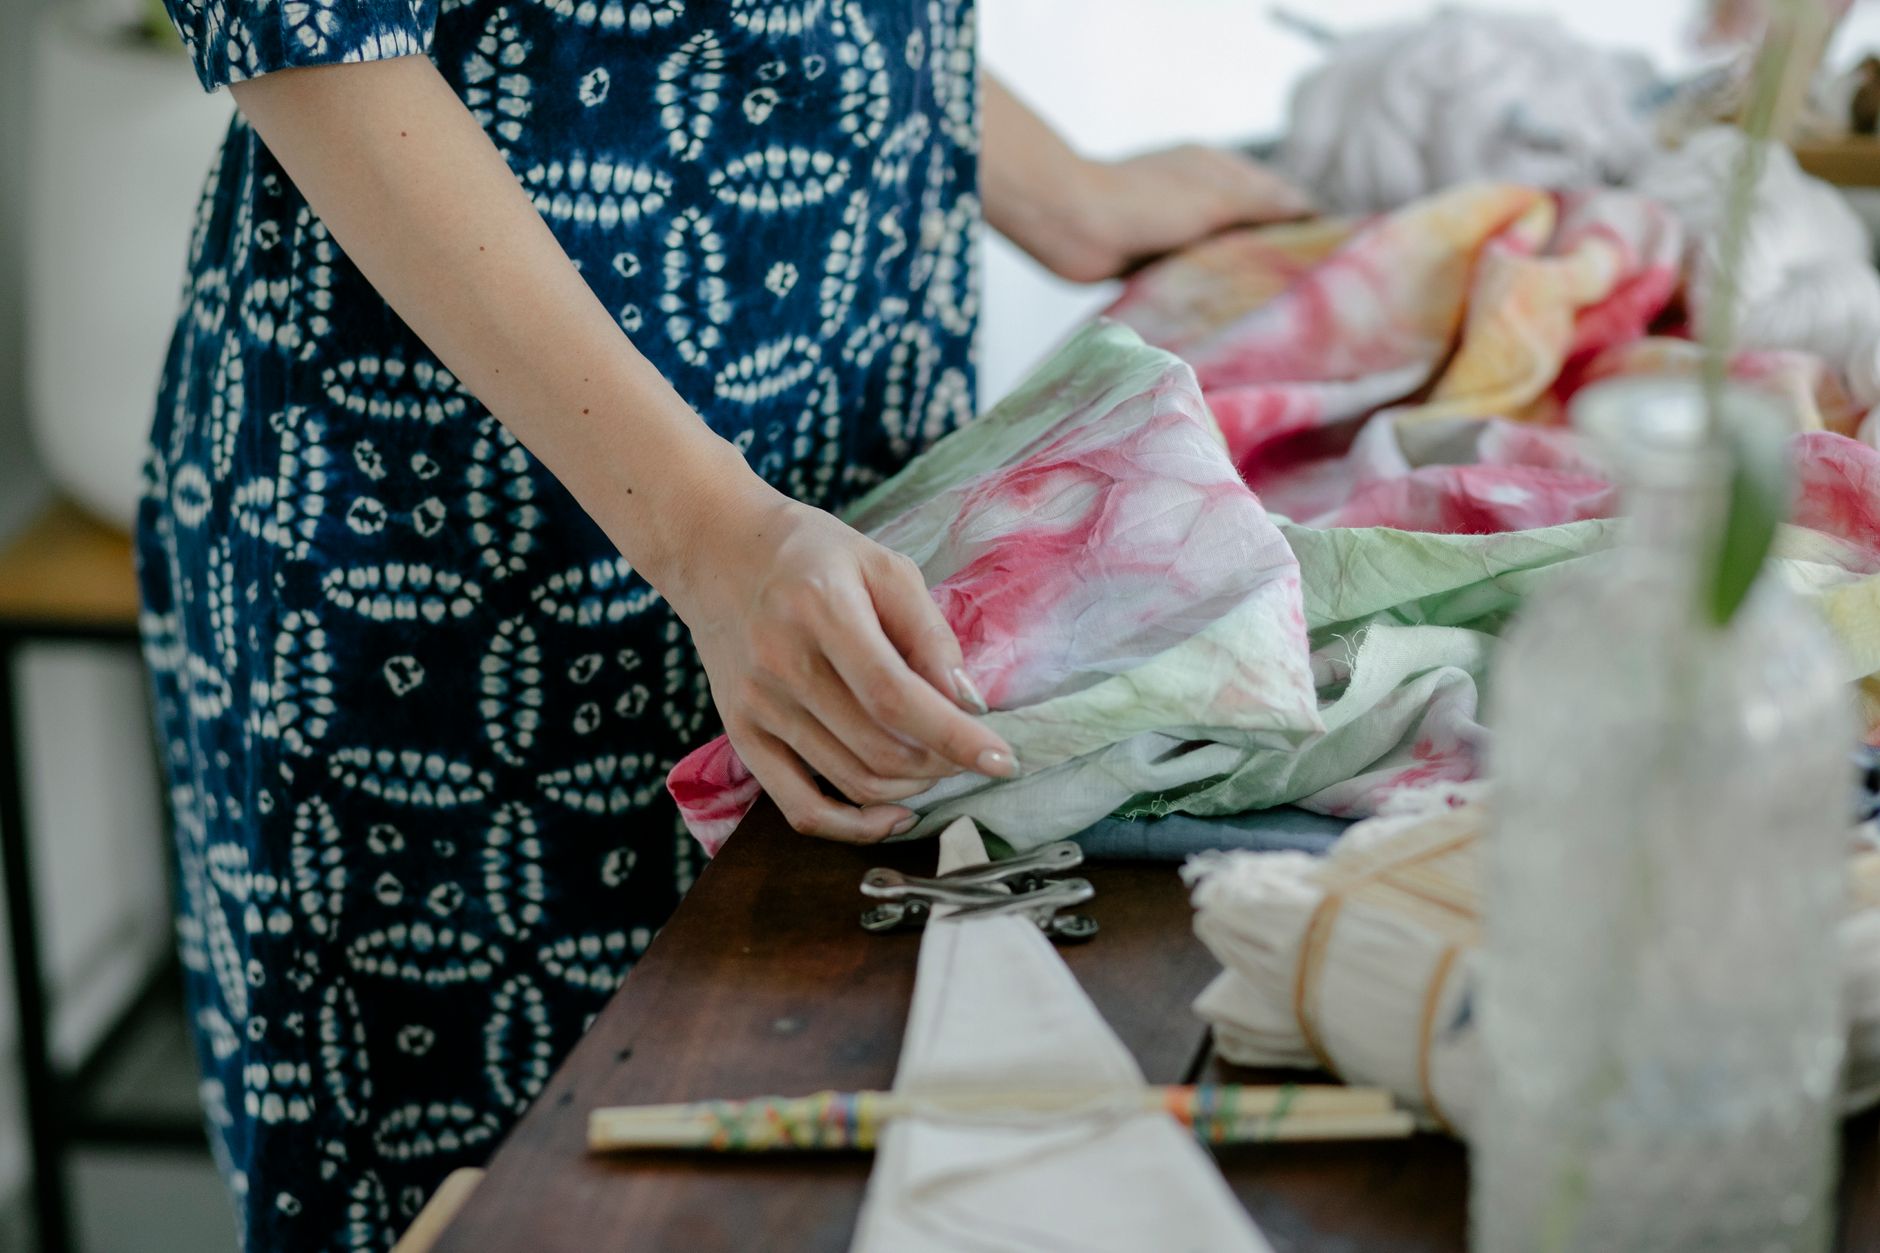
- Wash and dry. Wash on its own in cold water with a little detergent, then tumble dry or hang up. The colours deepen as it dries, which never stops being satisfying.
Beginner Tips
Here’s the thing nobody tells you first: tighter isn’t always better. Over-band your fabric and you’ll get a whole lot of white and not much pattern. Aim for firm but not strangled.
Don’t skip the pre-wash or the soda ash soak. I know, I know — it feels like homework. But dye that hasn’t bonded properly washes out within a few wears, and then you’ve made a very pale, slightly disappointing shirt.
Wear old clothes and cover your work surface. Dye splatters travel further than you think, and it stains grout, laminate, and fingertips with equal enthusiasm.
And please, resist the urge to peek while it’s setting. Unwrapping early is the number one reason beginners get wishy-washy results. Patience is genuinely the secret ingredient here.
Creative Variation
Once you’ve nailed the spiral, try the “ice dye” method. It’s counter-intuitive, but it gives you soft, watercolour-like blends instead of sharp lines — and honestly, I think it looks more expensive.
Here’s how: place your tied or crumpled shirt on a rack inside your bin, pile crushed ice over the top, then sprinkle dye powder directly onto the ice. As it melts slowly over several hours, the colour drips through in unpredictable ways. No bottles, no squeezing, just waiting. It’s the lazy crafter’s dream and the results are stunning.
Want to make it truly yours? Dye a set of plain cotton napkins in matching colours, or add a hand-stitched patch over a small mistake. Personal touches beat perfect symmetry every time.
Troubleshooting
My colours came out pale. Usually this means not enough dye, not enough soak time, or the fabric wasn’t clean. Next time, use more dye and let it sit the full overnight stretch.
Everything turned brown or grey. Too many colours in one spot, or you rinsed too late. Stick to two or three colours that sit next to each other on the colour wheel — like blue and purple — for cleaner blends.
The pattern is barely visible. Your bands were probably too loose, or the fabric was too wet when you applied the dye, which dilutes everything. Wring it out more firmly next round.
Dye bled everywhere. You likely rinsed in warm water or skipped the cold rinse. Cold water first, always.
It faded after a few washes. That’s the soda ash talking. Without it, dye sits on the surface rather than bonding. Use it, or accept a shorter lifespan.
Honestly, the first shirt is never the masterpiece. Mine looked like a bruise. But by the third or fourth attempt, you’ll start to see how the folds and bands create the pattern, and suddenly you’re planning colours in your head while you’re supposed to be doing something else. Tie dye rewards curiosity more than precision, so give yourself permission to make a mess. Grab an old shirt, pick two colours you love, and see what happens. You might just end up with your new favourite thing to wear.