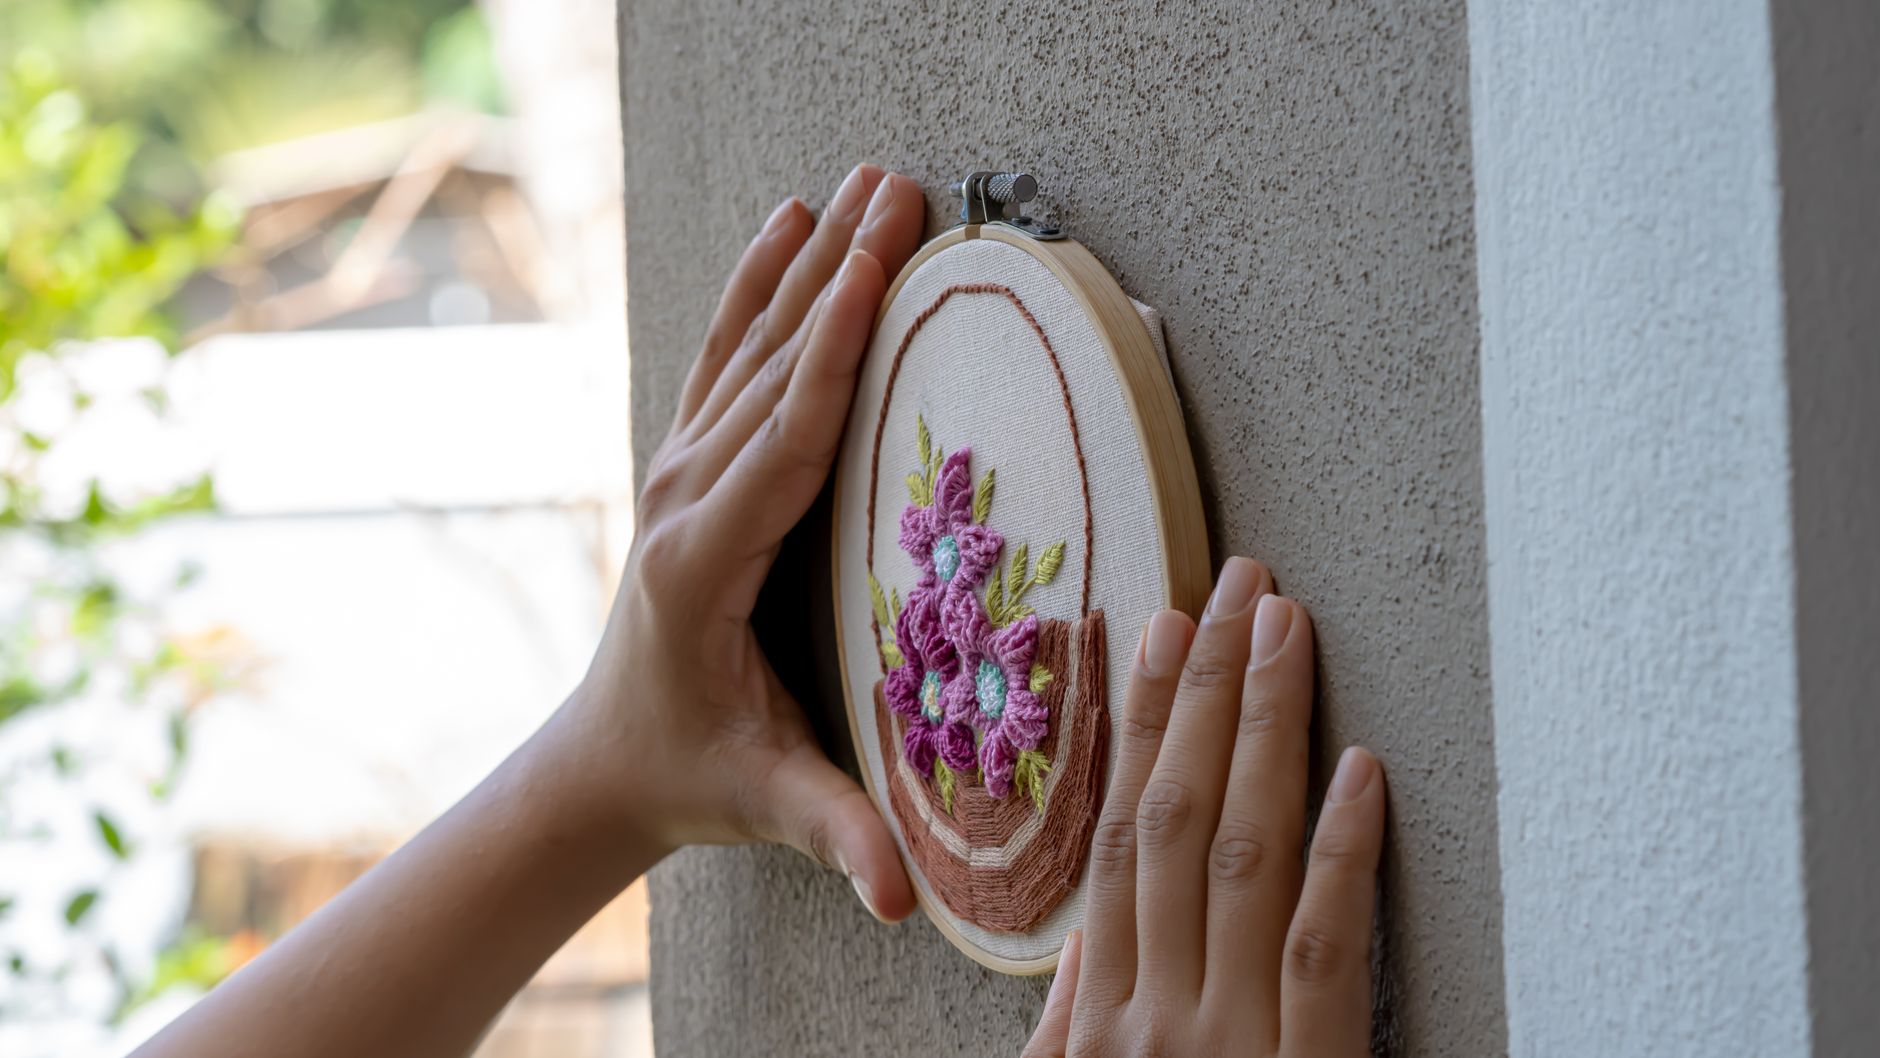
Beginner Embroidery Patterns: 3 Easy Stitches
Embroidery slows everything down. A needle, a thread, a bit of cloth — that’s the whole world for twenty quiet minutes. If you’ve been circling the craft aisle wondering where to start, this tutorial is for you. We’re going to stitch three beginner embroidery patterns that look impressive and forgive almost every wobble. No prior experience needed. Promise.
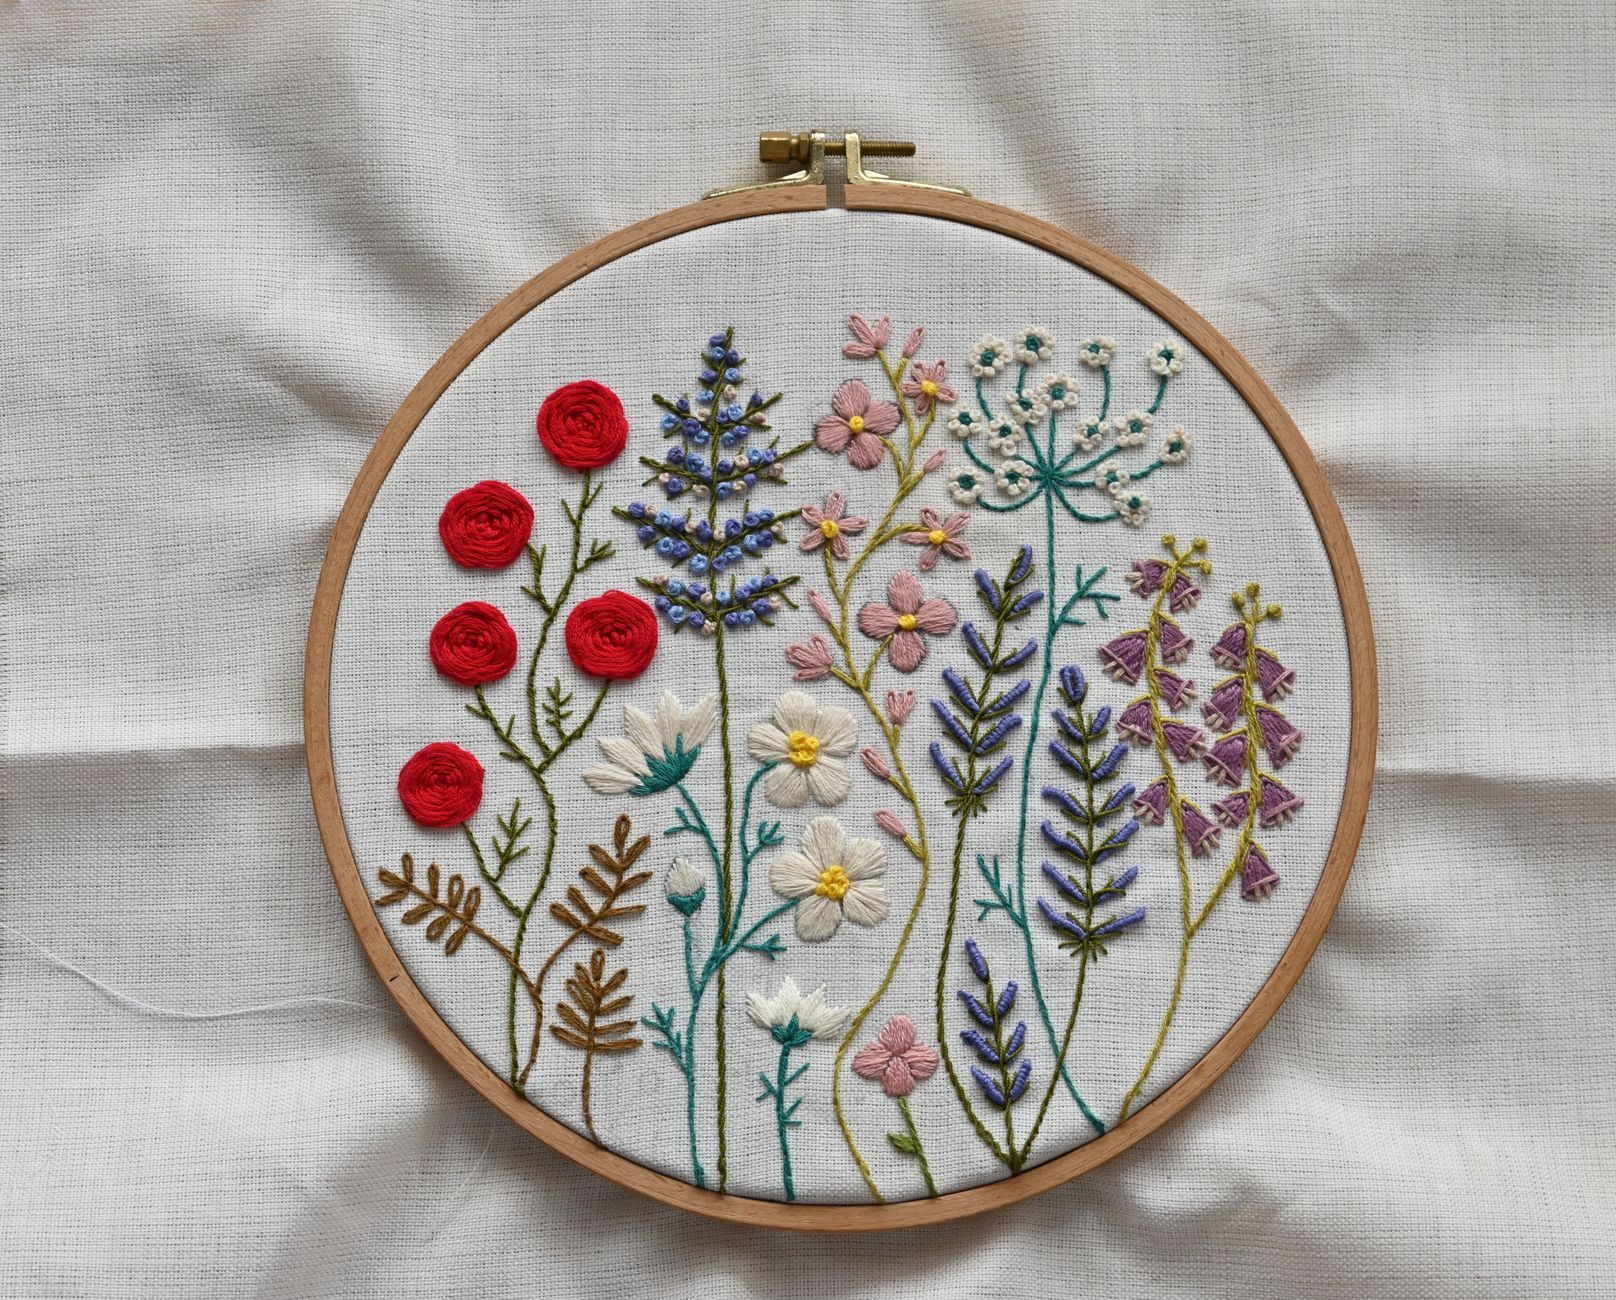
Here’s why this project earns its place in your week. You’ll finish something real in a single sitting, and that small square of fabric becomes proof you can learn with your hands. The three patterns below — a lazy daisy, a French knot cluster, and a simple stem stitch vine — build on each other. By the end, you’ll have a stitched sampler you can frame, sew onto a tote, or turn into a patch. Ten minutes of setup, an hour of stitching, a lifetime of “wait, you made that?”
Materials List
- Embroidery hoop — a 6-inch wooden or bamboo hoop is ideal for beginners. Plastic hoops work too, though they grip fabric a little less firmly.
- Embroidery floss — cotton six-strand floss in two or three colours. If you can’t find floss, perle cotton size 8 or even thin crochet thread will do the job.
- Embroidery needle — a size 5 or 7 sharp. A standard sewing needle can work in a pinch, but the eye is smaller and threading gets fiddly fast.
- Fabric — cotton quilting fabric, linen, or a plain cotton tea towel. Avoid stretchy jersey for your first go. Old bedsheets are perfect and free.
- Scissors — small sharp ones for thread. Nail scissors are fine.
- Water-soluble pen or chalk — for drawing your pattern. A regular pencil works on light fabric if you sketch lightly.
- Optional: a thimble — not required, but helpful if your fabric is dense.
Step-by-Step
- Prep your fabric. Cut a square roughly 10 inches by 10 inches. Iron it flat. Wrinkles distort your stitches more than you’d think.
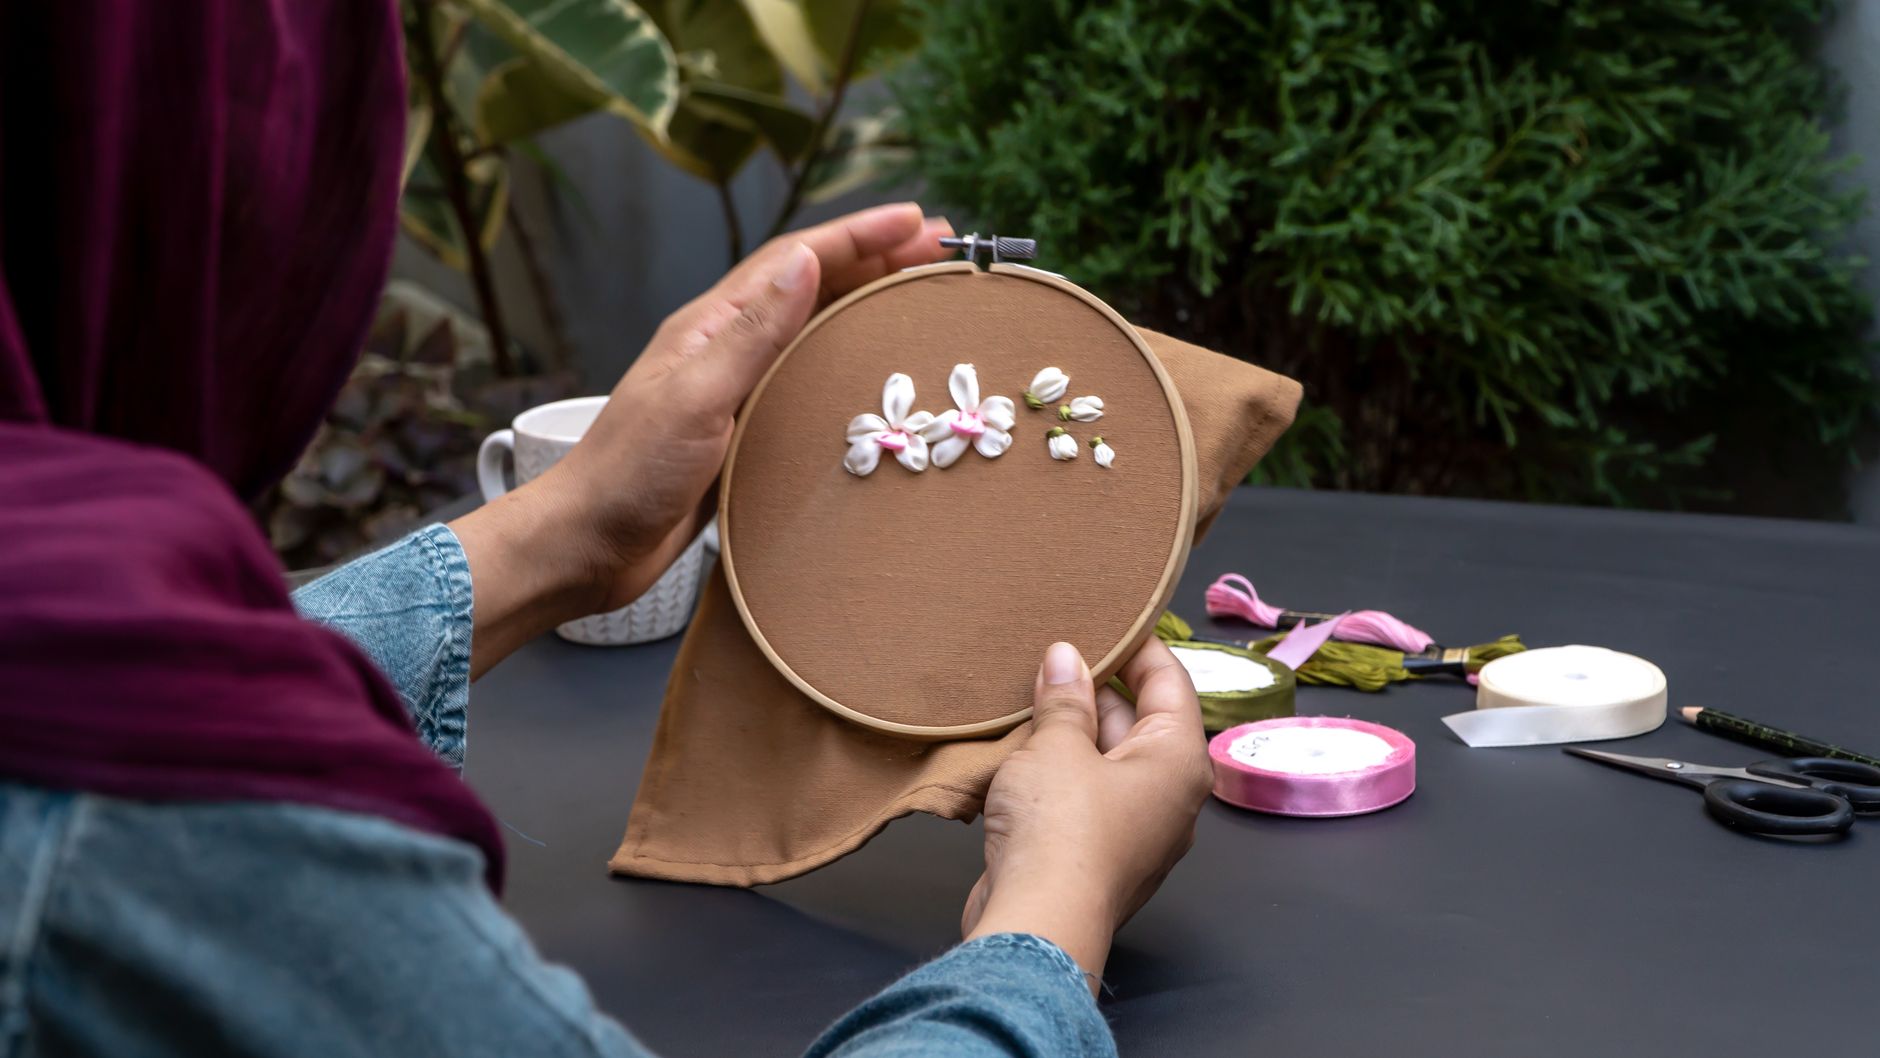
- Mount the hoop. Loosen the outer ring’s screw. Place the inner ring flat on your table, lay the fabric over it, then press the outer ring down. Pull the fabric edges gently until the surface is drum-tight. Tighten the screw. Tap the fabric — it should sound like a tiny drum.
- Draw your pattern. Using your water-soluble pen, sketch three simple motifs: a five-petal flower, a cluster of five small dots, and a curving vine line. Keep shapes large — at least an inch across. Tiny designs are harder, not easier.
- Thread your needle. Cut a length of floss about 18 inches long. Separate two strands from the six (floss comes as six twisted strands). Thread those two strands through the needle and knot the end. Two strands give clean lines without bulk.
- Stitch the lazy daisy. Bring your needle up at the centre of your flower. Push it back down right next to where it came up, leaving a small loop on the surface. Bring the needle up again at the tip of a petal, catching that loop, then push it down just beyond the loop to anchor it. Repeat for five petals.
- Add French knots. Bring the needle up at a dot. Wrap the thread around the needle twice. Hold the wraps with your thumb and push the needle back down a thread’s width away from where it emerged. Pull slowly. That’s one knot. Repeat for the rest.
- Work the stem stitch vine. Bring the needle up at the start of your vine line. Take a small stitch forward along the line. Bring the needle up halfway back along that stitch, then take another stitch forward. Keep the working thread below the needle as you go. The overlap creates a smooth rope-like line.
- Finish and secure. On the back, slide your needle under three or four existing stitches and pull through. Trim the tail. No knots needed — the weaving holds it.
- Remove your markings. Dab the water-soluble pen with a damp cloth. Let it dry, then press the fabric flat from the back.
Beginner Tips
Don’t pull your stitches too tight. This is the single biggest mistake I see in workshops. When thread tension is too high, fabric puckers and the whole piece looks warped. Your stitches should sit on the surface, not sink into it.
Another one: resist the urge to use all six strands of floss. More strands mean chunkier lines and far more tangles. Two strands is the beginner’s sweet spot. Three if you want bolder coverage.
Keep your thread length manageable. Anything longer than 20 inches will twist, knot, and fray before you reach the end. Cut shorter lengths and rethread more often. It’s faster in the long run.
And here’s a counter-intuitive one — don’t aim for perfect stitches on your first project. Slightly irregular stitching looks handmade and charming. Machine-perfect embroidery often reads as stiff. Let your hand show.
Creative Variation
Once you’ve stitched the basic sampler, try turning it into a stitched constellation. Instead of flowers and vines, mark small dots across your fabric in the shape of a star map — Orion, the Big Dipper, whatever you love. Use French knots for the stars and a single long running stitch between them to connect the lines. Metallic floss makes it glow. This variation works beautifully on dark fabric with light thread, and it teaches you spacing and composition without demanding complex stitch work. Have you ever noticed how a simple dot pattern can feel more personal than an elaborate design? That’s the magic of choosing your own sky.
Troubleshooting
Thread keeps knotting. You’re probably using too long a piece or too many strands. Cut down to 15 inches and two strands. Also let your needle dangle occasionally — this untwists the thread naturally.
Fabric puckering around stitches. Your tension is too tight. Unpick the offending stitches and redo them with a lighter hand. The thread should lie flat, not pull the fabric inward.
French knots unraveling. This usually means you wrapped the needle too many times or pulled too fast. Stick to two wraps and pull the thread through slowly, keeping your thumb on the wraps until the very last moment.
Pattern lines still visible after stitching. Some water-soluble pens need a good soak, not just a dab. Rinse the whole piece under cool water and blot dry. If you used pencil, a soft eraser on dry fabric usually lifts it.
Hoop won’t hold fabric tight. Wrap the inner ring with a strip of cotton tape or bias binding. This grippy surface stops fabric from slipping and is a trick used by embroiderers for decades.
Embroidery rewards patience more than talent. Every wobbly stitch you make teaches your fingers something, and the next one lands better. Start with the daisy, move to the knots, finish the vine. Then hang it up where you’ll see it — because you made that, and that’s worth looking at. Grab a hoop this week. Your hands already know more than you think.