Felt Crafts for Beginners: Easy Brooch Tutorial
Your first felt project should feel like play, not homework. That’s why I want to walk you through a simple felt brooch that comes together in under an hour. No sewing machine, no complicated patterns. Just a needle, some thread, and that gorgeous stack of felt squares you’ve been hoarding since last autumn. Once you finish one, you’ll want to make a whole garden of them.
Materials List
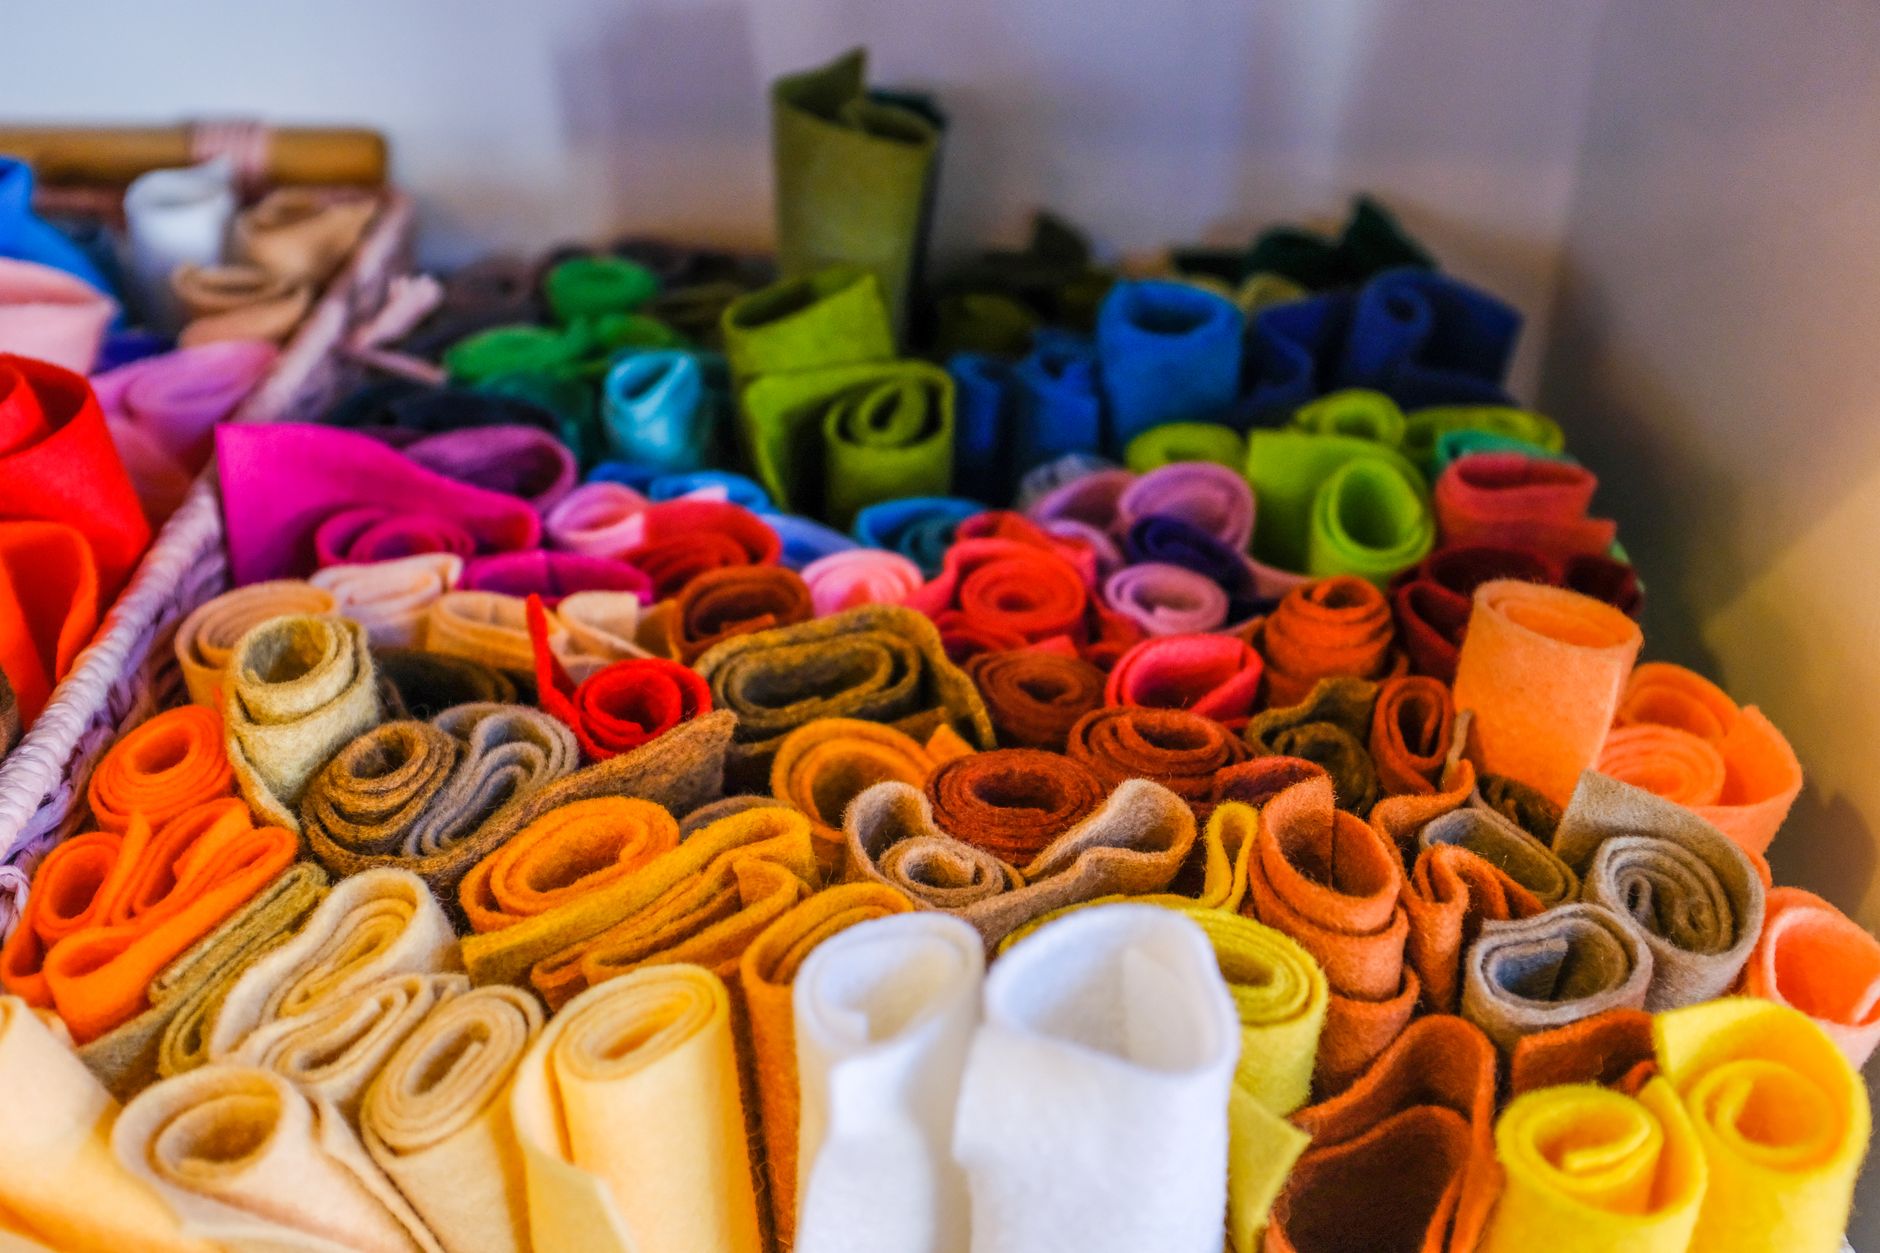
- Wool-blend felt squares — two or three colours. Wool-blend holds its shape beautifully, but acrylic craft felt from the pound shop works fine for a first attempt. If you only have cotton fabric scraps, back them with fusible interfacing and you’re good to go.
- Embroidery needle — a size 5 or 7 with a sharp point. A standard sewing needle will do in a pinch, but the longer eye makes threading much less annoying.
- Embroidery floss — one skein in a contrasting colour. No floss? Two strands of ordinary sewing thread twisted together give a similar look.
- Small sharp scissors — fabric scissors or even nail scissors for tight corners. Paper scissors will chew the felt edges.
- Brooch pin back — about 2.5 cm. If you don’t have one, a safety pin stitched to the back works perfectly well.
- Template — a simple leaf, heart, or circle drawn on card. A jam jar lid traces a perfect circle in seconds.
- Pins or clips — to hold layers. Paper clips are a clever stand-in if pins keep disappearing into the sofa.
Step-by-Step
- Choose your shape and colours. Pick one main shape and two accent colours. For a first project, a simple leaf or heart is ideal — fewer curves means fewer wobbles. Lay your felt squares side by side and squint at them. If the colours make you smile, they’ll work.
- Draw and cut your template. Sketch your shape on a piece of card, roughly 6 cm tall. Cut it out. Don’t worry if it’s not perfectly symmetrical — felt is forgiving and so is everyone who sees the finished brooch.
- Trace around the template. Place the card shape on your main felt colour and pin it down. Trace around it with a pen or tailor’s chalk. Felt is thick, so hold the template firmly. You’ll need two of these shapes for a front-and-back sandwich.
- Cut out both felt shapes. Take your time here. Long, smooth snips along the outline, not tiny nervous nibbles. If the edges look slightly ragged, trim them again — felt cuts cleanly when your scissors are sharp.
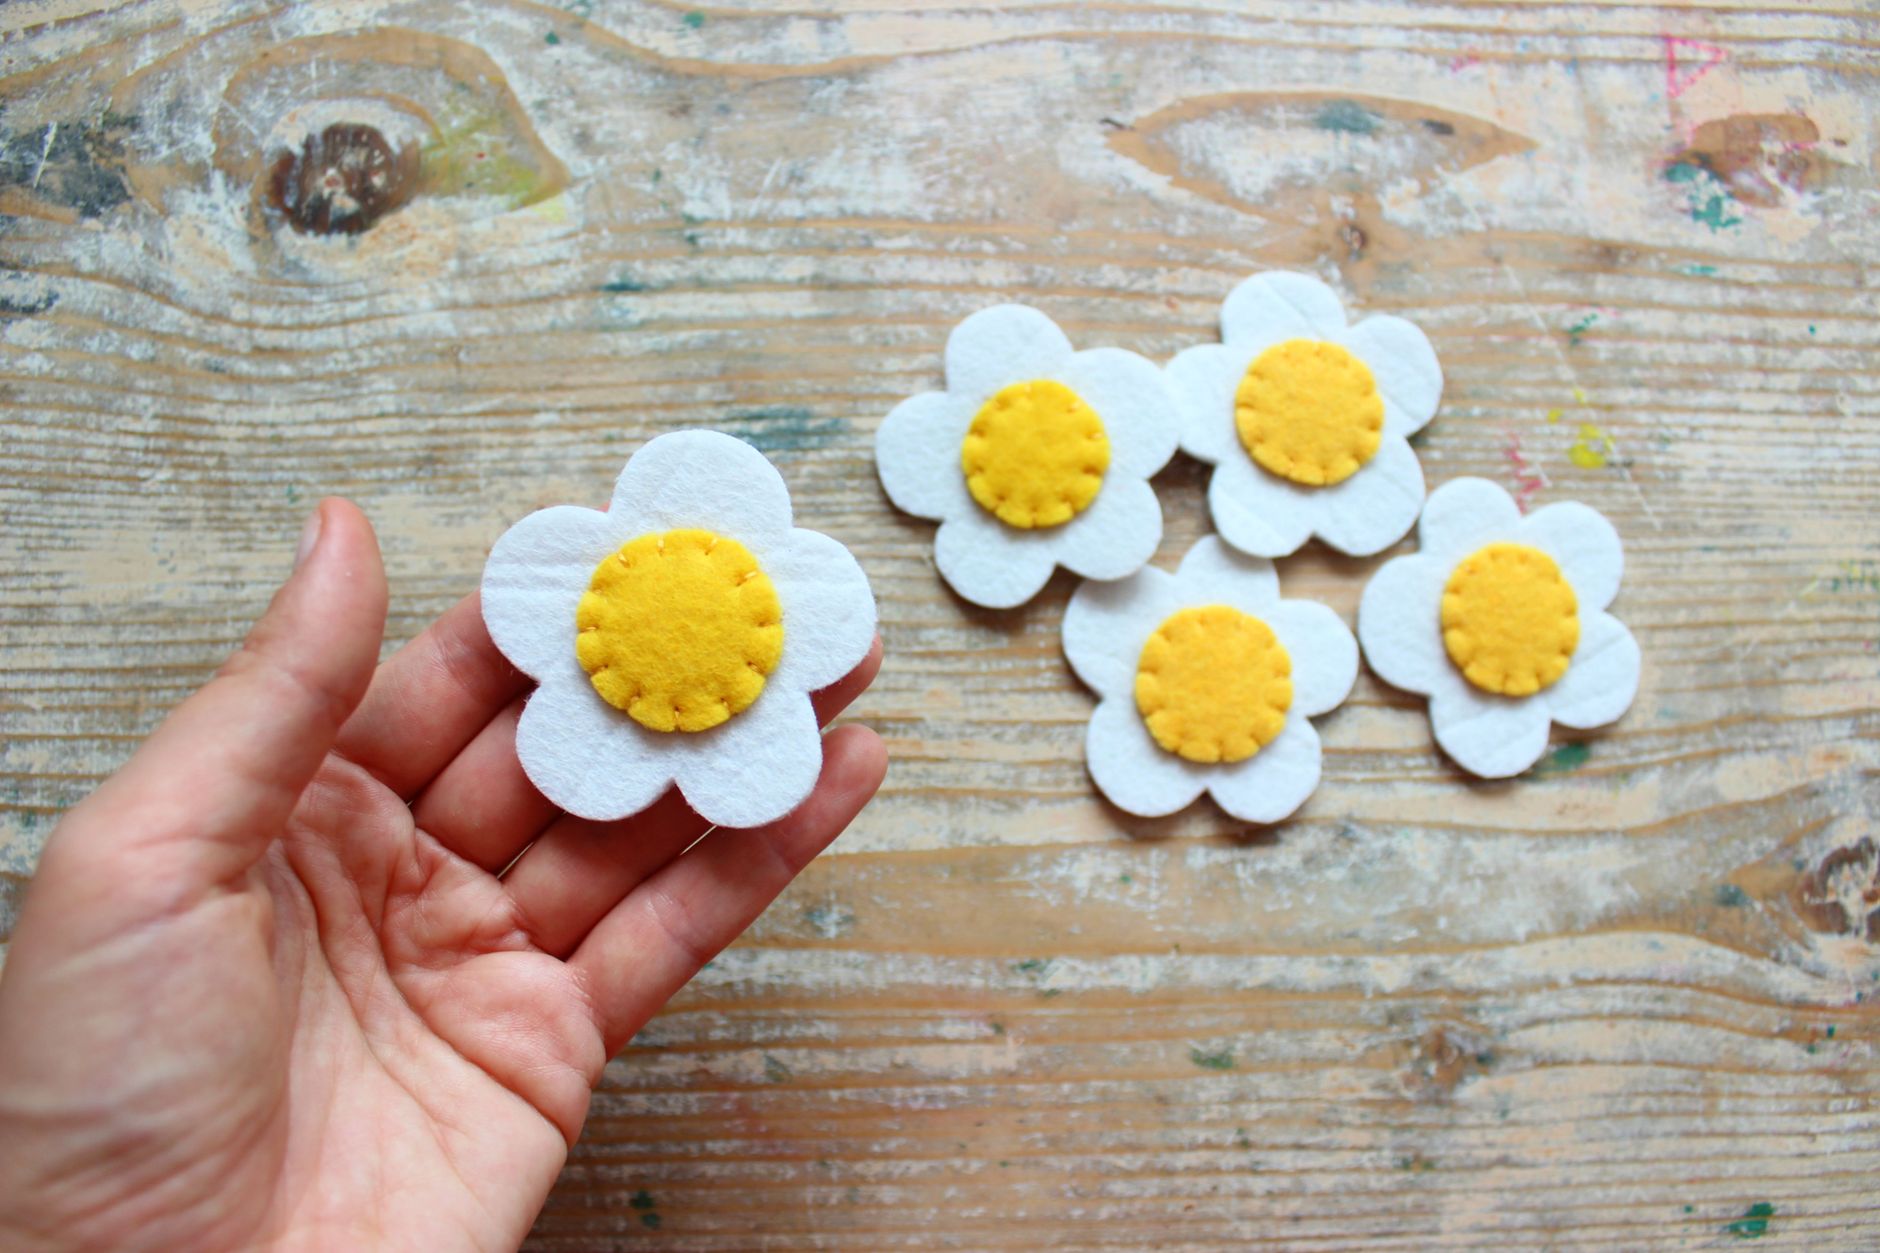
- Cut a small accent piece. From your second colour, cut a smaller shape — a circle, a tiny triangle, a stripe — to sit on top of the main shape. This is where personality creeps in. A little circle off-centre looks intentional; dead centre looks like a target.
- Pin the accent to the front piece. Line it up where you want it and secure it with one or two pins. Check from a few angles. Once you start stitching, repositioning gets messy.
- Thread your needle and knot the end. Cut about 50 cm of floss. Separate two strands from the six if you’re using embroidery floss — any more and the stitches look bulky. Knot one end with a double knot.
- Stitch the accent down with a running stitch. Bring the needle up through the back, then push it down a few millimetres along. Come back up just ahead of where you went down. Keep the stitches even — roughly the width of a grain of rice. This is the rhythm of hand sewing, and it becomes soothing fast.
- Add a few decorative stitches. Try three tiny French knots clustered on one side, or a simple cross stitch. If French knots feel fiddly, two straight stitches in a V shape look just as charming. This step is optional but it’s what makes people ask where you bought it.
- Stack the front and back felt pieces. Place them wrong sides together — meaning the neat side of your stitching faces out. Pin around the edges, leaving a small gap at the bottom.
- Blanket stitch or whip stitch the edges together. A whip stitch is easier for beginners: push the needle through both layers about 3 mm from the edge, bring it over the top, and repeat all the way around. Keep the stitches close and even. Stop when you’re 2 cm from where you started.
- Stuff a tiny amount of polyester filling through the gap. Just a pinch — enough to give the brooch a soft dome, not a pillow. A cotton ball pulled apart works beautifully too. Use the blunt end of a pencil to push it into the corners.
- Stitch the gap closed. Continue your whip stitch across the opening. Knot the thread on the back and trim the tail close to the knot.
- Sew on the brooch pin. Turn the brooch over. Centre the pin back horizontally across the middle and stitch it down with four or five small stitches through the holes on each end. Use doubled thread for strength. If you’re using a safety pin, stitch a small felt strip over the bar to hold it in place.
- Give it a final press. Lay the brooch face down on a towel and press gently with a warm iron for a few seconds. This smooths any wrinkles and helps the felt fibres settle.
Beginner Tips
The biggest mistake I see first-timers make is cutting the template too small. Felt shrinks visually once it’s stitched and stuffed, so cut your shape about 1 cm larger than you think you need. Another common trap: pulling the thread too tight. Tension is everything with hand sewing. If your felt puckers, you’re tugging like you’re hauling a rope. Let the thread lie flat against the surface and only snug it gently.

Don’t skimp on pinning. Pins feel like a hassle until the moment your layers shift and your beautiful even stitches suddenly wander off the edge. Pin every 2 cm around the perimeter, and pin the accent piece in at least two places.
Here’s the counter-intuitive part: your first brooch should not be your best one. Make it quickly, make it slightly wonky, and wear it anyway. The second one will be neater because your hands already know the motions. Perfectionism kills momentum in crafting.
Creative Variation
Turn the brooch into a tiny pocket mirror cover. Instead of a pin back, cut a piece of card to the same shape, glue a small round mirror to it, and stitch the felt cover around it like a little envelope. Or — my favourite — make a set of three graduated circles and stack them into a felt flower with a button centre. The same fifteen steps apply; you’re just changing the silhouette. Once you’ve made one, you’ll see shapes everywhere: a leaf from the garden, a star from a Christmas card, your dog’s floppy ear. Felt is cheap enough to experiment fearlessly.
Troubleshooting
My stitches are uneven. That’s normal on a first attempt. Draw a faint line with chalk where you want the stitches to go and follow it. The chalk rubs away or brushes off.
The felt edges look fuzzy. Wool-blend felt fuzzes less than acrylic, but a light trim with sharp scissors after stitching cleans up most of it. Run the blade along the edge at a slight angle.
My thread keeps knotting. You’re using too long a piece. Cut it to 40 cm and knot the end again. Also, let the needle dangle every few stitches so the thread untwists itself.
The brooch pin won’t stay flat. You’ve probably stitched through only one hole. Check that both ends of the pin bar are secured with at least three stitches each, and use doubled thread.
The stuffing is lumpy. Pull the filling apart into small tufts before pushing it in. One big clump always shows through as a bump. Less is more — a thin, even layer beats a handful.
There’s something quietly satisfying about a craft you can finish before your tea goes cold. This felt brooch asks almost nothing of you — a few scraps, a needle, and the willingness to make something slightly imperfect. Pin it to your coat, your bag, or a plain cushion, and notice how often someone asks about it. Then make another one, because now you know exactly how. And if you get stuck, send me a photo — I’ve untangled more felt knots than I can count, and yours won’t be the first that needed a second pair of eyes.