Polymer Clay Earrings: Beginner DIY Guide for Bold Style
Polymer Clay Earrings: A Gentle First Project for Bold, Handmade Style
Making your own earrings feels like a small act of magic. You mix colour, shape, and a little patience, and suddenly you’re wearing something no one else owns. This project is forgiving, inexpensive, and perfect for a rainy afternoon. You’ll learn a skill that keeps giving — and you’ll end up with jewellery that sparks conversation. Ready to play with your hands?
Materials List
- Polymer clay — any brand works, but start with a soft one like Sculpey III or Fimo Soft. You’ll need about 50g per pair.
- Acrylic roller or a smooth glass bottle — for flattening the clay without a pasta machine.
- Earring posts or hooks — surgical steel or hypoallergenic options are kindest to ears. You can also reuse old earrings by snipping off the dangling part.
- Jump rings (if using hooks) — 4mm or 5mm, plus flat-nose pliers.
- Baking surface — a ceramic tile or glass dish. Never bake directly on a metal tray; it conducts heat unevenly.
- Oven thermometer — cheap and vital. Your oven lies about its temperature.
- Fine sandpaper (400 grit) or a nail buffer — to smooth edges after baking.
- Small cookie cutters or a craft knife — for shapes. Even a drinking straw works for circles.
- Toothpicks or a needle — for poking holes before baking.
- Gloss or matte varnish — optional, but a drop of liquid clay or specialised glaze adds a professional finish.
Step-by-Step
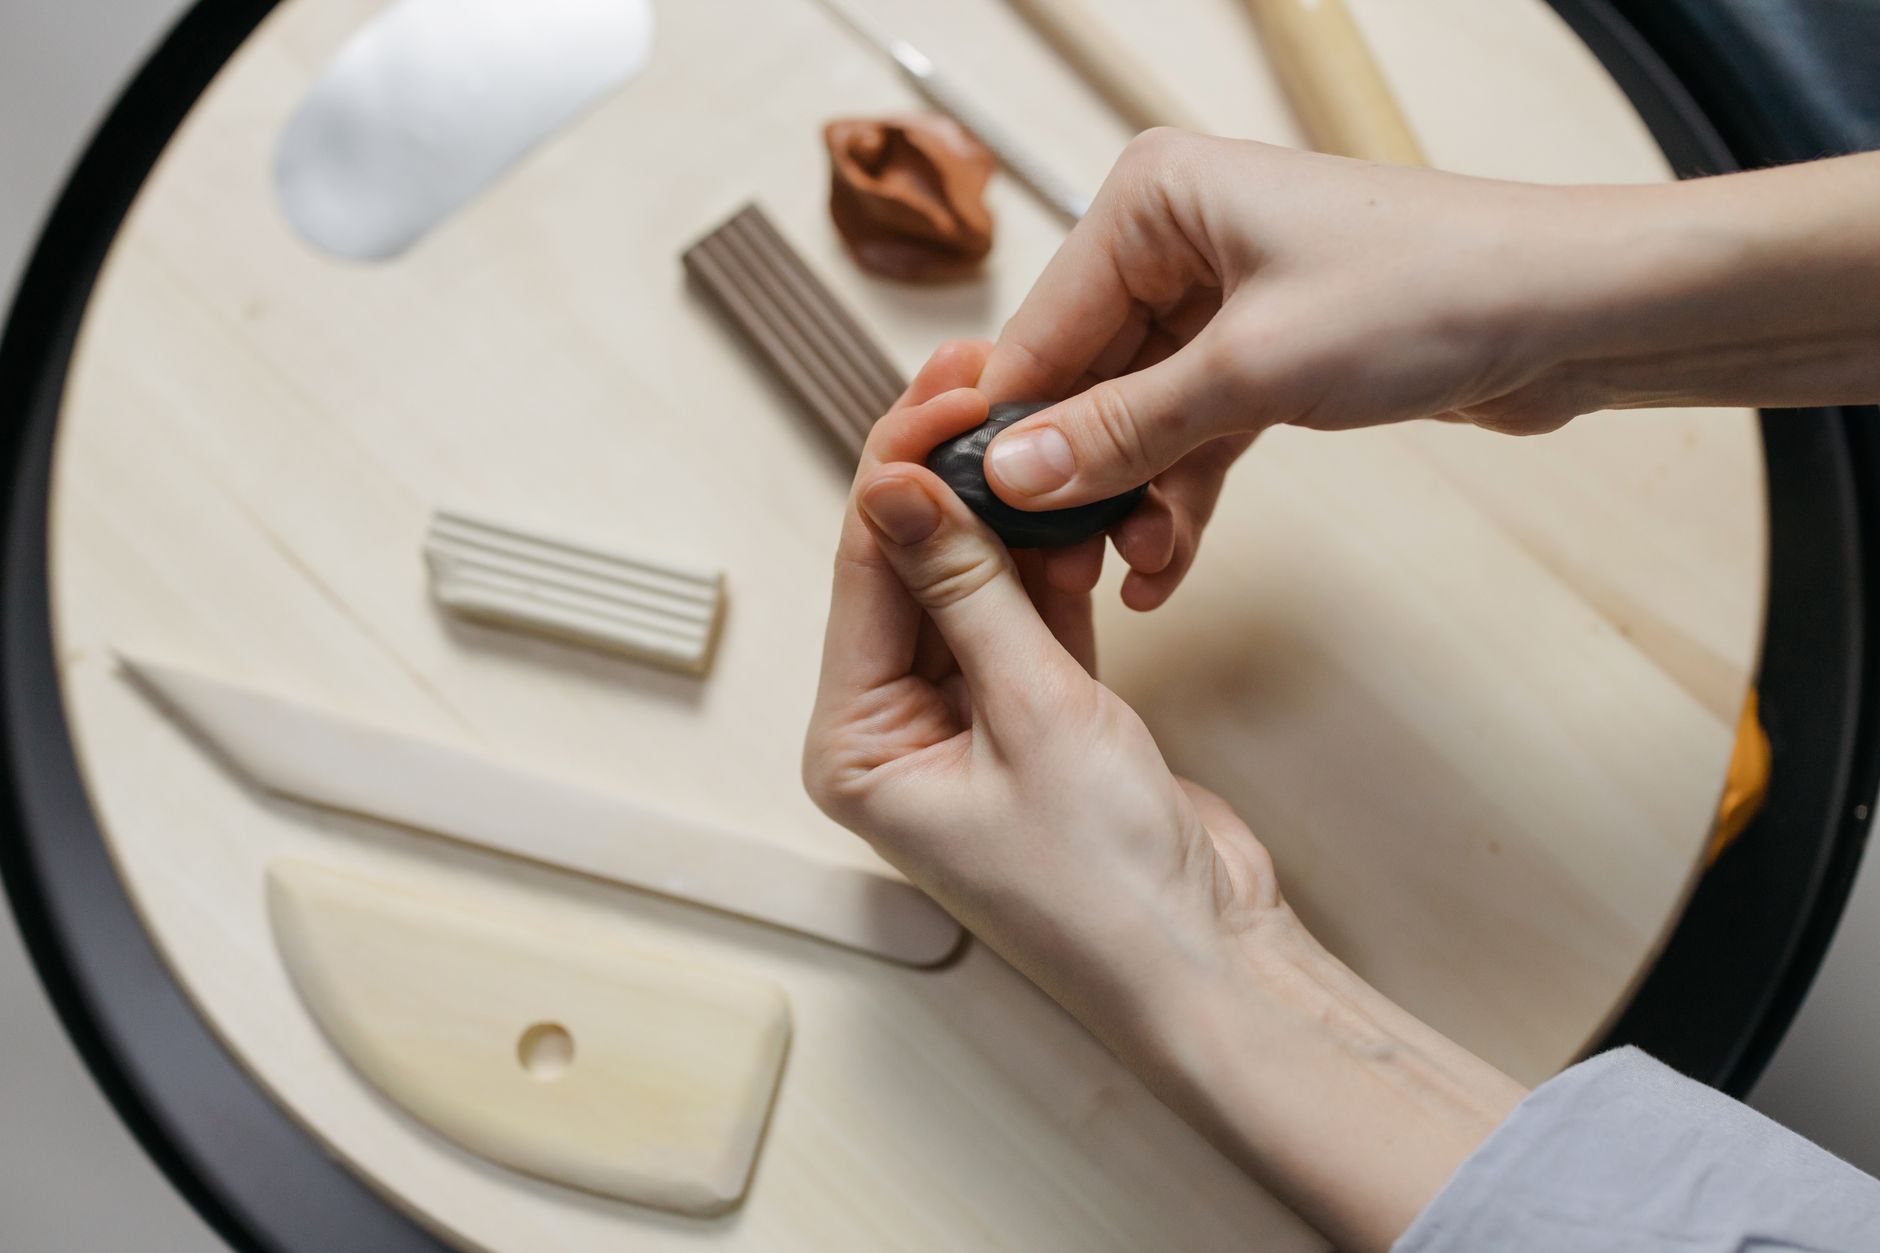
- Condition your clay. Break off a piece the size of a walnut. Roll it in your palms until warm, then flatten it with your fingers. Fold it in half, roll again. Repeat for two full minutes. This softens the plasticisers and prevents cracking. If it crumbles, your hands are too cold — rub them together first.
- Roll out a flat sheet. Place the conditioned clay between two sheets of baking paper. Use your roller to press it to an even 3-4mm thickness. Not thinner — thin clay becomes flimsy earrings that snap. Check the edges; they should look uniform, not ragged.
- Cut your shapes. Press your cookie cutter or knife straight down. Don’t twist. Twist only drags the clay and leaves rough edges. For freehand shapes, draw a light line with a needle, then cut along it. You need two identical pieces per pair — trace the first shape as a template for the second.
- Smooth every edge. Run your finger around the cut edge, gently pressing inward. This removes the tiny ridge that forms when cutting. Pay attention to corners; they should feel soft, not sharp. A wet fingertip helps — dip it in water, then glide along the clay.
- Create the hole. Position it 3-5mm from the top edge. Push a toothpick straight through, then wiggle it slightly to widen the hole. Twist the pick as you pull it out. Do this before baking, because you cannot drill cleanly afterwards. For hooks, the hole needs to fit a jump ring; for posts, it should be snug around the post itself.
- Bake according to the clay’s instructions. Most polymer clays cure at 110°C (230°F) for 30 minutes per 6mm thickness. Place your earrings on the ceramic tile. Put the tile in a cold oven, then set the temperature. This prevents thermal shock. Always use your oven thermometer — trust it over the dial. Set a timer, but check at 20 minutes; thin pieces sometimes cure faster.
- Cool completely. Do not touch them for at least 20 minutes. Hot clay is soft — you’ll leave fingerprints that bake into place. Let them rest on the tile, away from drafts.
- Sand and polish. Once cool, run the fine sandpaper over the edges and any flat spots that look dull. A few gentle strokes do more than heavy pressure. Wipe off the dust with a soft cloth.
- Add a finish (optional). Dip a brush into liquid clay or a dedicated polymer glaze. Brush on a thin, even coat. This seals the surface and gives a satin or glossy shine. Bake again for 10 minutes at the same temperature — check your glaze’s label first.
- Attach the findings. For hooks, open a jump ring with your pliers — pull sideways, never stretch it open. Thread the jump ring through the earring hole, then through the hook’s loop. Close it firmly. For posts, apply a drop of strong jewellery glue to the flat pad, press it onto the back of the earring, and let it cure for 24 hours. Give the glue time to hold.
[IMAGE: A photo showing two pairs of finished polymer clay earrings — one pair in speckled terracotta, shaped like small leaves, another in pastel blue circles with a glossy finish — resting on a marble tile next to a toothpick and a small jar of jump rings.]
Beginner Tips
Your first pair won’t be perfect. That’s the point. The biggest mistake is rushing the conditioning step — skip it and your clay will crack in the oven. Another trap? Making your shapes too thin. You want a satisfying weight, not paper-thin discs that flop. Also, never bake clay in the same oven as food. The fumes are harmless in small amounts, but you don’t want clay residue on your dinner. And here’s a weird one: don’t use a metal cookie cutter straight from the drawer. Wash it first — any grease or oil leaves bald spots on your clay. Finally, resist the urge to poke the hole after baking. You’ll chip the edge, and chipped clay is impossible to fix without sanding everything down.
Creative Variation
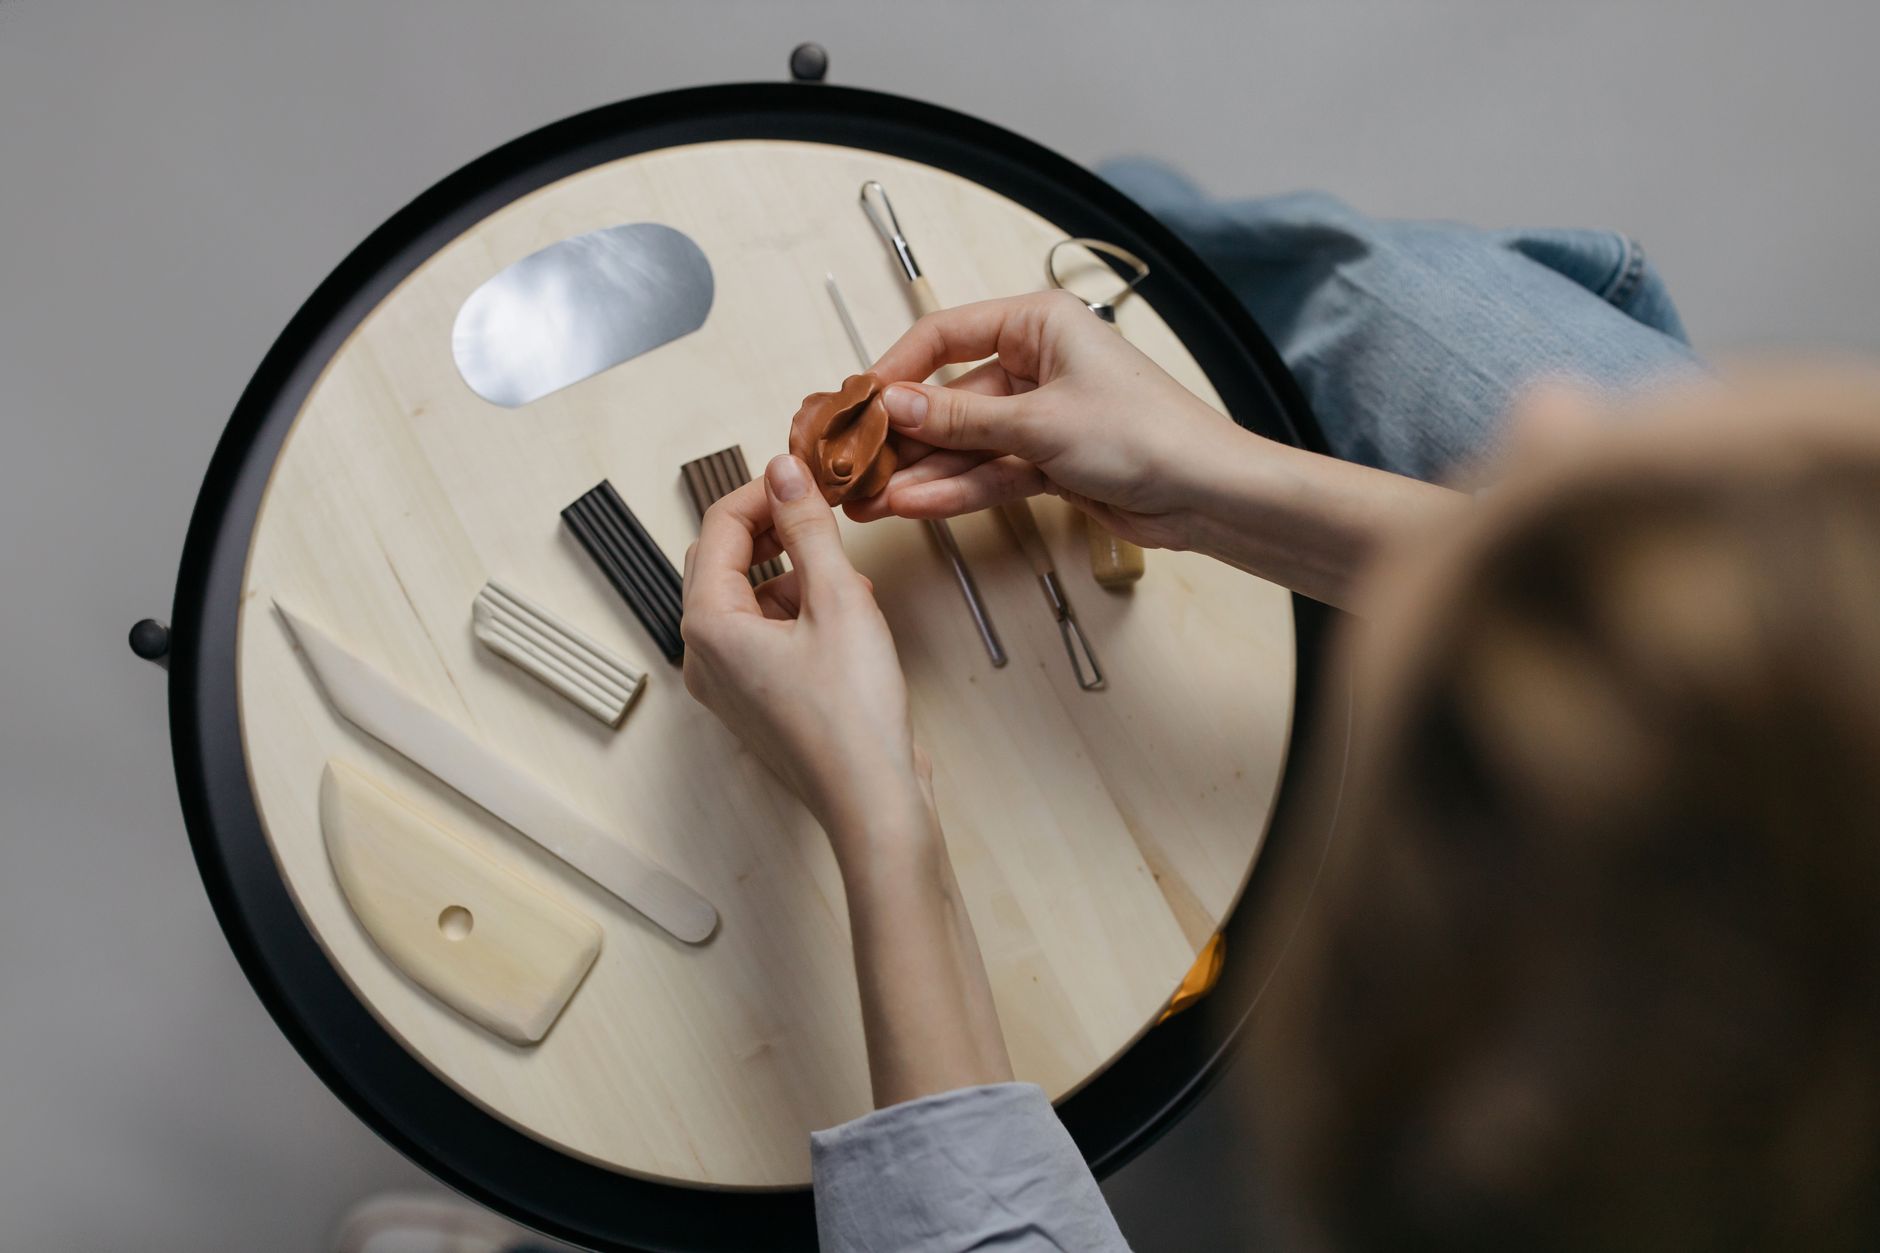
Instead of flat shapes, try a marbled effect. Roll two different colours into snakes, twist them together, then fold and roll until you see soft swirls. Don’t overmix — you want distinct veins, not mud. Or press a piece of textured fabric — lace, a doily, even a leaf — onto the clay before cutting. The pattern transfers like a secret. For an even easier twist, use a clay extruder to make long ropes, coil them into spirals, and bake those. You don’t need a single cookie cutter. What would happen if you used a button as a stamp? Try it.
Troubleshooting
Clay crumbles when you roll it. It’s too dry. Add a drop of mineral oil or specialised clay softener, knead for a minute. Don’t use water — it evaporates and leaves streaks.
Earrings come out with brown spots after baking. You’ve scorched them. The oven ran too hot, or they sat too close to the heating element. Sand away the spots gently, then rebake at a lower temperature for a shorter time.
Holes closed up during baking. You made them too small. After baking, use a hand drill or a sharp needle to carefully re-open the hole. If that fails, glue a jump ring to the back instead — no hole needed.
The glaze looks bubbly. You applied it too thickly, or you baked the glaze too long. Sand it off with fine paper and start again, this time with a whisper-thin coat.
Your earrings are slightly bent. They cooled unevenly. Place them flat between two tiles while they cool, or gently reshape them while they’re still warm — but only after they’ve firmed up for 10 minutes.
There’s a quiet joy in wearing something you shaped with your own hands. The first pair might sit crooked, the glaze might pool in one corner, but that’s how every maker starts. Each attempt teaches you something new about the way clay responds, the way your fingers find rhythm. Keep your first pair even if they’re imperfect — they’ll be your benchmark. And when you make your tenth pair, you’ll look back and smile at how far you’ve come. So gather your clay, clear a small space, and let your hands lead. You’re only one batch away from a new obsession.