Polymer Clay Bowl Tutorial: Easy No-Kiln DIY
Turning a lump of clay into a bowl that looks boutique-worthy? Deeply satisfying. This project suits a rainy afternoon, a craft night with friends, or a quiet moment when you just need to make something with your hands. No kiln. No pottery wheel. No years of experience. Just patience and a willingness to get your fingertips dusty. Trust me, the result is worth every minute.
Materials List
- Polymer clay — any brand works. Premo, Sculpey III, or Fimo are all great. Air-dry clay works too, but the baking process and final feel differ. It’s more fragile and not food-safe.
- A small oven-safe bowl — this is your mold. A ramekin, a small ceramic prep bowl, or even a glass custard cup works beautifully. Avoid anything with a non-stick coating, as the clay can pick up weird textures. A smooth surface is your friend.
- Parchment paper — for lining your baking sheet and for placing between the clay and your mold if you’re worried about sticking.
- A craft knife or a tissue blade — for trimming excess clay. A sharp paring knife from the kitchen works in a pinch, but be careful.
- Your hands — the best tools you own. Warm them up by rubbing them together. Cold hands make clay stiff.
- A rolling pin or an acrylic brayer — to flatten the clay. A smooth glass bottle works if you don’t have one.
- Optional: acrylic paint or liquid clay — for adding details or a glossy finish. A little bit of cornstarch or baby powder can keep the clay from sticking to your mold.
Step-by-Step
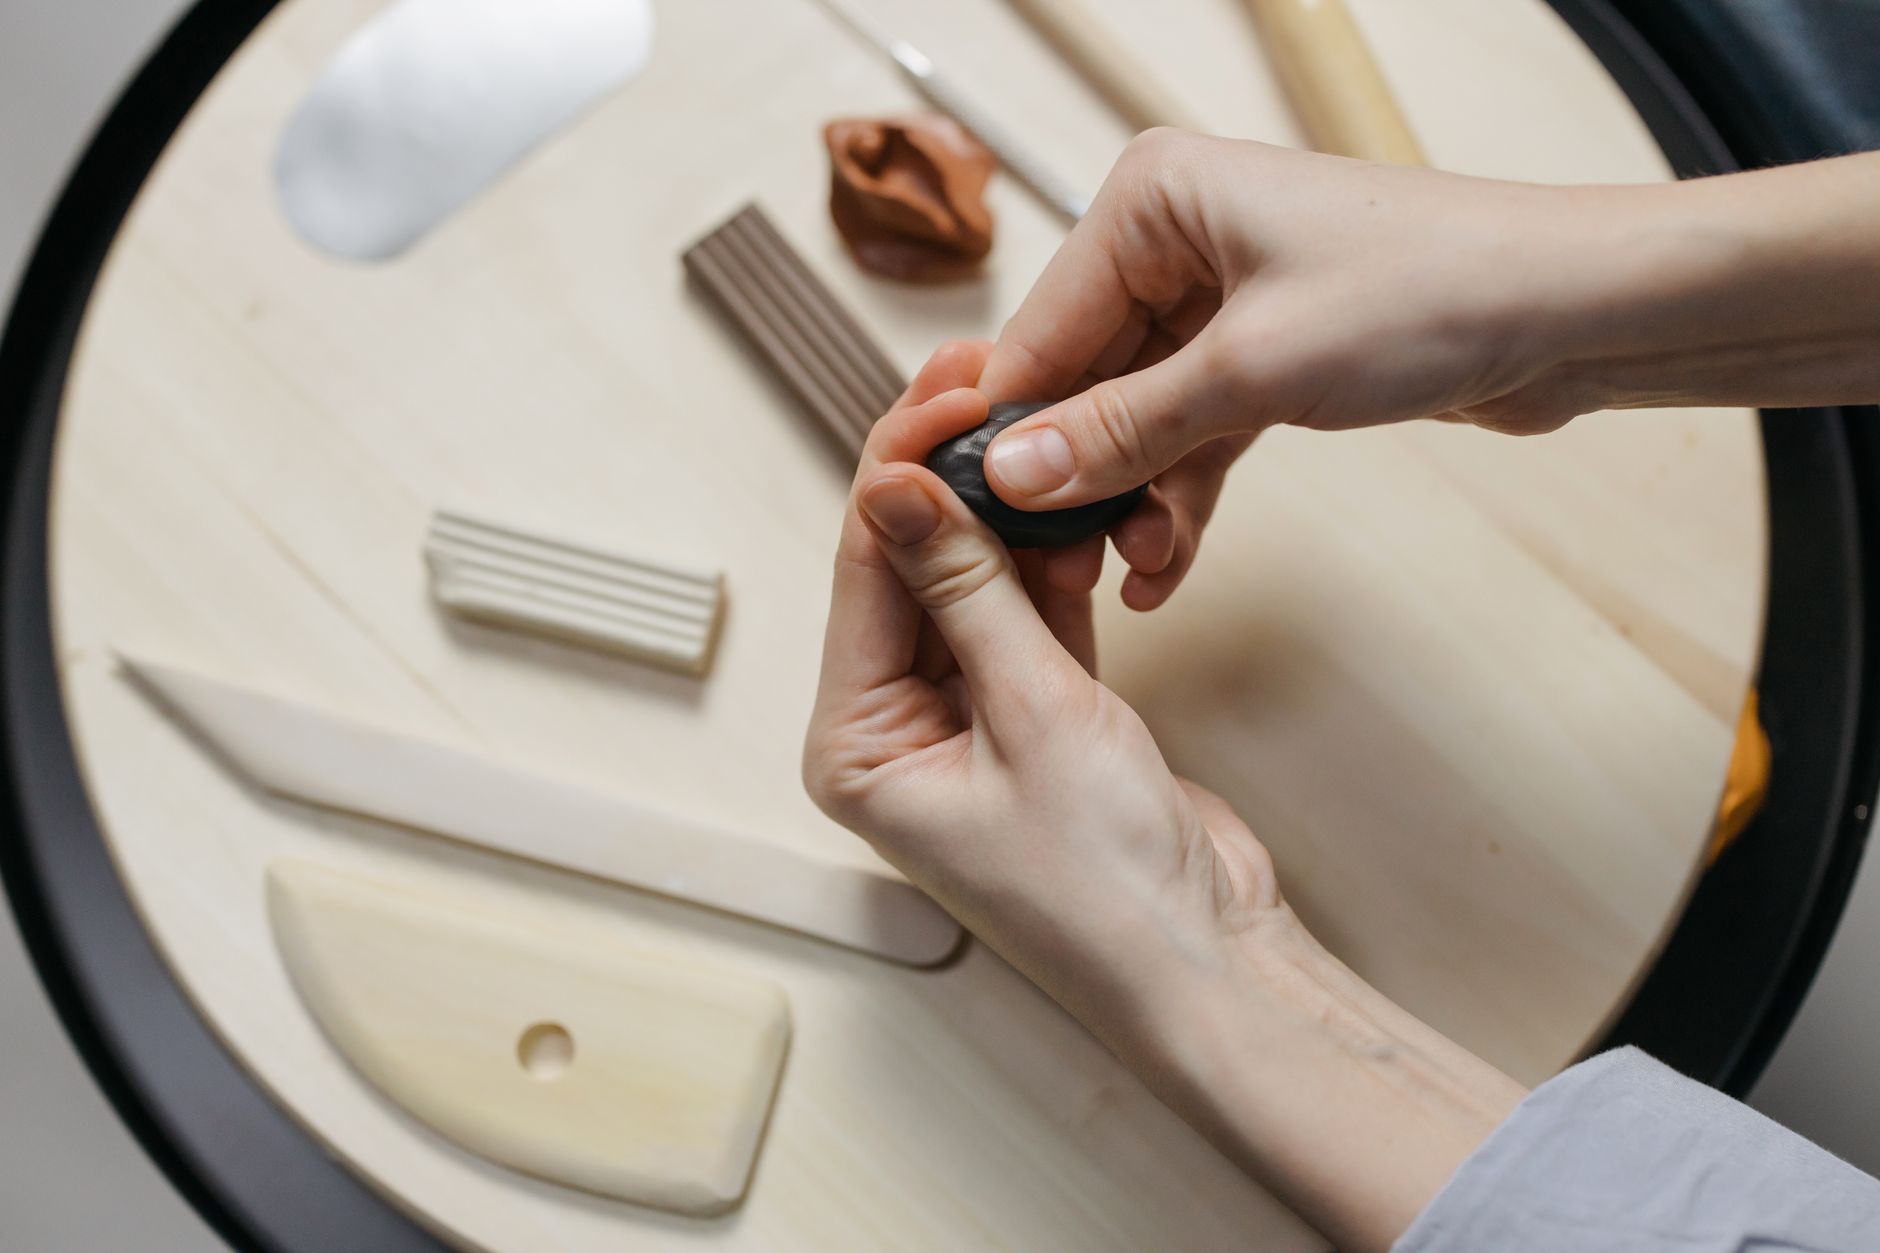
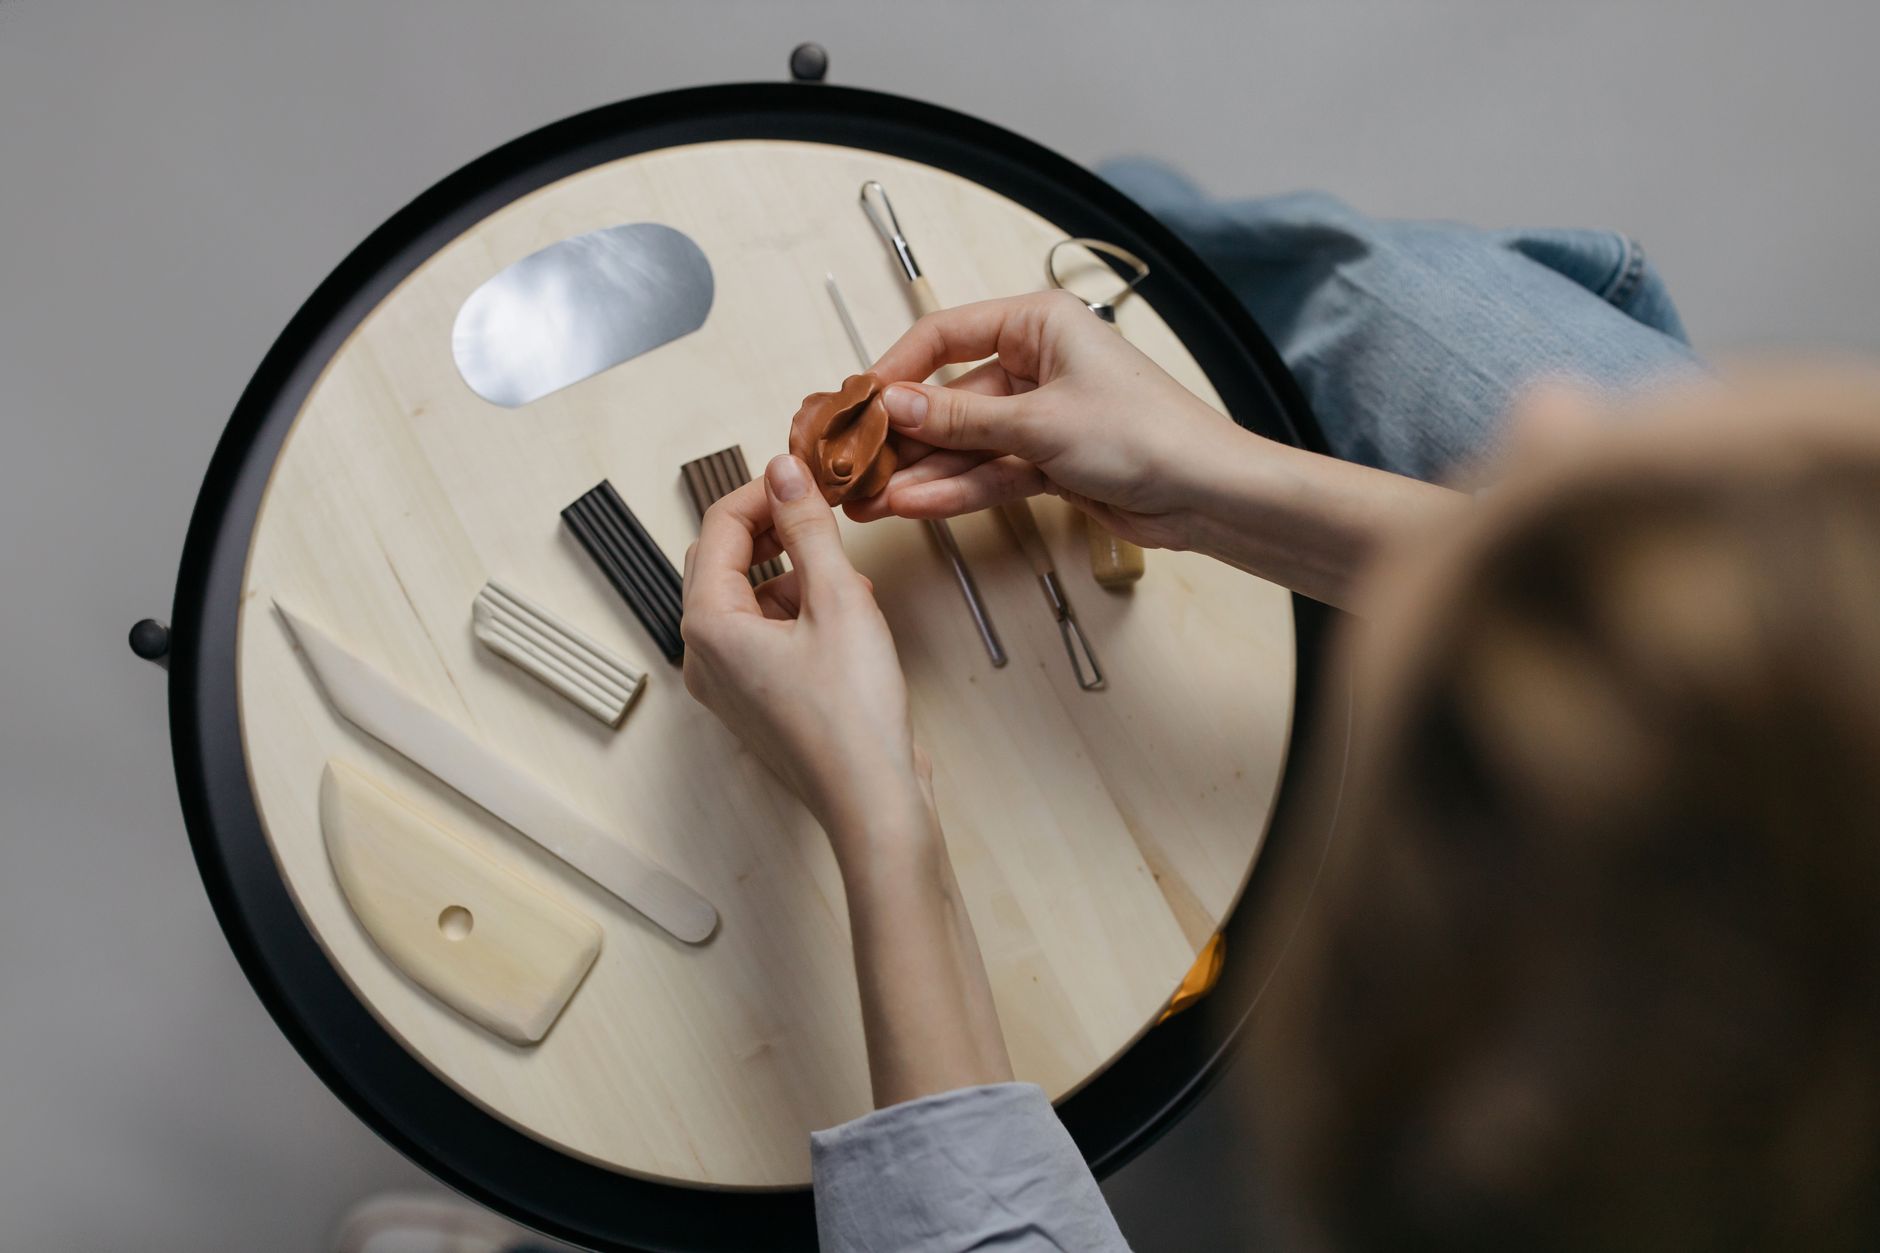
- Condition the clay. Take a block of clay about the size of a walnut. Knead it in your hands for a full two minutes. It will feel crumbly and stiff at first. That’s normal. Keep squeezing, rolling, and folding. Soon it will become smooth and pliable, like a soft cookie dough. This step is non-negotiable. Skipping it leads to cracks later.
- Roll it flat. Place the clay between two sheets of parchment paper. Roll it out to about 1/8 inch (3mm) thick. Too thin and your bowl will be flimsy. Too thick and it won’t drape nicely over the mold. Aim for the thickness of a pound coin.
- Cut a circle. Use your mold as a guide. Place the mold upside down on the clay and trace around it with your knife, adding about an inch of extra clay all the way around. So if your mold is 3 inches wide, cut a 5-inch circle. That extra clay becomes the sides of your bowl.
- Center the clay over the mold. Flip your mold upside down. (You’re draping the clay over the bottom of the bowl, not pressing it inside.) Lightly dust the outside of the mold with cornstarch or baby powder. Lay your clay circle centered on the mold’s bottom.
- Drape and press. Starting from the center, gently press the clay down and out over the curves of the mold. Work slowly. Use the pads of your fingers, not your nails. You want the clay to hug the shape without stretching or tearing. If it tears, just press the edges back together. Polymer clay is forgiving.
- Trim the edges. Once the clay is draped, use your knife to trim the excess around the rim. You can leave a slightly wavy edge for a rustic look, or cut a clean line. Hold the knife at a slight angle pointing outward to get a thinner rim.
- Smooth the surface. Dip your finger in a tiny bit of water or just use your warm fingertip to smooth out any fingerprints or bumps. A little bit of circular motion works wonders. Don’t overwork it, though. You don’t want to thin the clay.
- Bake it. Place the mold with the clay bowl still on it onto a parchment-lined baking sheet. Bake according to your clay package instructions. Usually that’s 275°F (135°C) for 15 to 20 minutes per 1/4 inch of thickness. Since your bowl is thin, 20 minutes is plenty. Let it cool completely in the oven with the door cracked open. This prevents cracking from sudden temperature changes.
- Remove the mold. Once cool, gently flex the mold. The bowl should pop right off. If it sticks, a little twist usually does the trick. Don’t force it. If it’s really stuck, pop it in the freezer for five minutes. The clay will contract slightly and release.
- Finish it. You can leave your bowl matte and natural. Or you can buff it with a soft cloth to bring out a subtle shine. For a glossy look, brush on a thin layer of liquid clay and bake again for five minutes. Or use an acrylic varnish. Let it dry completely before using.
Beginner Tips
The biggest mistake I see? People rush the conditioning step. They pull cold clay straight from the package, roll it out, and wonder why it cracks along the rim. Knead it longer than you think you need to. Another common trap is baking on a dark metal pan. Dark pans absorb heat and can scorch the bottom of your bowl. Stick with light-colored aluminum or line your pan with parchment. Also, don’t try to remove the bowl from the mold while it’s still warm. It will warp. I know it’s tempting. Wait. And one more thing: your first bowl will probably look a little lumpy. That’s not a failure. That’s a handmade object. Nobody wants a bowl that looks like it was stamped out by a machine.
Creative Variation
Here’s a counter-intuitive idea: don’t try to make your first bowl perfect. Instead, embrace the wonky edges and uneven thickness. That’s where the charm lives. But if you do want to push your skills, try the “mokume gane” technique. Stack thin sheets of different colored clay, press a small object (like a pen cap or a fork tine) into the stack, then slice the whole thing crosswise with your tissue blade. You’ll get these beautiful, organic swirls that look like wood grain or marble. Drape that patterned sheet over your mold. It’s stunning, and it looks way harder than it actually is. You can also press lace, leaves, or textured rubber stamps into the clay before baking for a raised pattern.
Troubleshooting
My bowl cracked during baking. This usually means the clay was too thick in some spots or you baked it too hot. Next time, roll more evenly and double-check your oven temperature with an oven thermometer. Ovens lie.
The clay stuck to the mold. You forgot the cornstarch. Or you used a mold with a rough texture. Next time, dust generously. If it’s already stuck, try the freezer trick mentioned above.
My bowl is floppy and won’t hold its shape. You rolled it too thin. Aim for 1/8 inch. If it’s already baked, you can’t fix it. But you can turn it into a decorative saucer or a coaster instead.
The surface is lumpy and uneven. You didn’t smooth it enough before baking. After baking, you can sand it with fine-grit sandpaper (400 to 600 grit) under running water. Then buff it with a soft cloth. It won’t be perfect, but it will be better.
My bowl smells funny after baking. A little plasticky smell is normal. It fades after a day or two. If it smells burnt, you baked it too long. Next time, reduce the time by five minutes.
So there you have it. A polymer clay bowl that’s uniquely yours. Will it be perfect? Probably not. Will it be useful for holding rings, paper clips, or a single perfect strawberry? Absolutely. And the next one will be even better. That’s the thing about making things with your hands. You learn as you go. You improve. You make a few bowls that end up as cat toys or paperweights. And then one day, you pull a bowl out of the oven that makes you stop and say, “I made that.” That moment is worth all the dusty fingertips in the world. Now go warm up some clay.