Clay Flower Making Tutorial for Beginners
There’s something quietly magical about a flower that never wilts. No water to remember. No petals dropping on the windowsill. Just a little bloom you made with your own hands, sitting there looking lovely. I’ve taught this clay flower workshop to absolute beginners, teenagers, and once a room of slightly sceptical accountants. Every single time, someone holds up their finished flower and beams. That’s the whole point. You don’t need talent. You need clay, a bit of patience, and about an hour.
These blooms make brilliant gifts, cake toppers, brooch pins, or tiny magnets for the fridge. Make a handful in different colours and you’ve got a bouquet that lasts forever.
Materials List
- Air-dry clay — the star of the show. I like a fine white air-dry clay because it takes paint beautifully. If you’d rather bake your flowers, polymer clay (Fimo or Sculpey) works just as well. Salt dough is the budget option but it cracks more easily.
- A rolling pin — a small acrylic one is ideal, but a clean glass bottle or even a smooth jar does the job.
- A craft knife or scalpel — for cutting petal shapes. A butter knife will work in a pinch, though it drags the clay a bit.
- Petal cutters (optional) — you can absolutely cut petals freehand. Rounded teardrop shapes are the goal, and a small circle cutter or a bottle cap helps.
- A ball tool or the rounded end of a paintbrush — for softening petal edges and cupping the shapes.
- A toothpick or skewer — for adding texture veins and for poking a hanging hole.
- A foam pad or a folded towel — soft surface for shaping petals without flattening them.
- Floral wire and tape — if you want stems. Skip this for flat flowers.
- Acrylic paint and a small brush — for details and shading.
- A little water and a small dish — to smooth joins and stop cracks.
Missing something? Don’t panic. Half of my students make their first flower with nothing but clay, a toothpick, and their fingers. That’s genuinely enough.
Step-by-Step
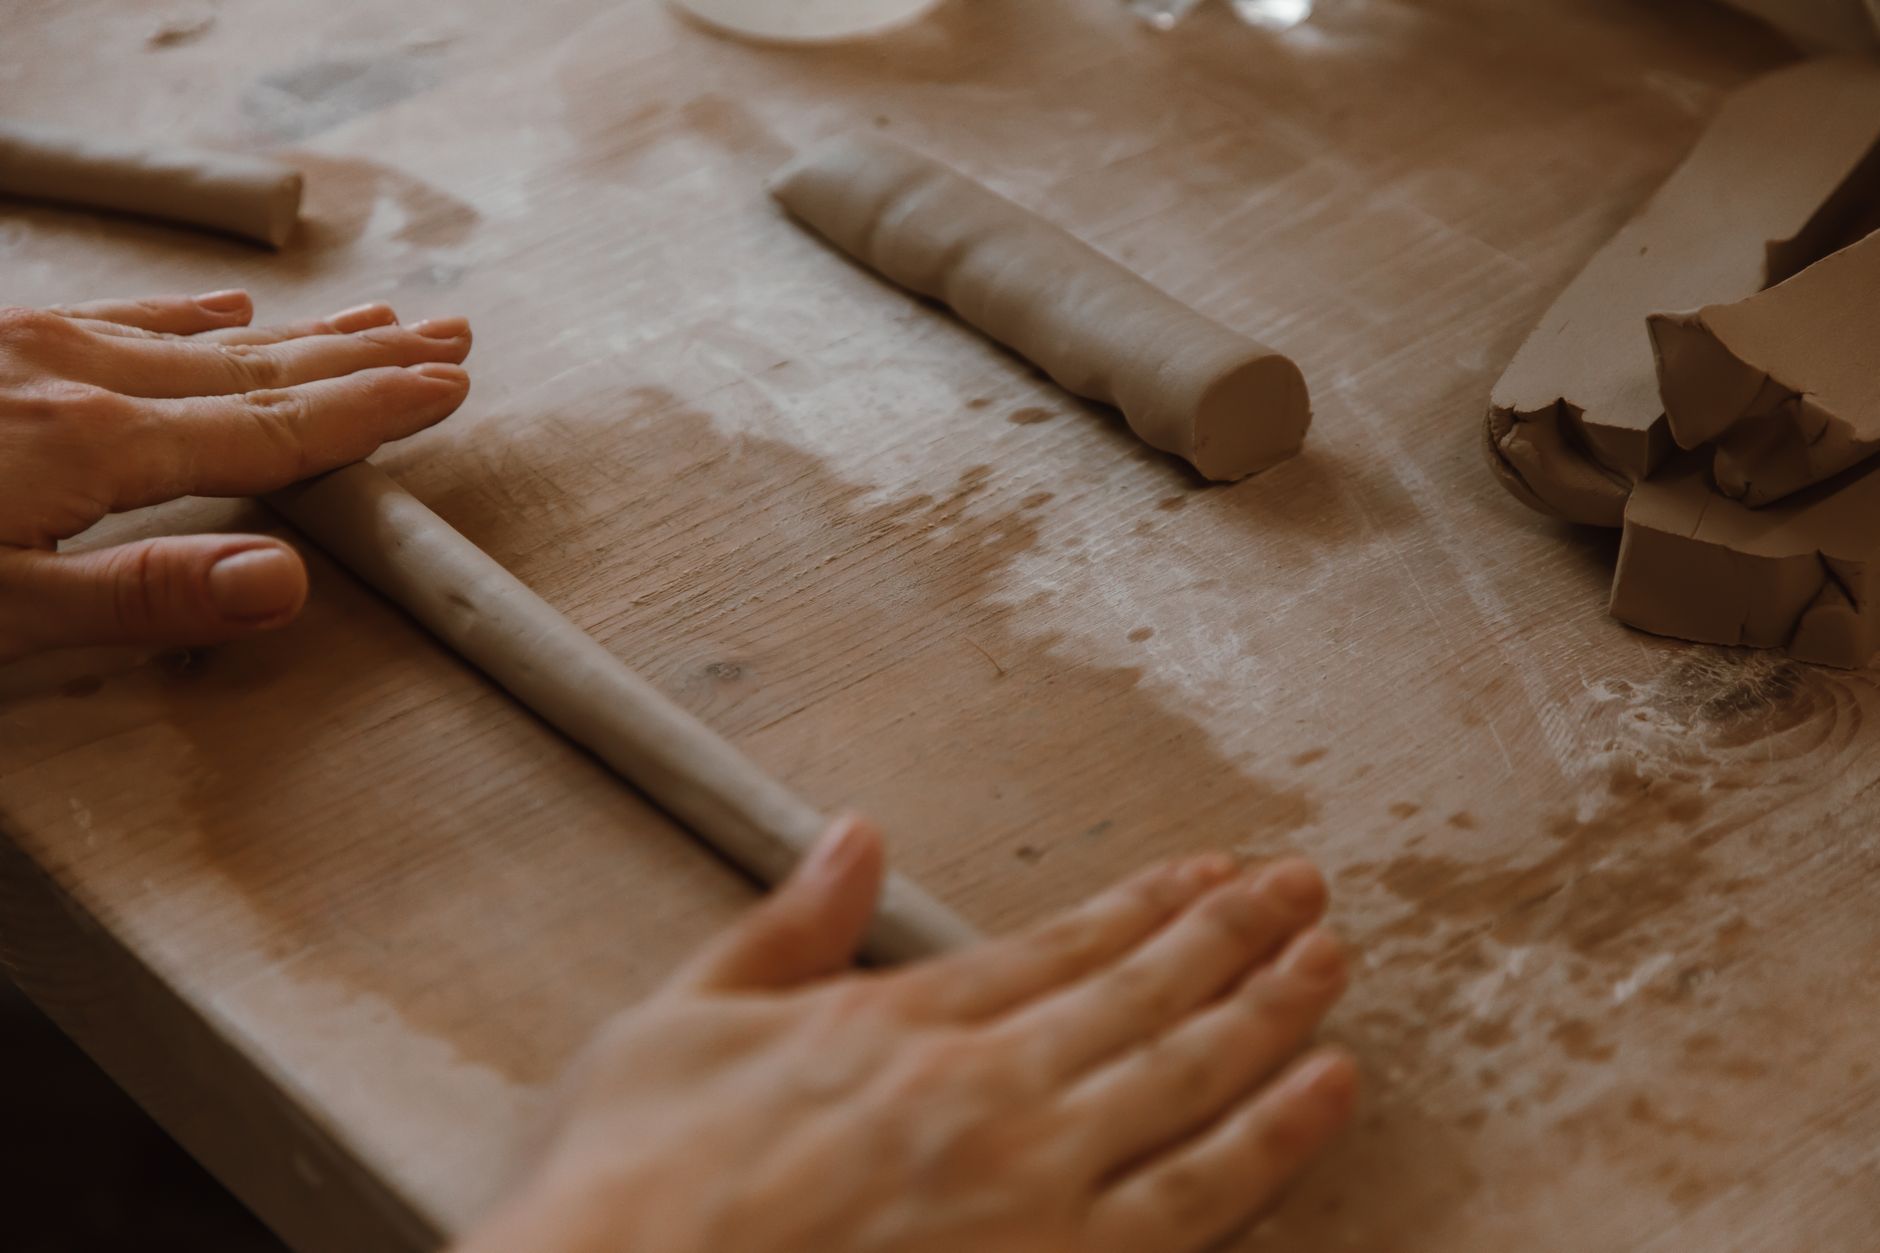
- Warm the clay. Break off a lump about the size of a walnut. Knead it in your hands for a minute until it feels soft and smooth, like warm plasticine. Cold clay cracks. Warm clay behaves.
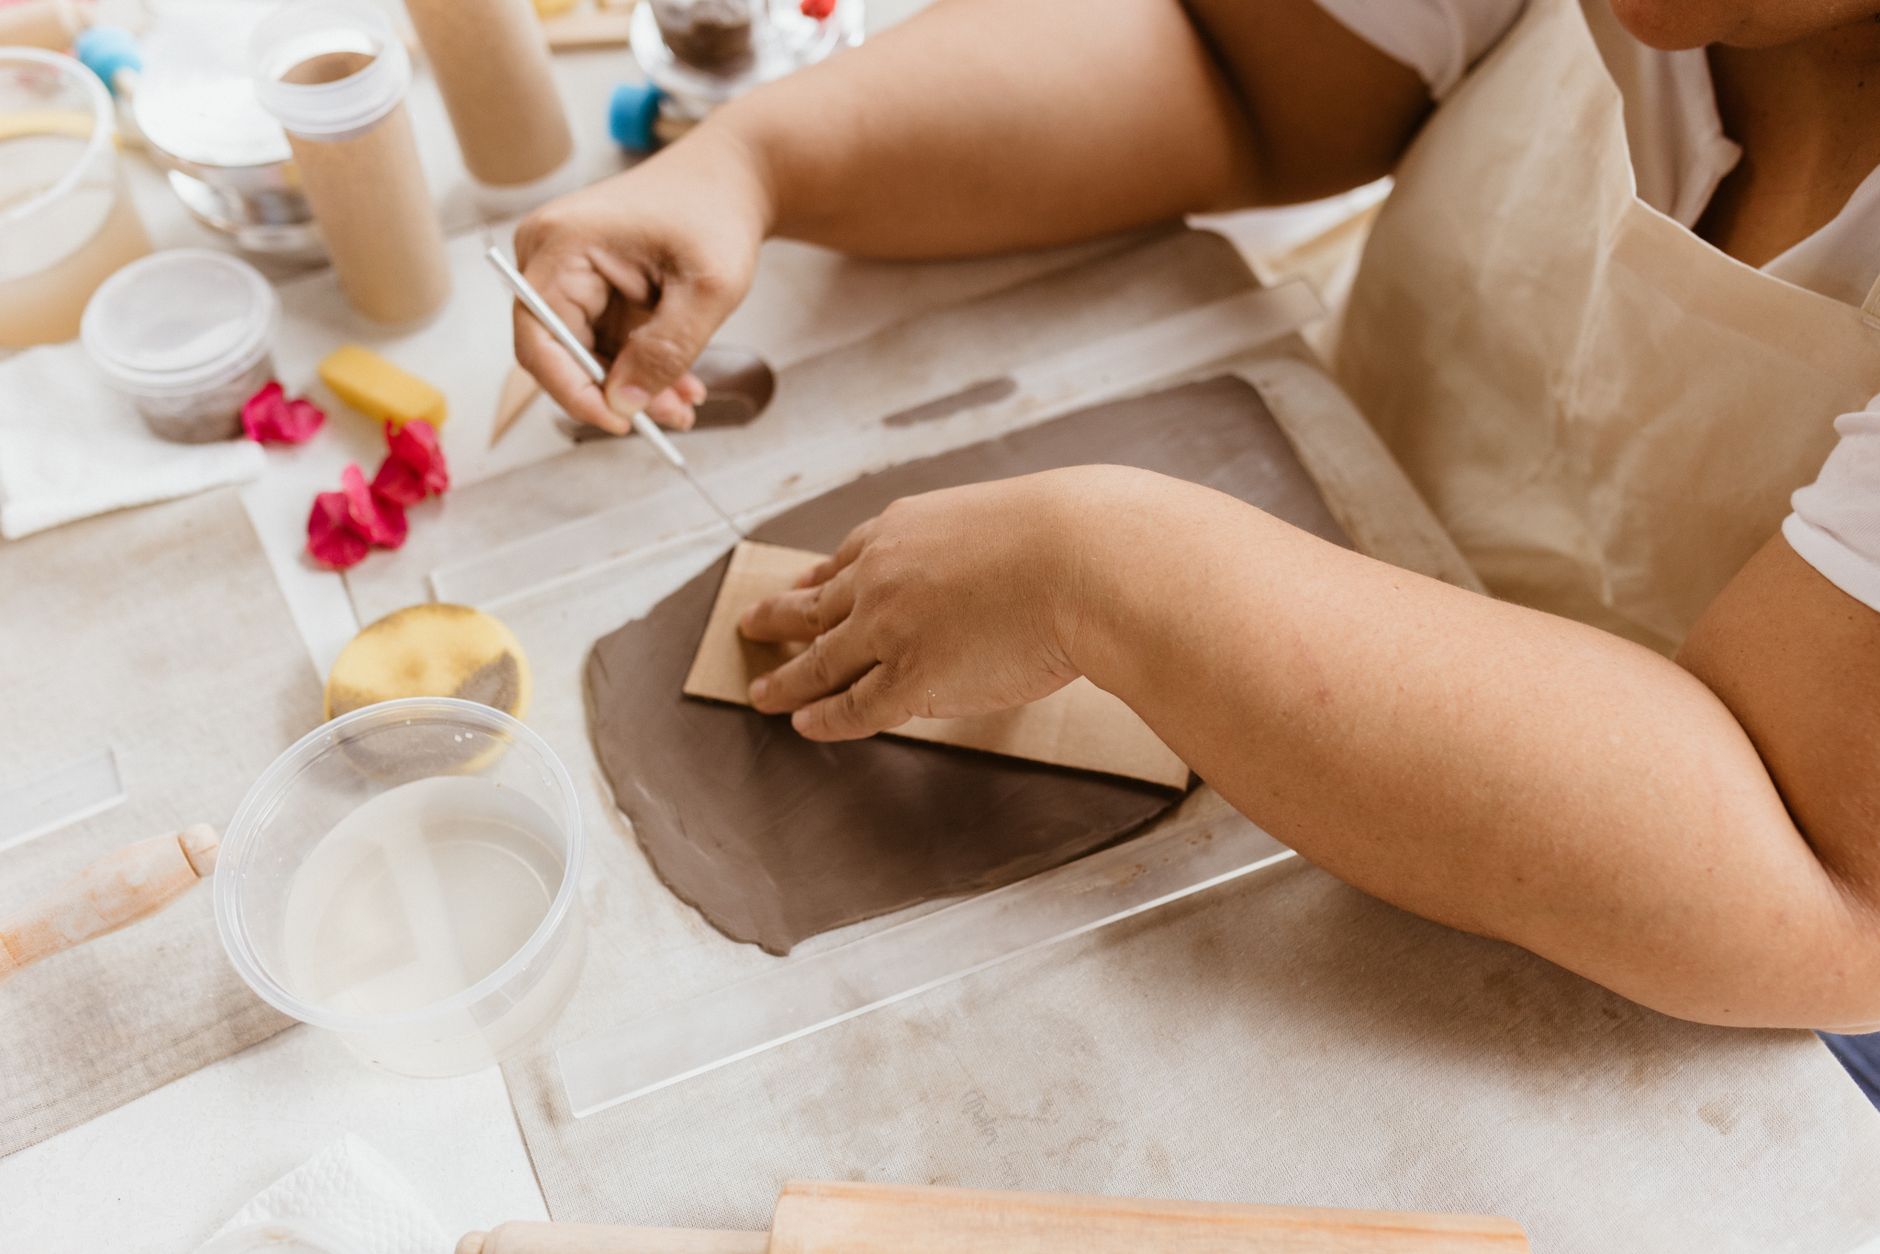
- Roll it flat. On a clean, smooth surface, roll the clay to about 2–3mm thick. Thicker petals look clumsy and heavy. Thinner than 2mm and they’ll tear when you lift them.
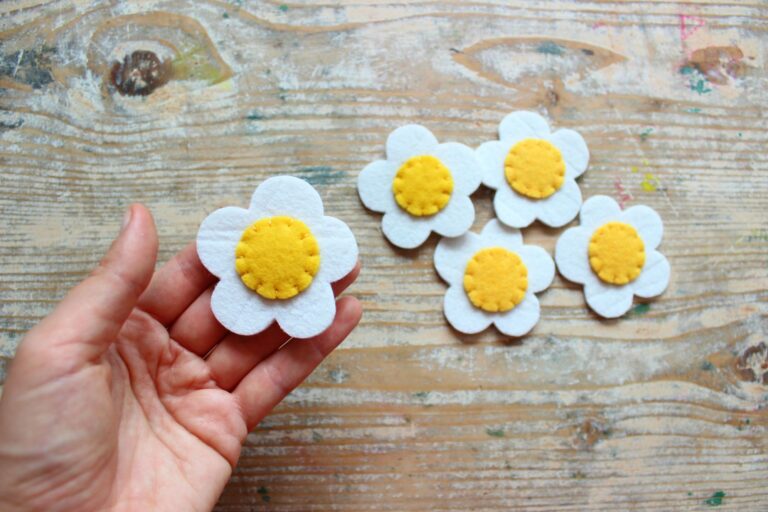
- Cut your petals. You want five to seven petals for a simple daisy-style flower. Cut teardrop shapes — rounded at one end, pointed at the other. Use a cutter, a knife, or even a plastic lid as a template. Don’t fuss over perfection; real petals aren’t identical either.
- Soften the edges. Press the rounded end of your paintbrush along each petal edge, gently rolling it back and forth. This thins the edge and gives that natural, slightly curled look. This step is what separates “lump of clay” from “actual flower.”
- Cup the petals. Lay each petal on your foam pad and press the ball tool into the centre. The petal should curve like a little spoon. Work from the middle outward, not the other way around.
- Add veins (optional but lovely). Press a toothpick lightly along each petal to score a few faint lines. Go easy — deep grooves look fake.
- Make the centre. Roll a small ball of clay, about the size of a pea, and flatten it slightly. This is the heart of your flower. You can texture it with a toothpick, add tiny dots, or leave it smooth.
- Assemble the flower. Lay your petals around the centre ball, overlapping slightly, pointed ends facing out. Press each petal gently into the centre. Dip your finger in a little water and smooth the joins so everything holds together.
- Shape the whole bloom. Cup your hand and gently press the assembled flower into it. This lifts the petals and gives the flower a natural, open shape. Don’t squash — just encourage.
- Let it dry. Air-dry clay needs 24–48 hours, depending on thickness and humidity. Turn it once after a few hours so the underside dries too. Polymer clay goes in the oven at the temperature on the packet — usually around 110°C for 20–30 minutes.
- Paint and finish. Once dry, paint your flower. Soft washes of colour around the centre, slightly deeper at the base of each petal, look most realistic. Let each layer dry before adding more. Finish with a matte varnish if you want protection.
- Turn it into something. Glue a brooch pin, a magnet, or a wire stem to the back. For a stem, poke a hole through the centre before drying and thread floral wire through once it’s set.

Beginner Tips
Here’s the thing nobody tells you first time: your flower will probably look a bit lumpy, and that is completely fine. Clay has a learning curve measured in minutes, not months. But a few mistakes trip up almost every beginner, and dodging them makes a huge difference.
Don’t roll your clay too thin. I know it’s tempting — delicate petals seem more realistic. But thin clay tears, curls where you don’t want it, and cracks as it dries. Stick to 2–3mm until you’ve made three or four flowers. Then you can start pushing thinner.
Don’t skip the edge-softening step. It feels fussy and unnecessary. It isn’t. Blunt, thick-edged petals are the single biggest giveaway of a beginner flower. Thirty seconds with a ball tool transforms the whole thing.
Don’t handle the flower too much once it’s assembled. Every touch flattens your careful cupping. Assemble it, shape it once, then leave it alone to dry.
And don’t paint too early. I’ve watched students ruin a perfect flower by painting it while still damp. The paint smears, the clay sags, and the petals droop. Wait the full drying time. I promise it’s worth it.
Creative Variation
Once you’ve made a basic five-petal flower, try a layered rose. Instead of arranging all your petals in one ring, build three rings of petals, each one smaller and tighter than the last. Start with five larger petals on the outside, then four slightly smaller ones inside, then three tiny ones curled tightly around the centre. Press each ring gently into the one below. The result looks impressively complicated and takes maybe ten extra minutes. Roll the outer petal edges back with your ball tool for that classic open-rose look.
Counter-intuitive as it sounds, a slightly imperfect rose looks better than a perfectly symmetrical one. Real roses are lopsided. Let yours be, too.
Troubleshooting
Cracks appearing as it dries? This usually means the clay was too dry or the petals were too thin. Next time, work a tiny drop of water into the clay before rolling. For the flower you’ve already made, you can fill small cracks with a little fresh clay and smooth it, though deep cracks are hard to hide — paint can camouflage them surprisingly well.
Petals falling off? You didn’t press them firmly enough into the centre, or you skipped the water join. Rescue it by dabbing a tiny bit of water where the petal meets the centre and pressing again. If it’s already dry, a dot of superglue on the underside does the trick.
Flower looks flat and lifeless? You probably skipped the cupping step or pressed too hard during assembly. You can sometimes revive it by gently re-cupping while still damp. Once dry, a little shading with paint — darker at the centre, lighter at the tips — adds depth and saves the day.
Clay sticking to your surface? Dust your work surface with a tiny bit of cornflour or talc. Just a whisper. Too much and the clay won’t hold together.
Paint looking streaky? Your brush is too dry or you’re trying to cover in one coat. Thin your acrylic with a drop of water and build up two or three light layers instead.
Making clay flowers is one of those crafts that rewards you fast. Your first one might be a bit wonky. Your second will be better. By your fifth, you’ll be churning them out while watching telly, wondering why you ever thought it looked hard. So — what colour is your first bloom going to be? Grab some clay, sit down at the kitchen table, and make something that never fades.