Macramé Wall Hanging: Step-by-Step Beginner’s Guide
How to Create a Stunning Macramé Wall Hanging: A Step-by-Step Guide for Beginners
There is something deeply satisfying about transforming a simple bundle of cotton rope into a textured, flowing work of art for your wall. This project takes an afternoon, costs under £20, and gives you a handmade piece that no store-bought print can match. You will learn the foundational knots, build confidence with your hands, and end up with something you actually want to look at every day. Plus, the rhythmic repetition of tying knots is surprisingly meditative. Have you ever noticed how your shoulders drop when you focus on just one gentle, repeated motion?
Materials List
– 3mm or 4mm cotton rope – roughly 80 to 100 metres for a 60cm wide piece. I prefer single-twist cotton cord because it holds knots well and has a lovely soft drape. Alternative: nylon cord or recycled t-shirt yarn, though these are slipperier and slightly harder for beginners.
– A wooden dowel or branch – 60cm long, around 2cm diameter. A simple curtain rod, a straight garden stick, or even a driftwood piece you find on a beach walk works perfectly.
– Scissors – sharp fabric scissors are best. Blunt ones will fray your rope ends and make knotting frustrating.
– Masking tape or a clipboard – to hold your work in place while you tie.
– A comb or brush – for the final fringe. A wide-tooth pet brush does the job brilliantly.
– Optional: beads with large holes – wooden, ceramic, or even plastic. Just make sure the hole is wider than your rope.
Step-by-Step
- Cut your cords. For a 60cm hanging, cut 24 cords at 4 metres each. Yes, that feels like a lot of rope, but you will use nearly all of it. Fold each cord in half, creating a loop at the midpoint.
- Attach the cords to the dowel. Take one folded cord, place the loop behind the dowel, then pull the two loose ends through the loop. Pull tight. This is called a lark’s head knot. Repeat with all 24 cords. You will now have 48 working ends hanging down.
- Secure your dowel. Tape each end of the dowel to a table or clipboard. You want the cords hanging straight down, not twisted. Take a moment to straighten all the cords so they lie flat and parallel.
- Learn the square knot. Take four cords together. The two outer cords do the work, the two middle cords stay still. Cross the left cord over the middle two, then bring the right cord under the left and up through the loop. Pull snug. Now reverse: cross the right cord over the middle, bring the left under and through. Pull. That’s one square knot. Practice it a few times until it feels rhythmic.
- Create your first row. Group your 48 ends into 12 sets of four. Tie one square knot into each set, starting about 5cm below the dowel. Keep the tension even – not too tight, not too loose. You want the knots to sit flat against each other.
- Start the second row offset. Skip the first two ends on the left. Take the next four ends (two from the first set, two from the second) and tie a square knot. This creates a lovely diamond pattern. Repeat across, leaving the last two ends unused.
- Add a third row. Go back to the original grouping – four ends per set – and tie another square knot about 4cm below the second row. You are building a mesh-like netting.
- Continue alternating rows. Keep going until your knotted section measures about 35cm long. Stop when you feel the pattern looks balanced. For a simpler look, you can stop after just two rows and leave the rest as fringe.
- Finish with a straight edge. Once you have your desired length, let the cords hang loose. Trim the bottom ends in a straight line, or in a gentle V-shape if you prefer. A cutting mat and ruler help here.
- Brush out the fringe. Use your comb or brush to gently separate and fluff the bottom 10cm of each cord. This gives that soft, boho texture. If you want a more defined fringe, skip the brushing.
- Add a hanging loop. Cut a separate 30cm piece of rope. Tie it in a simple overhand knot to form a loop, and attach it to each end of your dowel. Hang your piece on a nail or hook.
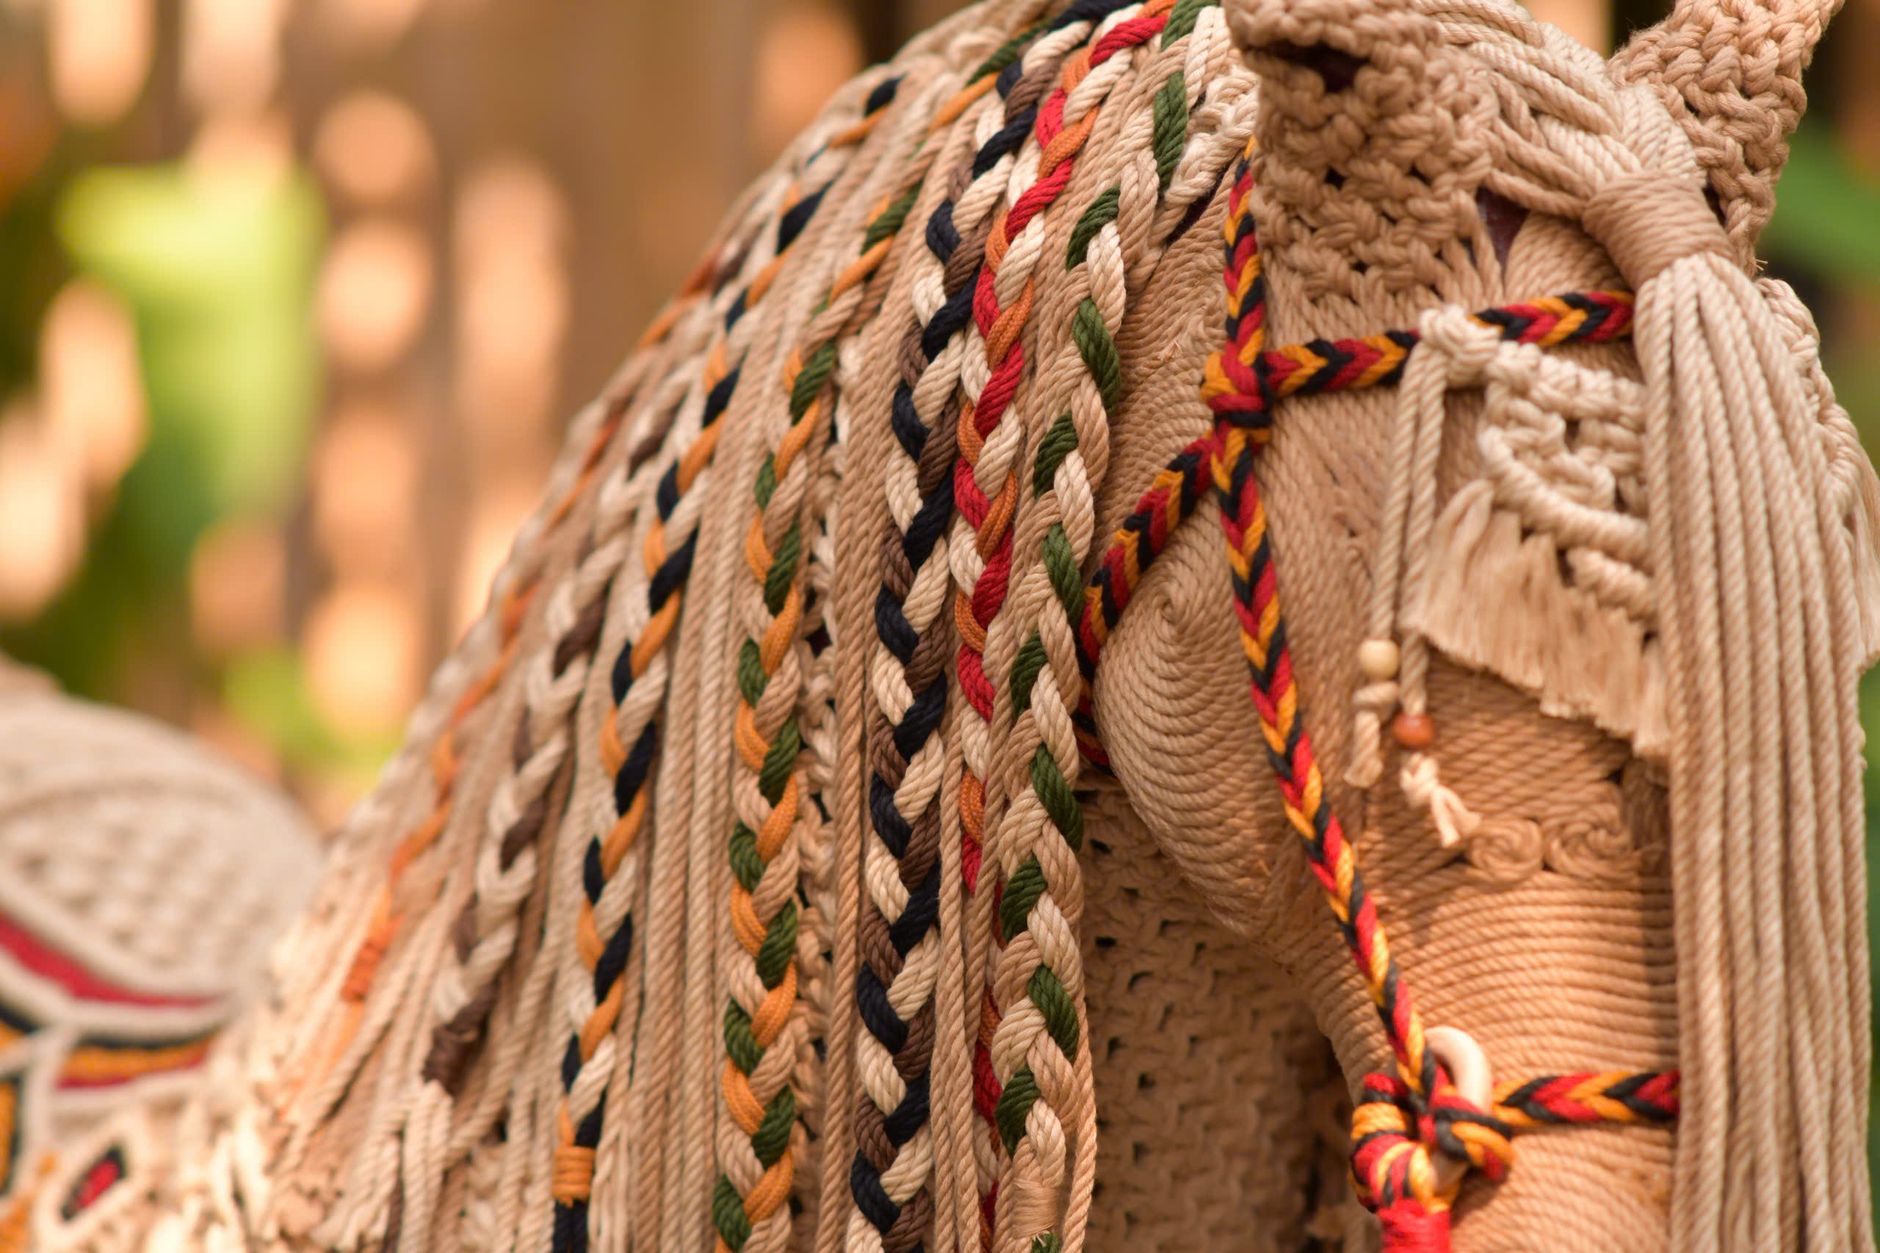
[IMAGE: A bright, well-lit photo of a finished macramé wall hanging with alternating square knots, showing the textured diamond pattern and softly brushed fringe, hanging against a white plaster wall.]
Beginner Tips
The biggest mistake I see is pulling knots too tight. You are not trying to choke the rope. Gentle, even tension creates a more professional, fluid look. Another common slip-up is losing count of your cords. Use a small piece of tape or a paperclip to mark every fourth cord when you start – it saves you from painful untangling later.
Also, do not buy cheap, rough rope. It hurts your hands and frays badly. Spend a little extra on a soft cotton blend. And here is a counter-intuitive tip: work on the floor, not at a table. When the hanging gets long, gravity helps you keep tension even, and you can sit cross-legged like you are at a craft retreat. Finally, walk away for ten minutes if you get frustrated. The knots will still be there when you return, and your hands will thank you for the rest.
Creative Variation
Make it truly yours by adding a few large wooden beads near the bottom of your fringe. Before trimming, slide a bead onto two or three cords, then tie a simple overhand knot underneath to hold it in place. Place them asymmetrically – one bead on the left, two on the right – for an organic feel. Alternatively, dye your rope before you start. Soak the cord in a weak tea bath for an hour to get a warm, vintage cream tone, or use a diluted fabric dye for a soft pastel pink or sage green. The dyeing step takes extra time, but the result looks like a high-end boutique piece. Another idea: instead of one long hanging, make three smaller ones and hang them at staggered heights on the same dowel for a gallery-style look.
Troubleshooting
If your knots look lopsided, you are probably pulling the left and right cords with different strengths. Untie the knot and try again, focusing on making each side even. Did your pattern slowly drift to one side? That happens when you consistently start your square knot on the same side. Alternate which cord you cross first each time. If the rope is twisting and curling, hold the middle cords taut while you tie the outer ones. This keeps everything flat.
What if your fringe is uneven after brushing? Trim it again while it is hanging – gravity will show you where the true line is. And if you simply hate the whole piece, do not throw it away. Undo the knots (cotton rope is forgiving), give it a gentle wash in warm water, and let it dry straight. You can reuse the same rope for a second attempt. Honestly, every crafter has had to rip out a full row. It is part of the journey, not a failure.
Conclusion
Your hands have done something wonderful. You took raw materials and created texture, rhythm, and a piece of art that carries your own energy. Hang it where you will see it daily – above a bed, next to a mirror, or in a hallway that needs warmth. Each time you glance at it, you will remember the quiet hour you spent tying knots, not rushing, just making. That memory is part of the craft. And now that you know the basic square knot, you can build plant hangers, coasters, or a whole wall full of varied pieces. The skill is yours now. Use it well.