Paper Quilling for Beginners: Floral Wall Art Guide
Paper Quilling for Beginners: Roll Your Way to a Beautiful Floral Wall Art
There’s something almost magical about taking a flat strip of paper and coaxing it into a tight coil, a teardrop, or a delicate leaf. This project—a small, framed floral quilling piece—is worth making because it’s forgiving, portable, and produces a gift that looks far more complicated than it actually is. You’ll learn the core rolls in under an hour, and the result is a textured, dimensional artwork that feels like a secret superpower. Ready to give those fingers a gentle workout?
Materials List
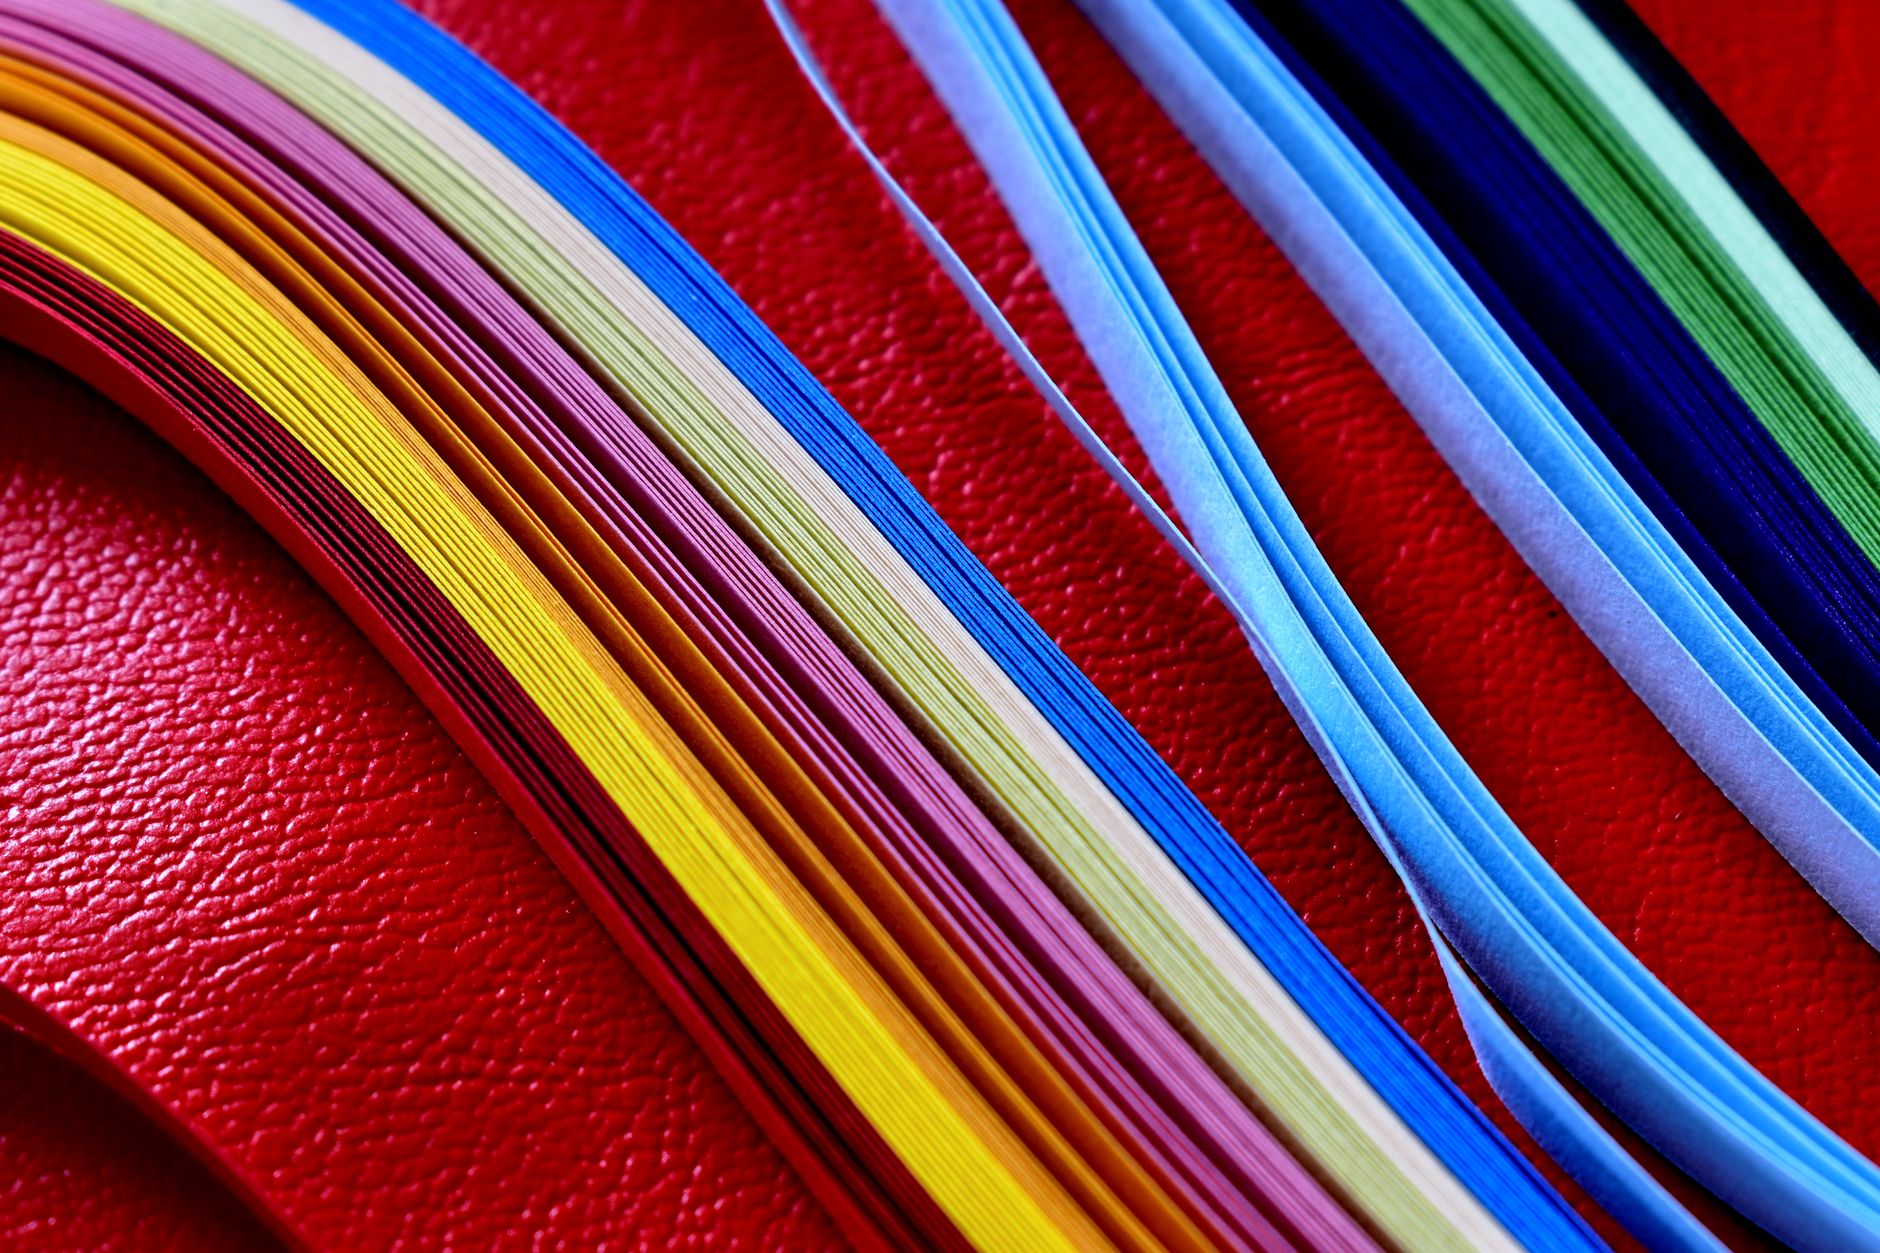
- Quilling paper strips (3mm or 5mm width). Start with a pack of assorted pastel colours—about 100 strips is plenty. Alternative: Cut your own from any lightweight paper (printer paper or wrapping paper) using a craft knife and ruler.
- Quilling tool — a slotted tool is easiest for beginners because it grips the paper. Alternative: A toothpick with a tiny slit cut into the top, or even a large-eyed needle.
- White craft glue (PVA) that dries clear. Alternative: A glue stick for tacking, but you’ll need liquid glue for final fixing.
- A small pair of tweezers — helps place coils precisely. Alternative: Your fingernails, if you keep them short.
- A circle template or ruler with circles — this lets you size your loose coils evenly. Alternative: Draw circles of varying diameters on scrap card and cut them out.
- Cardstock or thick paper for your backing (A5 size works well). Alternative: The back of a cereal box, painted or covered with fabric.
- A picture frame (optional but recommended) — any thrift-store frame will do.
- A corkboard or foam pad with pins — helps hold shapes while glue dries. Alternative: A thick piece of cardboard and some sewing pins.
Step-by-Step
- Prepare your workspace. Lay down a piece of scrap paper to catch glue drips. Have a damp cloth nearby for sticky fingers. Cut your paper strips to 15cm lengths for practice—this makes them easier to handle than full-length strips.
- Make your first tight coil. Insert one end of a strip into the slot of your quilling tool. Hold the tool in your dominant hand, and with the other hand, gently guide the paper as you rotate the tool away from you. Keep the tension even—not too tight, not too loose. Roll until you reach the end.
- Glue the end. Put a tiny dot of glue on the tail of the strip. Press it down onto the coil and hold for five seconds. Congratulations, you’ve made a tight coil. That’s your first building block.
- Create a loose coil. Roll another strip the same way, but this time, before gluing, let the coil spring open slightly. Place it in your circle template—choose the 12mm hole—and let it expand naturally. Once it fills the circle, remove it and glue the tail. This is the base for almost every other shape.
- Shape a teardrop. Take a loose coil and pinch one side between your thumb and forefinger. Hold for a few seconds. You now have a teardrop. This will be your petal shape. Make five of these in your chosen flower colour.
- Shape a marquise (leaf shape). Take another loose coil and pinch it on two opposite sides, so it forms an eye or leaf shape. Make three of these in green for leaves.
- Make a square coil. Pinch a loose coil on four sides, turning it 90 degrees between each pinch. This will be the flower’s centre—or skip it and use a tight coil instead. Both work.
- Arrange your flower. On your cardstock backing, place the five teardrops in a circle, points facing outward. Put the centre coil in the middle. Don’t glue yet—just arrange. Move things around until the spacing feels balanced. Step back and squint. Does it look like a flower? Good.
- Glue the pieces down. Apply a small dot of glue to the back of each shape, then press it onto the cardstock. Use tweezers for precision. Hold each piece for a few seconds. Start with the centre, then work outward to the petals.
- Add leaves and stems. Glue your marquise leaves underneath the flower, angles pointing downward. For stems, cut a strip of green paper in half lengthwise, apply glue along the back, and press it diagonally from the flower to the bottom corner of your card.
- Let it dry completely. This takes about 20 minutes. Don’t touch it. I know it’s tempting. Walk away, make a cup of tea, and come back.
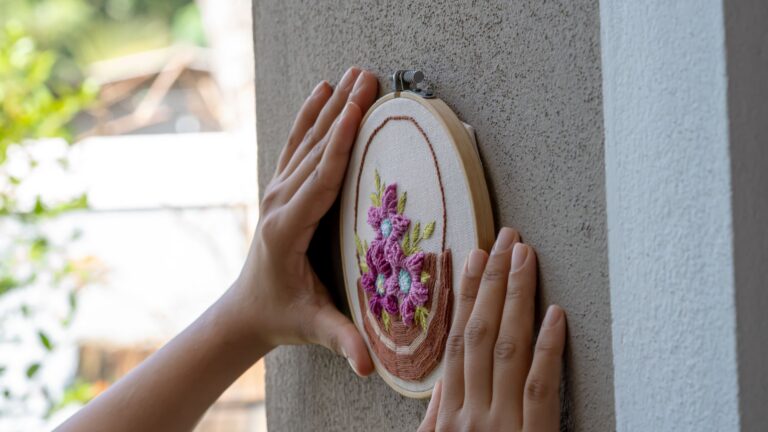
- Frame or mount. Once dry, place the cardstock in your frame. If you’re not framing, trim the edges with a paper cutter for a clean finish.
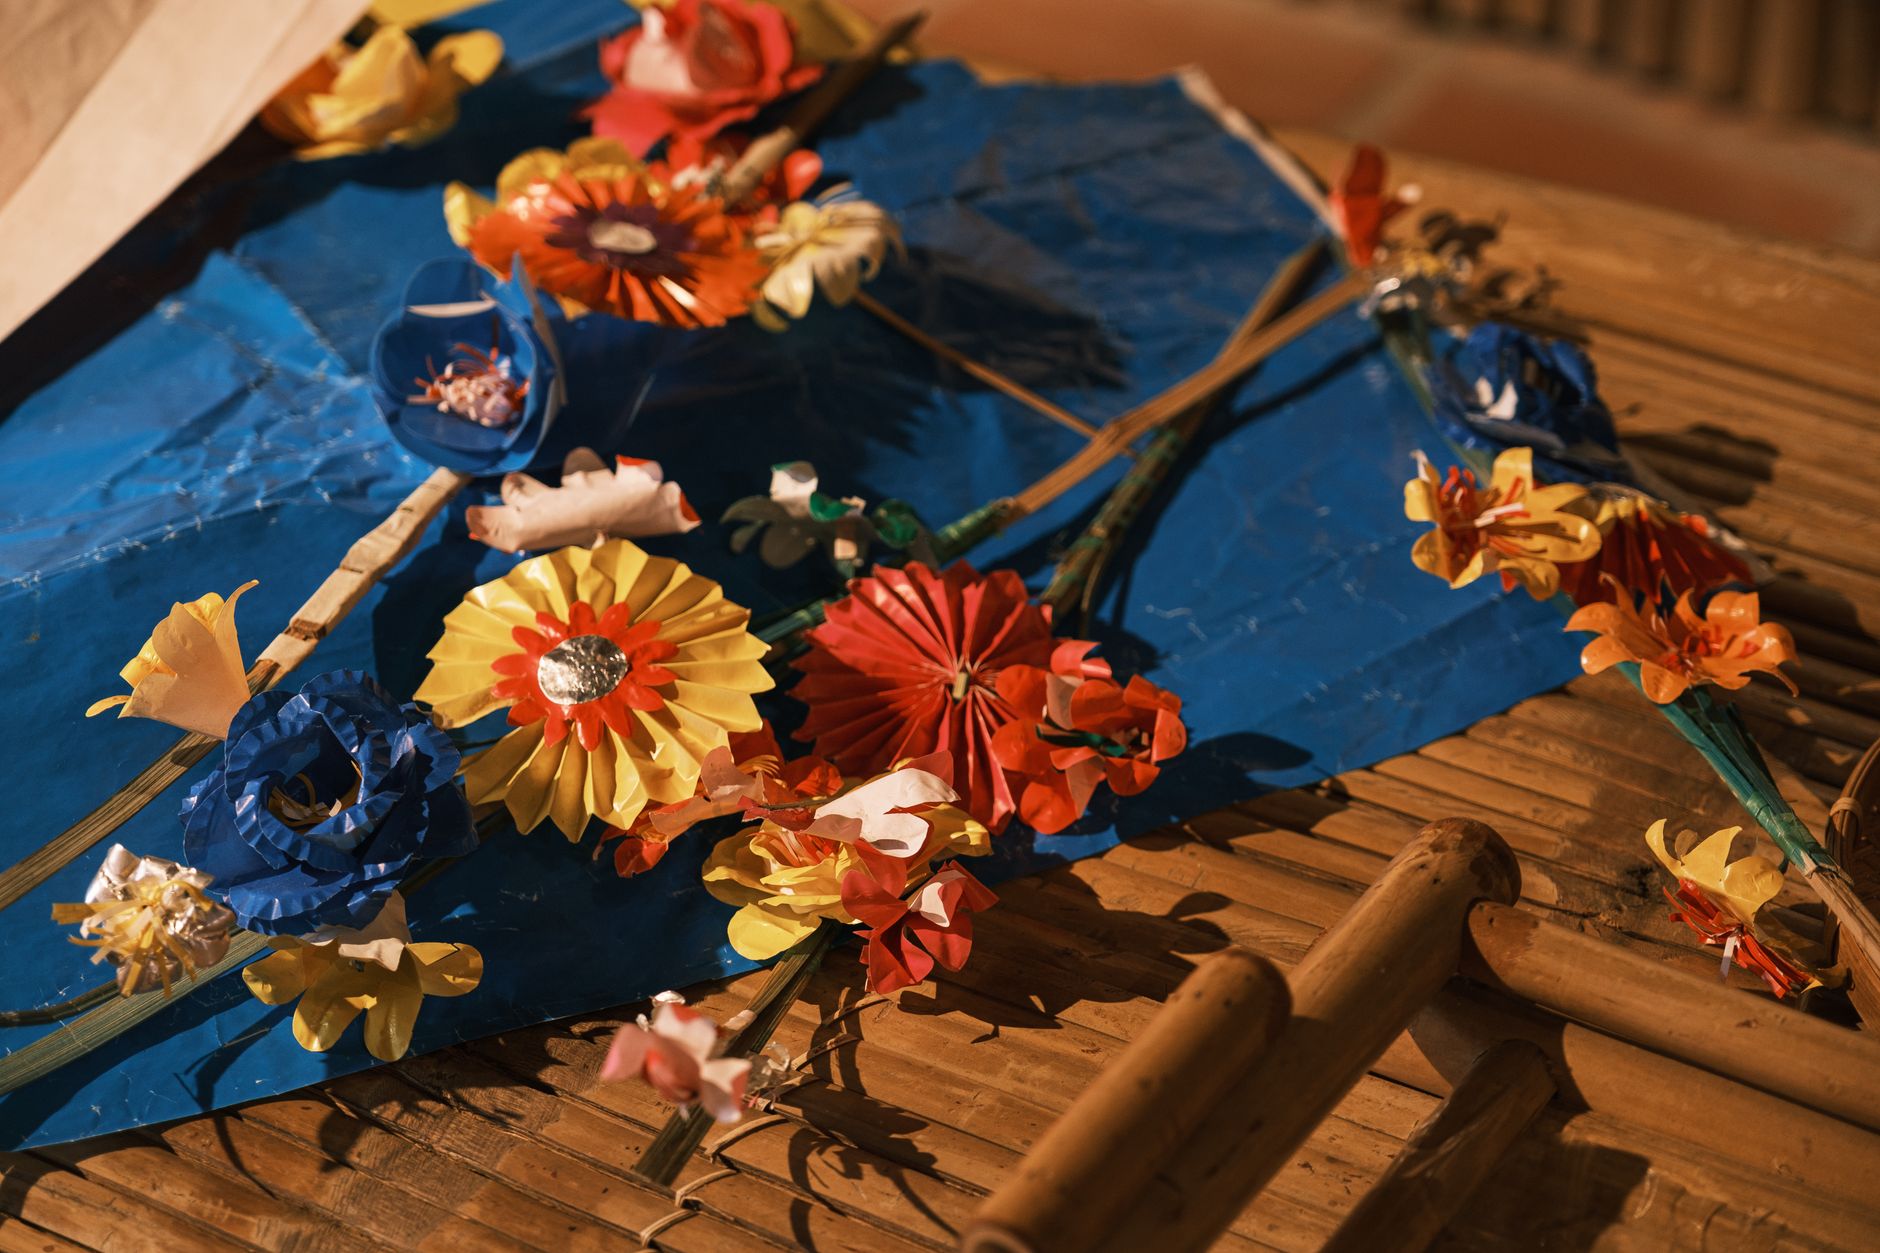
[IMAGE: Placeholder for a photo of a finished quilled floral artwork—five teardrop petals, a tight coil centre, and two green marquise leaves on a pastel background.]
Beginner Tips
Your first coils will be lopsided. That’s normal. Everyone’s first coil looks like a sad little snail. The trick is to not aim for perfection—aim for consistency. If all your petals are slightly different sizes, that’s a style choice, not a mistake.
Use less glue than you think you need. A pinhead-sized dot is enough. Too much glue makes a shiny mess that takes forever to dry and can warp your paper. Also, don’t glue your shapes to the backing until you’ve arranged them all. Moving glued paper is a nightmare.
Another mistake? Rolling too tightly with a slotted tool. The slot creates a crimp at the start of the strip, which can show. To avoid this, trim the crimped end off after you finish rolling, or use a needle tool instead—though that takes more practice to control.
Work in batches. Roll ten loose coils at once, then shape them all into teardrops. This saves time and builds muscle memory. And keep your hands clean—greasy fingers leave marks on light paper.
Creative Variation
Swap the flower for a butterfly. Make two large teardrops for the top wings and two smaller ones for the bottom. Use a tight coil for the body, and add thin, curled strips for antennae—just roll a strip halfway, then let it uncurl naturally. Or make an abstract geometric design: a spiral of alternating tight and loose coils, all in a single colour family. Another idea: write a word with your coils. Each letter can be built from small teardrops and marquises, like a three-dimensional typography. The point is to let the basic shapes become your vocabulary.
Troubleshooting
Your coil keeps unwinding before you can glue it. This usually means you let go too early. Hold the coil between your fingers, keeping gentle pressure on the tail, and apply glue immediately. If the paper is too springy, try a thinner strip or a shorter length.
The glue is showing and looks cloudy. Give it time. PVA dries clear, but it can look white for up to ten minutes. If it’s still white after an hour, you used too much. Scrape off what you can with a craft knife, and re-glue with a smaller dot.
Your teardrops are all different sizes. That’s fixable. Use your circle template religiously for the loose coil stage. Once you pinch, the size is locked in. If one is too big, un-pinch it gently, let it re-expand, and re-pinch it smaller.
The paper is tearing at the slot. This happens when you pull the paper too hard instead of letting the tool do the work. Slow down. The paper should glide through your fingers, not fight them.
Your flower looks flat and lifeless. Add dimension by curling the petals slightly. After you glue a teardrop down, use your fingernail to gently lift the pointed edge a little before the glue sets. This creates a subtle shadow and makes the piece pop.
You’ve done it. You’ve rolled, pinched, glued, and made something from almost nothing. Paper quilling is one of those rare crafts where the learning curve is gentle but the ceiling is endless—you can go from this little flower to intricate 3D sculptures, all from the same basic coil. Keep your first piece. It’ll remind you how far you’ve come when you’re making your tenth. And if you’re feeling generous, frame it and give it to someone who loves handmade things. They won’t believe you made it in an afternoon. Let them be amazed.