Beaded Bracelet Tutorial: Beginner Jewelry Making
Turning a little bowl of loose beads into jewellery you actually want to wear? Quietly magical. Maybe you’ve got a drawer full of beads you bought on a whim, or you’ve been eyeing the craft shop shelves and wondering where to start. Either way, you’re in the right place. This is the project I teach to absolute beginners, and by the end of it you’ll have a finished bracelet on your wrist.
We’re making a simple beaded bracelet on beading wire with a lobster clasp. Quick. Forgiving. It teaches you the core skills that unlock almost every other bead project — stringing, crimping, and finishing. The whole thing takes about an hour, costs very little, and looks like you bought it from a boutique. Honestly, it’s the best first jewellery project there is.
Materials List
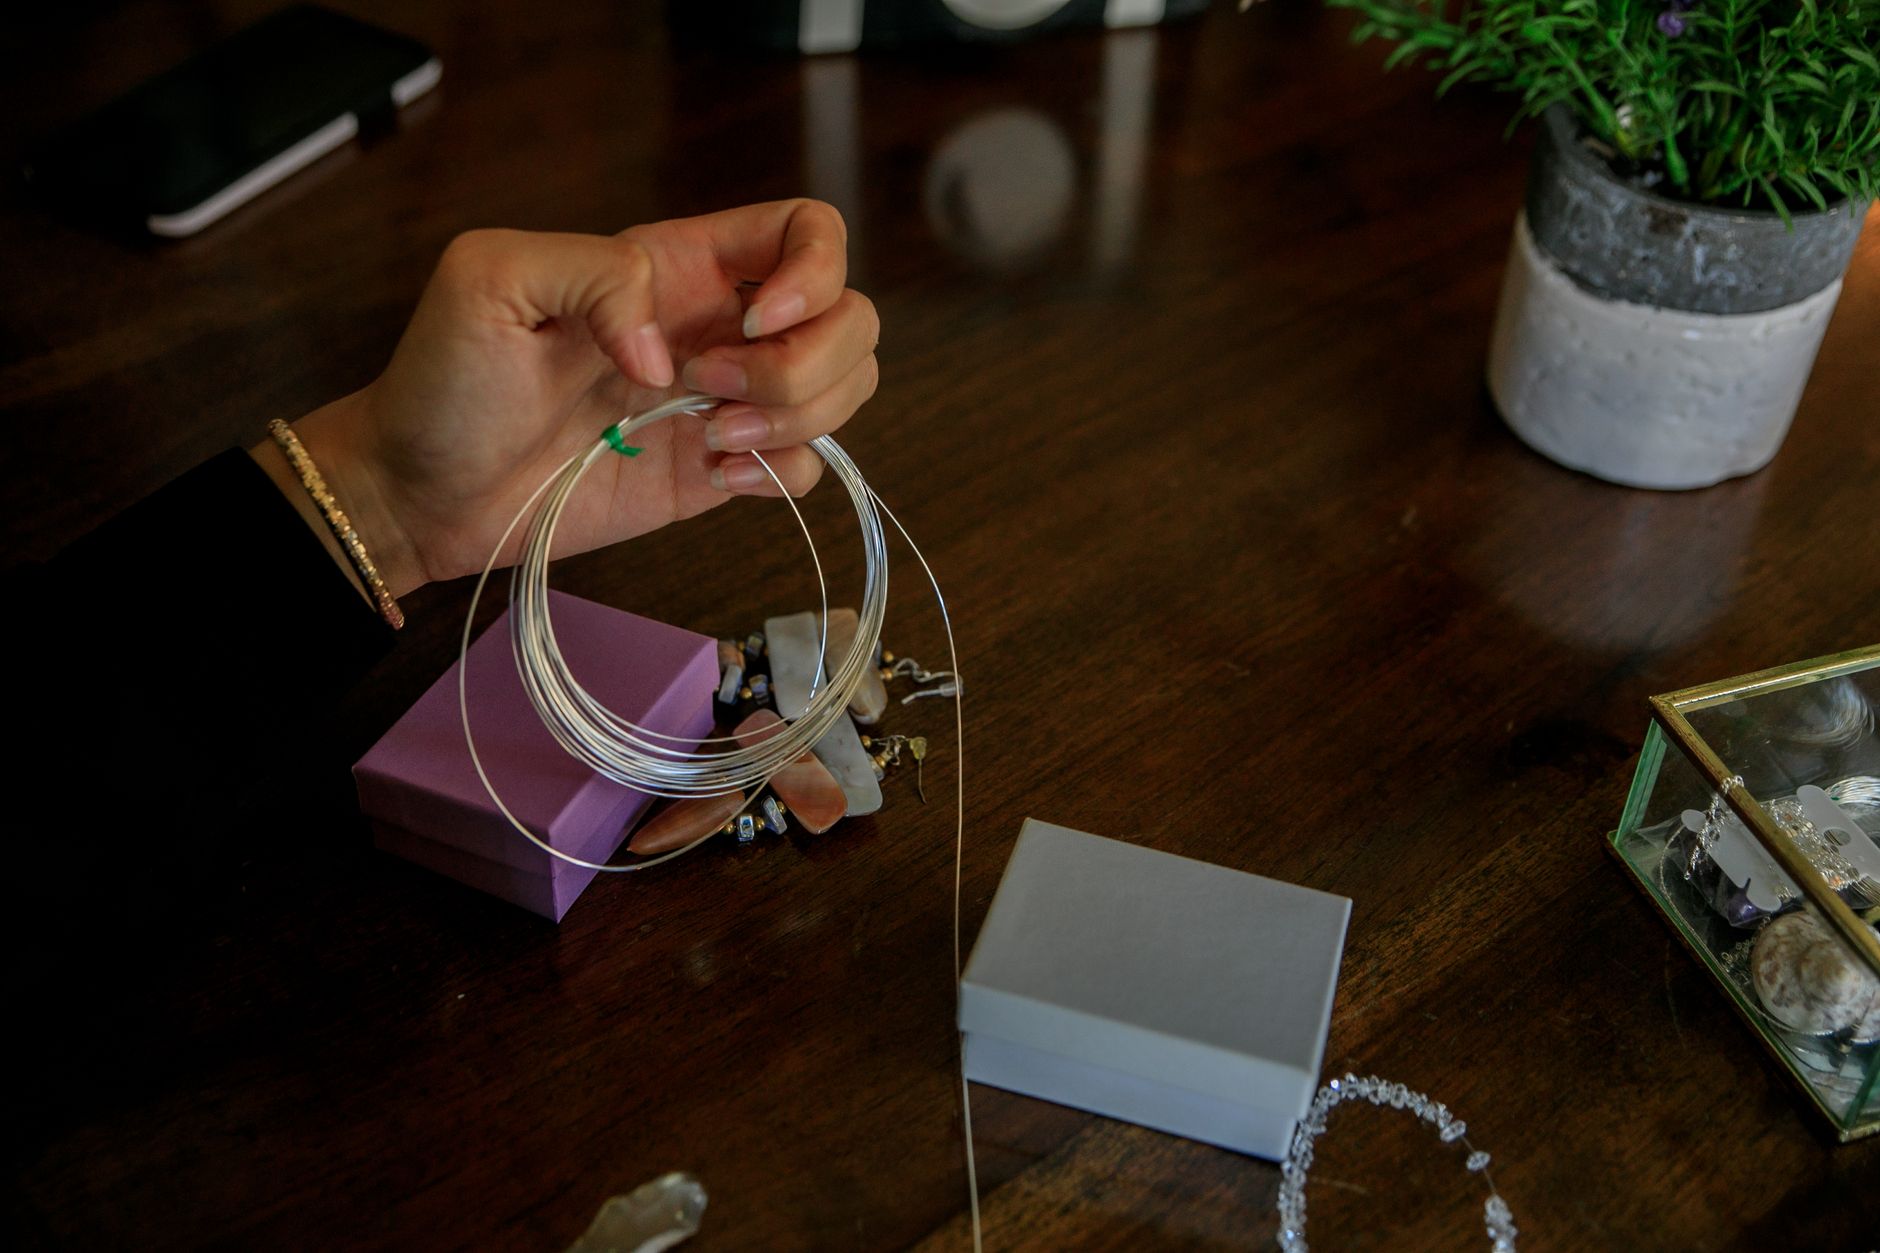
- Beading wire — 0.38mm or 0.46mm diameter. This is the flexible, nylon-coated steel cable that holds everything together. If you can’t find it, tiger tail wire works just as well, though it’s a touch stiffer. Avoid regular sewing thread; it stretches and snaps.
- Beads — around 40 to 60 beads for an average 7-inch wrist, depending on size. A mix of 6mm and 8mm rounds works beautifully. Seed beads, glass beads, wooden beads, even a couple of chunky feature beads — they’re all fair game.
- Crimp beads — two, size 2mm. These are the tiny soft metal tubes that lock your wire in place. Not optional, I’m afraid. Crimp tubes hold better than the round crimp beads, so grab those if the shop has them.
- A lobster clasp — one, plus a jump ring. A toggle clasp is a lovely alternative and slightly easier for beginners because there’s no fiddly spring mechanism.
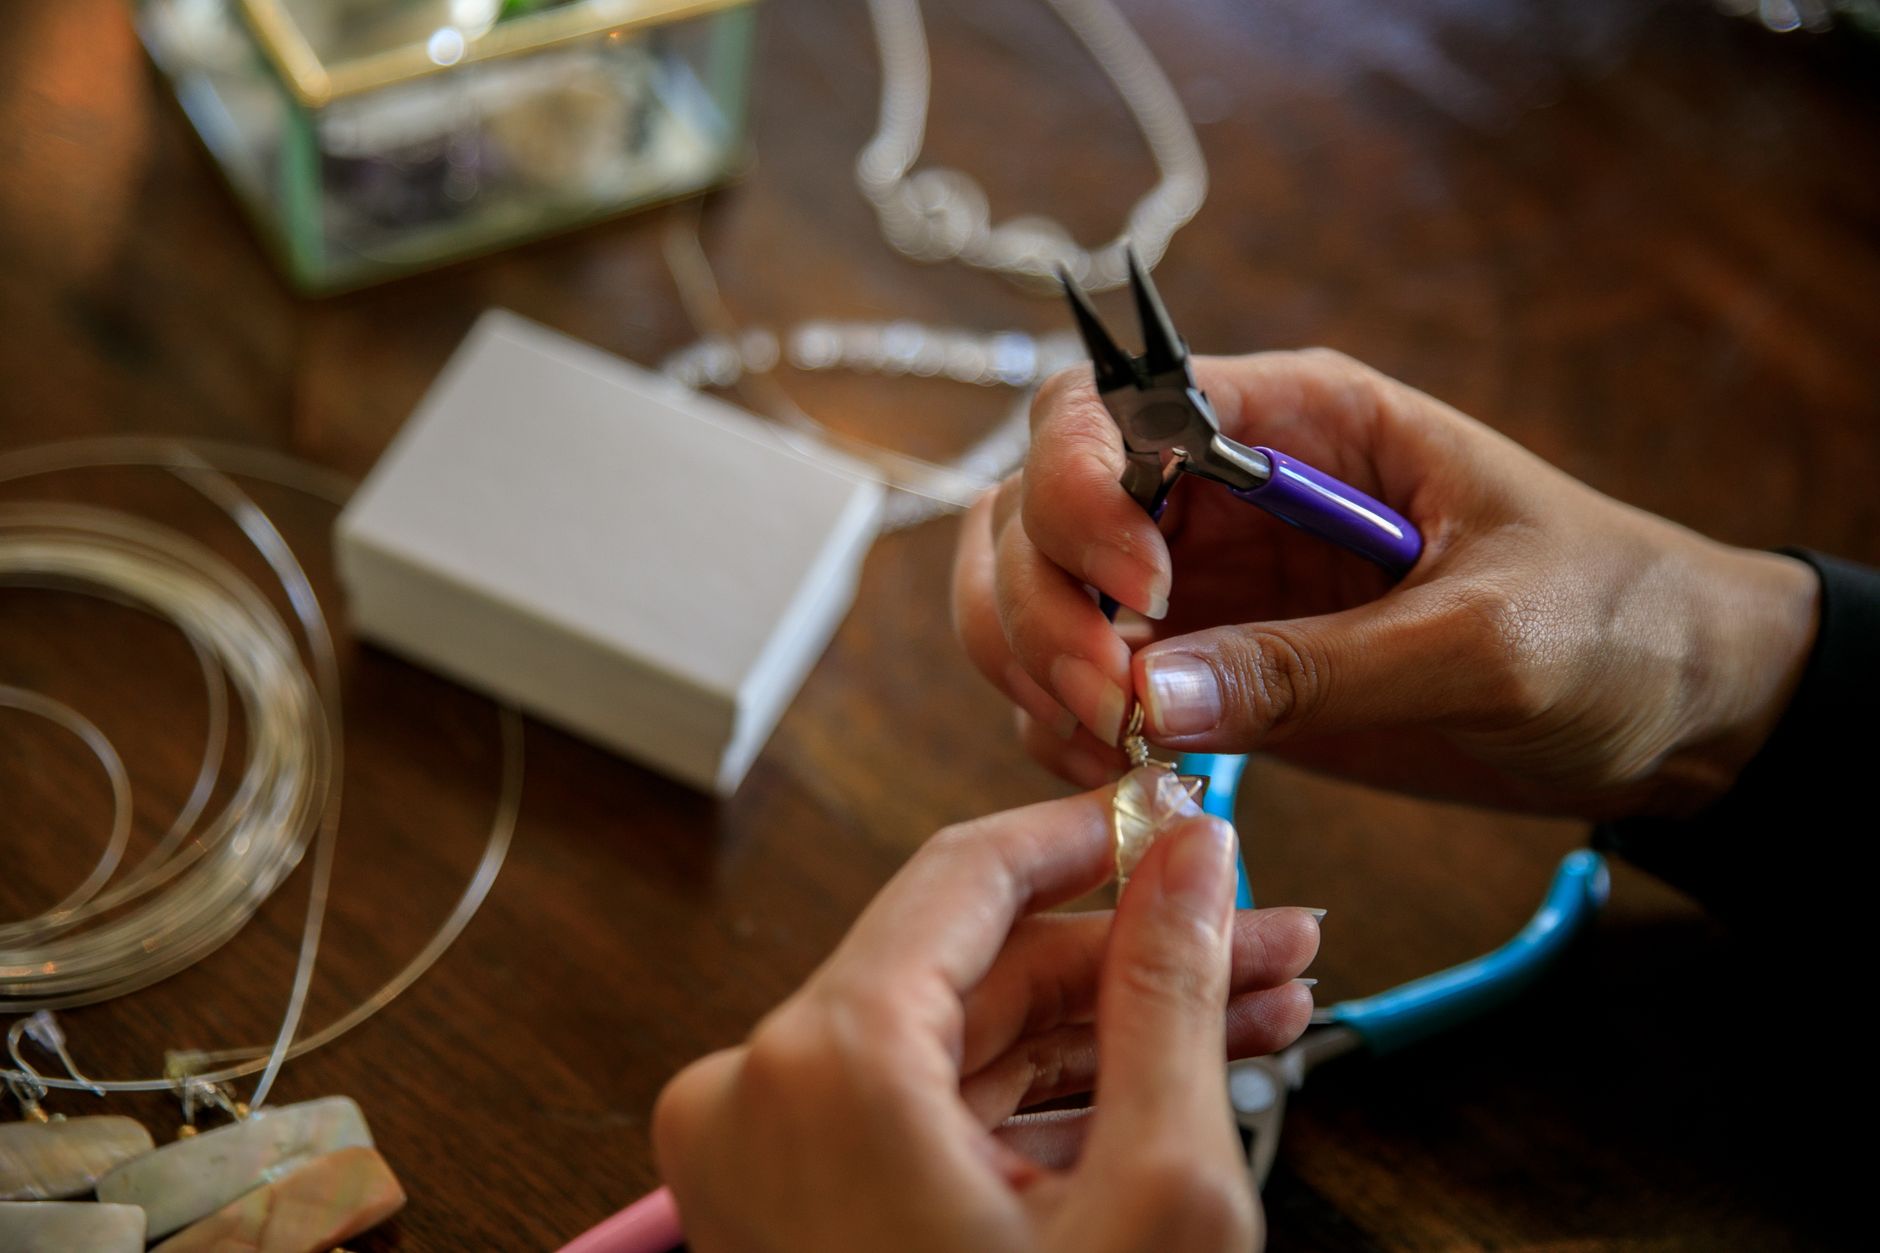
- Crimping pliers — these have two notches in the jaws and are genuinely different from flat-nose pliers. If you only buy one tool, make it this one. Flat-nose pliers will do in a pinch, but the finish won’t be as neat.
- Wire cutters — any small pair will do. Nail clippers can work for thin wire if you’re truly stuck, but treat yourself if you can.
- A bead mat or a clean tea towel — this stops your beads rolling onto the floor and disappearing forever. Trust me on this one.
Step-by-Step
- Measure your wrist. Wrap a strip of paper or a piece of string snugly around your wrist, mark where it meets, then lay it flat against a ruler. Add about 1.5cm (roughly half an inch) for comfort. That’s your target bracelet length. Write it down — you’ll thank yourself later.
- Cut your wire. Cut a length of beading wire about 25cm longer than your target bracelet length. The extra gives you room to work and to tie off comfortably. Snip it cleanly with your cutters so there are no frayed ends.
- Add the first crimp and clasp. Thread one crimp bead onto the wire, then thread the wire through the loop of your lobster clasp, then back through the crimp bead. You should now have a small loop of wire holding the clasp, with both wire ends passing through the crimp.
- Slide the crimp into place. Pull the wire gently so the crimp sits close to the clasp — about 2mm away, no tighter. You want a tiny bit of breathing room so the clasp can move freely.
- Crimp it. Place the crimp bead in the second (rounder) notch of your crimping pliers and squeeze firmly. Then rotate the crimp 90 degrees and squeeze again in the first notch to fold it into a neat rounded shape. Give the clasp a gentle tug to check it holds. If it slips, the crimp wasn’t squeezed hard enough — snip it off and start again with a fresh one.
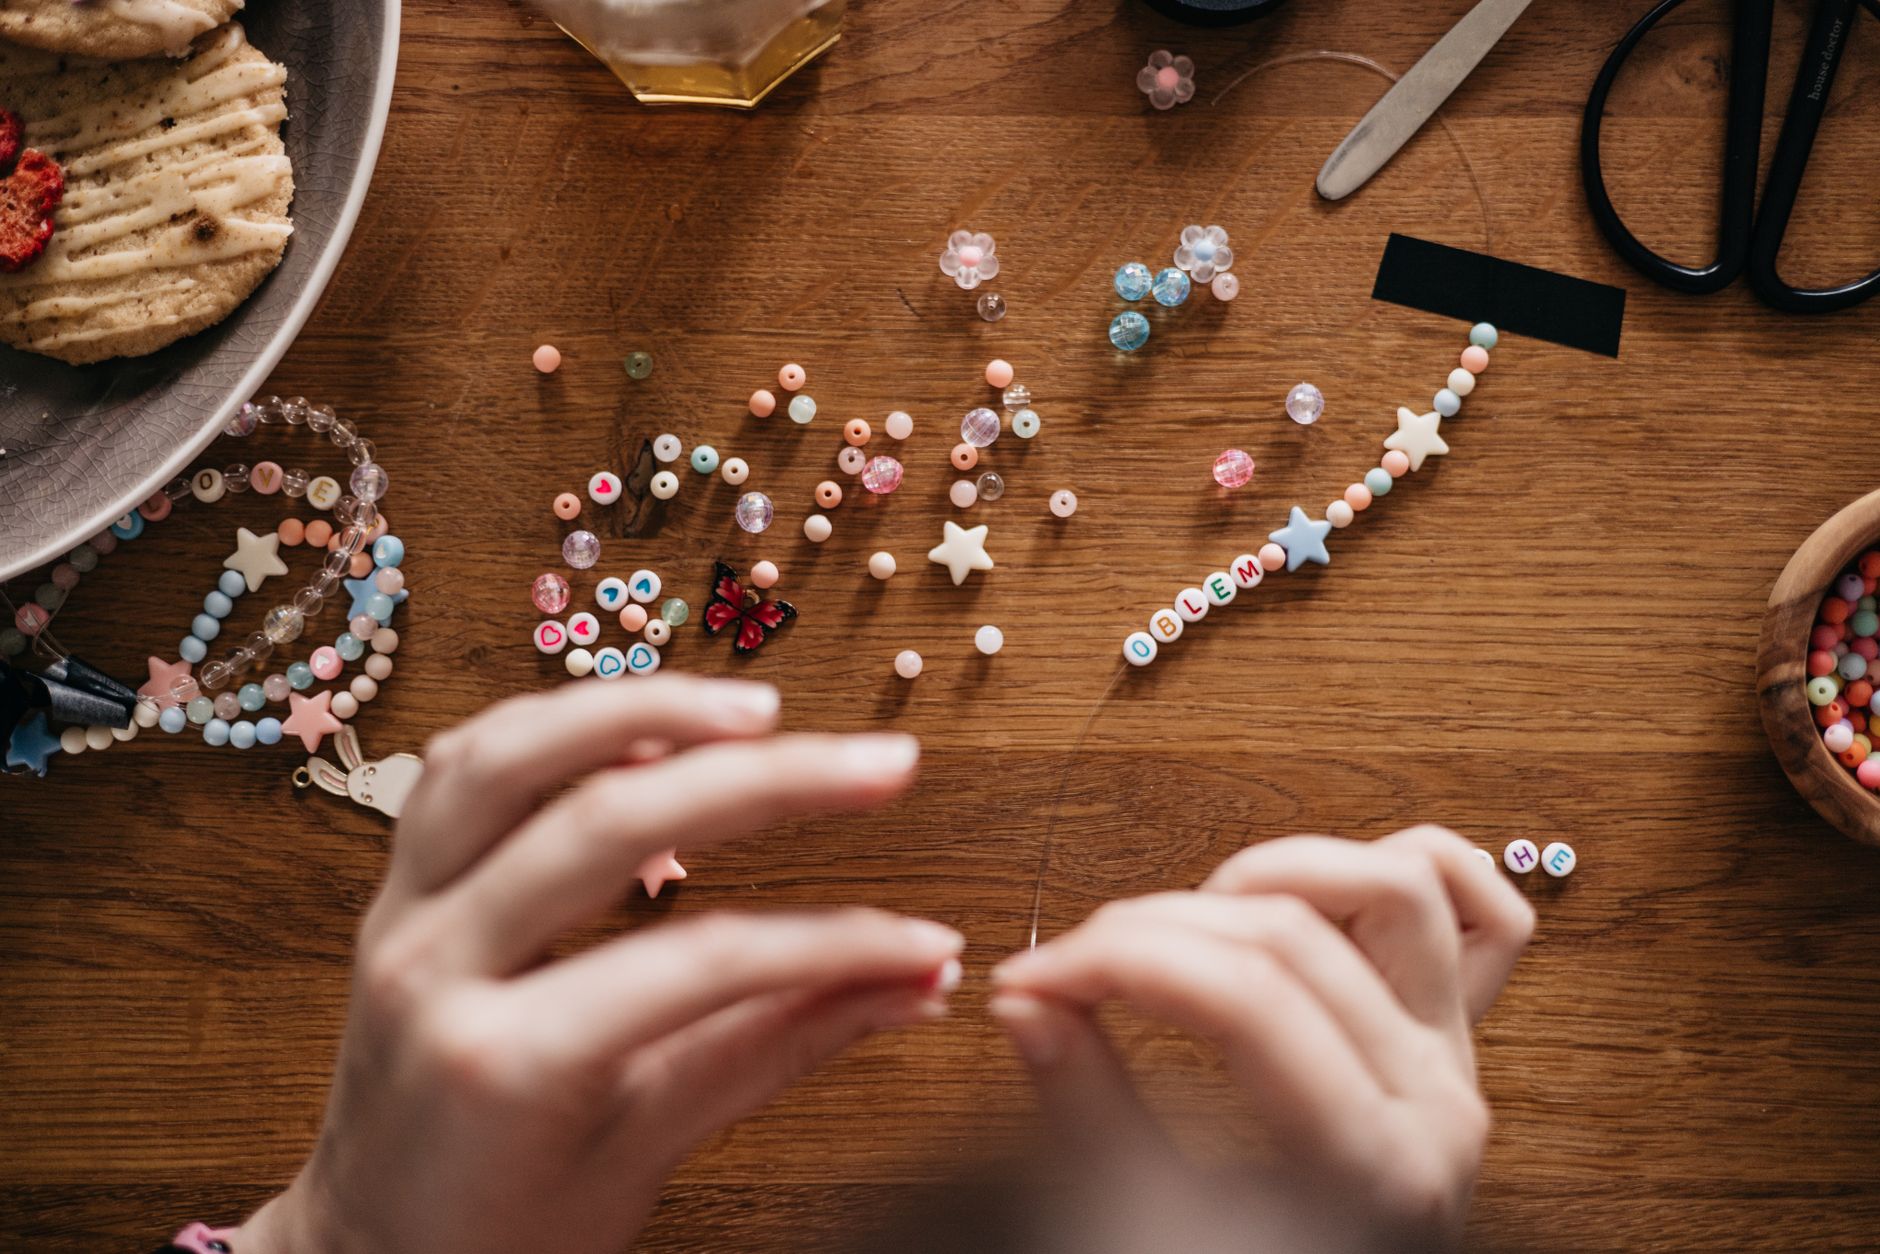
- String your beads. Now the fun part. Thread your beads onto the wire in whatever pattern makes you happy. Work over your bead mat and take your time. Leave the last 5cm of wire free.
- Check the length. Before you finish, hold the bracelet against your wrist and check it sits how you want. Add or remove beads as needed. Better to adjust now than to redo the whole thing.
- Add the second crimp and jump ring. Thread on your final crimp bead, then the jump ring, then pass the wire back through the crimp bead. Pull snug, leaving that same 2mm gap, and crimp it exactly as before.
- Trim the tails. Cut the loose wire ends close to the crimps, leaving about 1mm. Don’t cut flush or the crimp can loosen over time.
- Test and wear. Give the finished bracelet a firm but gentle tug at both ends. Clip the clasp to the jump ring and admire your work. You’ve just made jewellery.
Beginner Tips
Here’s the thing nobody tells you: most first bracelets fail at the crimp, not the beads. So let’s talk about the traps.
The biggest mistake is threading the wire back through the crimp bead in the wrong direction. Before you squeeze anything, hold the wire up and trace the path with your finger. The wire needs to pass through the crimp, around or through the clasp, and back through the same crimp. If it doesn’t, start over — a wrongly threaded crimp will never hold.
Second, don’t overfill. A bracelet that’s strung too tightly will feel rigid and uncomfortable, and the wire will be under constant strain. Leave a little slack so the beads can move.
Third, and this one surprises people, don’t use nylon thread for your first project even though it’s cheaper. It stretches, it frays, and it makes learning to crimp much harder because the crimps don’t grip it properly. Beading wire is the right tool for the job.
Finally, work in good light. Dark beads on a dark surface in dim lighting is how you end up with a wonky pattern and a lot of squinting.
Creative Variation
Once you’ve got the basic bracelet down, try a floating bead design. Instead of stringing beads side by side, place a crimp bead on either side of each feature bead, spacing them along the wire with small gaps of bare wire between. It creates a delicate, modern look where the beads seem to hover. Use slightly larger feature beads — 10mm or so — for the best effect, and keep the spacing consistent by marking your wire lightly with a fine-tip marker before you start. It’s the same technique you just learned, just applied with a little more intention.
Troubleshooting
The crimp keeps slipping. Nine times out of ten, this means the crimp is too big for your wire. A 2mm crimp needs 0.38mm to 0.46mm wire. If yours is sliding, size down your crimp or size up your wire. You can also try a dab of jewellery glue on the crimp for extra security, though a properly squeezed crimp shouldn’t need it.
The wire snapped while stringing. This usually happens if there’s a sharp edge on a bead, often on cheaper glass or metal beads. Run a fingernail around the hole — if it catches, that bead is a wire-killer. Either ream the hole smooth with a bead reamer or set that bead aside for a different project.
The bracelet is the wrong length. This is the easiest fix in the world. If it’s too short, remove the jump ring end, add a few beads, and re-crimp. If it’s too long, remove beads. You only need to redo one end, not the whole thing.
The clasp won’t open or close smoothly. Lobster clasps sometimes arrive stiff. A tiny drop of oil on the hinge and a few open-close cycles usually sorts it. If it’s genuinely faulty, swap it for a toggle clasp, which has no moving parts to fail.
The beads won’t sit flat. If your bracelet twists, you’ve probably strung it too tightly or used beads with holes that aren’t drilled straight through the centre. Loosen the tension slightly, and check your beads are sitting the right way round as you string.
And if something goes completely sideways? Cut it apart and start again. That’s not failure — that’s practice, and it’s how every jeweller you admire learned too.
You’ve now got everything you need to make a bracelet you’re genuinely proud of, and more importantly, you’ve learned the skills that carry across every beaded project you’ll ever try. So gather your beads, pour a cup of tea, and give it a go. Then make another one in a different colour, because the first one is always just the warm-up. I’d love to see what you create — happy beading.