Pressed Flower Art: A Beginner’s Guide
There’s a moment in every pressed flower workshop when someone holds up their first finished piece and says, “Wait, I actually made that?” It happens every single time. A few wilting blooms from the garden, a heavy book, a bit of patience — and suddenly you’ve got something worth framing. Pressing flowers is one of the oldest craft traditions there is. It also costs almost nothing to start.
Why bother? Because it slows you down in the best way. You notice petal shapes you’d normally walk past. You build a small archive of a season. And you end up with art that looks far more expensive than it was. Kids can do it. Grandparents can do it. Nobody needs a studio — just flowers, paper, and a little time.
Materials List
- Fresh flowers and leaves — pansies, daisies, cosmos, ferns, and geraniums press beautifully. Avoid thick, fleshy blooms like roses or tulips; they rot before they dry. If that’s all you have, split them in half and press the petals separately.
- Blotting paper or parchment paper — newspaper works in a pinch, but the ink can transfer. Coffee filters are a surprisingly great alternative. So is plain printer paper, though it absorbs moisture more slowly.
- Two pieces of cardboard — cut from a shipping box. Corrugated is ideal because the channels let air circulate.
- Heavy books or a flower press — a stack of old textbooks is genuinely fine. Aim for at least 5kg of weight. A proper wooden press gives more even pressure if you plan to do this often.
- Acid-free paper or card stock — for mounting your finished flowers. Watercolor paper, blank greeting cards, or a plain notebook all work.
- Mod Podge or clear craft glue — a glue stick is less messy but can yellow over time. Tweezers are optional but make a real difference.
- A small paintbrush — for applying glue to delicate petals without tearing them.
- A frame or glass pane — optional, but a cheap floating frame turns your work into something gift-worthy.
Step-by-Step
- Pick your flowers at the right time. Go out mid-morning, after the dew has dried but before the heat of the day. Flowers picked wet press badly. Flowers picked in blazing sun wilt before you get them inside. Choose blooms that are fully open but not yet fading — no brown edges, no drooping petals.
- Prep each flower immediately. The clock is ticking once they’re picked. Remove the stem right at the base of the flower head. For thicker flowers, gently pull the petals apart and press them individually. Leaves should be pressed flat too, and thick stems sliced in half lengthwise so they don’t mold.
- Build your pressing sandwich. Start with a piece of cardboard on a flat surface. Add a layer of blotting paper. Lay your flowers face-down, spaced so they don’t touch. Add another sheet of blotting paper, then the second piece of cardboard. The order matters: cardboard, paper, flowers, paper, cardboard.
- Arrange flowers with intention. This is the part most people rush. Spread petals so they lie flat and don’t curl under. If a petal overlaps another, it will fuse to it and you’ll tear the flower later. Give everything breathing room. One flower per square inch is a good rule of thumb for beginners.
- Weigh it down. Place your sandwich under a stack of heavy books or inside a flower press and tighten the screws. You want firm, even pressure — not so much that you crush the flowers into mush, but enough that they stay flat. A wobbly stack will give you wavy petals.
- Wait. Then wait longer. Small flowers like pansies take 7 to 10 days. Thicker leaves and denser blooms can take 2 to 3 weeks. Resist the urge to peek every day — every time you open the press, you let moisture back in and reset the clock. Check at the one-week mark, then leave it alone.
- Test for dryness. A properly pressed flower feels like thin paper. It should be stiff, not leathery, and it shouldn’t bend easily. If it’s still flexible, close the press and give it another few days. Pressing longer is almost always better than pressing less.
- Handle with tweezers. Dry pressed flowers are fragile and staticky. Use tweezers to lift them, never your fingers. Breathe away from them — a stray exhale can send a petal flying across the room.
- Plan your composition before you glue. Lay your flowers on your card or paper and move them around until you’re happy. Take a photo with your phone so you can recreate the arrangement after you lift them off. This one habit saves so much frustration.
- Glue and mount. Use a small paintbrush to dab a thin layer of Mod Podge on the back of each flower, or apply glue to the paper and lay the flower on top. Press gently with a clean finger or the back of a spoon. Work from the largest elements to the smallest.
- Seal and finish. Once everything is in place, brush a thin coat of Mod Podge over the top of the whole design. This protects the flowers and locks them down. Let it dry completely — usually 20 to 30 minutes — then frame it, turn it into a card, or leave it as is.
Beginner Tips
The number one mistake I see is pressing flowers that are too thick. People grab a rose or a daisy with a fat center and expect a perfect result. It won’t happen. That center holds moisture, and moisture means mold, browning, or a squishy mess after two weeks. Stick to flat, single-layer flowers for your first few projects. Once you’ve got the hang of it, you can start splitting thicker blooms.
Second mistake: pressing wet flowers. If there’s dew on the petals or you just rinsed them, pat them dry with a paper towel first. Any surface moisture gets trapped in the press and ruins everything around it. This is the silent killer of pressed flower projects.
Third mistake: not changing the blotting paper. If your flowers are even slightly damp, swap out the paper after 24 hours and again after three days. Yes, it means opening the press. Yes, it’s worth it. Fresh paper pulls moisture away instead of letting it sit there.
And here’s the counter-intuitive bit: don’t press your most beautiful flower first. Press the ordinary ones. Practice on daisies and clover and plain grass. Get a feel for how different plants behave. Save the prize bloom for when you actually know what you’re doing.
Creative Variation
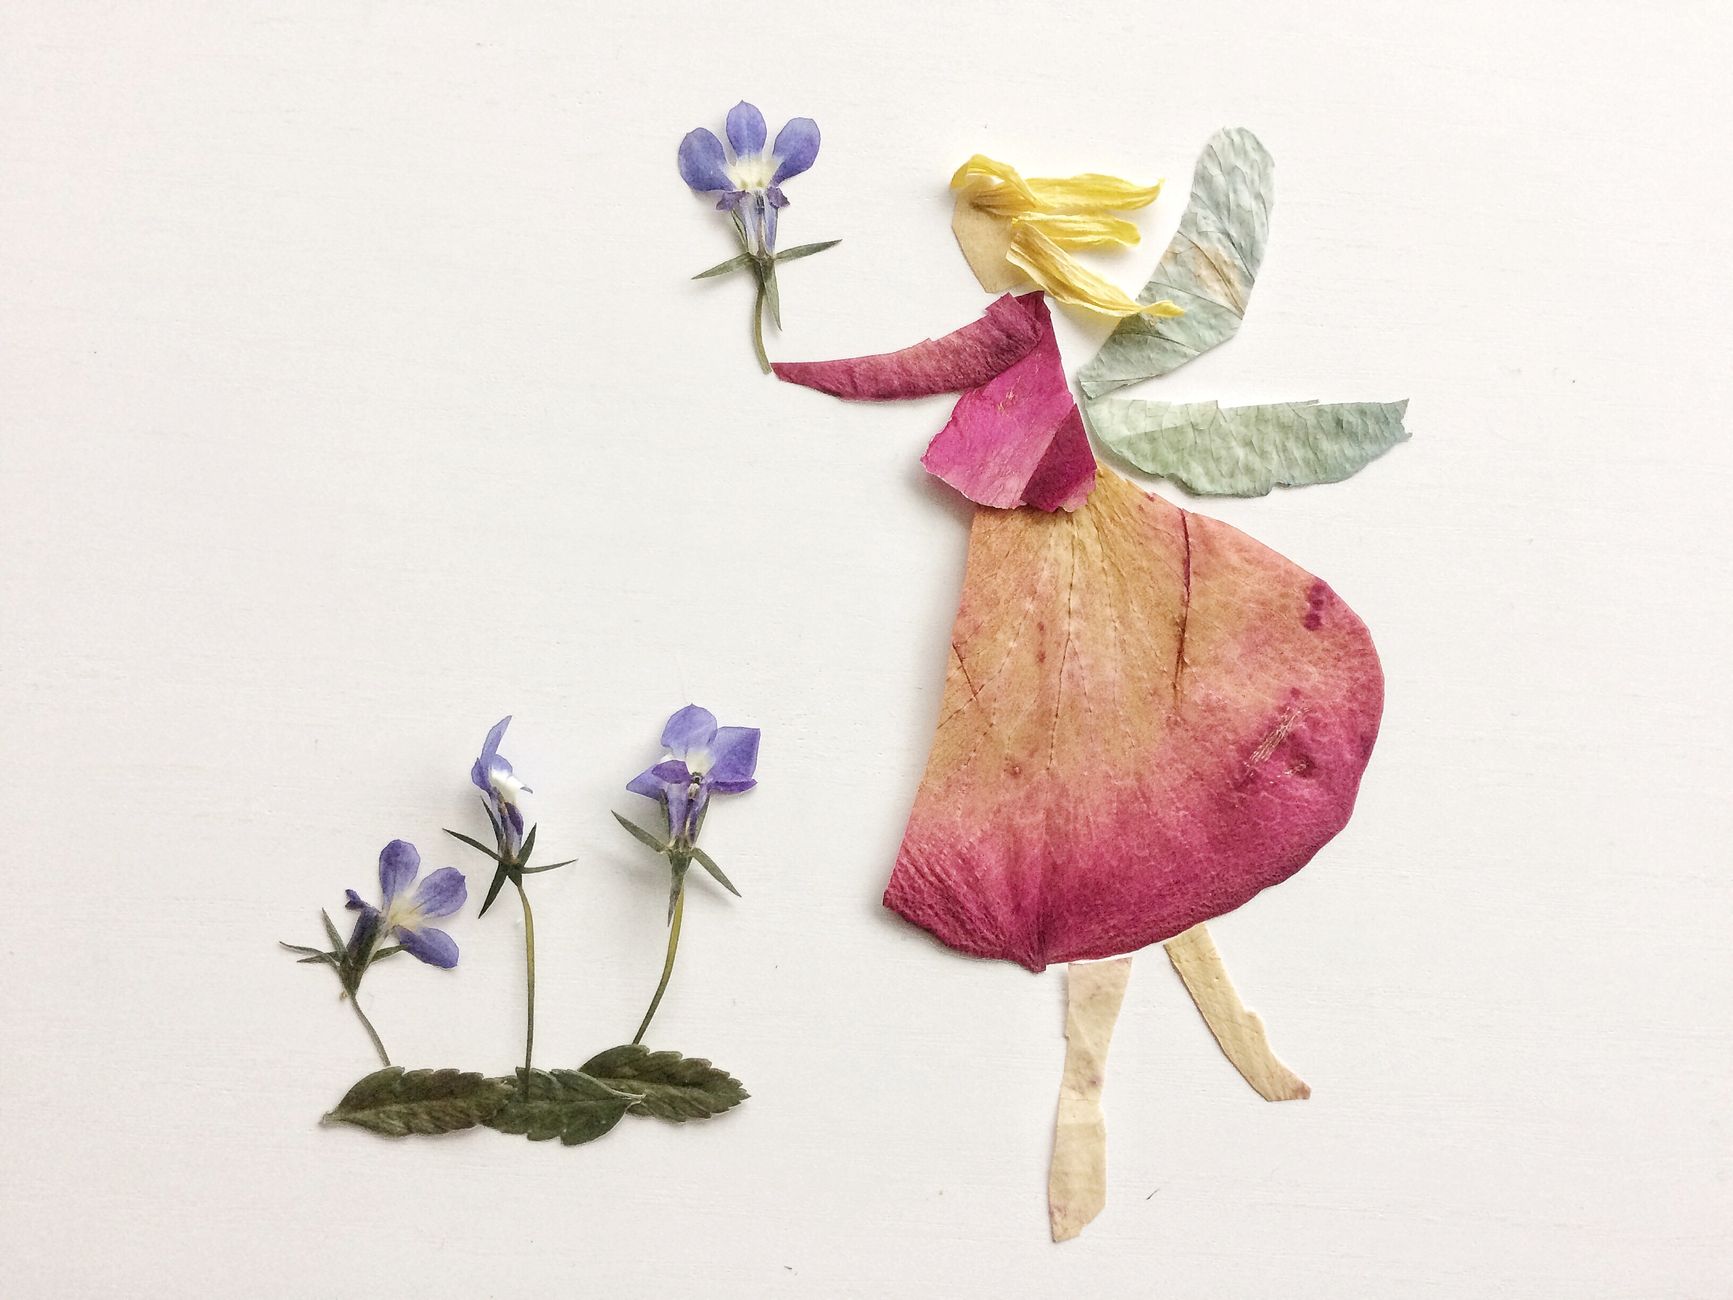
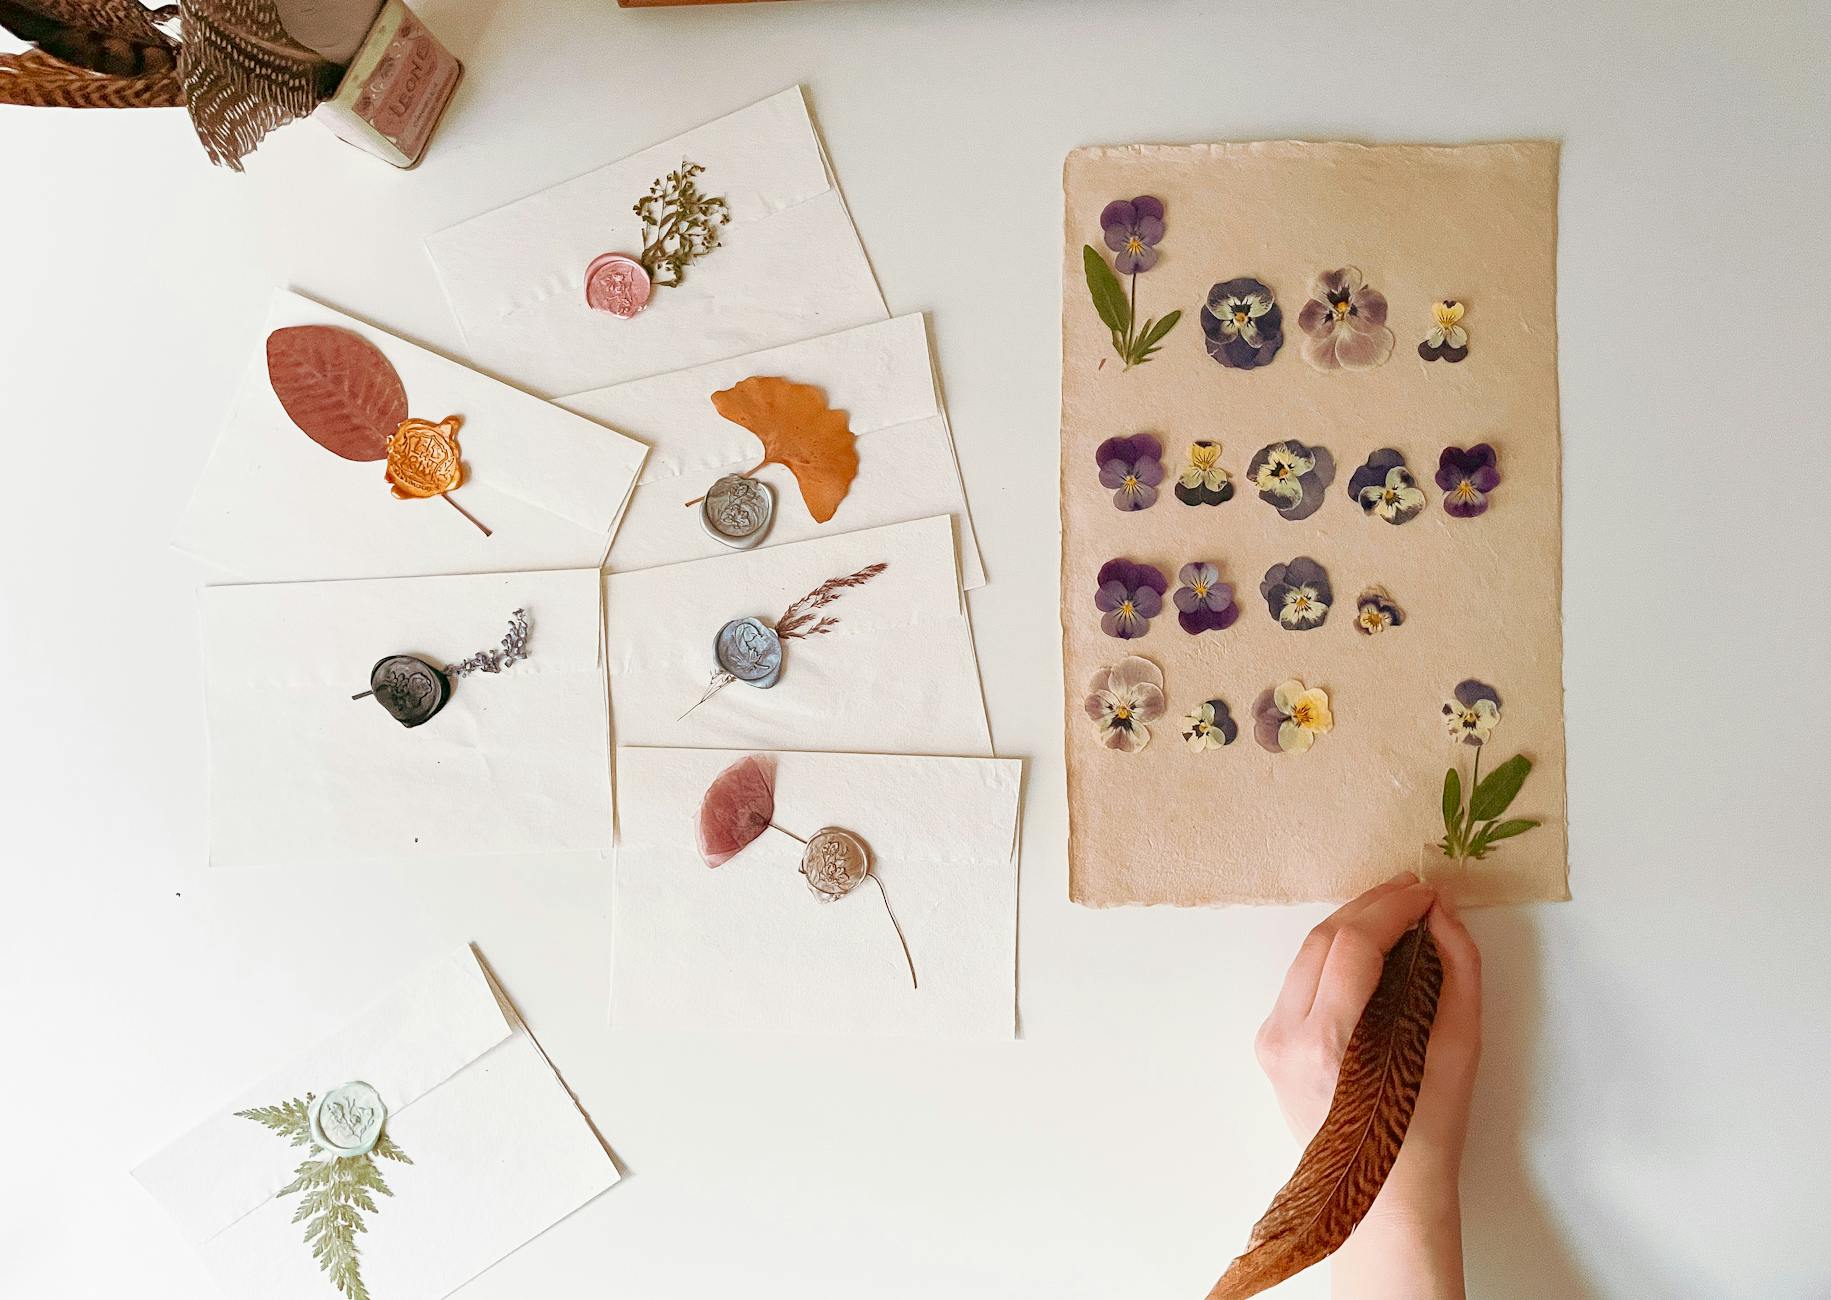
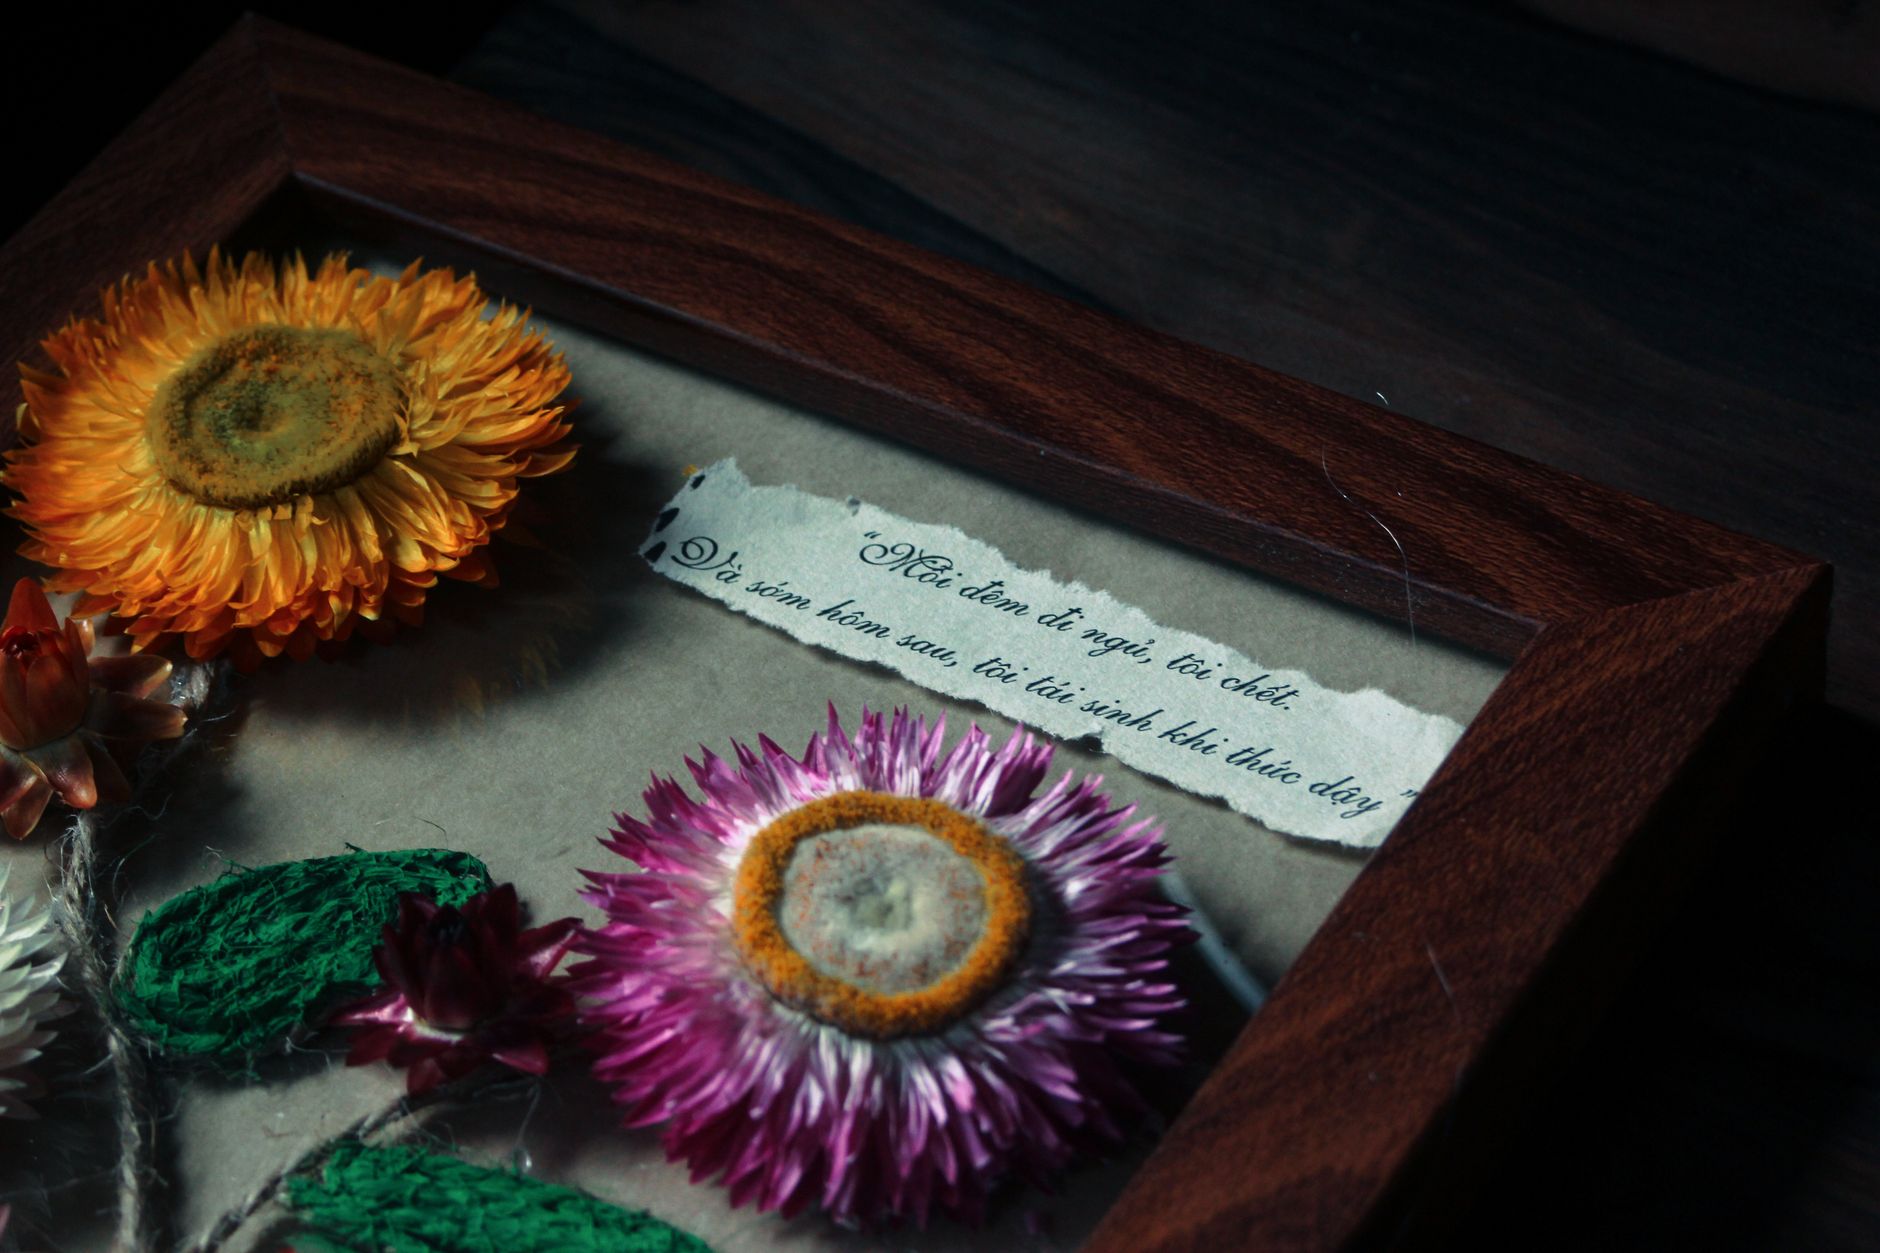
Once you’ve made a few flat, framed pieces, try pressing flowers onto handmade paper and then tearing the edges for a rustic look. Or go bigger — press a whole meadow’s worth of flowers and arrange them into a landscape scene, with leaves as trees and petals as hills. My favorite variation is pressing flowers directly onto a blank journal cover, then sealing it with several coats of Mod Podge. Every time you open the journal, you get a little hit of summer.
Another idea: press flowers onto thin white paper, then use them as the front panel of a handmade card. Write your message inside. People keep these for years. A pressed flower card beats a store-bought one every single time.
Troubleshooting
The flowers turned brown. This usually means they were too wet when pressed or the paper wasn’t changed. Brown spots can also come from flowers that were already past their prime. Next time, pick fresher blooms and swap the blotting paper after the first day.
The flowers are moldy. Throw them out — don’t try to salvage them. Mold spreads. The cause is almost always poor air circulation. Make sure your cardboard layers aren’t sealed in plastic, and don’t press in a damp room.
The petals curled or wrinkled. You didn’t spread them flat enough, or your press wasn’t heavy enough. Try again with more weight and take extra time arranging each petal before closing the sandwich.
The flowers stuck to the paper. This happens with sappy flowers or when you press directly onto printer paper. Always use blotting paper or parchment between the flowers and anything else. If they’re already stuck, try gently sliding a razor blade under the edge.
The color faded. Some fading is normal — reds and pinks are the worst offenders. Keep finished pieces out of direct sunlight. That’s the single biggest factor in how long the color lasts.
The glue shows through. You used too much. A thin, even layer is all you need. If you can see wet glue through the petal, you’ve overdone it. Blot with a clean cloth and let it dry.
Pressed flower art rewards patience more than skill. You don’t need talent. You need a few good flowers, a heavy book, and the willingness to wait a week without peeking. Start with something small this weekend — a single pansy on a card is a perfect first project. Then tell me: what’s the first flower you’re going to press? I’d love to know.