Pottery Without a Kiln: Make a Pinch Pot at Home
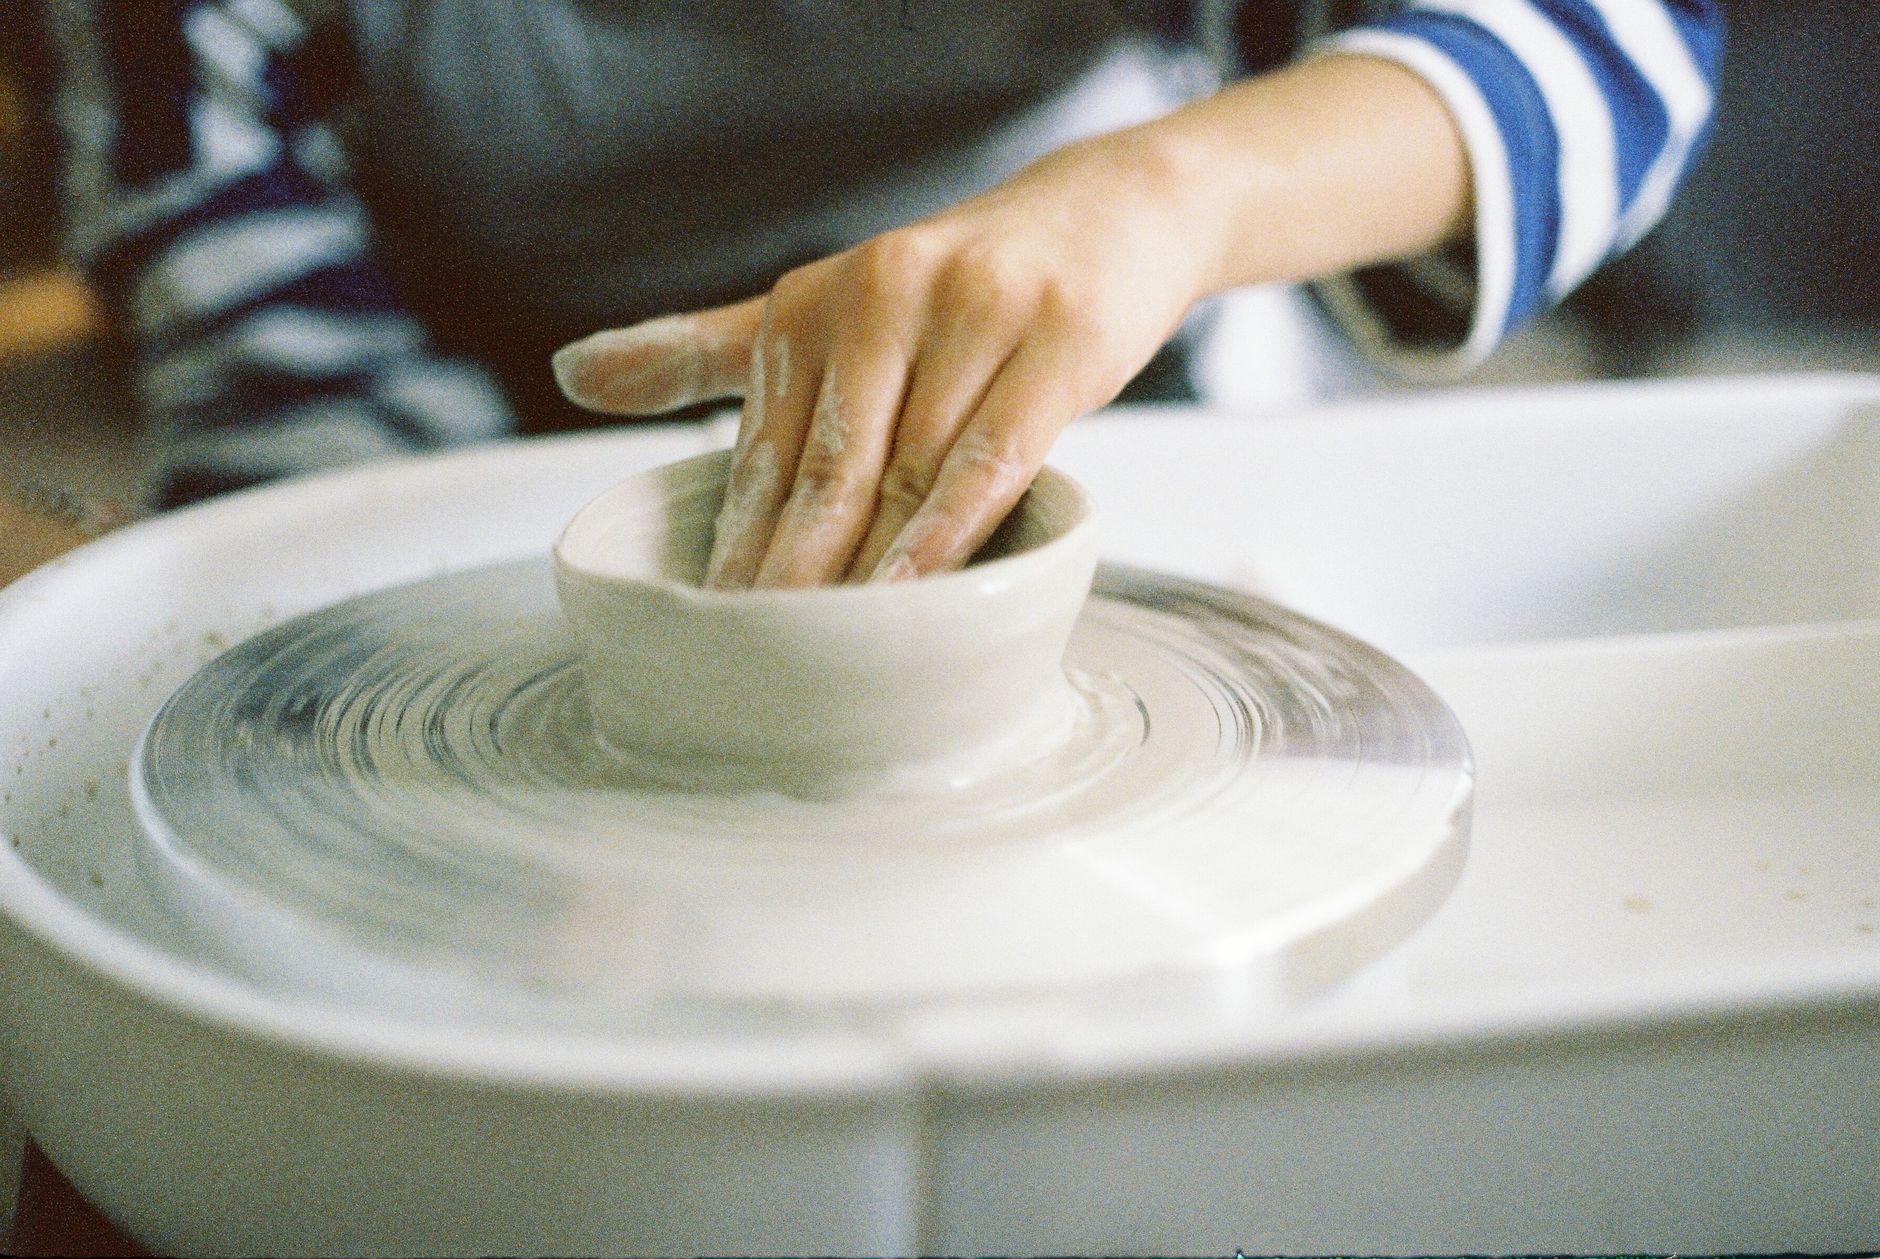
Your hands are cool and slick with grey slip. The clay spins in slow, stubborn circles under your palms. Somewhere in the back of your mind a voice says you need a kiln for this. A big, expensive, fire-breathing kiln. Except you don’t. Not for the project I’m about to show you. I’ve taught this workshop in village halls with nothing more than a folding table and a bucket, and it works every single time. You’re going to make a small, beautiful pinch pot, dry it slowly, and fire it in a way that fits on a kitchen shelf. Let’s get your hands dirty.
Why bother? Because making something with your hands, even something small and wobbly, settles your nervous system in a way scrolling never will. This project needs no studio, no membership, no fancy equipment. It takes an afternoon, costs very little, and gives you a real object you can hold. That’s a good trade.
Materials List
- Air-dry clay or self-hardening clay — around 500g is plenty for two small pots. You can buy this online or from most craft shops. If you can’t find it, plain buff earthenware clay from a pottery supplier works too (you’ll handle it slightly differently, see the tips).
- A smooth, non-porous work surface — a plastic chopping board, a melamine tray, or even a sheet of baking parchment taped to the table.
- A small bowl of water — for smoothing, not for soaking. A spray bottle is a lovely alternative if you have one.
- A wooden spoon or a smooth stone — for tapping and shaping. A clean pebble from the garden is perfect.
- A fork or a pin tool — for scoring the clay. A cocktail stick works just as well.
- A sponge — a cheap kitchen sponge cut into a small piece. This is your smoothing tool and your best friend.
- Fine sandpaper (optional) — for tidying rough edges once the clay is bone dry.
- A lidded plastic box or a large freezer bag — for keeping clay workable between sessions.
One note on the “no kiln” part. Air-dry clay hardens by evaporation, not fire, so it’s genuinely kiln-free. If you’re using real earthenware clay instead, you can fire small pieces in a backyard pit or a barbecue — I’ll explain that in the troubleshooting section, because it’s where most people trip up.
Step-by-Step
- Warm the clay. Take a lump about the size of a satsuma and knead it in your hands for a minute or two. You’re looking for a soft, even consistency with no hard lumps. If it feels crumbly, wet your fingertips and knead a few drops of water in. If it’s sticky, leave it out on the board for ten minutes to dry slightly.
- Roll it into a ball. Cup it between both palms and roll in gentle circles. You want a smooth, round ball with no cracks on the surface. Cracks now become cracks later, so take your time here.
- Press your thumb in. Hold the ball in one hand and push your thumb slowly into the centre, stopping about two-thirds of the way down. Don’t push through the base. This is the start of the hollow.
- Pinch and rotate. Keeping your thumb inside, pinch the wall between your thumb and fingers and rotate the ball steadily. Pinch, turn, pinch, turn. Work your way around the whole rim, gently thinning the walls to about the thickness of a pound coin. Even thickness matters more than thin walls — a thick, even pot is far stronger than a thin, patchy one.
- Shape the rim. Once the walls are even, you can coax the rim outward for a little bowl, or inward for a bud vase. Support the outside with your fingers while you press from the inside with your thumb.
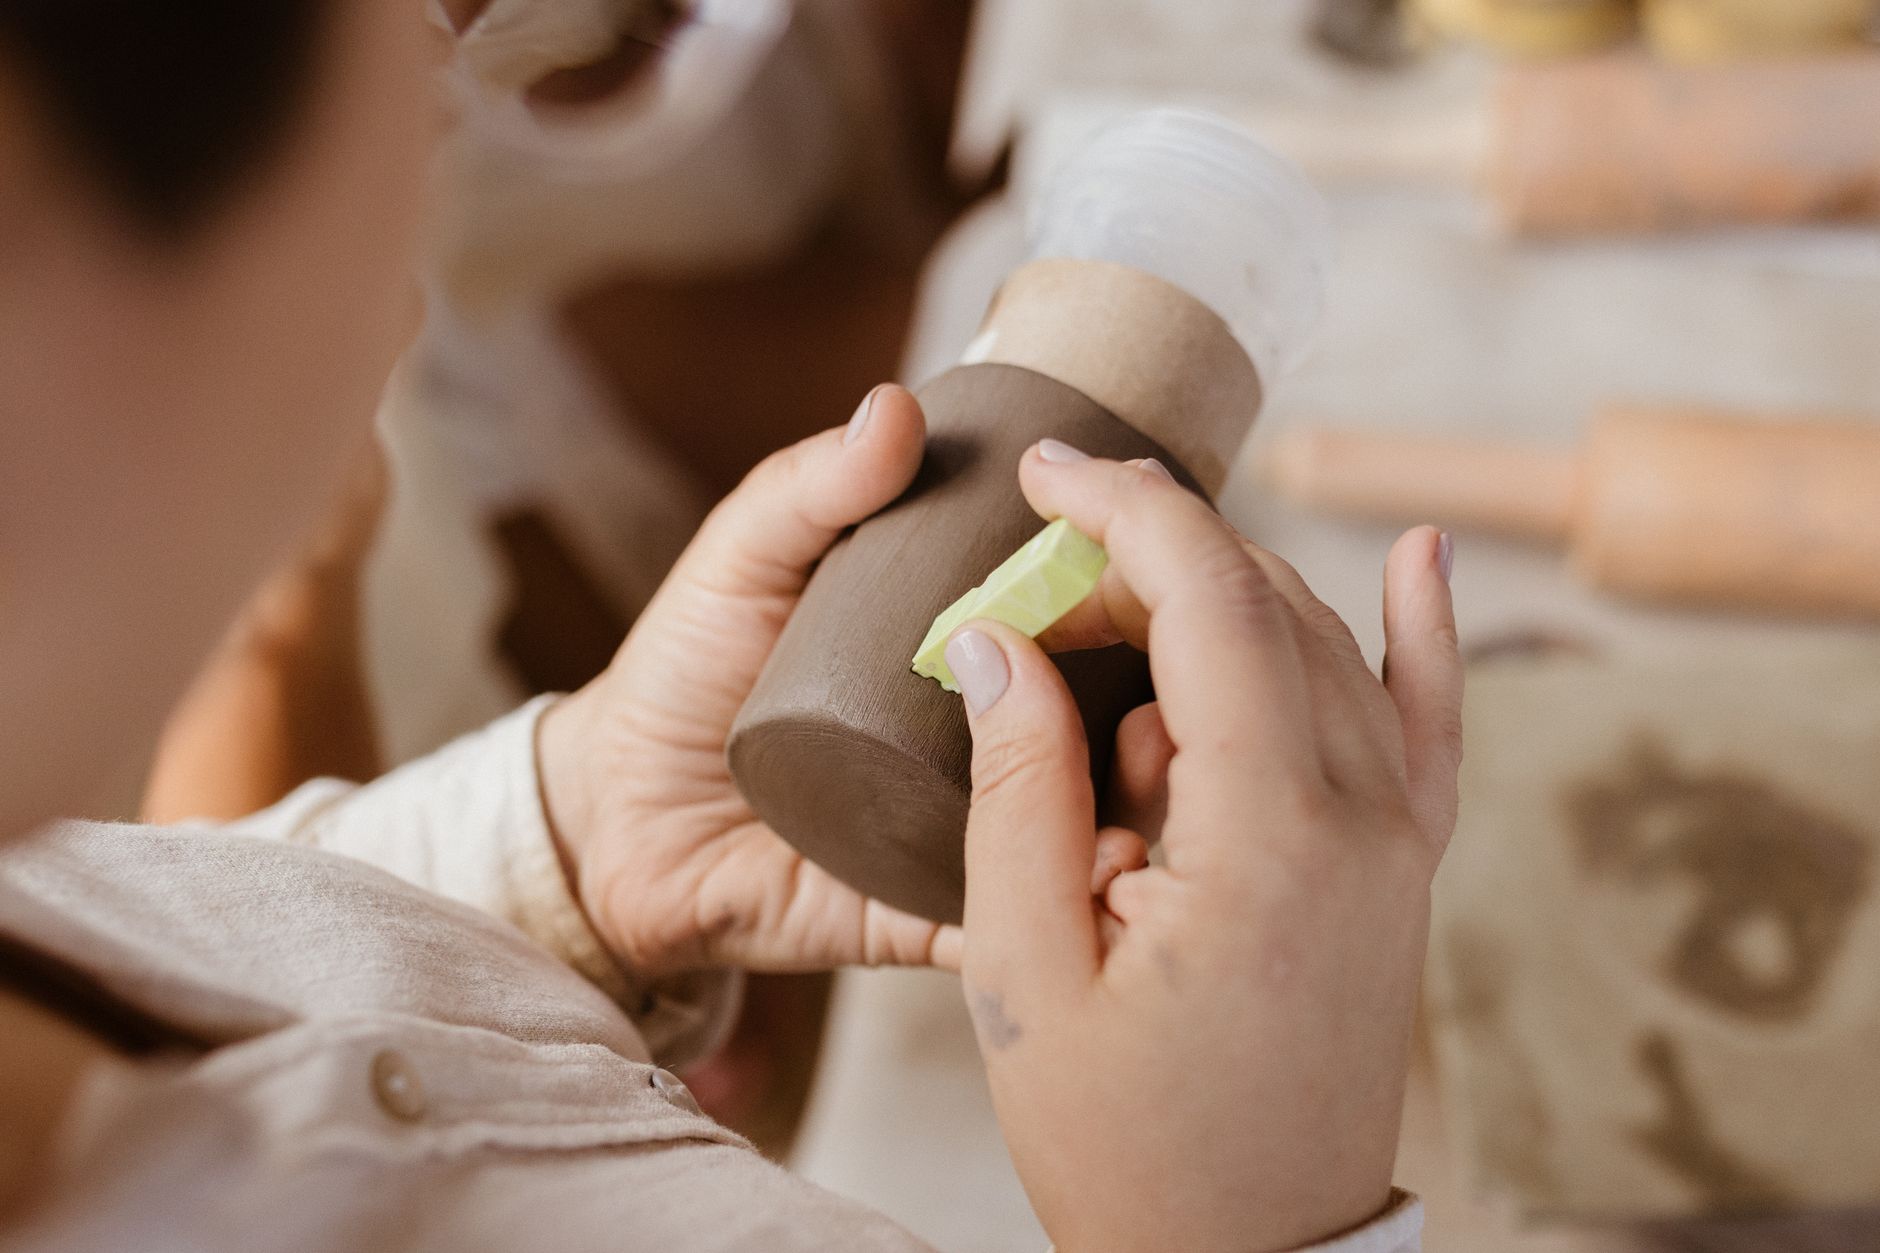
- Smooth the surface. Dampen your sponge and gently wipe the inside and outside of the pot. Don’t scrub — just glide. This closes the tiny cracks and gives you a lovely soft finish.
- Add a foot. Tap the base of the pot on your board to flatten it slightly. This gives it a stable foot so it doesn’t rock when it’s dry. A gentle tap with the wooden spoon works beautifully.
- Score and attach (if you’re adding anything). Want a little handle or a decorative coil? Score both surfaces with your fork, add a dab of water, and press together firmly. Skip this step if you’re keeping it simple.
- Dry it slowly. This is the step everyone rushes. Place your pot somewhere cool and out of direct sunlight, loosely covered with a plastic box lid or a tea towel. Leave it for 24 hours. Then uncover it and let it dry for another two to three days, turning it occasionally so air reaches all sides.
- Sand and finish. Once the clay is bone dry and feels cool to the touch, sand any rough spots with fine sandpaper. If you want a sealed surface, brush on two thin coats of matte varnish or a clay sealer, letting each coat dry fully.
Beginner Tips
Here’s what I see go wrong in almost every workshop, and how to dodge it.
Don’t make the walls too thin. Everyone wants a delicate, paper-thin pot on their first go. Resist it. Thin walls crack as they dry and crumble if you look at them funny. Aim for even, not thin.
Dry it slower than you think. This is the big one. Clay shrinks as it dries, and if the outside dries faster than the inside, it cracks. Cool room, loose cover, patience. A pot that dries over four days will outlive one that dries overnight every time.
Keep your hands damp, not dripping. Too much water turns clay into slip and weakens the structure. A barely-damp sponge is all you need.
Don’t skip the kneading. Air pockets trapped in the clay expand and cause blowouts. Kneading pushes them out. Two minutes now saves a cracked pot later.
And here’s a counter-intuitive one: your first pot is allowed to be ugly. In fact, it probably should be. The wobbly one teaches you more than the perfect one, because you can see exactly where your fingers pressed too hard. Keep it. Put a cactus in it.
Creative Variation
Once you’ve made one plain pinch pot, try a textured herb pot. Before your pot dries, press a clean leaf, a piece of lace, or the back of a fork into the outside wall to leave an imprint. Press firmly but not so hard you go through the wall. Then brush the surface lightly with a little slip (clay mixed with water to a yoghurt consistency) and let it dry. The texture catches the light beautifully and makes even a simple shape look intentional. You can also try pressing small shells or buttons into the damp clay for a coastal or vintage feel.
Troubleshooting
It cracked while drying. Small hairline cracks can be filled with a paste of clay and water once the pot is dry, then sanded smooth. Larger cracks mean the pot dried too fast — next time, cover it more loosely and keep it cooler.
It’s still soft after a week. Air-dry clay needs airflow and low humidity. Move it somewhere warmer and drier, and flip it every day so the base dries too. A fan on low, pointed near but not at the pot, can help.
The walls collapsed. You went too thin, or the clay was too wet. Let the pot firm up for an hour, then gently push the walls back out from the inside with your thumb. If it’s beyond saving, wedge the clay back together and start again — it’s reusable until it’s dry.
You used real earthenware clay and want to fire it. Small pieces can be fired in a backyard pit: dig a shallow hole, nestle the bone-dry pots in sand, cover with a lid of metal or more sand, and build a fire over the top for a few hours. Let it cool completely before digging out. It’s unpredictable and I’d practise on a test piece first — but it’s a wonderful afternoon.
The surface feels rough and dusty. That’s normal for air-dry clay. A light sand and a coat of sealer fixes it. If you want it food-safe, line it with a small glass or use it for dry goods only — air-dry clay isn’t waterproof on its own.
Your pot is dry, your hands are clean, and somewhere on your shelf sits a small object that didn’t exist this morning. That’s the whole magic of it. No kiln required, no studio, no permission slip. Just clay, water, and a bit of patience. Make another one this weekend — I promise the second is better, and the third is where you start to fall in love with the process.