Paper Quilling for Beginners: Start Rolling Tonight
My first quilled coil looked like a dropped spring from an old biro. I’d wound the paper too tight, glued it shut, and there it sat on the table like a tiny, sad snail. Then I made a second one, loosened it just a touch, and something clicked. Paper quilling is basically rolling thin strips of paper into coils, pinching them into shapes, and gluing them into place. That’s it. No kiln, no saw, no fancy machinery. You can start with a strip of paper and a toothpick tonight. The craft has been around since the Renaissance, when nuns and monks quilled leftover paper edges to decorate religious items. If they could do it with scraps, so can you.
Why make this? Because quilling turns cheap paper into something that looks like filigree metalwork. It’s slow in the best way. A quiet, repetitive rhythm that settles your brain after a long day. Finished pieces are lightweight, frameable, and genuinely gift-worthy, and you can complete a small project in an evening. Let’s roll some paper.
Materials List
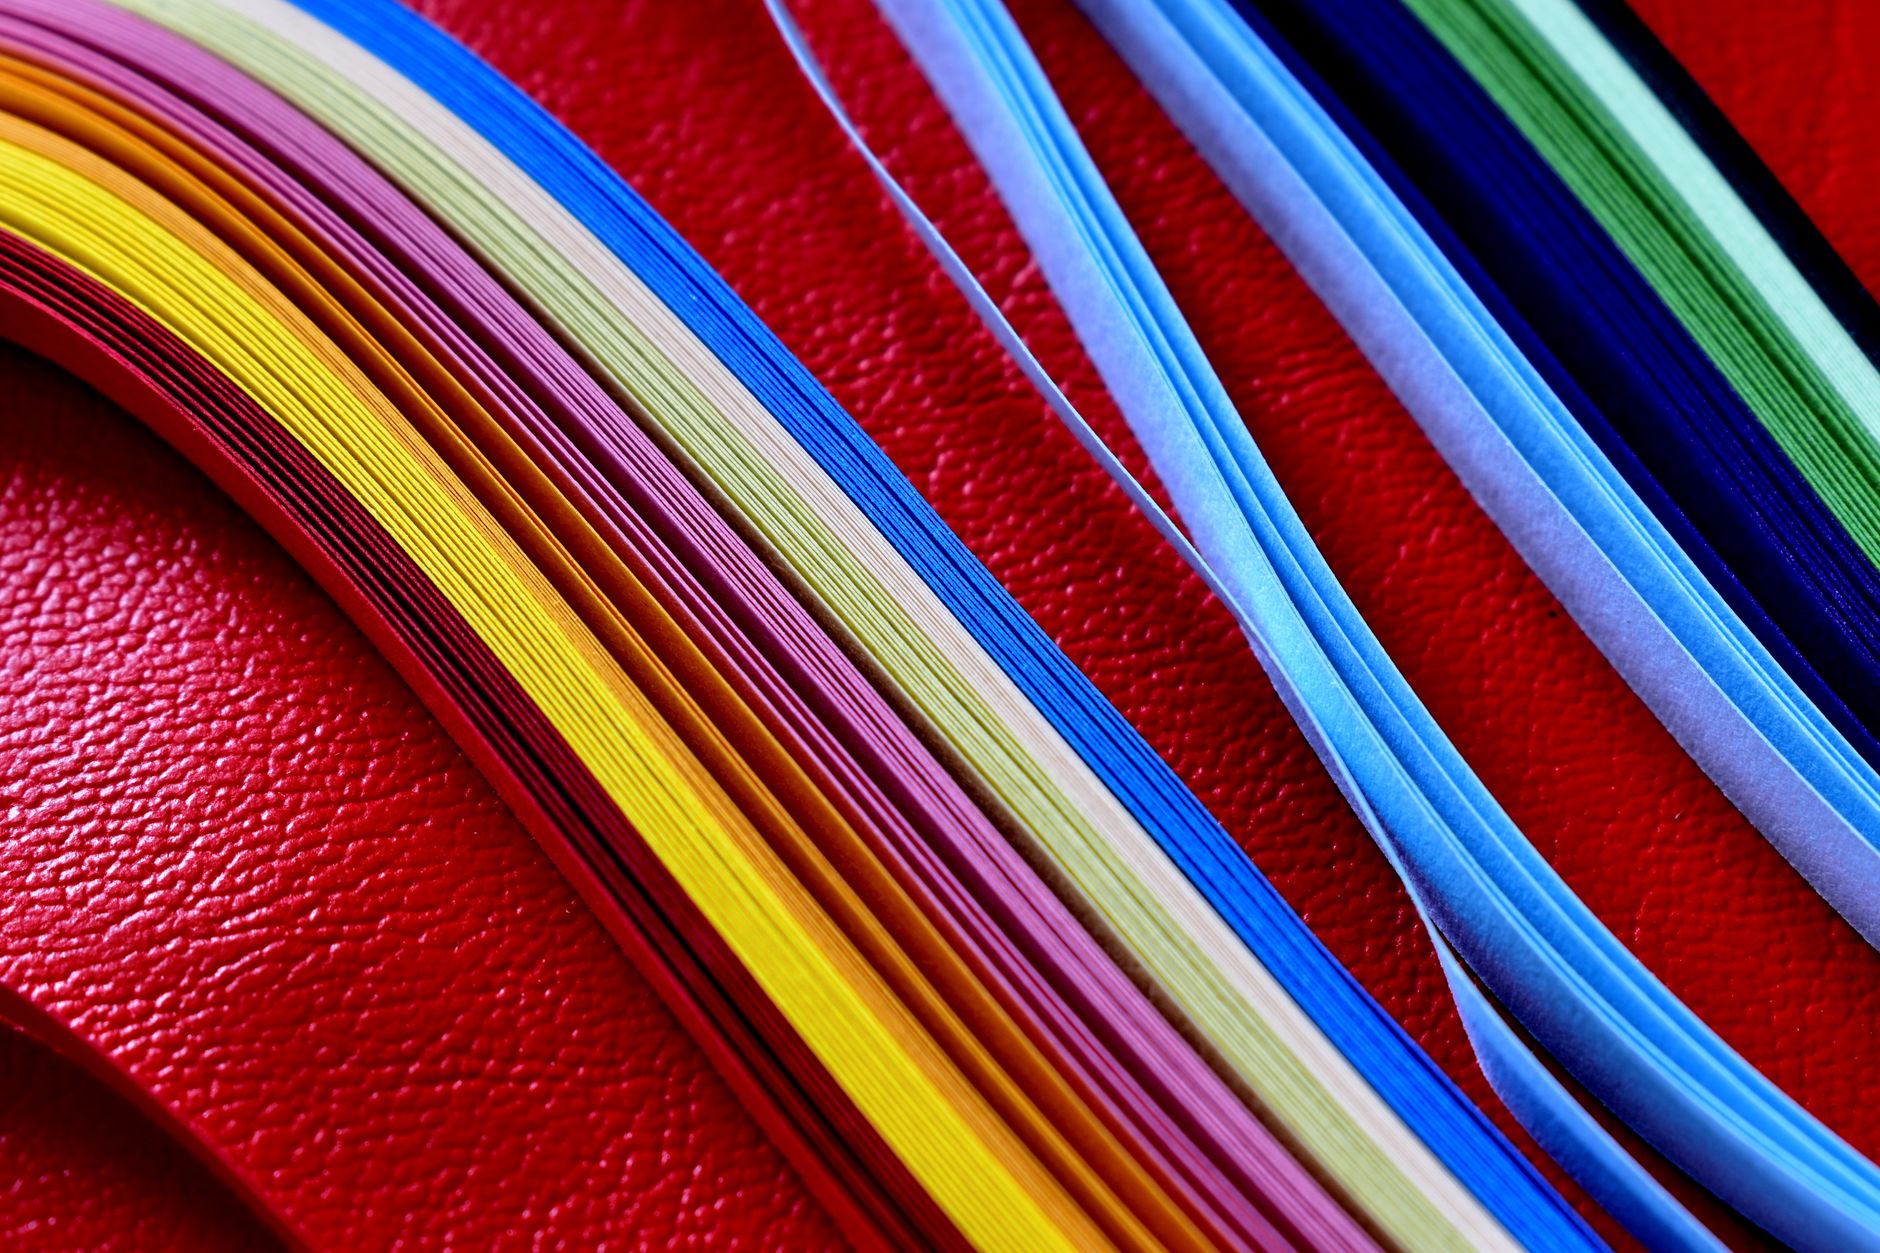
- Quilling paper strips — pre-cut strips about 3mm to 5mm wide and 30cm long are the standard. You can buy packs in mixed colours for a few pounds. No quilling paper? Cut your own from ordinary printer paper or coloured craft paper using a ruler and craft knife. Aim for strips about 3mm wide. Precision matters more than perfection here.
- A slotted quilling tool — a small handle with a slit in the metal tip that grips the paper end. Cheap and worth it. Alternatives: a toothpick with a slit cut into the top, a large sewing needle, or even a bamboo skewer. A cocktail stick works in a pinch, but the slit makes life much easier.
- Craft glue — a clear-drying PVA or tacky glue. White school glue is fine, but it’s runnier and takes longer to grab. A fine-tip applicator bottle helps enormously. Alternatives: a glue stick (weaker hold, better for practice pieces) or fabric glue (stronger, dries slower).
- Tweezers — for placing tiny coils and holding glued ends. Any fine-tipped craft tweezers will do.
- A quilling board or cork board — a foam board or cork mat with pins lets you hold shapes in place while glue dries. Alternatives: a piece of thick cardboard with a sheet of wax paper taped over it, or a self-healing cutting mat.
- Scissors — small, sharp ones for trimming strips.
- A ruler — metal is better if you’re cutting your own strips.
- Paper for the base — cardstock, a blank greetings card, or a canvas. Cardstock is the beginner’s friend.
- Optional: a circle template or quilling coach — a plastic board with sized holes for making uniform coils. Not essential, but handy if you want matching sizes.
Step-by-Step
- Set up your space. Clear a flat surface with good light. Lay out your strips, tool, glue, tweezers, and board within easy reach. Keep a damp cloth or wet wipe nearby for gluey fingers — sticky fingers tear paper. Put your base card to one side so it stays clean.
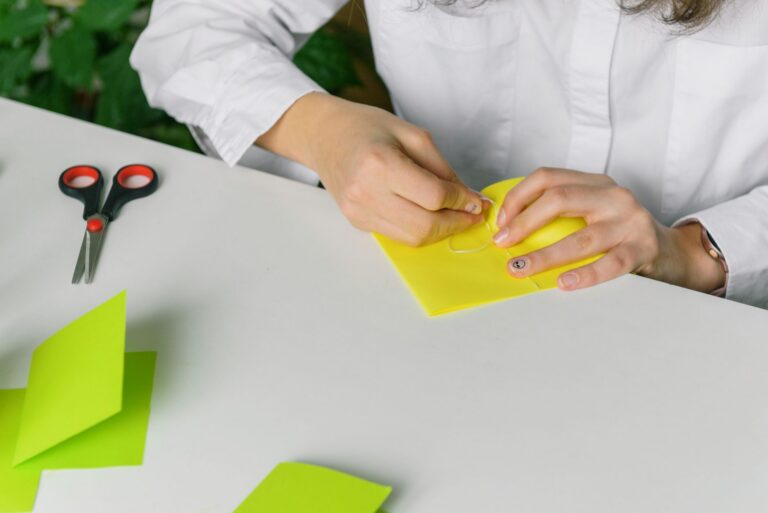
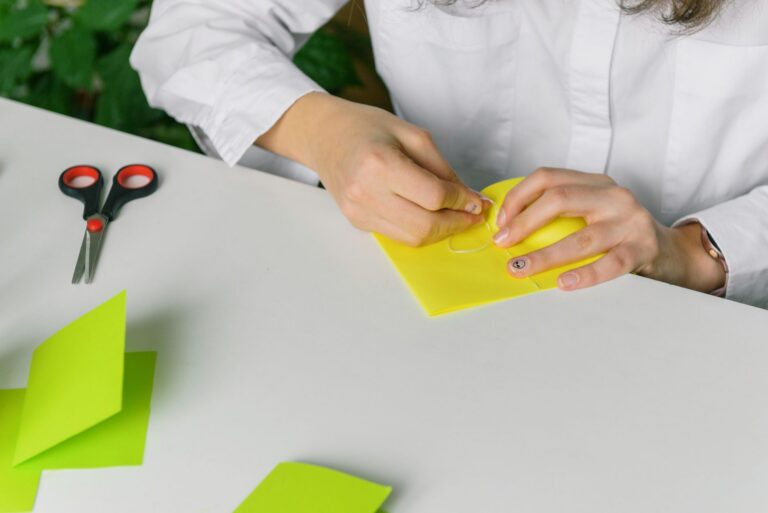
- Cut or sort your strips. If you’re using pre-cut strips, fan them out by colour. If you’re cutting your own, measure and mark 3mm intervals along the long edge of your paper, then slice with a craft knife against a metal ruler. Cut a batch. You’ll use more than you think. Keep them in a small dish so they don’t curl off the table.
- Load the tool. Hold your quilling tool in your dominant hand. Take one strip and slide one end into the slit of the tool tip, leaving just 2-3mm poking through. The paper should be gripped, not jammed. If your tool has no slit, lay the strip end against the toothpick and pinch it with your thumb as you start to roll.
- Roll the coil. Turn the tool slowly with one hand while guiding the strip with the other. Keep gentle tension — the strip should feed in smoothly, not yank or slip. Roll until you reach the end of the strip, or until you have the size you want. Don’t roll it drum-tight. A little looseness is good.
- Release and relax the coil. Slide the coil off the tool and let it spring open slightly on your board. This is the key moment. Let it rest for a few seconds so it finds its natural size. A tight coil is one thing; a relaxed coil is the foundation of almost every quilled shape.
- Glue the end. Apply a tiny dot of glue to the loose tail with a toothpick or fine applicator. Press the tail down against the outer edge of the coil and hold for a few seconds. Less glue is always better. A blob will smear and show when it dries.
- Make a basic teardrop. Pinch one side of your glued circle between thumb and forefinger to make a point. That’s a teardrop. Pinch two opposite sides for a leaf shape. Pinch four points for a square. These three shapes alone will fill most beginner projects.
- Plan your design. Sketch a simple outline on your cardstock first: a flower, a heart, a monogram letter, a few leaves on a stem. Keep it small — a 10cm by 10cm area is plenty for your first piece. Light pencil marks are fine and can be erased later.
- Build the centre first. Glue your tightest coil in the middle of the design and work outward. This anchors everything. Use tweezers to place each shape, then nudge it into position with the tip before the glue sets.
- Glue shapes in place. Apply glue to the base card, not the paper shape, using a toothpick. Press the shape down gently and hold for a few seconds. Work in small clusters so you’re not waiting on a dozen loose pieces at once.
- Fill the gaps. Add small coils, teardrops, or thin scrolls between the larger shapes. Scrolls — strips rolled at both ends but not glued in the middle — add movement. Use them as stems, tendrils, or decorative swirls.
- Let it dry flat. Leave your piece undisturbed for at least an hour, ideally overnight. Paper can warp if you move it too soon. Place a clean sheet of paper over it if you have pets or a draught.
- Finish and display. Once dry, trim any stray glue threads with tweezers. Mount your card in a frame, or glue it to a larger backing. A shadow box frame works beautifully for quilling because it gives the paper room to breathe.


Beginner Tips
Rolling too tight is the number one mistake. Beginners grip the tool like they’re wringing out a cloth and end up with coils so dense they look like solid paper. Quilling is meant to show the spiral. Loosen up. Let the coil relax before you glue it.
Second mistake: too much glue. A dot the size of a pinhead is usually enough. If you can see a white blob, it’s too much. Use a toothpick to apply, not the bottle nozzle.
Third: working too big too soon. A full A4 landscape covered in quilling will take days and test your patience. Start with a greetings card or a small square. Finish something. Then go bigger.
Fourth: ignoring paper grain. Strips cut along the grain roll more smoothly and hold their shape better. If your strips keep snapping or kinking, try cutting them in the other direction.
Fifth: rushing the dry. Glue needs time. Moving a piece before it’s set will shift everything and leave you with a wonky design. Use the drying time to roll your next batch of coils.
One counter-intuitive tip: don’t aim for uniform coils at first. Perfectly matched circles and teardrops look stiff and machine-made. A little variation gives your piece character. Save the precision for later.
Creative Variation
Once you’ve made a basic flower or heart, try a quilled monogram. Draw a large letter in pencil on cardstock — something with clean lines like an A, an E, or an L. Fill the letter’s outline with tight coils in one colour, then fill the interior with looser coils, teardrops, or scrolls in a contrasting shade. It’s personal, it looks impressive, and it teaches you how to work within boundaries. You can also try quilling over a painted background, using watercolour washes to add depth behind the paper shapes. The paper sits proud of the surface and casts tiny shadows, which gives the piece a lovely three-dimensional quality.
Troubleshooting
My coil won’t stay glued. You’re probably using too little glue or the wrong kind. A dot of PVA or tacky glue pressed and held for ten seconds should do it. If the paper is glossy, rough it up slightly with a fingernail before gluing.
My shapes are all different sizes. That’s normal at first. Use a quilling coach or a circle template to size your coils consistently. Roll more strips than you need, then sort them by size before you start gluing.
The paper keeps tearing. You’re pulling too hard or your strips are too narrow. Try slightly wider strips (5mm) and a lighter touch. Also check your tool — a rough or rusty slit will catch the paper and rip it.
My finished piece is warped. Too much glue or too much moisture in the paper. Use less glue, and dry your piece flat under a light weight — a clean book works — for a few hours after the initial set.
My design looks messy. Step back. Quilling is fiddly up close. Most pieces look chaotic at the halfway point and only come together in the final third. Keep going, and fill the gaps with small coils to unify the composition.
I can’t pick up the tiny coils. Tweezers are your friend. Grip the coil gently at the outer edge, not the centre, and place it on the glue dot. A tiny bit of glue on the tweezer tip can help pick up stubborn pieces — just don’t glue your tweezers to the card.
Paper quilling rewards patience more than talent. You don’t need steady hands or expensive tools. You need a strip of paper, a bit of glue, and the willingness to make a few wonky coils before one comes out just right. My first snail-shaped disaster is still stuck to my noticeboard — a reminder that every craft starts messy. So grab a strip. Roll it. Let it spring open. Pinch it into a teardrop. You’ve just made your first quilled shape. Now make another one. And another. Before long you’ll have a small, intricate, slightly imperfect piece of art that you made with your own hands. What will you quill first?