Egg Carton Crafts: Hanging Seed Starter Cups
Run your thumb along the inside of a paper egg carton and you’ll feel it — those soft, bumpy cups, the little peaks between them, the whole thing begging to become something else. I’ve hauled dozens of these home from the market, and I still get a small thrill when I flatten one out and see all that texture waiting. Here’s a fact that surprises most people: a standard dozen-egg carton gives you twelve little domes of material, and each one is roughly the size of a doll’s teacup or a seed starter. That’s a lot of raw material for something you were about to bin. So let’s turn one carton into a set of hanging seed-starting cups and a matching seedling marker set. No special tools. No expensive kit.
Why bother? Paper pulp holds moisture beautifully, breaks down in the garden, and costs nothing. This project takes about forty minutes, uses stuff you already own, and gives you a genuinely useful thing at the end. Kids can do most of it. Adults who think they’re “not crafty” can absolutely do all of it. Grab a carton and let’s get our hands dirty.
Materials List
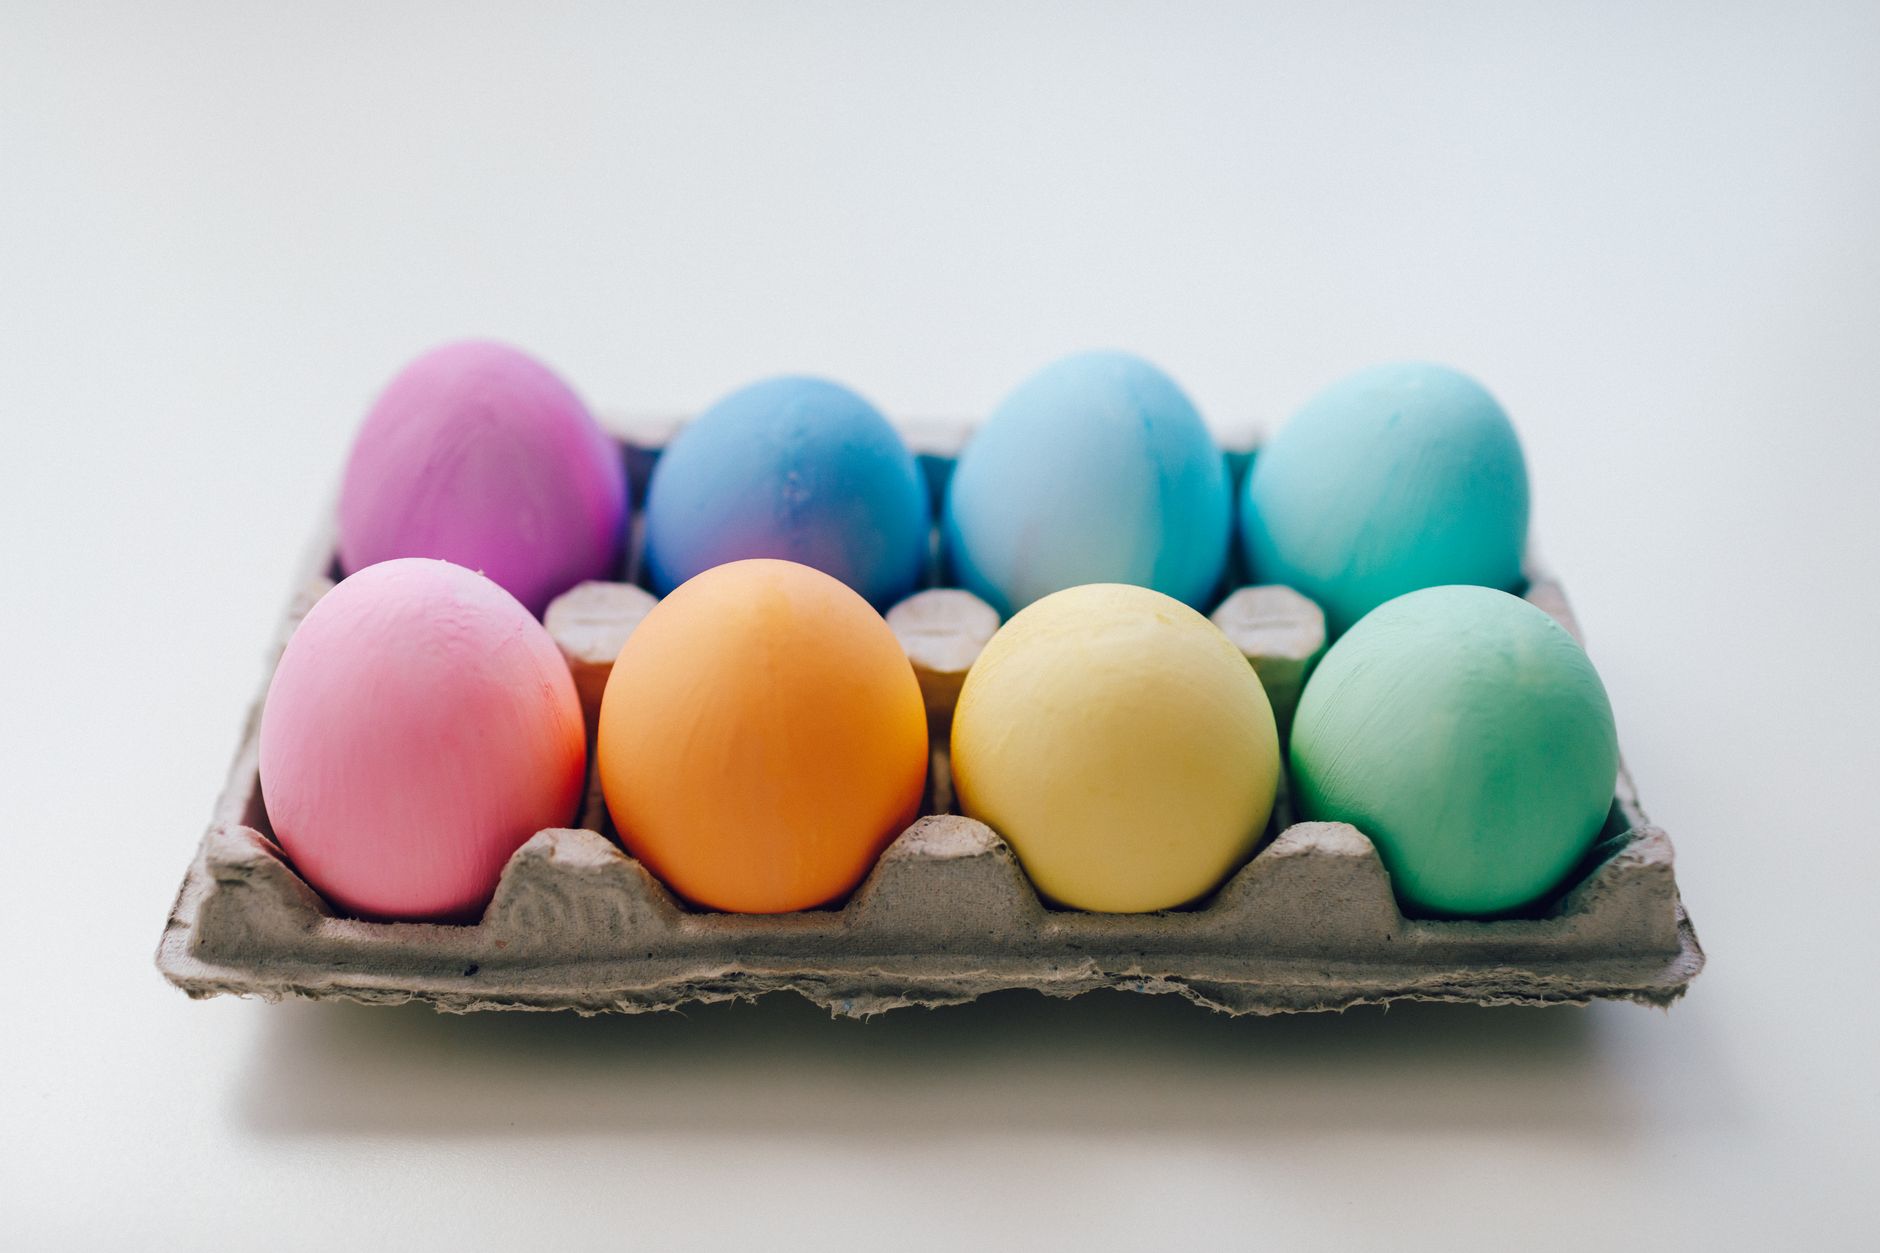
- One standard paper egg carton — the grey-brown molded pulp kind, not the shiny foam or clear plastic ones. If you only have plastic, set it aside; the paper pulp is what makes this work.
- Sharp scissors — small embroidery scissors are lovely for the fiddly cuts, but any decent kitchen scissors will do. Blunt kids’ scissors will fight you.
- A craft knife (optional) — handy for scoring the connecting peaks, but scissors alone are fine. Skip it if you’re crafting with little ones.
- Twine or cotton string — about 30cm per cup. Jute, garden twine, even old shoelaces work.
- A skewer or hole punch — for poking hanging holes. A metal skewer, a knitting needle, or the tip of a sharp pencil all do the job.
- Potting compost — a small handful per cup.
- Seeds — fast germinators like cress, basil, or radish are ideal for a first go.
- Acrylic paint and a brush (optional) — if you want to decorate the outside. Water-based craft paint is fine; the pulp drinks it up, so expect a matte finish.
- Newspaper or a tray — to catch the mess. Trust me on this one.
Realistic swaps: No twine? Use ribbon, yarn, or strips cut from an old cotton t-shirt. No compost? A 50/50 mix of garden soil and used coffee grounds works surprisingly well for seed starting. No skewer? A sturdy paperclip straightened out will punch through the pulp with a little patience.
Step-by-Step
- Open the carton flat and inspect it. Lay it open on your newspaper. You’ll see two rows of six cups, joined by little pointed peaks at the top and a hinge down the middle. Look for any cups that are crushed or torn — set those aside for the marker project later.
- Cut the lid away first. Snip along the hinge line where the lid meets the base. Keep the lid — don’t toss it. It’s a flat sheet of textured pulp that we’ll use for the plant markers. You should now have a single tray of twelve cups.
- Separate the cups into pairs. Cut down the middle of each peak between cups, working along the row. Cut slowly and follow the natural curve of the pulp. You’ll end up with six double-cup units. Each pair is sturdier than a single cup, which matters once it’s full of wet compost.
- Trim each pair into a single hanging cup. Now cut between the two cups of each pair, but leave a small tab of pulp on either side — about 1cm. These tabs become your hanging loops. Don’t cut them flush or you’ll have nothing to thread.
- Fold the tabs up and punch holes. Bend each tab upward so it stands proud of the cup rim. Push your skewer through the centre of each tab to make a hole. Wiggle it a little to widen the hole so your twine slides through easily.
- Thread the twine. Cut a 30cm length of twine. Pass one end through the hole in the left tab, then across and through the right tab, and tie a knot so the two ends meet above the cup like a little handle. Trim the ends. Give it a gentle tug — the cup should hang level.
- Decorate if you like. Paint the outside of the cups now, before they get wet. Two thin coats beat one thick coat, which will crack as the pulp flexes. Let them dry fully — about twenty minutes in a warm room.
- Fill with compost. Spoon compost into each cup, leaving a 1cm gap at the top. Press it down lightly with your fingers. Don’t pack it tight; roots need air.
- Plant your seeds. Scatter a pinch of small seeds or press two or three larger seeds into the surface. Cover lightly with a dusting of compost and water gently with a spoon — a watering can will wash everything out.
- Hang and label. Hang your cups somewhere bright but out of direct harsh sun. Now grab that lid you saved. Cut it into thin strips about 8cm long and 1cm wide, snip a point on one end, and write your seed name on the other with a pencil or marker. Push one into each cup.
Beginner Tips
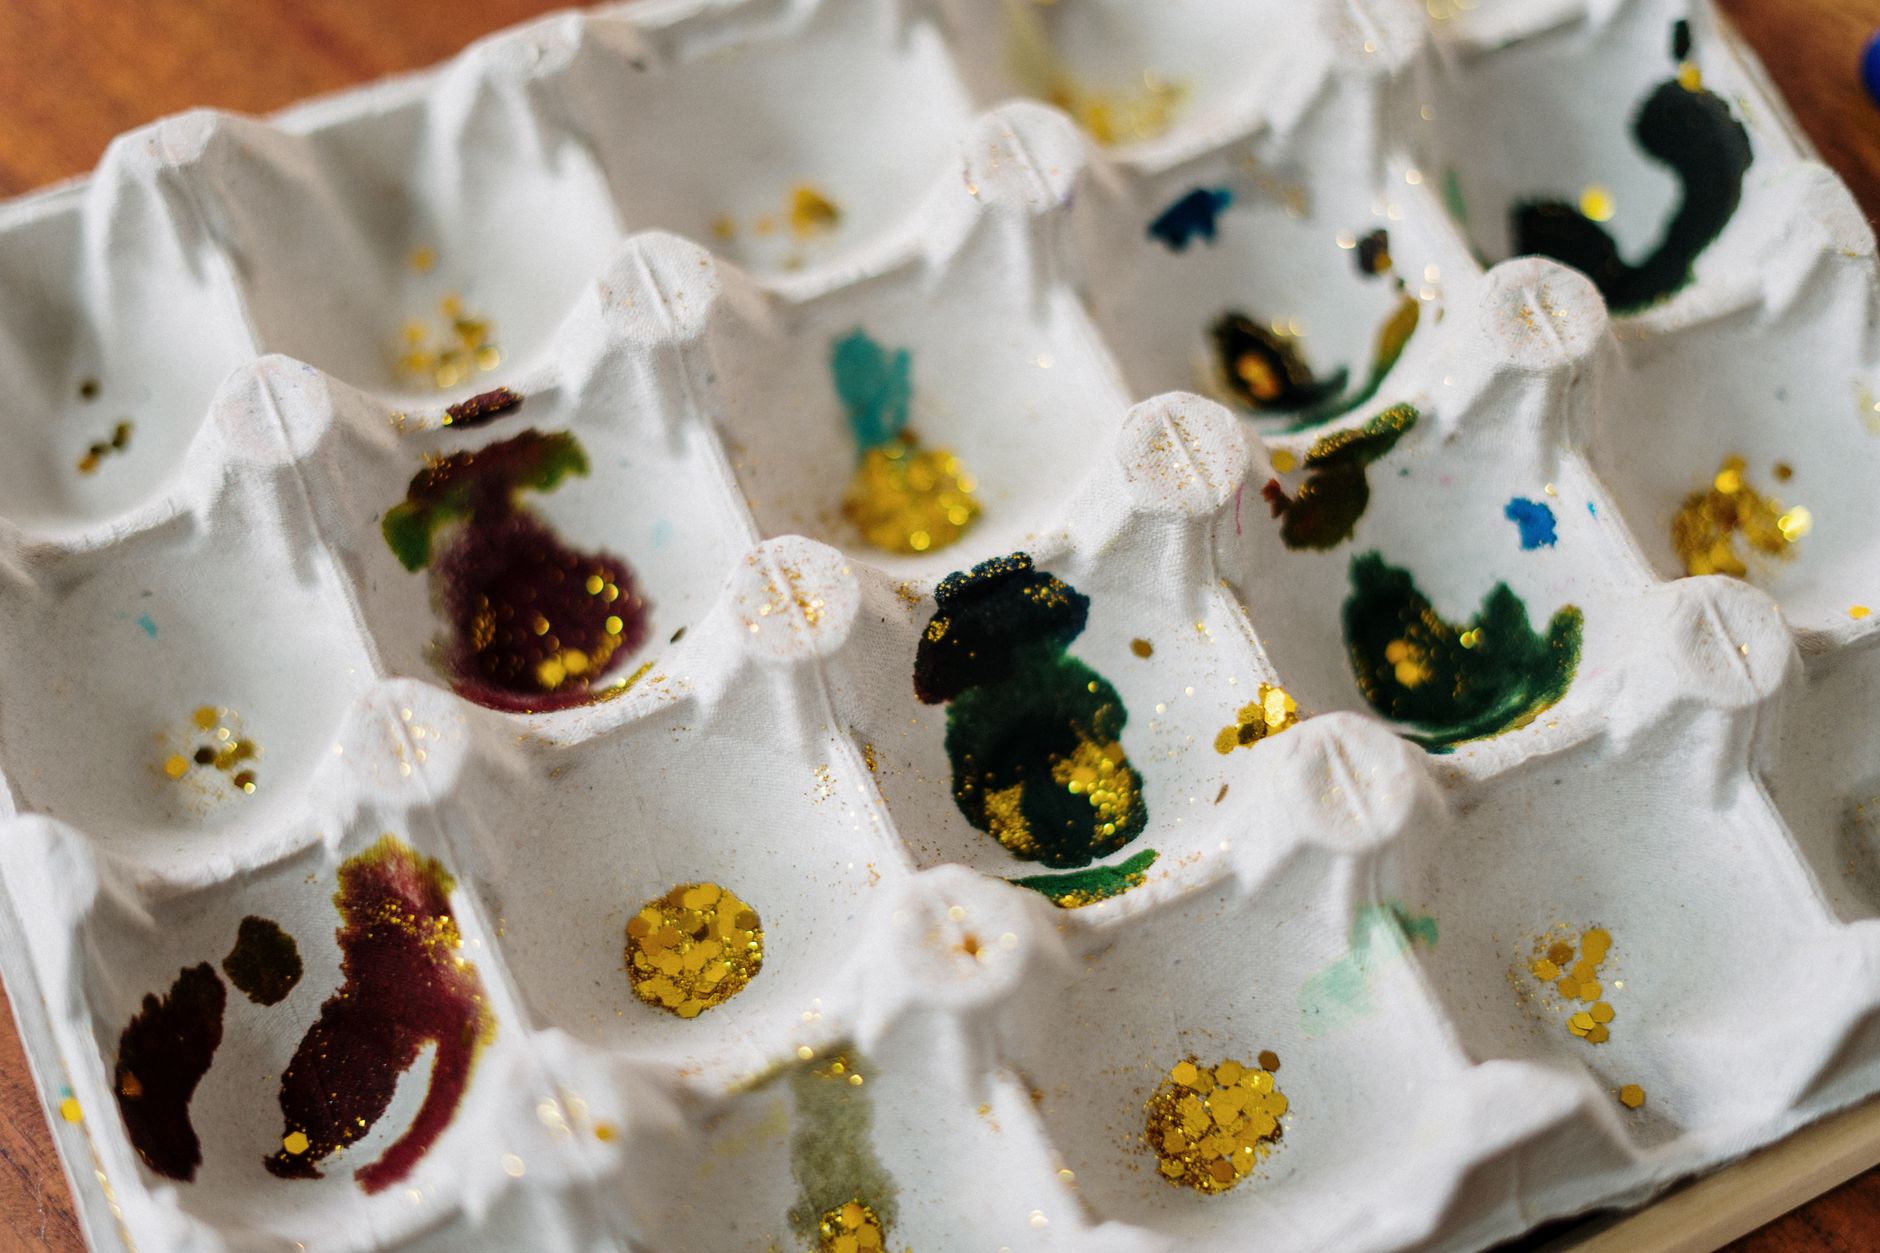
The first mistake almost everyone makes is cutting the cups flush. Those little tabs feel like waste, but they’re the whole hanging mechanism. Leave them. Cut them off and you’ll be back at the carton digging for a second attempt.
Second: don’t overwater. Paper pulp wicks moisture fast, and a soaked cup will slump and tear at the tabs. Water little and often, and check the compost by touch rather than schedule. Damp, not dripping.
Third, and this one catches people out — use the right carton. Foam cartons crumble when you cut them. Plastic ones won’t hold compost the same way and don’t breathe. The molded grey-brown pulp is the only one that behaves.
Here’s a counter-intuitive one: don’t make these too neat. I spent an age trying to get perfectly circular rims on my first batch, and they looked fussy and fragile. The slightly wonky, hand-cut edge is stronger and honestly prettier. Let the pulp be pulp.
Finally, work over the newspaper and keep a bowl nearby for scraps. The cuttings are messy and static, and they’ll stick to everything if you let them wander.
Creative Variation
Want to make it your own? Turn the whole thing into a hanging herb garden wall. Instead of six separate cups, leave the carton as a single twelve-cup tray, punch two holes in the top corners, and thread a longer piece of twine through so it hangs like a little shelf. Plant a different herb in each cup — basil, parsley, chives, coriander — and hang it on a sunny kitchen wall. As the herbs grow, the carton slowly softens and the roots push through, which means you can plant the whole cup straight into a bigger pot when it’s ready. No transplant shock, no plastic waste. It’s the least fussy herb garden I’ve ever made, and it looks charmingly rustic on a wall.
Troubleshooting
The cups are tearing at the tabs. The pulp is probably too dry or too thin at that point. Reinforce the tab with a small strip of masking tape folded over the edge, then re-punch the hole through the tape. The tape holds the pulp together and the twine won’t pull through.
The compost is going mouldy. That’s a sign of too much moisture and not enough airflow. Move the cups somewhere breezier, water less, and gently stir the top layer of compost with a skewer to let air in. A little white mould on the outside of the pulp is harmless; fuzzy mould on the soil surface means it’s too wet.
The cups are sagging when full. You’ve likely used single cups or cut the tabs too small. Double up — nest one cup inside another and punch the holes through both layers. It’s a quick fix and adds real strength.
Seeds aren’t sprouting. Check warmth first, then light. Egg carton cups dry out faster than plastic pots, so a missed watering is the usual culprit. Give the compost a gentle squeeze — if it crumbles, it’s too dry.
The paint is flaking off. Pulp needs a primer or two thin coats rather than one thick one. Sand the surface lightly with a fingernail before painting, and let each coat dry completely.
There’s something quietly satisfying about turning a carton bound for the recycling bin into a row of little green things on your windowsill. It costs nothing, takes under an hour, and teaches you the basics of working with pulp — a material that shows up in packaging all over your house. Start with one carton. See how it goes. Then raid the recycling for the next one, because once you’ve made a hanging cup that actually holds a growing seedling, you’ll start eyeing every egg carton in the house with fresh eyes. What will you plant first?