Beginner Calligraphy Tools: What to Buy First
The nib scratches. That’s the first thing you notice. Not the ink blooming across the paper, not the elegant thick-to-thin line you pictured — just a dry, rasping sound and a splutter of black that looks nothing like the calligraphy you’ve seen on Instagram. I’ve watched that exact moment happen in hundreds of workshops, and I’ve come to love it. That scratch is the sound of someone discovering lettering is a physical craft, not a magic trick. The tools matter, but not in the way beginners expect. You don’t need the expensive set. You need the right few things, and the patience to let them teach you.
Here’s what this guide is for: getting you from “I have no idea what to buy” to “I’m sitting down with tools that actually work.” We’ll cover the real beginner kit — no clutter, no upsells — plus the setup habits that make practice stick. Calligraphy rewards small, consistent sessions over marathon ones. Get the tools right and the rest becomes a pleasure instead of a fight.
Materials List
You can spend a fortune on calligraphy supplies. Please don’t. Start with this modest kit and upgrade only when you hit a genuine limit. Each item earns its place; nothing here is filler.
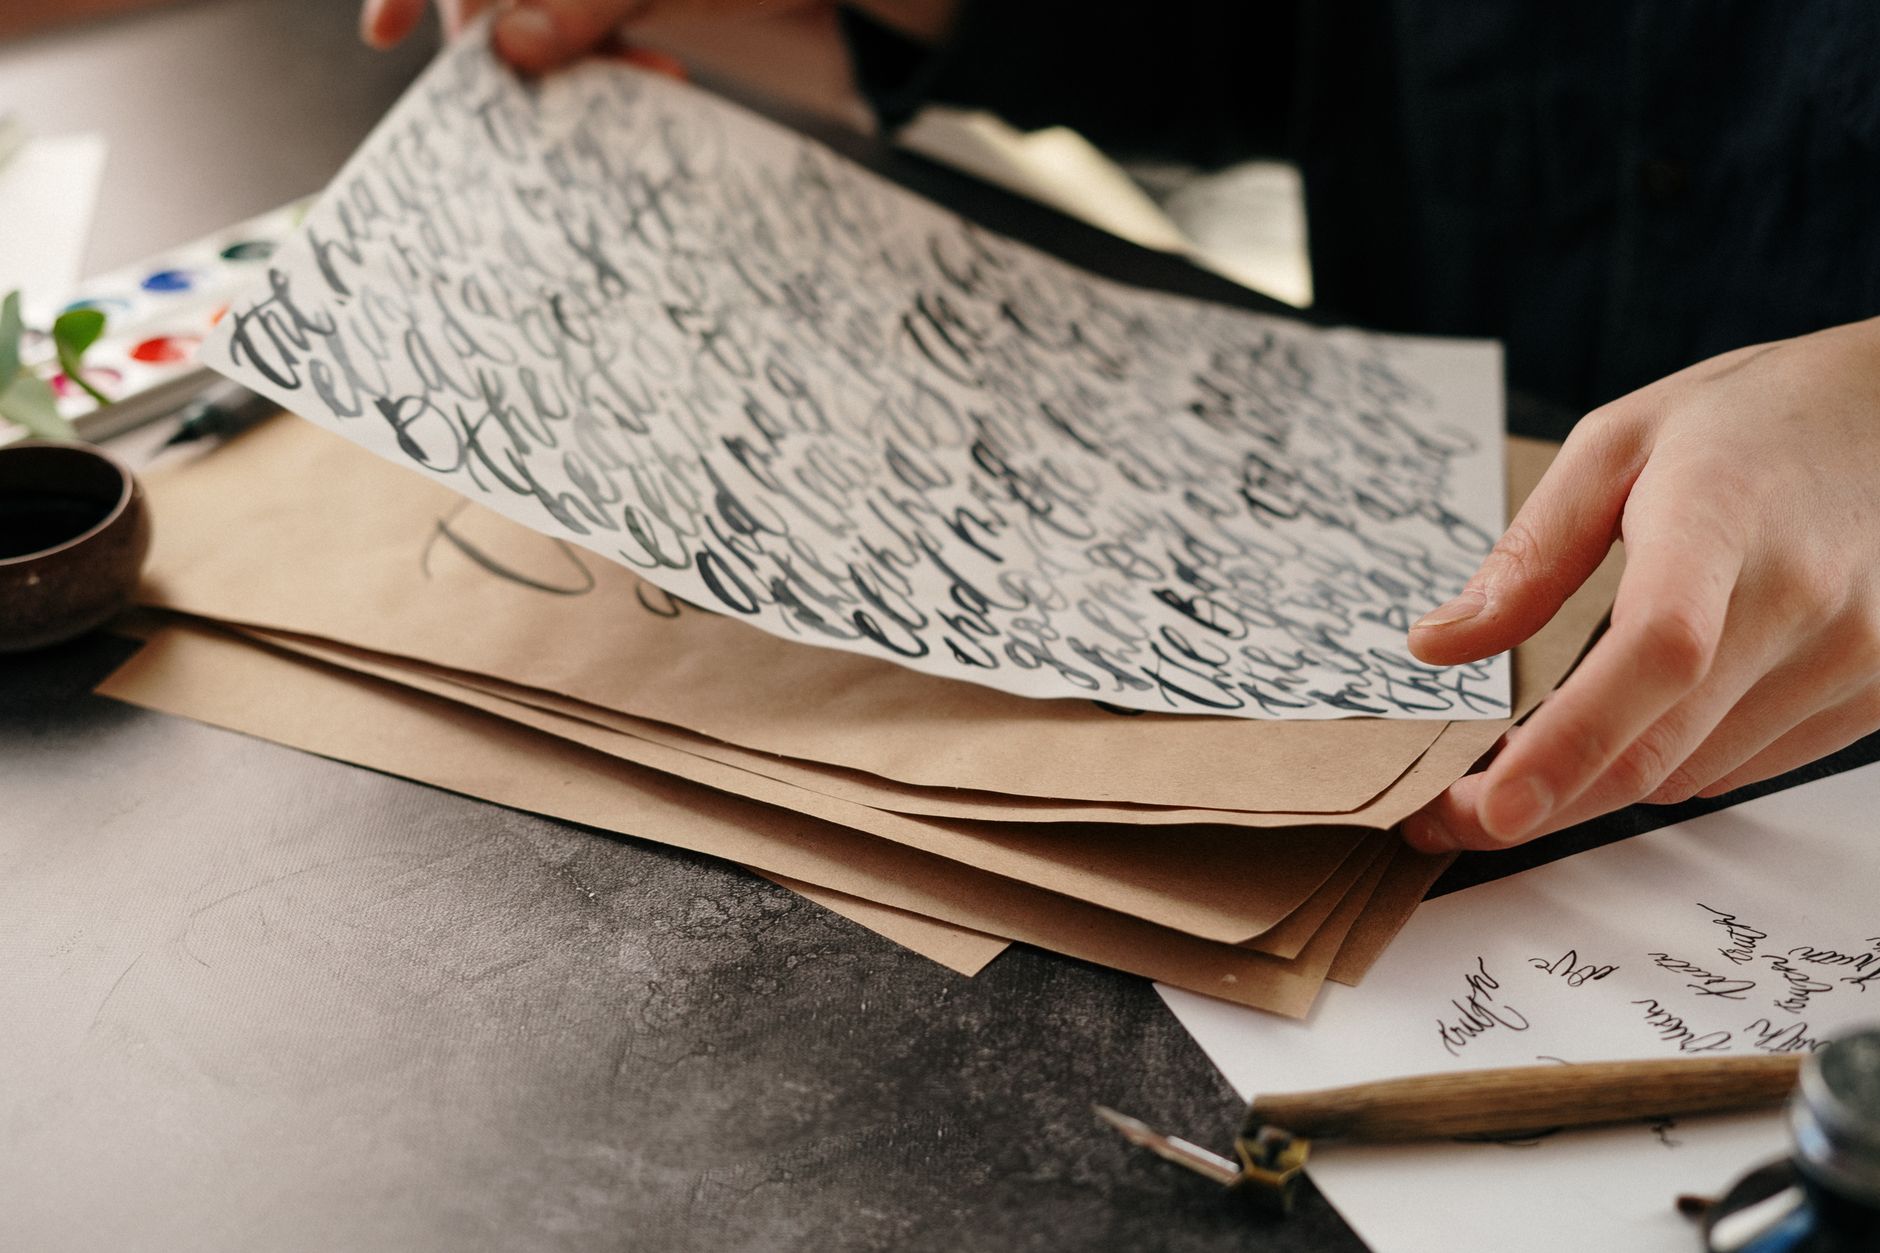
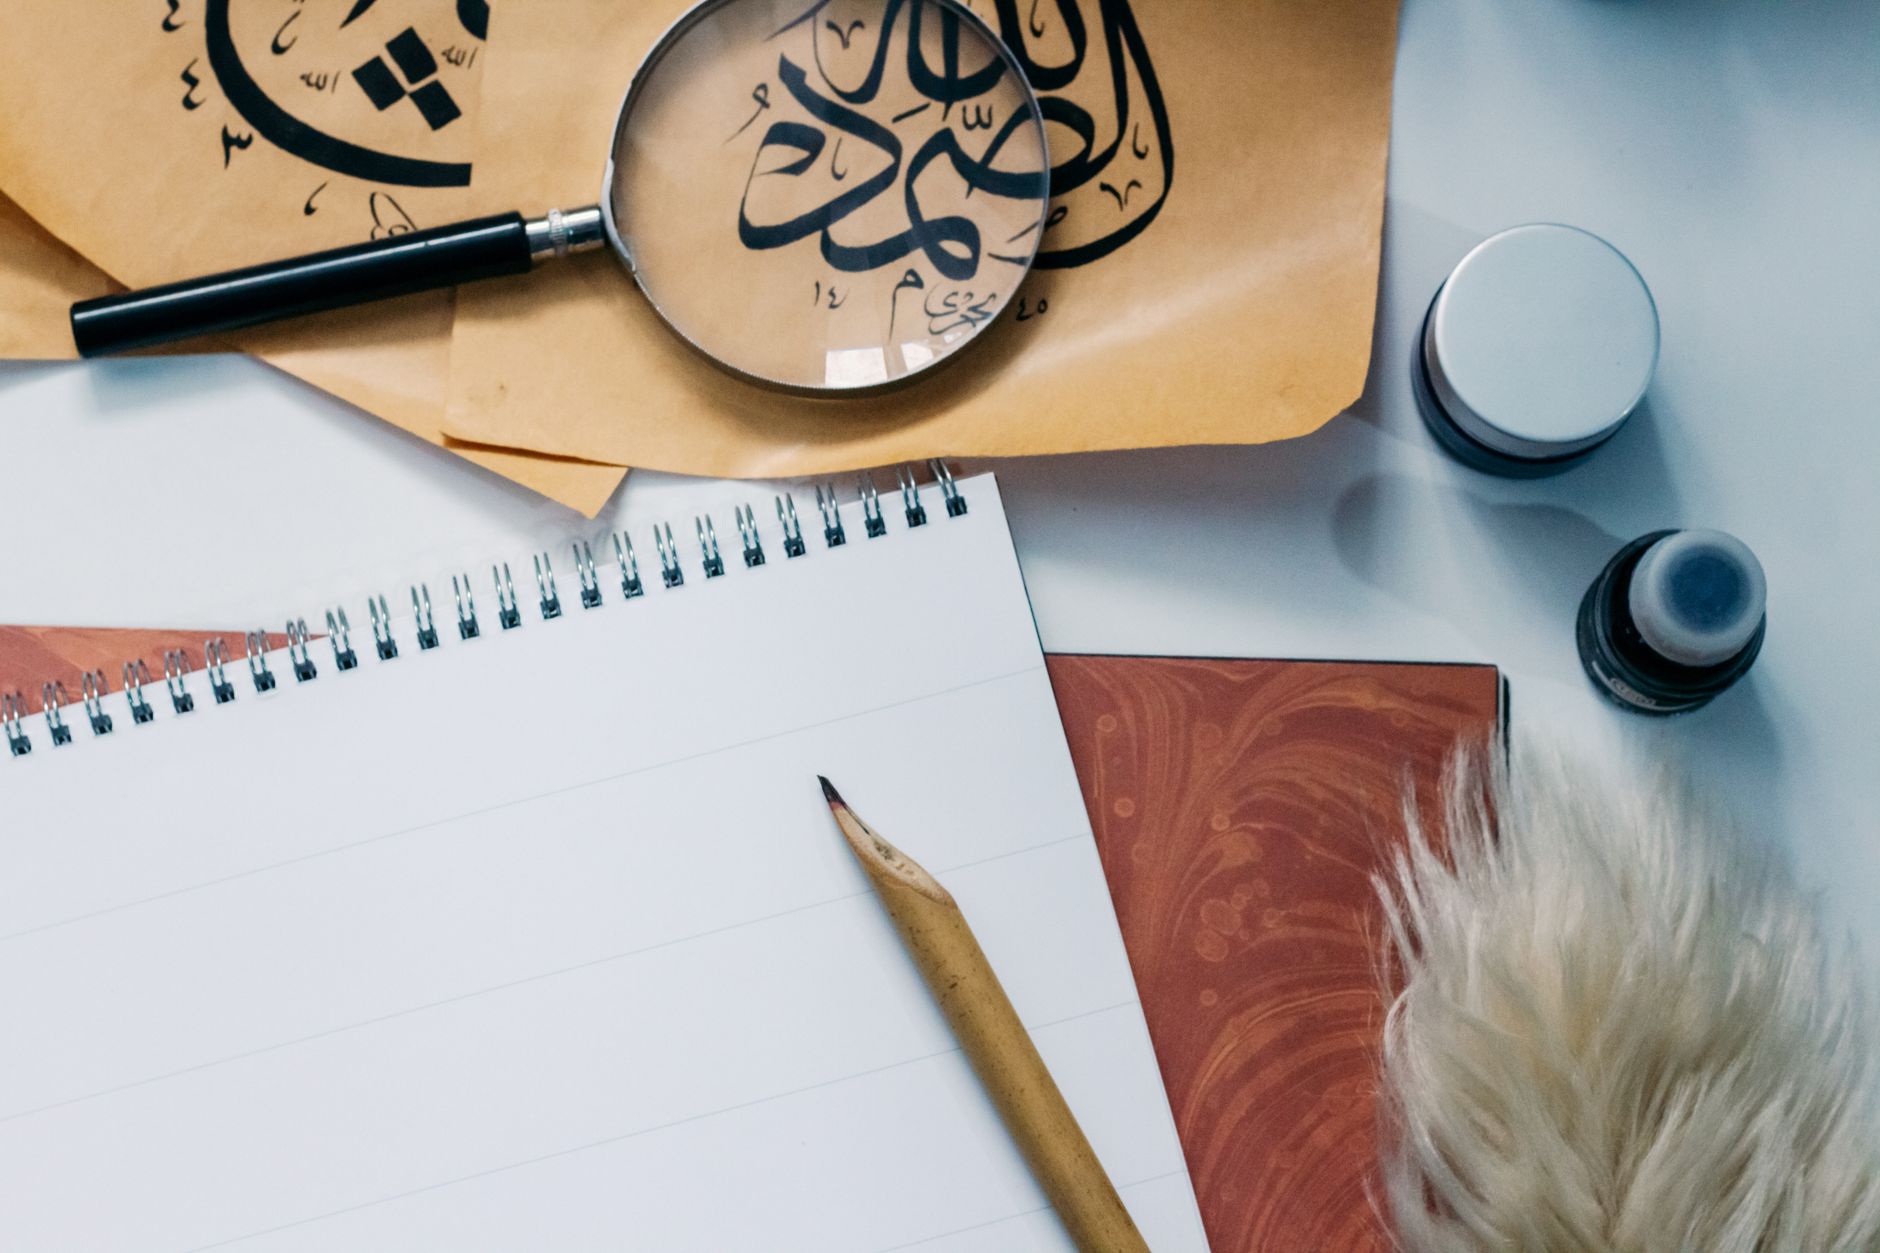
- A straight dip pen holder. Wood or plastic, doesn’t matter. The straight holder suits most pointed-pen work. If you’re left-handed, look for an oblique holder instead — it angles the nib so you can pull strokes toward your body rather than pushing across the page. Alternative: a fountain pen with a flexible nib if dip pens feel intimidating, though flexibility is limited.
- Two or three pointed nibs. A Nikko G is a forgiving, firm starter nib — hard to spring, easy to control. Add a Brause 361 (the “Blue Pumpkin”) for a softer, more expressive line once you’re comfortable. Alternative: Zebra G nibs are widely available and behave similarly to the Nikko.
- Ink that behaves. Walnut ink is my beginner favourite — thin, forgiving, easy to clean. Sumi ink is darker and more permanent but dries fast on the nib. Alternative: gouache mixed to a thin cream consistency works beautifully and comes in any colour.
- Smooth paper. Hot-press watercolour paper or a dedicated calligraphy pad with a smooth finish. Rough paper shreds fine nibs. Alternative: good-quality laser printer paper (32lb or heavier) is a cheap way to practise without guilt.
- A small water jar and a lint-free cloth. For rinsing and drying nibs between colours. An old cotton tea towel cut into squares is perfect.
- A pencil and a ruler. Guideline setup is half the battle. A pencil lets you draw lines you can erase later.
- An apron or old shirt. Ink finds white fabric with uncanny accuracy.
That’s it. Seven items. Everything else — the fancy inks, the oblique holders, the brush pens — can wait until you know what you actually enjoy. Buying more before you’ve practised is the fastest way to spend money and learn nothing.
Step-by-Step
- Prepare your nib. New nibs ship with a thin protective oil coating that repels ink. Gently scrub the nib with an old toothbrush and a dab of toothpaste, then rinse and dry. Skip this and your first session will be a frustrating series of ink blobs that refuse to flow.
- Seat the nib in the holder. Push the nib into the ferrule (the metal grip) until it’s snug — about a third of the nib’s base should disappear inside. Don’t force it. If it wobbles, wrap a tiny sliver of paper around the base as a shim.
- Set up your guidelines. On your paper, draw a baseline, an x-height line (about 4–5mm above the baseline for beginners), and an ascender line (roughly double the x-height). Light pencil only. These three lines govern almost everything you’ll write at this stage.
- Load the nib. Dip just past the breather hole — the small opening in the middle of the nib. Too deep and you’ll flood the feed; too shallow and you’ll get a scratchy half-line. Tap the nib gently on the jar rim to shed the excess.
- Find your angle. Hold the pen at roughly 45 degrees to the paper, nib pointing up and slightly left. Your hand should rest on the page, forearm supported. This angle is what makes thick downstrokes and thin upstrokes possible.
- Make your first strokes. Start with simple downstrokes: a straight vertical line, pressure increasing as you pull down. Then upstrokes: light as a feather, barely touching the paper. Practise twenty of each before attempting a single letter. Boring? Yes. Essential? Absolutely.
- Write one letter — just one. Try a lowercase “o” or “l”. Watch the nib’s tines separate on the downstroke and close on the upstroke. You’re not making art yet; you’re learning to feel the nib’s flex.
- Clean up. Rinse the nib in water, dry it thoroughly with your cloth, and store the pen nib-up. Ink left to dry on a nib will clog it and eventually corrode the metal.
Do this routine three or four times in your first week. Twenty minutes a session is plenty. The goal is familiarity, not perfection.
Beginner Tips
I’ve made every mistake on this list, most of them more than once. Learn from my ink-stained fingers.
Don’t press harder when the ink runs dry. This is the number-one beginner error. A starved nib makes you want to bear down, but pressure only splays the tines and dumps a blob. Lift, reload, continue. The nib tells you when it’s empty with a scratchy, fading line — listen to it.
Stop buying before you’ve practised. It’s tempting to think the right pen will fix your shaky letters. It won’t. A £3 Nikko G in a £6 holder will carry you for months. Save the shopping for when you can name exactly what your current tool can’t do.
Rule your lines, every time. Freehand calligraphy looks charming in theory and chaotic in practice. Guidelines keep your letters consistent, and consistency is what makes lettering look skilled rather than accidental. Erase them only when the ink is bone dry.
Keep your nib clean between colours. Swishing in water isn’t enough if you’re switching from black to white. Dry the nib completely — a damp nib thins your ink and makes it feather.
Sit up straight and keep your paper at a slight angle. Rotate the page, not your wrist. Your whole arm should move, not just your fingers. This one habit prevents the cramped, shaky line that plagues beginners.
Here’s a counter-intuitive one: don’t practise letters first. Most tutorials push you straight into the alphabet, and that’s backwards. Spend your first week on strokes alone — downstrokes, upstrokes, ovals, compound curves. Letters are just those strokes assembled. Master the parts and the whole arrives almost by itself. I’ve seen students jump ahead to words, get discouraged, and quit. The stroke grind feels slow, but it’s the fastest route to lettering that looks deliberate.
Creative Variation
Once you can make a clean downstroke and a whisper-thin upstroke, try this: write on something that isn’t paper. A plain brown kraft envelope, a blank bookplate, a smooth pebble sealed with varnish, a wooden gift tag sanded to a satin finish. The change of surface forces you to feel the nib differently, and it turns practice into something you can actually give away.
My favourite version: pick up a pack of plain kraft tags from any stationery shop. Write a single name or short word on each — one word only, in your best hand. The tags are small, so the stakes feel low, and the kraft colour makes white or gold ink sing. String them onto gifts, tie them to jars, or hang them on a length of twine above your desk. You’ll be amazed how much confidence comes from making something small and finished. It also teaches you something paper practice can’t: how ink behaves on an uncoated, slightly absorbent surface. Expect a little spread, load the nib a touch lighter, and adjust. Calligraphy on real objects is where the craft stops being an exercise and starts being a skill.
Troubleshooting
The ink won’t flow at all. Nine times out of ten, the nib still has factory oil on it. Scrub again with toothpaste, rinse, dry. If that fails, pass the nib briefly through a flame — literally a second, no longer — to burn off residue. Don’t overdo it; heat ruins nibs.
Every stroke ends in a blob. You’re overloading the nib. Dip shallower, tap off the excess, and slow down at the end of each stroke. Blobs also happen when you pause mid-stroke with the nib on the page — keep the pen moving.
The ink feathers and bleeds. Your paper is too absorbent or your ink is too thin. Switch to smoother, heavier paper. If you’re using gouache, add a touch more pigment. Walnut ink on cheap printer paper will always feather — that’s the paper’s fault, not yours.
The nib scratches and catches. You may be writing on the wrong side of the paper, or the nib’s tines are misaligned. Check with a magnifier. Also check your angle — too upright and the nib digs in. Ease back toward 45 degrees.
Your letters look wobbly and inconsistent. That’s normal in week one. Are you using guidelines? Are you moving your whole arm? Are your practice sessions short and regular? Fix those three and the wobble improves faster than you’d expect.
The nib keeps coming loose. The ferrule has stretched. A sliver of paper as a shim, or a tiny wrap of masking tape around the nib base, will hold it firm. If the holder is genuinely worn out, replace it — holders are cheap.
You’re getting discouraged. Step back and look at your very first page versus today’s. Progress in calligraphy is invisible day to day and obvious month to month. Keep the early pages. They’re your proof.
And one more, because it trips up so many left-handers: if the nib keeps catching as you cross the page, you’re pushing rather than pulling. Switch to an oblique holder or rotate your paper further clockwise. The tool should fit your hand, not the other way round.
Conclusion
Calligraphy doesn’t ask for talent. It asks for a clean nib, decent paper, and twenty minutes you’re willing to give it a few times a week. The scratch you hear on your first stroke is just the nib introducing itself. Load it again, keep your lines light, and let the strokes come before the letters. You’ll be writing something worth keeping sooner than you think — and when you do, I’d love to see it. What will you write first?