Beginner Embroidery Patterns: Easy First Project
The needle hovers over the fabric. For a second you’re sure you’ve ruined it. Then you push through — a tiny pop as the metal pierces cotton — and pull the thread taut. That first stitch is always the scariest. I’ve watched hundreds of students make it in my workshops, and every single one relaxes the moment it’s done. Embroidery looks fiddly from the outside. Up close, it’s just a needle, some floss, and a fabric surface that forgives almost everything. Thread a needle and tie a knot? You already have the two hardest skills. The rest is practice and patience.
This tutorial is for absolute beginners. We’ll cover the supplies, four foundational stitches, and a simple floral pattern you can finish in an evening. No fancy equipment. No prior experience. Just a hoop, some cloth, and a willingness to make a few wonky stitches along the way.
Materials List
- Embroidery hoop, 6–8 inches (15–20 cm): Wooden or plastic, both fine. Smaller hoops are easier for beginners because you don’t have to reach far. Any size works, though — a 10-inch hoop is great for larger designs.
- Embroidery floss: Six-strand cotton floss is the standard. DMC and Anchor are reliable brands. For beginners, pick three or four colours — a green, a couple of flower colours, and a neutral. If you can’t find floss, cotton perlé thread (size 8 or 12) works beautifully and doesn’t need separating. Even standard sewing thread doubled up will do in a pinch.
- Fabric: Medium-weight cotton is ideal — quilter’s cotton, plain calico, or even an old cotton bedsheet. Avoid stretchy jersey and slippery satin for your first project. Linen is lovely but can be pricey; cotton canvas or muslin are affordable alternatives.
- Needles: Embroidery needles (also called crewel needles) have a sharp point and a long eye. Size 5 or 7 is a good starting point. If you only have standard hand-sewing needles, use the one with the largest eye you own.
- Small sharp scissors: Any small pair works. Embroidery scissors with curved tips are nice but not essential. Nail scissors are a perfectly good substitute.
- Water-soluble pen or pencil: For tracing your pattern. A fine-tip water-soluble marker is best. A regular pencil works on light fabric if you draw lightly. Tailor’s chalk is another option.
- Pattern: You can draw your own or print a simple floral design. Free beginner patterns are everywhere online.
Step-by-Step
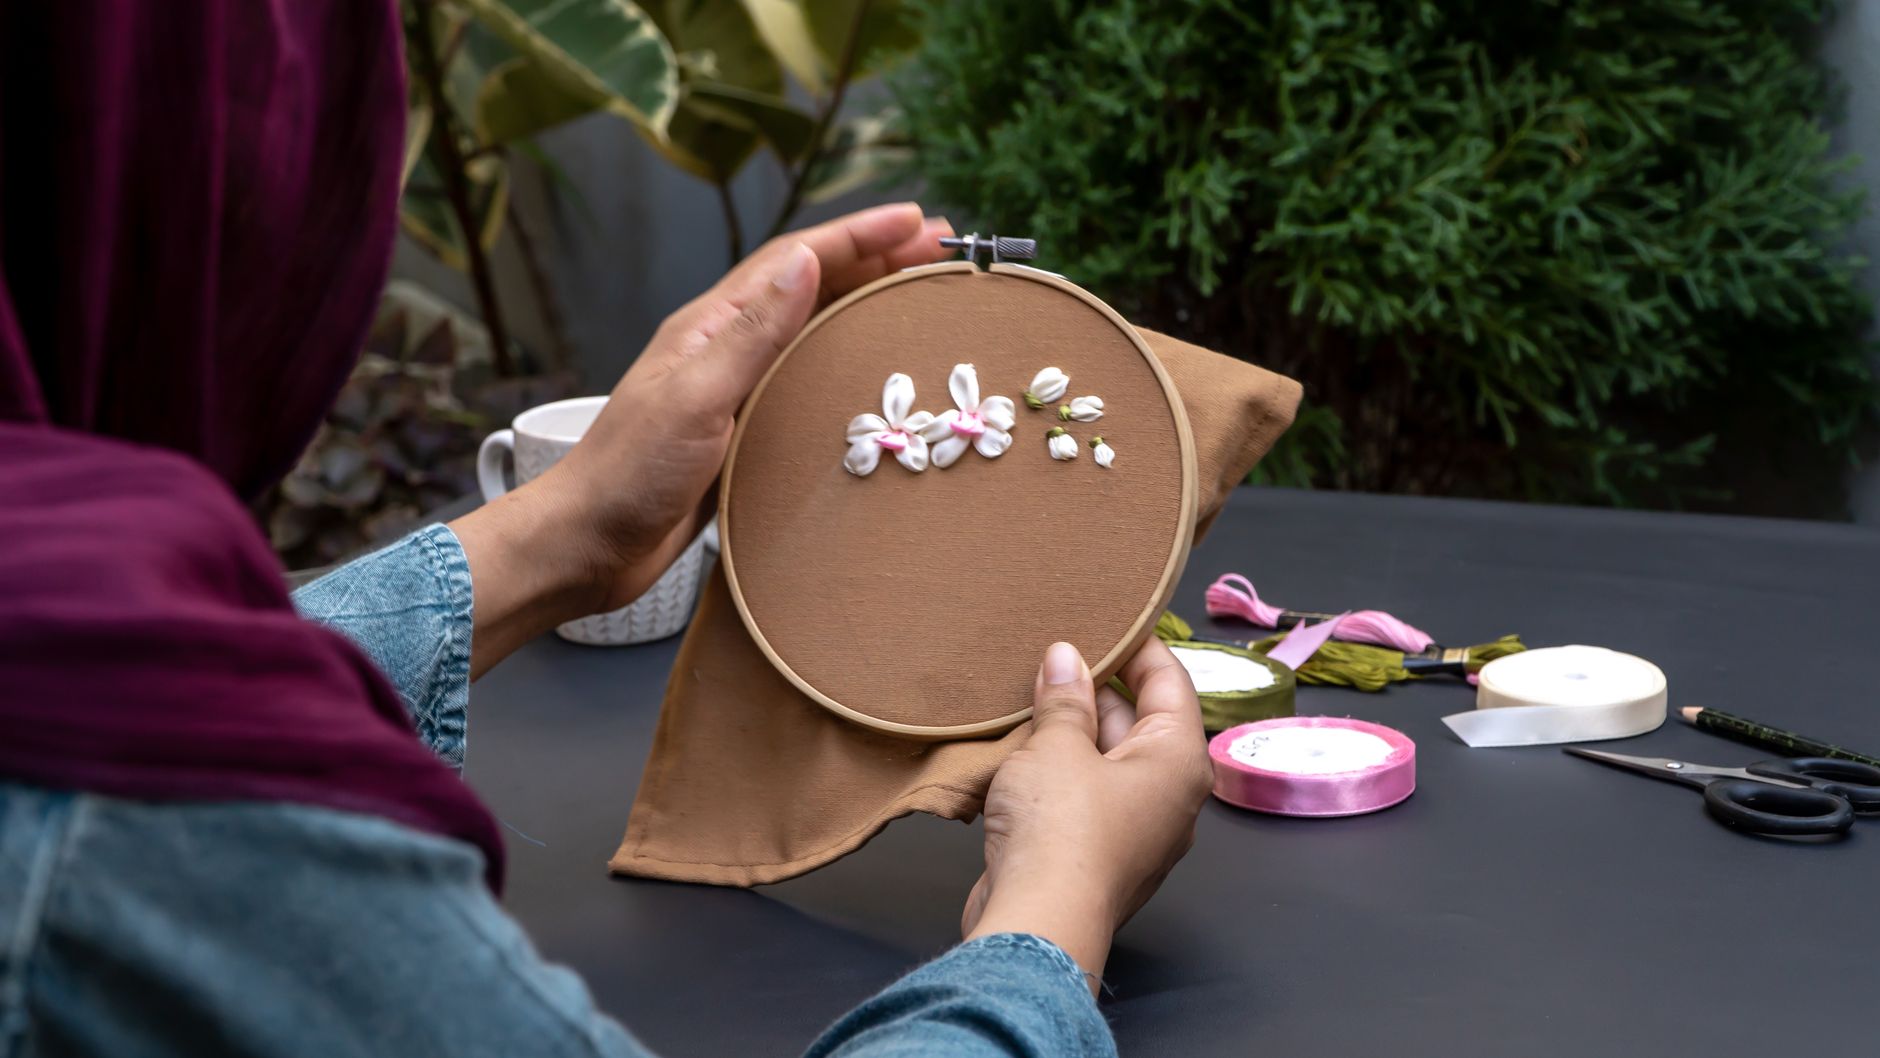
- Prepare your fabric. Cut a square about 2 inches larger than your hoop on every side. Iron it flat — wrinkles will distort your stitches. Place the inner hoop ring underneath the fabric, centre your design, then press the outer ring down over it. Tighten the screw until the fabric is drum-tight. It should sound like a tiny drum when you tap it.
- Trace your pattern. Tape your printed pattern to a window, hold the fabric over it, and trace the lines with your water-soluble pen. The light shines through and makes this easy. No window? A bright tablet screen works too. Keep your lines simple — a few petals, a stem, a leaf.
- Thread your needle and tie a knot. Cut a length of floss about 18 inches (45 cm) long. Separate the strands — floss comes with six, and you’ll use two or three for most beginner stitches. Gently pull them apart one at a time to avoid tangling. Thread the needle, then tie a small knot at the long end. Don’t lick the floss to thread it; that weakens the fibres. Dampen your fingers instead.
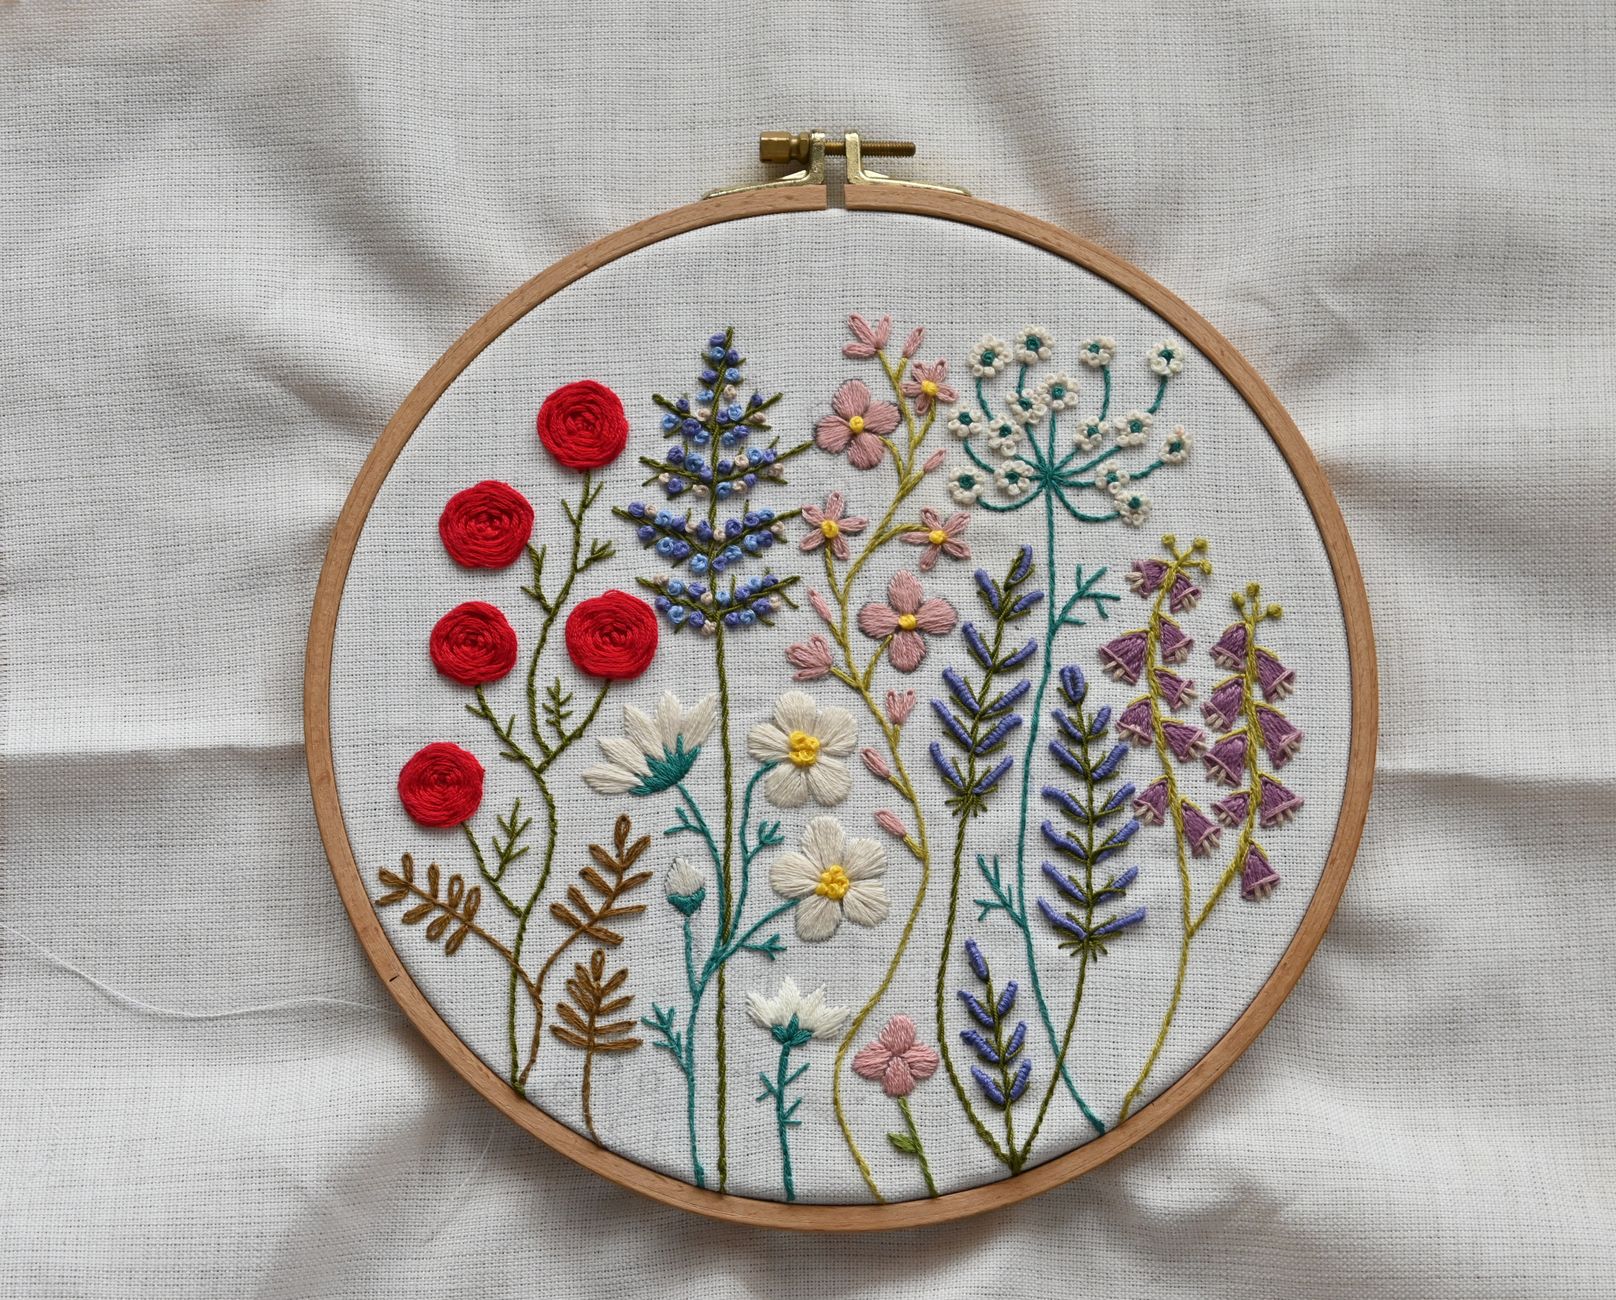
- Start with the backstitch for outlines. Bring your needle up through the fabric at the start of a line. Push it back down a short distance along the line (about 1/8 inch or 3 mm). Then bring it up again the same distance ahead, and push it back down into the end of your previous stitch. You’re creating a continuous line of overlapping stitches. This is the workhorse stitch — use it for stems and outlines.
- Add satin stitch for filled shapes. For petals and leaves, bring your needle up at one edge of the shape and down at the opposite edge, pulling straight across. Repeat these straight stitches side by side until the shape is filled. Keep them snug but not tight — pulling too hard puckers the fabric. For larger shapes, work a split stitch outline first, then fill inside it. This gives crisp edges.
- Use French knots for flower centres. Bring your needle up through the fabric where you want the knot. Wrap the floss around the needle two or three times. Hold the wraps loosely with your thumb and push the needle back down right next to where it came up — not in the same hole, just beside it. Pull the floss through slowly. A neat little knot forms. If it unravels, you wrapped too loosely or pulled too fast.
- Try a lazy daisy for simple petals. Bring your needle up at the centre point of your flower. Push it back down in the same spot, leaving a loop of floss on the surface. Bring the needle up at the tip of the petal and catch the loop with the needle tip. Pull gently until the loop lies flat, then push the needle down just beyond the loop to secure it. Repeat around the centre. This stitch makes quick, pretty petals.
- Finish and secure your work. When you’re done stitching, take the needle to the back of the fabric and weave it under a few existing stitches — no knot needed. Trim the tail. Remove the fabric from the hoop, press the back gently with an iron, and either display it in the hoop (re-hoop it and trim excess fabric, gluing the edges to the inner ring) or frame it.

Beginner Tips
Most first-time embroiderers make the same handful of mistakes. Here’s how to sidestep them.
Don’t use thread that’s too long. It feels efficient to cut a metre of floss, but long threads tangle, fray, and knot. Stick to 18 inches. You’ll spend less time untangling and more time stitching.
Keep your tension even. Pulling every stitch drum-tight will pucker your fabric. Pulling too loose leaves loops. Aim for stitches that lie flat and snug against the surface — like a hand resting on a table, not gripping it.
Separate your strands properly. Pulling two strands from a six-strand length all at once creates a tangled mess. Peel them off one at a time, slowly. It takes ten seconds and saves ten minutes of frustration.
Don’t skip the hoop tension check. If your fabric sags while you stitch, your stitches will be uneven. Re-tighten the screw as you work. It loosens naturally as you handle it.
Avoid starting with a giant project. A small 4-inch design teaches you more than a sprawling 12-inch one. Finish something quickly and you’ll want to keep going.
Here’s a counter-intuitive one: don’t aim for perfect stitches. The slightly irregular, hand-stitched look is the whole charm of embroidery. Machine-perfect satin stitch looks sterile. Your wonky French knot has personality. Embrace it.
Creative Variation
Once you’ve mastered the basic flower, try stitching on a patterned fabric instead of plain cotton. A subtle polka dot or tiny gingham print becomes part of the design — you can follow the dots as a guide or let the pattern peek through open stitches. It takes the pressure off filling every space and gives your work a playful, layered look. Choose a print with a small repeat so it doesn’t compete with your stitching, and use a solid-colour floss that contrasts clearly with the background.
Troubleshooting
My thread keeps knotting. You’re probably using too long a length or twisting the floss as you stitch. Let the needle dangle every few stitches — it untwists naturally. If a knot forms, don’t tug. Slide the needle out and pick the knot apart with the tip.
My stitches are sinking into the fabric. The fabric weave is too loose or your needle is too large. Switch to a tighter-weave cotton and a smaller needle. Adding a stabiliser backing also helps.
My French knots keep unravelling. You’re pulling the floss through too quickly. Slow down. Hold the wraps against the needle with your thumb as you push through, and keep gentle tension on the working thread until the knot sits snugly.
The fabric is puckering around my stitches. Your tension is too tight. Unpick the offending stitches and try again with a lighter hand. Also check that your fabric was ironed flat before you started — wrinkles mimic puckering.
My pattern lines won’t wash out. Test your pen on a scrap of the same fabric first. Some “water-soluble” pens leave faint marks on certain dyes. If that happens, a dab of diluted white vinegar often lifts the residue.
Embroidery rewards you the more you do it. Your first flower might look a bit lopsided. Your second will be neater. By the third, you’ll be inventing your own patterns and wondering why you waited so long to try. Grab a hoop, pick a colour, and make that first stitch. What’s stopping you?