Beginner Watercolor Techniques: Start Painting Today
I still remember the first time I watched a puddle of watercolor bloom across wet paper. One touch of a loaded brush, and the color spread like it had somewhere to be—feathering into pale tendrils, then fading to nothing. Hooked. Maybe you’ve felt that pull too, standing in an art shop aisle, staring at a tin of paints and wondering if you’re allowed to try. You are. Watercolor has a reputation for being unforgiving, but that’s a myth I’d love to bust. It’s one of the most forgiving mediums out there—mistakes become texture, and happy accidents are half the fun. Let’s get you painting.
This little tutorial is worth your time because watercolor is the cheapest, most portable way to start making art today. One brush, a few pans of color, some paper, and you’re off. No toxic solvents. No giant studio. You can paint at the kitchen table, on a train, or in the garden. And once you learn a handful of basic techniques, a whole world opens up—loose landscapes, delicate botanicals, splashy abstract cards. It’s the perfect first medium.
Materials List
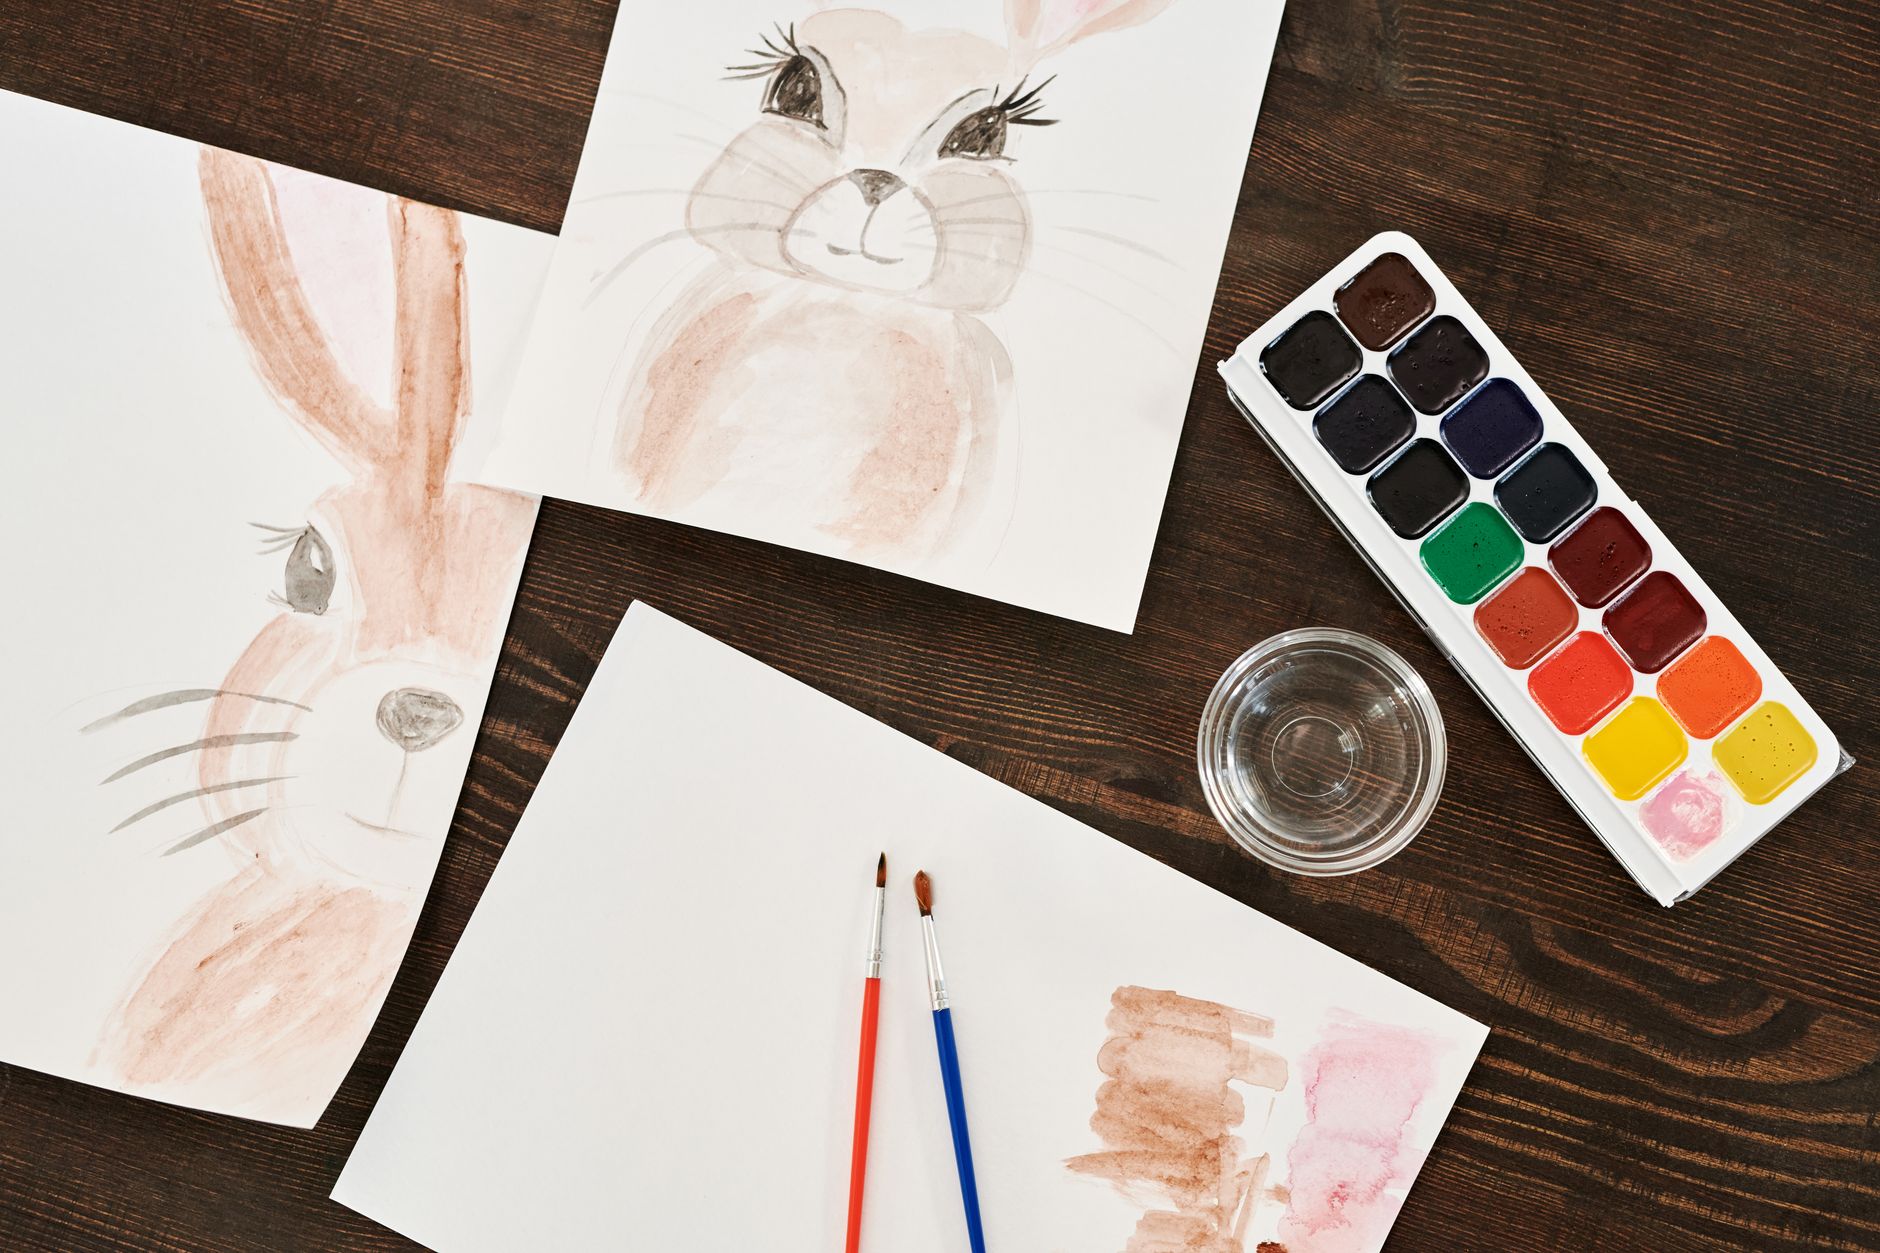
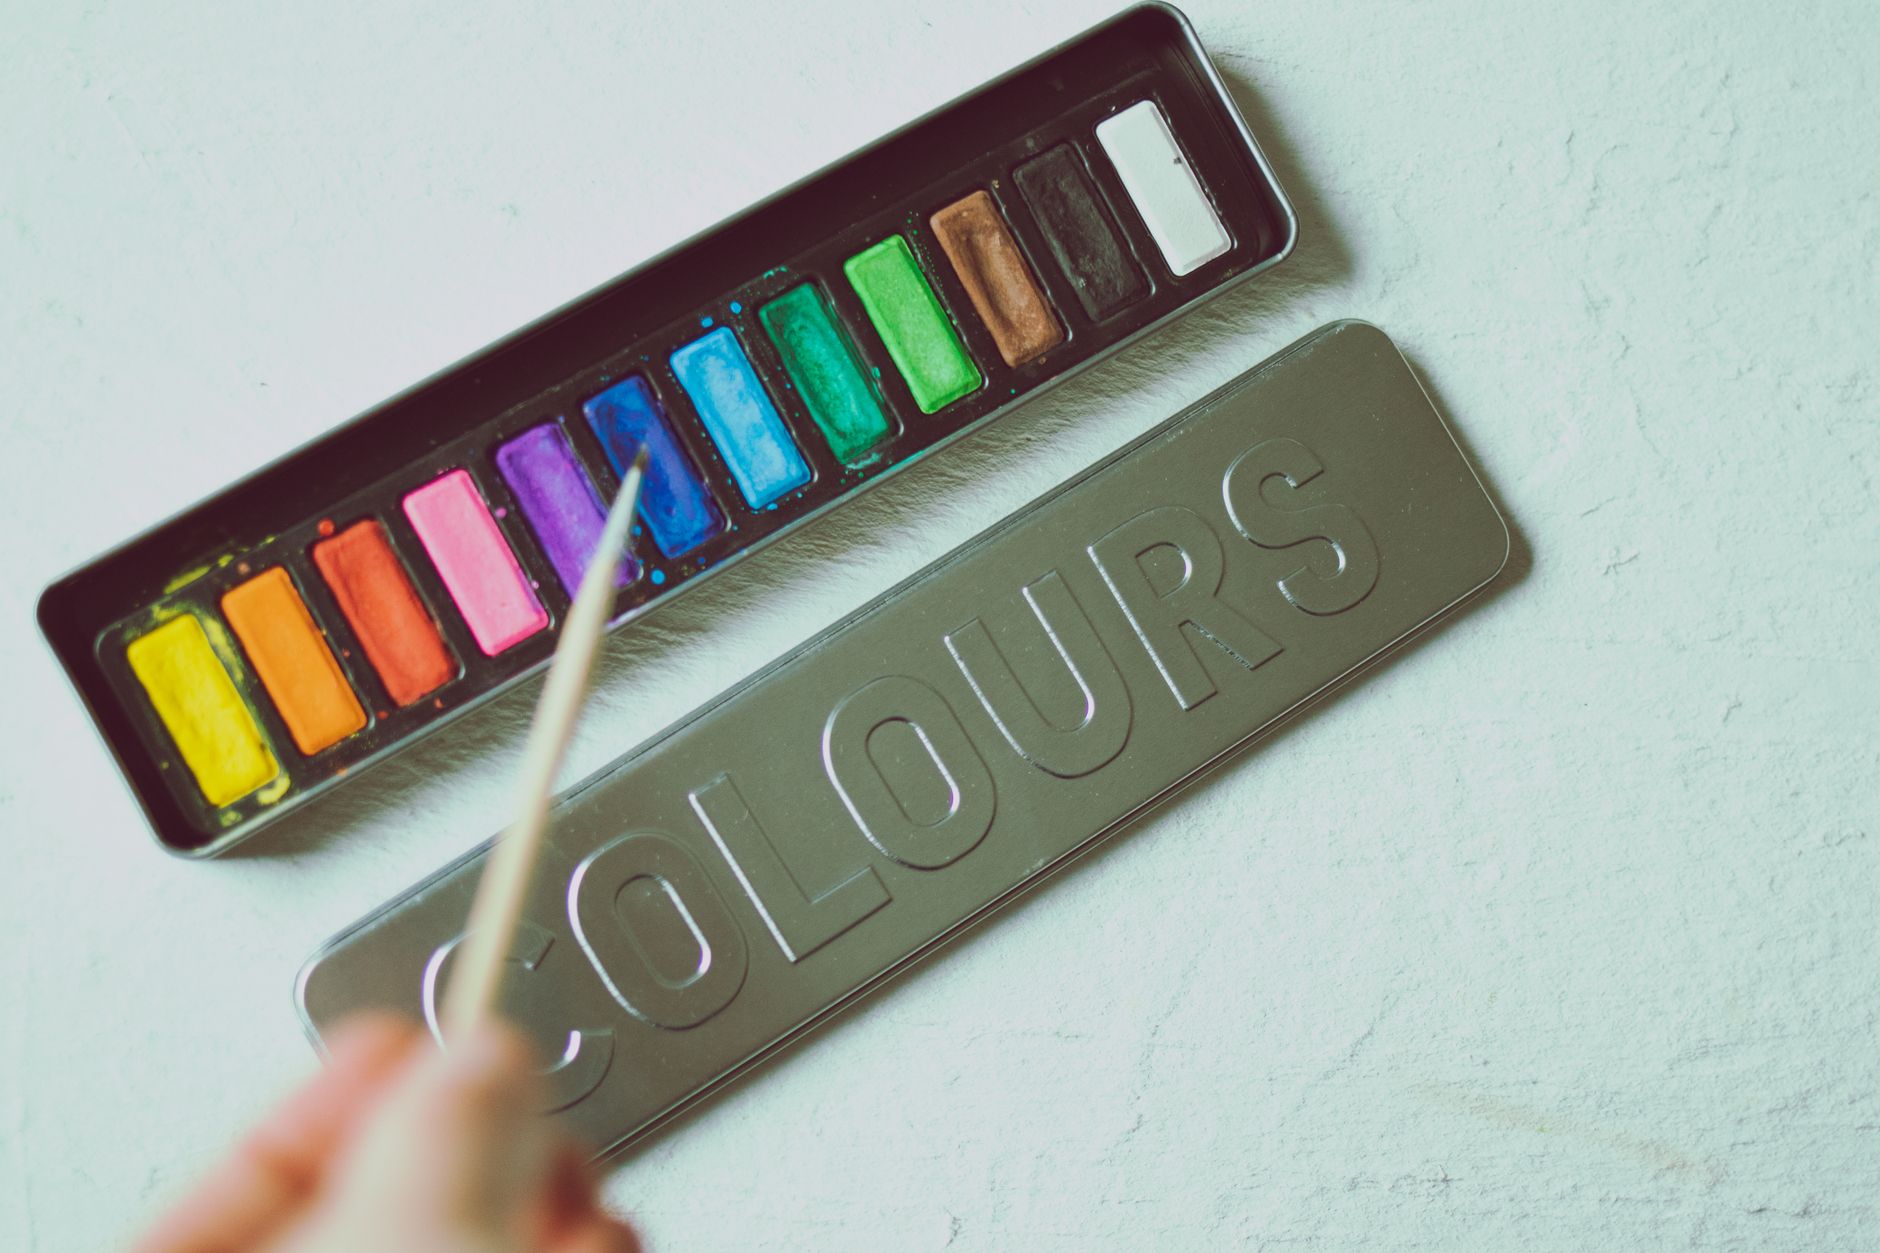
- Watercolor paints. A basic pan set with 12 colors is plenty. Student-grade is fine to start (Winsor & Newton Cotman, Sakura Koi). Alternative: tube paints squeezed into a palette, or even a cheap kids’ set—honestly, you can learn every technique here with one.
- Watercolor paper. This matters more than the paint. Look for cold-pressed, 140 lb (300 gsm) weight. Alternative: if you only have thin paper, tape it down well and use less water.
- Brushes. One round brush, size 8 or 10, and a flat brush about 1 inch wide. Synthetic is fine. Alternative: a single medium round will carry you through this whole tutorial.
- A water jar. Any old jam jar. Two is better—one for rinsing, one for clean water.
- A palette or white plate for mixing.
- Paper towel or a rag for blotting and controlling water.
- Masking tape (optional) to hold your paper flat.
Step-by-Step
- Set up your space. Tape your paper to a board or table if it curls. Fill one jar with clean water and one for rinsing. Lay out your paints, brush, and paper towel within easy reach. Keep the paper flat—watercolor wants to pool, not run off a slope.
- Load your brush properly. Dip the brush in clean water, then swirl it in the paint pan until you pick up color. Don’t scrub—just a gentle circular motion. You want the brush saturated but not dripping. Test it on scrap paper first.
- Practice the flat wash. Wet a rectangle of paper with clean water. Load your brush with color and drag it across in one smooth stroke, left to right. Reload and overlap the next stroke slightly, working down the paper. Keep the brush moving and the paper damp. This is your foundation for skies and backgrounds.
- Try a graded wash. Same idea, but add a little clean water to your brush between strokes. Each band gets lighter. Work top to bottom so gravity helps. This is how you paint a sky that fades from deep blue to pale horizon.
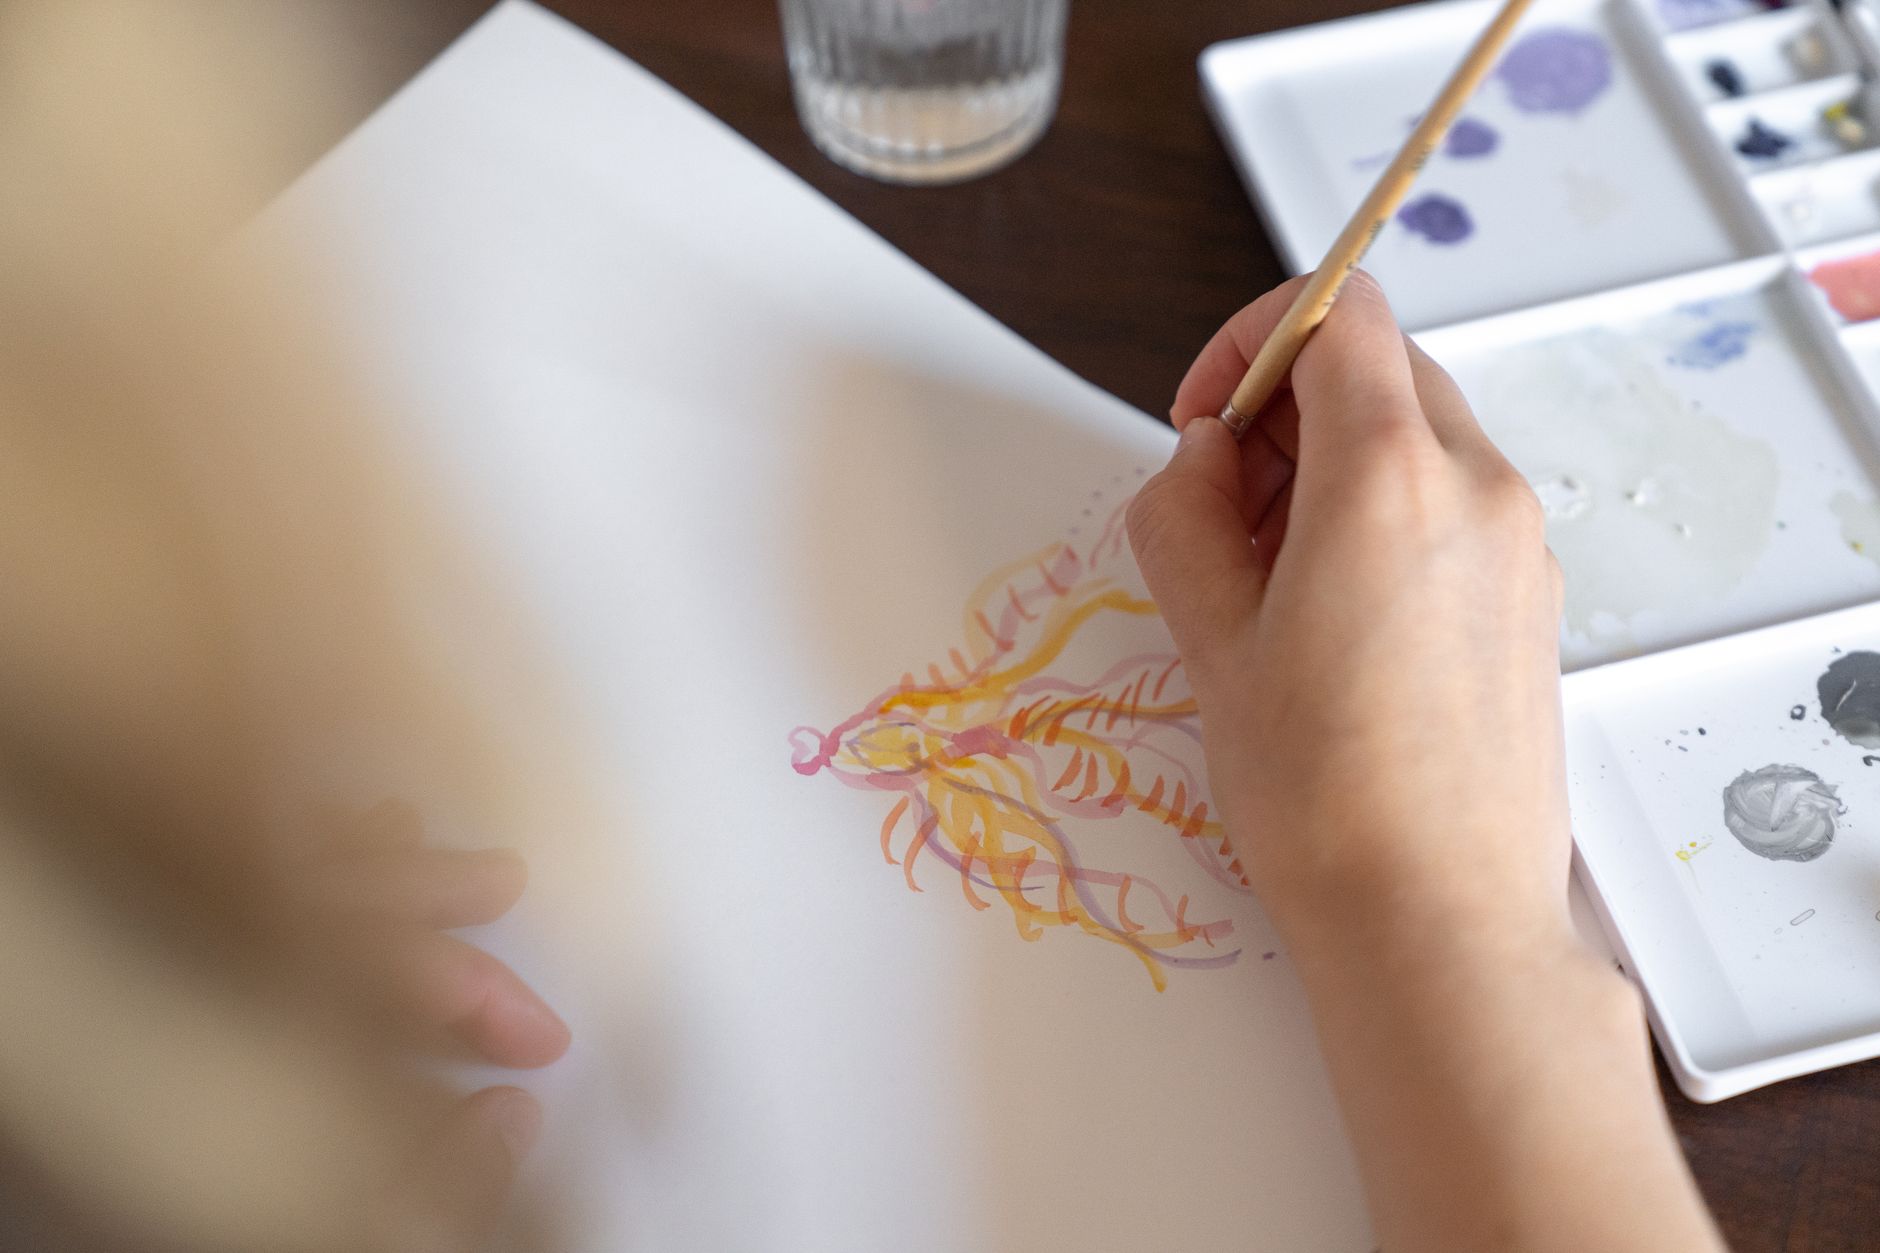
- Learn wet-on-wet. Wet the paper first, then drop color onto it and watch it bloom. Don’t touch it. Let the water do the work. This is the technique that makes watercolor feel like magic—soft edges, bleeding color, organic shapes.
- Practice wet-on-dry. Paint on dry paper with a loaded brush. You’ll get crisp, defined edges. Use this for details—a stem, a window frame, a sharp horizon line. Combine it with wet-on-wet for contrast.
- Control your water. The single biggest skill. Too much water and color floods; too little and it looks chalky. Blot your brush on the paper towel if you’re unsure. You can always add more water—you can’t take it away.
- Paint a simple shape. Try a single leaf or a loose circle. Load your brush, touch down, and pull. Don’t fuss. Let the edge soften naturally. Repeat ten times. You’re training your hand to trust the medium.
- Layer and let dry. Watercolor is built in layers. Paint a shape, let it dry completely (touch it—if it’s cool, it’s still wet), then paint over it. Each layer deepens the color. Patience here is everything.
- Finish and clean up. Rinse your brush thoroughly, wipe it on the towel, and stand it bristle-up to dry. Wipe your palette. Leave your paper flat until fully dry, then peel the tape off slowly at an angle.
Beginner Tips
Here’s what trips people up the first time—and how to sidestep it.
- Don’t skimp on paper. Thin paper buckles and pills. It’s the one place to spend a little more.
- Stop scrubbing. Scrub a wet wash and you’ll damage the paper surface. Lift color by blotting, not rubbing.
- Don’t overwork. The urge to “fix” a wet area is strong. Resist. Walk away. Watercolor settles as it dries, and fussing turns fresh color muddy.
- Keep your water clean. Dirty rinse water dulls every color. Change it often.
- Test colors first. Mixed color on the palette looks different on paper. Always swatch.
- Let layers dry fully. Painting wet-over-wet when you wanted crisp edges is the classic beginner frustration.
Counter-intuitive as it sounds, I actually tell beginners to avoid expensive paint at first. Cheap paint forces you to focus on water control and technique, and you won’t be precious about “wasting” it. Skill beats supplies every time.
Creative Variation
Once you’ve got the basics down, try a “one-color landscape.” Pick a single color—say, a warm burnt sienna—and paint an entire scene using only that pigment, varying the strength from pale to deep. Wet-on-wet for the sky, wet-on-dry for a tree line, a few crisp strokes for grasses. Restricting your palette teaches you to see value (light and dark) instead of relying on lots of colors. It’s also a gorgeous, moody style that looks far more advanced than it is. Have you ever noticed how much a single color can say? Try it on a small postcard-sized sheet. You’ll be surprised how much drama one pigment can hold.
Troubleshooting
- My wash has hard edges. You let the paper dry between strokes. Rewet the edge with a clean damp brush and blend while it’s still damp.
- Colors look muddy. Too many pigments mixed, or dirty water. Stick to two colors per mix and rinse often.
- The paper is buckling. Too much water on thin paper. Tape it down, use less water, or switch to heavier stock.
- I can’t lift a mistake. Blot immediately with a dry paper towel. Once dry, some stains lift with a damp brush—but often the best fix is to paint over it or embrace it as texture.
- My paint looks chalky. Not enough water in the mix. Add a touch more water to the brush and swirl.
- Blooms appear where I don’t want them. Water dripped into a drying wash. Keep your brush drier near finished areas, and blot stray droplets fast.
Watercolor rewards the curious and the patient. You don’t need talent—you need a brush, some water, and the willingness to let go of perfect. Every bloom and hard edge is a lesson, and every painting teaches you something the next one will use. Start small. Paint a leaf. Paint a sky. Paint badly, and paint again. The medium will meet you halfway, I promise. Grab that paper and make your first mark—I can’t wait to see what blooms.