Clay Flower Making Tutorial: Easy Air-Dry Clay Roses
I still have the first clay rose I ever made. It sits on my windowsill right now, slightly lopsided, one petal thicker than the others, and I love it more than any flower I’ve ever bought. Clay makes you slow down. You press it, it presses back. Roll a petal too thin and it tears; too thick and it droops. That little conversation between your hands and the material is where the magic happens. It’s available to anyone with a block of clay, a table, and forty minutes to spare. No kiln, no wheel, no fancy studio. Just you, some air-dry clay, and a willingness to make a few wonky petals first.
This project is worth making because it lasts. Real flowers fade in a week. Clay flowers sit on your shelf for years, hold their colour, and never need water. They make brilliant gifts, cake toppers, brooches, and hair clips. The skills transfer to jewellery, miniature food, and sculpture. And honestly? It’s a genuinely calming way to spend an evening away from a screen.
Materials List
- Air-dry clay — a 500g block is plenty for a dozen blooms. White or a soft pastel works best because you can tint it later. Polymer clay is a great alternative if you want to bake your flowers for extra durability (follow the packet’s oven instructions).
- A non-stick mat or baking parchment — stops the clay sticking to your table. A clean plastic chopping board works too.
- A rolling pin — a small acrylic one is ideal, but a smooth drinking glass or a clean bottle will do the job.
- Clay shaping tools — a ball tool, a pointed tool, and a flat-edge tool. No tools? A rounded spoon handle, a cocktail stick, and a butter knife cover all three.
- Petal cutter or a small round cookie cutter — about 2cm across. A bottle cap or the lid of a spice jar works beautifully.
- Floral wire (22-gauge) and floral tape — for stems. Skip these if you’re making flat flowers for cards or brooches.
- Acrylic paint and a fine brush — for adding colour and detail after the clay dries.
- Water in a small dish and a cocktail stick — for smoothing seams.
- Cornflour (cornstarch) — dust a little on your mat to stop the clay sticking.
- A soft brush — for dusting away crumbs and for painting on colour.
Step-by-Step
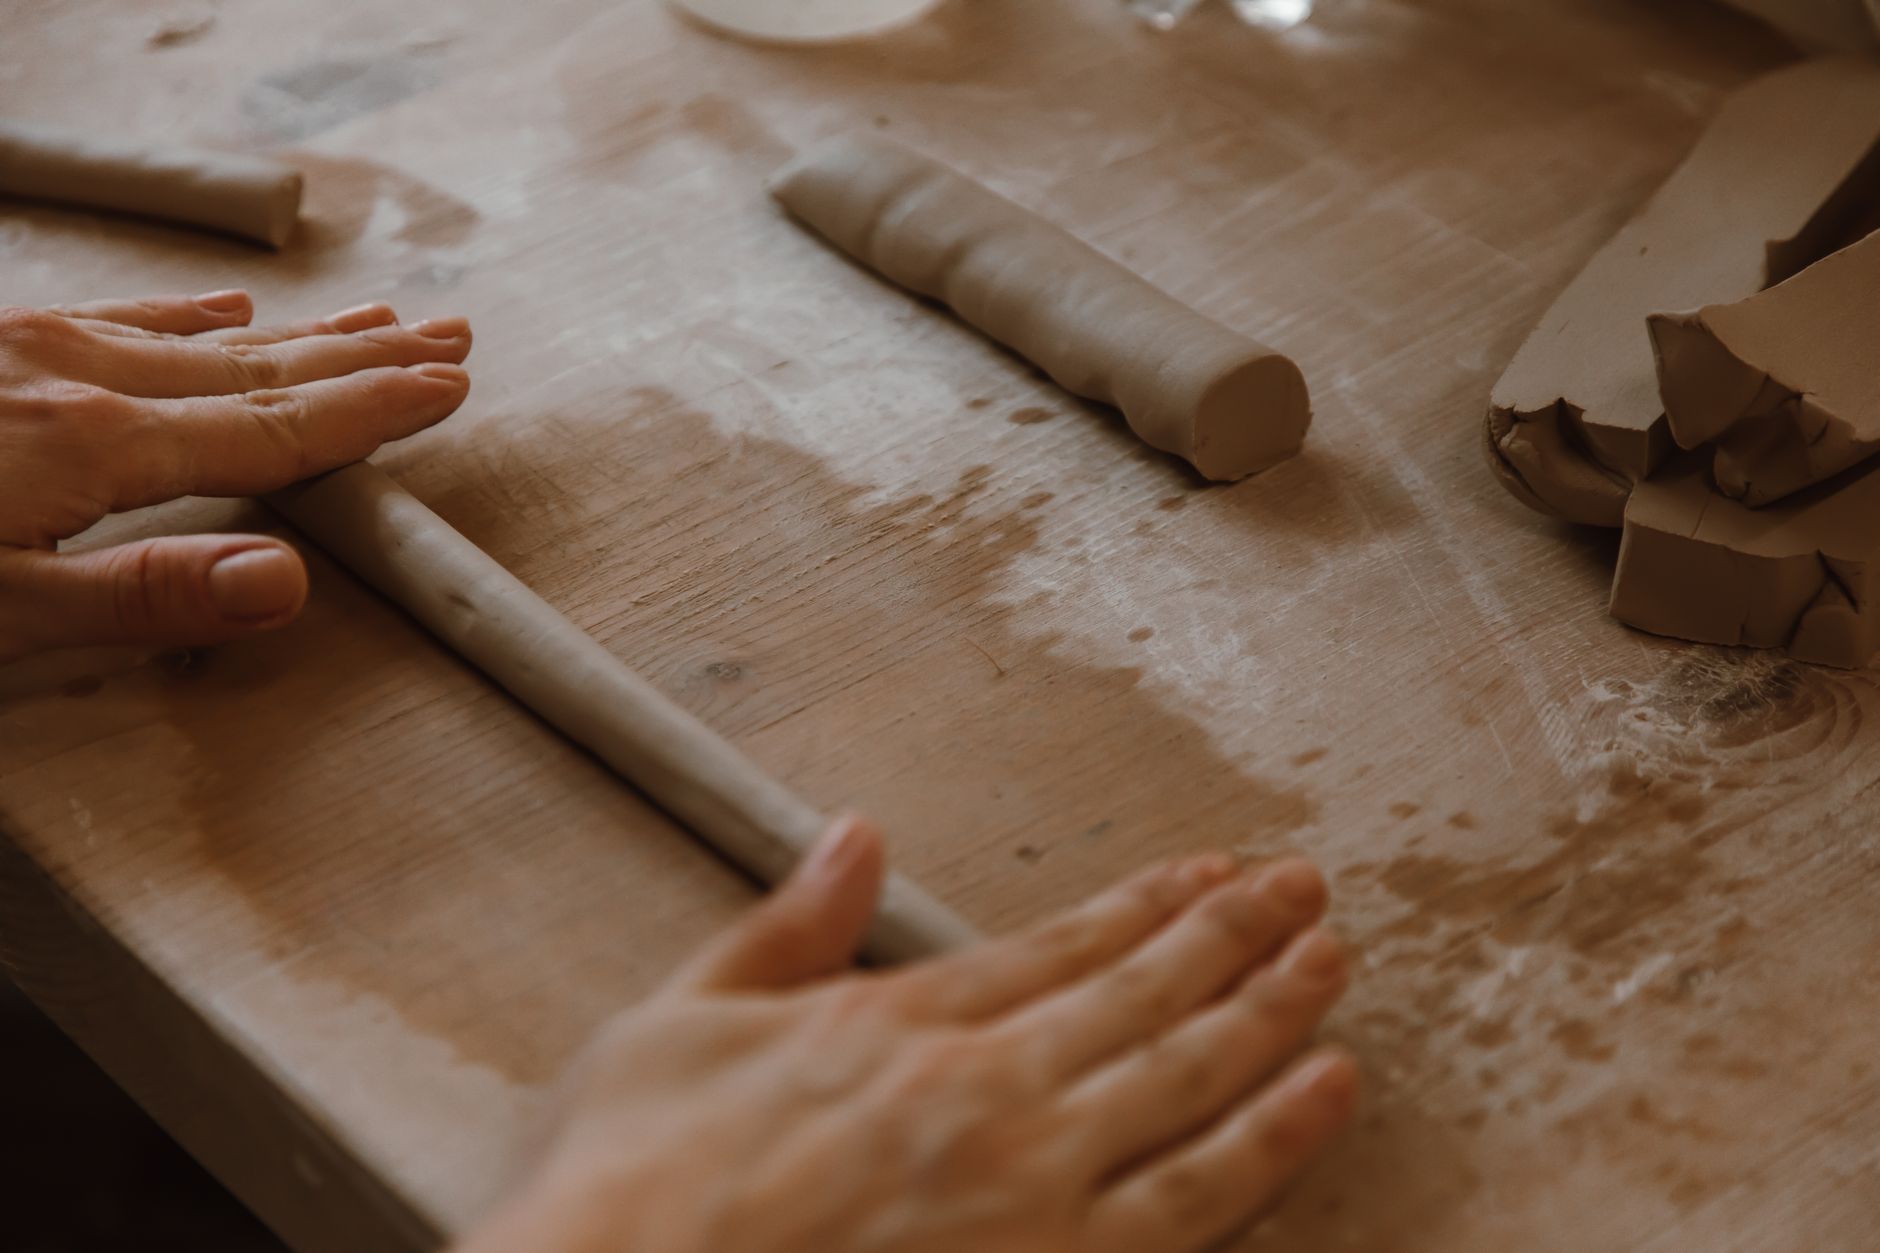
- Prep your surface. Dust your mat very lightly with cornflour. Too much and the clay won’t grip itself; too little and it’ll stick. You want a faint haze, like the dusting on a powdered doughnut.
- Condition the clay. Pinch off a walnut-sized piece and knead it in your hands for about a minute. Air-dry clay can feel stiff straight from the packet. Kneading warms it, makes it smooth, and removes cracks. If it crumbles, wet your fingertips and keep kneading.
- Roll it out. Flatten the clay to roughly 3mm thick — about the thickness of two stacked coins. Even thickness matters more than you’d think. Thin spots dry faster and crack; thick spots stay soft and sag.
- Cut your petals. Press your cutter straight down and lift it without twisting. Twisting distorts the edge. Cut five petals for a simple rose, six or seven for a fuller bloom. Keep the scraps in a sealed bag so they don’t dry out.
- Shape each petal. Pick up one petal and press the rounded end of your ball tool (or spoon handle) into the centre, working in small circles. The petal should cup gently, like a tiny bowl. Then pinch the base of the petal between your thumb and finger to create a narrow point — this becomes the bit that attaches to the stem.
- Build the centre. Take one petal and roll it tightly into a spiral. This is your flower’s heart. Squeeze the base firmly so it holds. Don’t worry if it looks like a tiny cigar right now.
- Add petals one at a time. Wrap the next petal around the centre, overlapping by about a third. Press the base firmly onto the previous petal’s base. Repeat, turning the flower slightly each time so the petals spiral outward. The outer petals should sit a little lower and open wider than the inner ones.
- Insert the stem. If you’re using wire, bend a small hook at one end, dip it in water, and push it up into the base of the flower. Pinch the clay around it to secure. For flat flowers, skip this and press the base flat onto your mat.
- Smooth and refine. Dip a cocktail stick in water and run it along the seams where petals meet. This blends them together and removes fingerprints. Add a few gentle creases down each petal with the pointed tool for a more natural look.
- Let it dry. Air-dry clay takes 24 to 48 hours to dry fully, depending on humidity and thickness. Place flowers on parchment in a dry, dust-free spot and turn them every few hours for the first day so they dry evenly and don’t flatten on one side.
- Paint and finish. Once bone dry, paint the petals with a soft wash of acrylic. Start pale — you can always add more. A tiny touch of darker paint at the base of each petal adds depth. Let it dry, then seal with a matte varnish if you like.
- Wrap the stem. Stretch a small piece of floral tape and wind it tightly around the wire from the flower base downward. The warmth of your fingers activates the tape’s adhesive. Add a couple of small clay leaves if you fancy it.


Beginner Tips
Don’t roll too thin. This is the mistake almost everyone makes first. Thin clay looks delicate and lovely while it’s wet, then curls, cracks, and snaps as it dries. Aim for 3mm. If you can see light through it, it’s too thin.
Keep unused clay sealed. Air-dry clay starts curing the moment it hits the air. A zip-lock bag with a damp paper towel inside will keep your block workable for weeks. Leave it out for an hour and you’ll have a paperweight.
Work in small batches. Make three or four flowers, then stop. Your hands get tired, the clay dries out, and the quality drops. Fresh hands make better petals.
Don’t fuss over symmetry. Real flowers aren’t symmetrical. Slightly uneven petals read as natural. Perfectly matched petals read as plastic. Resist the urge to fix every wobble.
Test your paint on a scrap first. Acrylic on dry air-dry clay can look chalky if it’s too thick. Thin it with a drop of water and build up colour in layers.
Creative Variation
Here’s my favourite twist: make a flower that isn’t a flower. Use the same petal technique to build a succulent rosette, a fantasy bloom with pointed petals, or a tiny mushroom cap with a spotted top. The skills are identical — only the petal shape and colour change. Try mixing two clay colours by kneading them together only halfway, so you get a marbled effect. Roll, cut, and shape as normal. The result looks like a flower that grew somewhere magical. You can also press a real leaf into the clay before it dries to transfer the vein texture onto your petals — a two-second trick that makes finished flowers look far more expensive than they are. And if you want a counter-intuitive opinion: don’t bother matching your flower to a real species. Invented flowers are more fun to make, more personal to give, and nobody can tell you the petals are wrong.
Troubleshooting
My clay keeps cracking as I shape it. It’s too dry. Wet your fingertips and knead a few drops of water into the piece. If the whole block is stiff, wrap it in a damp paper towel, seal it in a bag, and leave it overnight.
The petals won’t stay attached. You need a little moisture at the join. Dip your fingertip in water and lightly wet the base of the new petal before pressing it on. Too much water turns the clay to mush, so a touch is enough.
My flower sagged while drying. The clay was too thick or the petals were too heavy for the centre. Prop the flower in a small cup or a ring of scrunched foil so it holds its shape while it dries.
The paint looks streaky. You’re painting too thickly or painting on clay that’s still slightly damp. Wait until the clay is bone dry — it should feel cool and sound faintly hollow when tapped. Then apply thin washes and let each layer dry fully.
The stem won’t stay in. The wire hole was too loose. Pull the wire out, add a tiny pinch of fresh clay into the hole, and reinsert. Pinch firmly and let it dry before handling.
My flower snapped after drying. Air-dry clay is brittle once cured. Repair with a drop of strong craft glue and hold it for a minute. For future flowers, add a thin layer of white glue mixed with water over the base before drying — it strengthens the joins.
Clay flower making rewards patience more than talent. Your first three will be lumpy. Your seventh will surprise you. By the time you’ve made a dozen, you’ll have a little bouquet on your windowsill and a skill you can pull out whenever a birthday sneaks up on you. Grab a block of clay, dust your table, and make something that lasts. What will you make first — a rose, a wildflower, or something nobody’s ever seen before?