Crochet for Absolute Beginners: First Coaster Tutorial
The first chain stitch is always the hardest. Not because the movement is complicated — it’s just a loop through a loop — but because your fingers haven’t learned the language yet. I’ve watched hundreds of absolute beginners sit down convinced they’ll never get it, then produce a wonky little square forty minutes later that they photograph like a newborn. Crochet is genuinely one of the most forgiving crafts you can pick up. One hook, one ball of yarn, and about an hour of patience with yourself. That’s the whole kit. By the end of this tutorial you’ll have made a real, usable coaster — and picked up the basic skills to keep going.
Why a coaster? Because it’s small enough to finish in one sitting, which matters more than you’d think when you’re learning. A finished object teaches you more than three abandoned scarves ever will. It uses the core stitches you’ll need forever, it forgives uneven tension, and it’s genuinely useful. Nobody’s grandmother needs another potholder, but everyone needs something to put their tea on.
Materials List
- Yarn: One ball of worsted weight (also called aran) yarn in a light colour. Cotton is ideal for coasters because it’s absorbent and holds shape, but acrylic is cheaper and easier to see your stitches in. Avoid dark colours and fluffy yarn for your first attempt — you need to see what you’re doing.
- Hook: A 5mm (H-8) aluminium hook. If you only have a 4.5mm or 5.5mm, that’s fine. Aluminium is smoother than plastic and won’t drag on the yarn.
- Scissors: Any sharp pair.
- Tapestry needle: A blunt-tipped needle with a large eye for weaving in ends. A small crochet hook works in a pinch.
- Stitch marker: A safety pin, a paperclip, or a scrap of contrasting yarn all work. You don’t need to buy one.
Step-by-Step
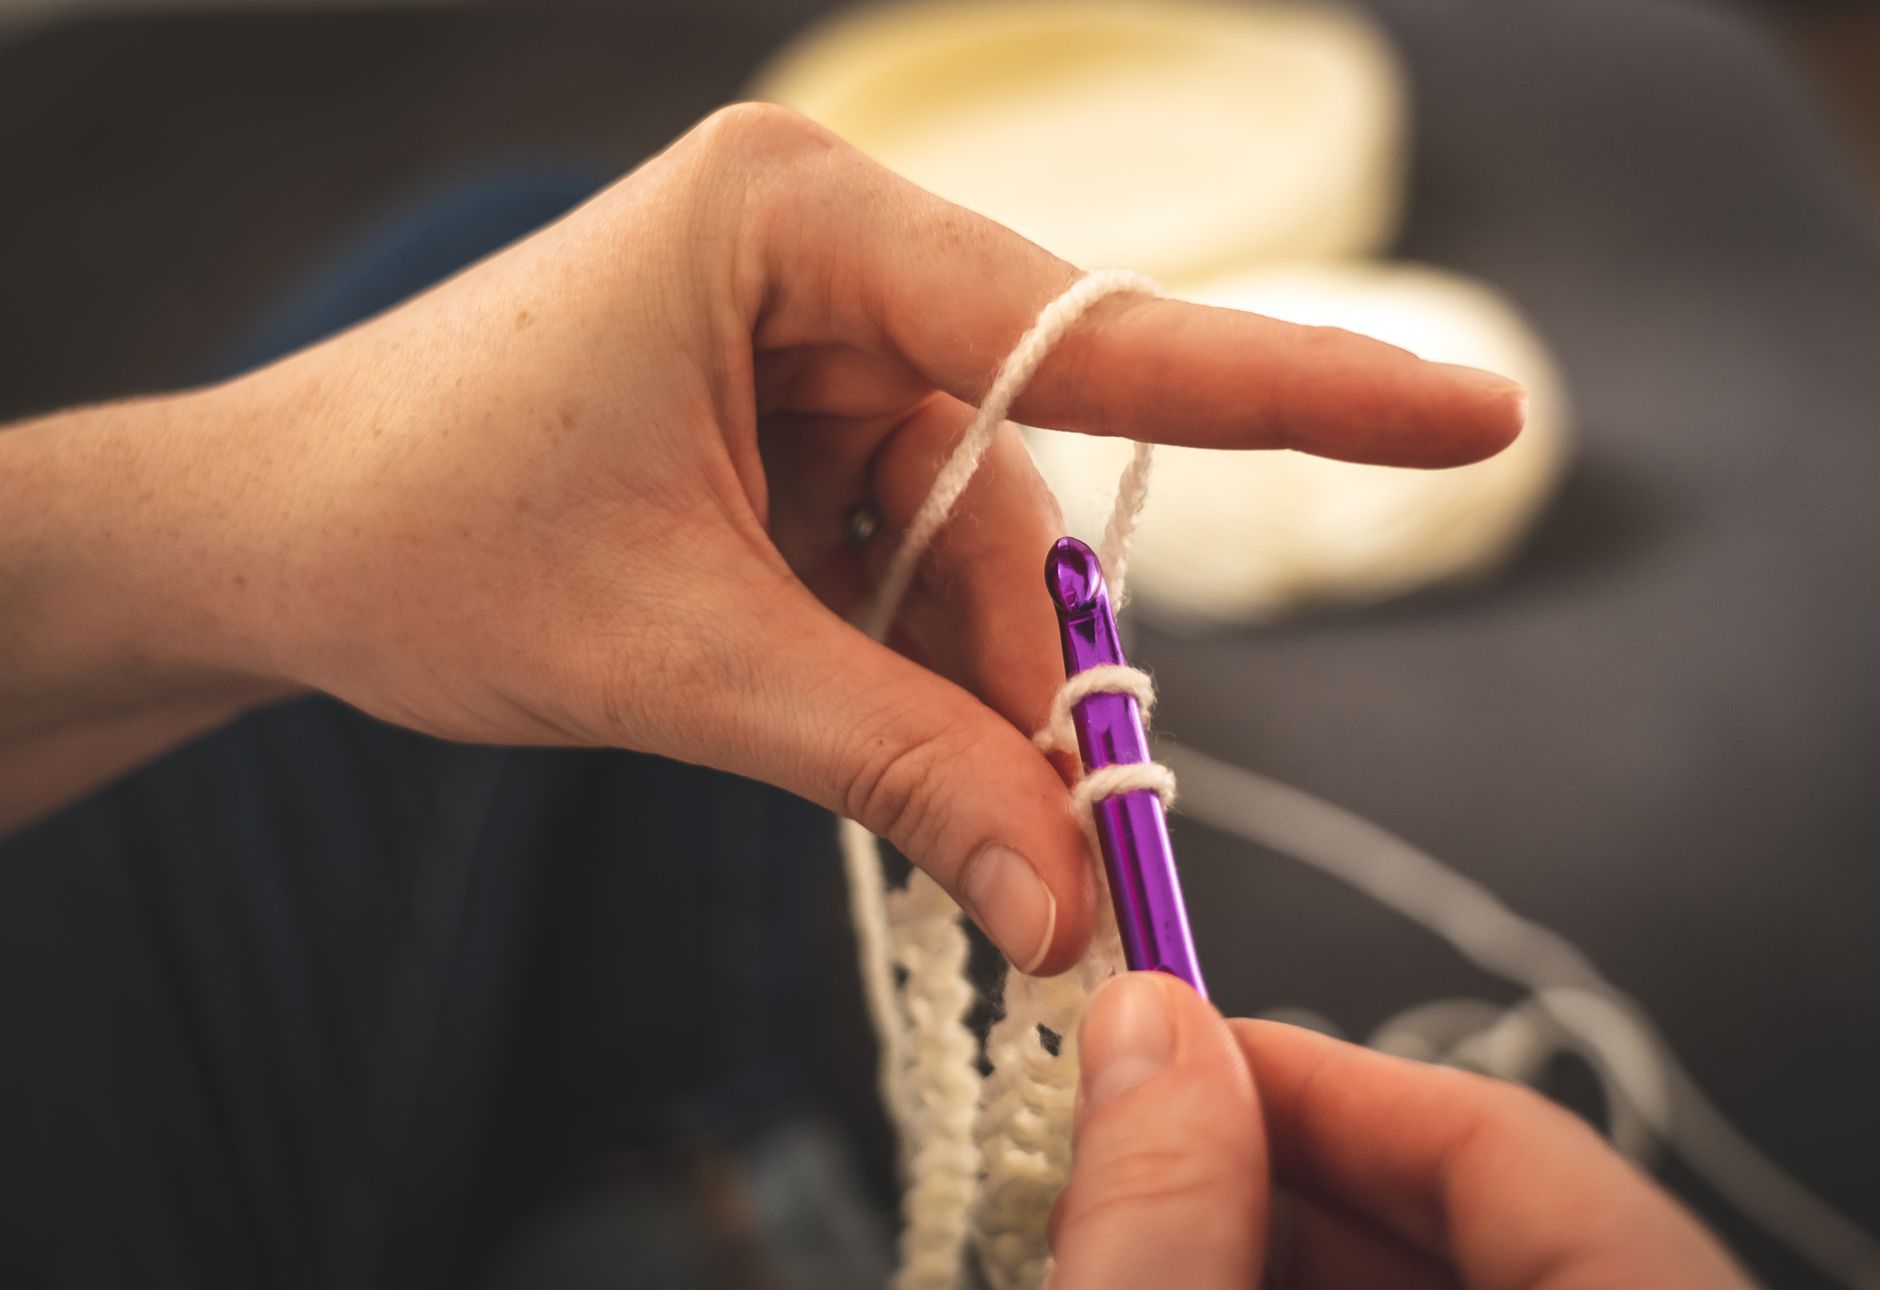
- Make a slip knot. Lay about 15cm of yarn tail across your palm. Cross the working yarn over it to form a loop, then pull a second loop through that first one. Slide your hook into the loop and tug the tail gently until it snugly hugs the hook. It should slide freely, not strangle the hook.
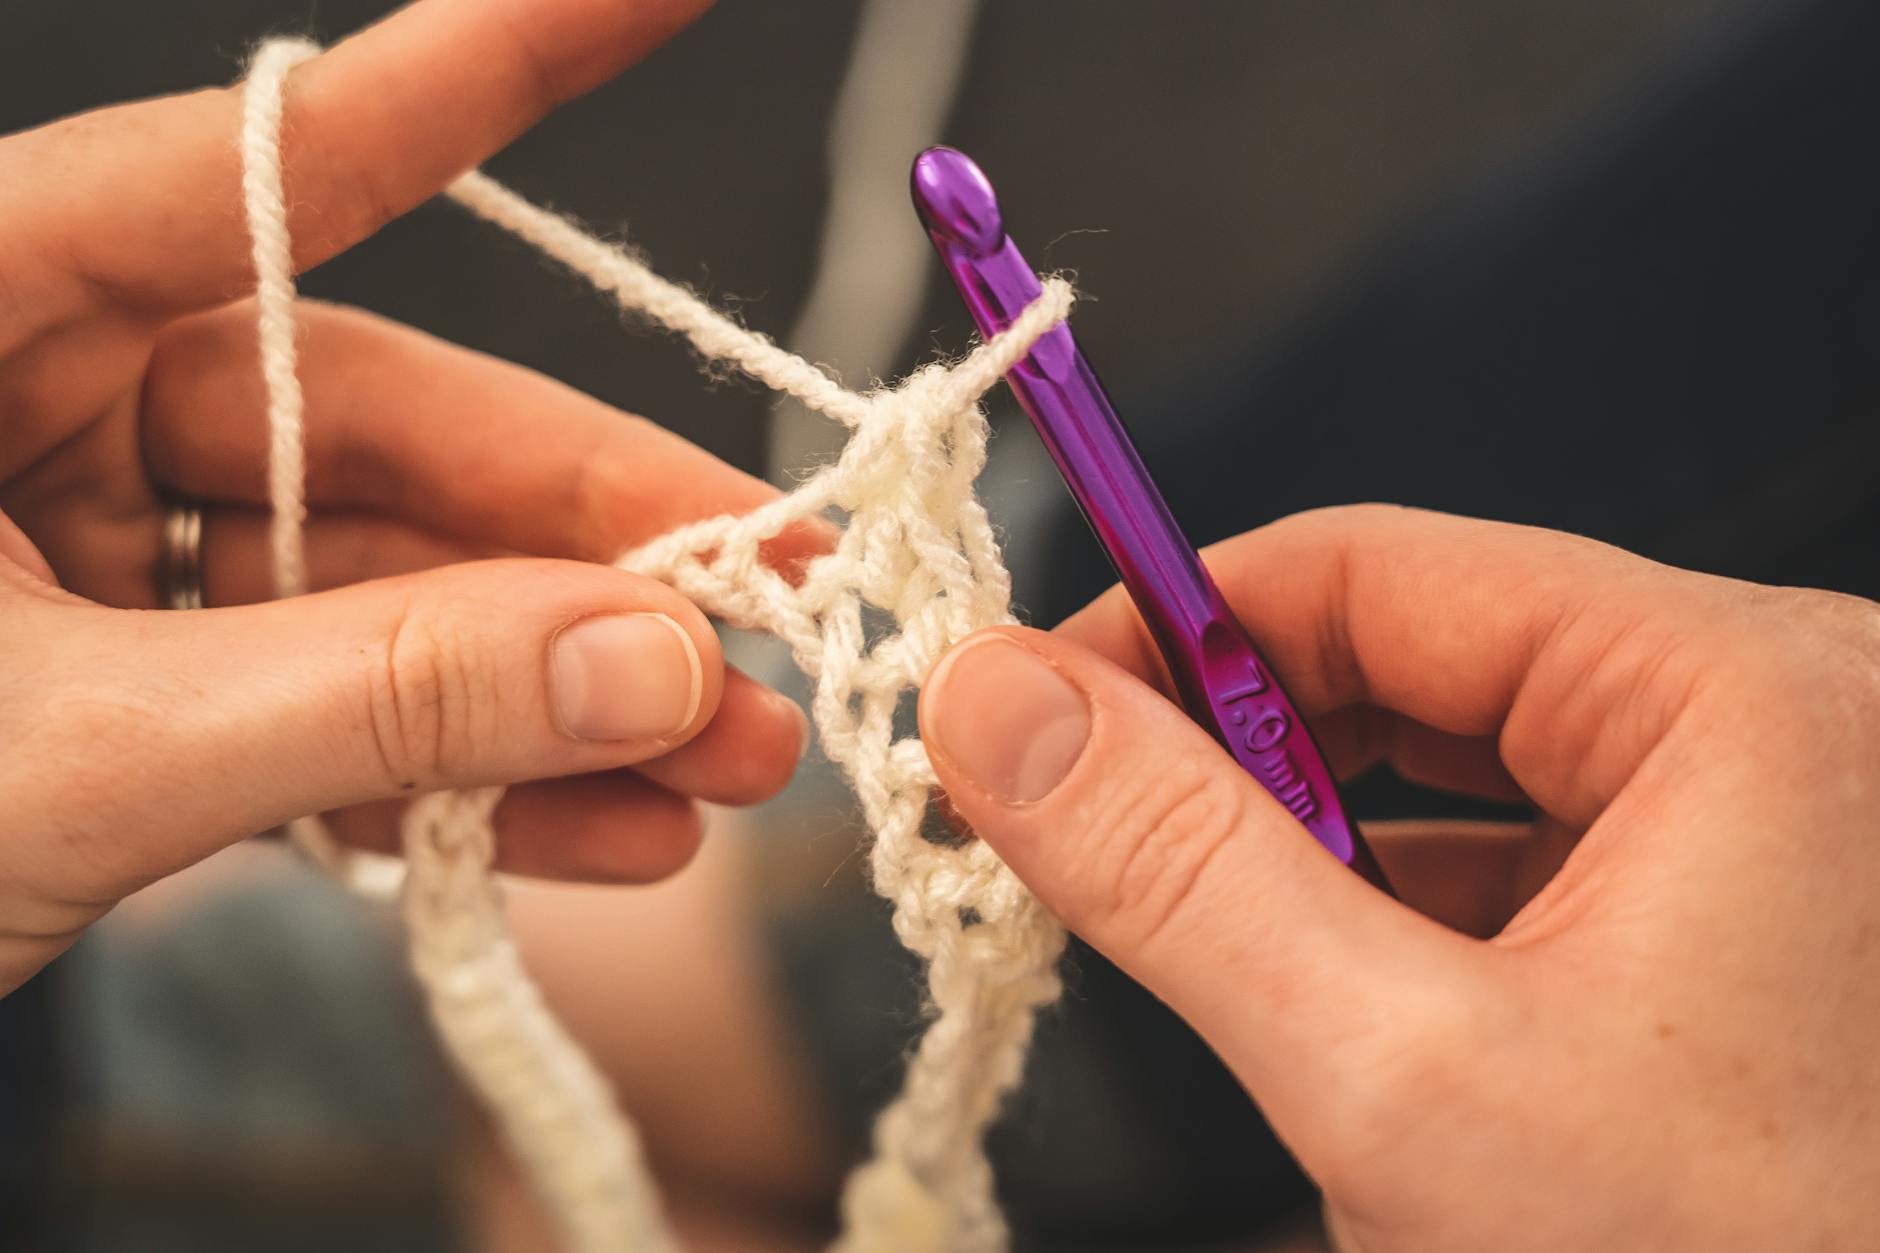
- Hold the hook and yarn properly. Hold the hook like a knife (or a pencil, if that feels natural — both are correct). Wrap the working yarn over your index finger and use your thumb and middle finger to pinch the knot. Tension comes from your finger, not from gripping hard.
- Chain 15. Wrap the yarn over the hook (a “yarn over”) and pull it through the loop on your hook. That’s one chain. Repeat fourteen more times. Count carefully — these chains become your foundation, and miscounting now causes headaches later. Keep them loose enough that your hook slides through easily.
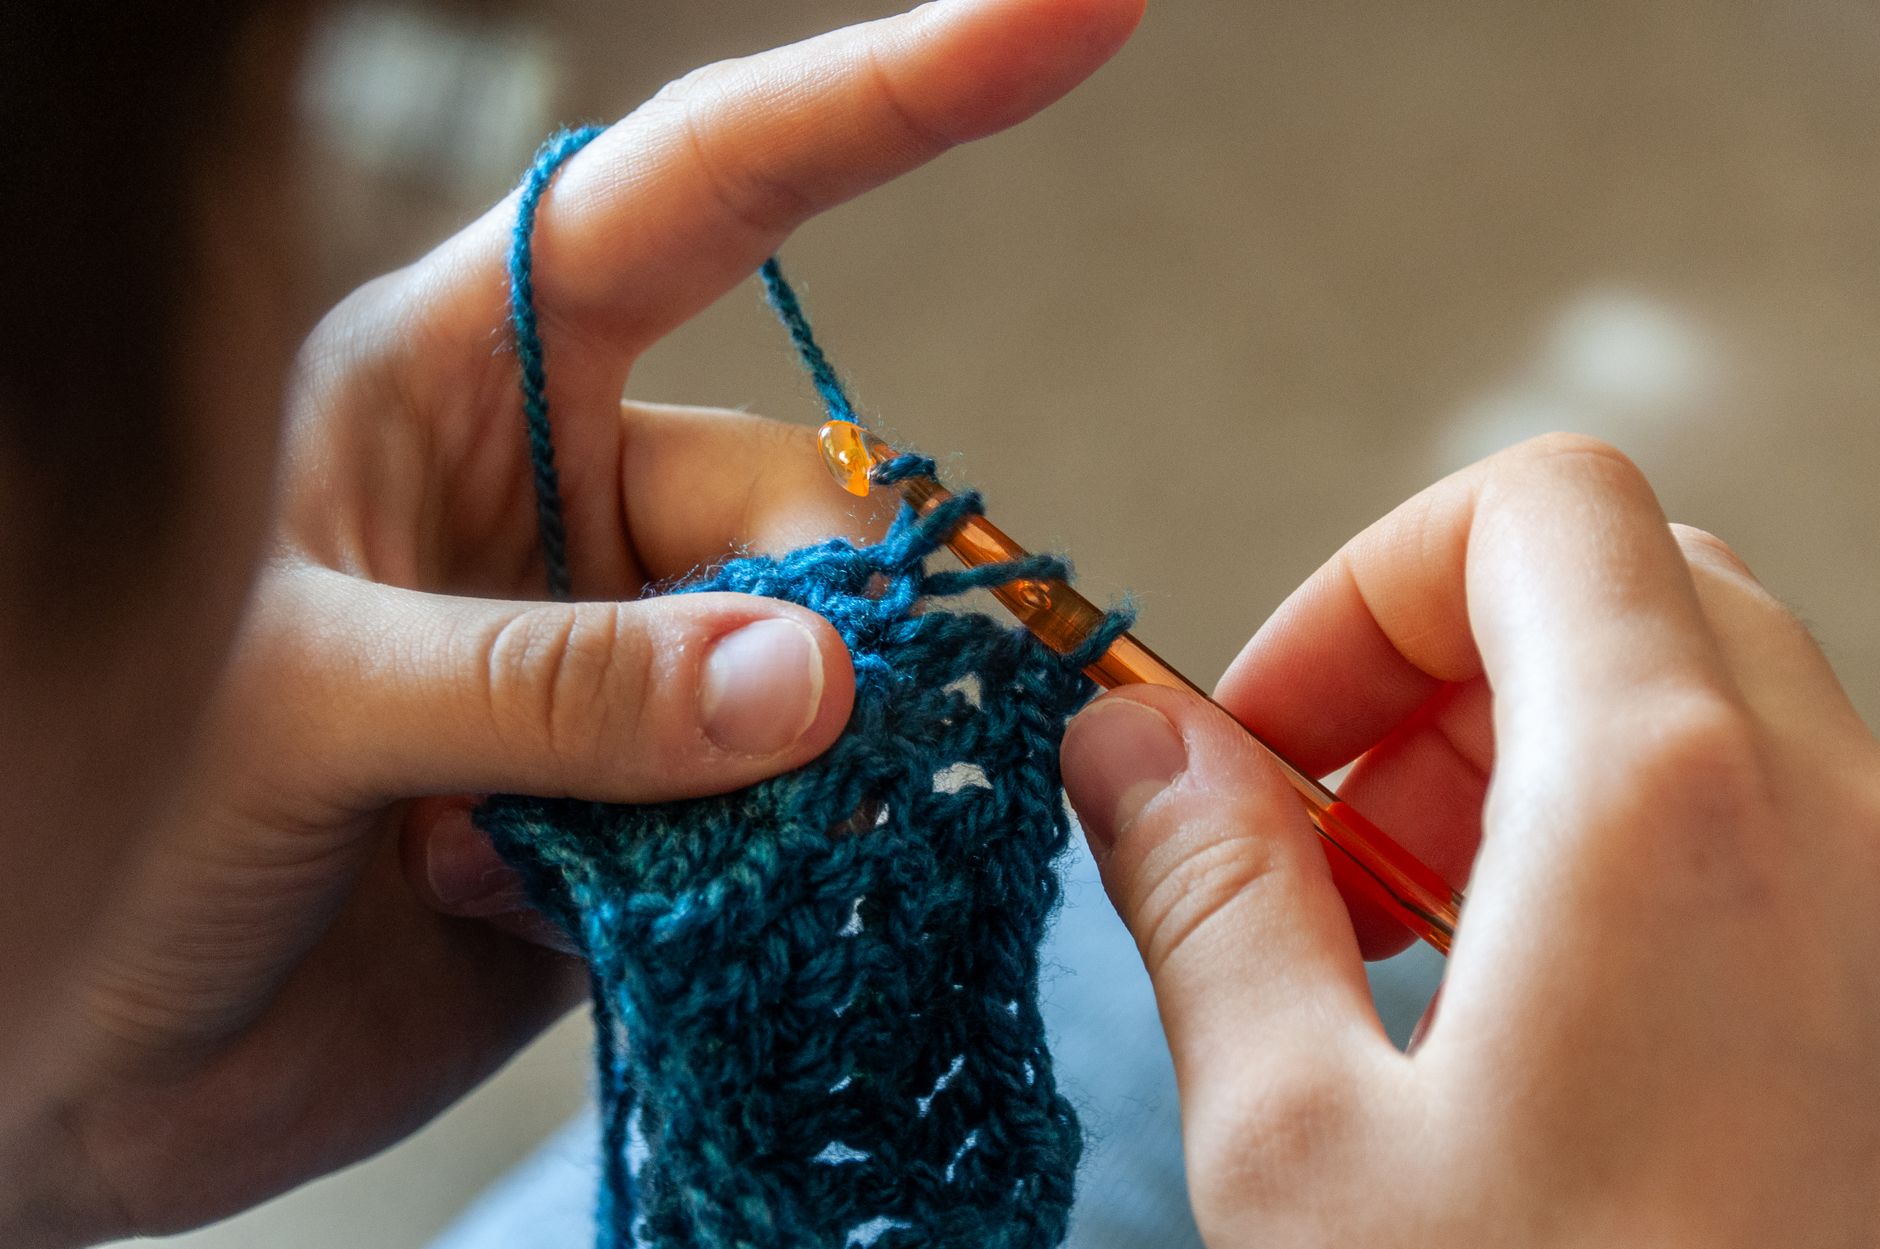
- Work your first row of double crochet (US single crochet). Skip the first chain. Insert your hook into the second chain from the hook, yarn over, pull up a loop (two loops on hook), yarn over again, pull through both loops. One stitch made. Work one of these into every remaining chain — you should end with 14 stitches.
- Chain one and turn. This single chain is your turning chain and doesn’t count as a stitch. Flip your work over so the back faces you.
- Work row two. Insert your hook under both loops of the first stitch (the V shape at the top). Double crochet into each stitch across. Count as you go. At the end of the row, chain one and turn again.
- Repeat until square. Keep working rows until your piece is roughly as tall as it is wide — usually about 14 rows for this size. Place a stitch marker in your first stitch of each row if you keep losing count.
- Fasten off. Cut the yarn leaving a 15cm tail. Yarn over and pull the tail all the way through the last loop. Pull tight.
- Weave in the ends. Thread each tail onto your tapestry needle and weave it back and forth through the wrong side of the fabric for about 5cm. Trim close.
- Block it. Dampen the coaster, pin it into a neat square on a towel, and leave it to dry. This step transforms lumpy beginner work into something that looks intentional. Don’t skip it.
Beginner Tips
Tension is the single most common mistake. Beginners grip the yarn like it owes them money, which makes every stitch tight and every insertion a struggle. Your yarn should feel like it’s being held by a sleepy cat, not a hawk. If your hook squeaks going into a stitch, loosen up.
Counting is the second trap. You will swear you have 14 stitches. You will have 13 or 15. This isn’t a character flaw — it’s what happens when your attention drifts. Count out loud, or place a marker in the first and last stitch of every row. I do this even now, twenty years in, on anything wider than a scarf.
Here’s a counter-intuitive one: don’t practise on scrap yarn you hate. Cheap, scratchy yarn is harder to work with and makes the learning curve steeper. Use something you actually like the feel of. You’ll be more careful with it and more motivated to finish.
Also — and this catches nearly everyone — the turning chain at the end of a row is not a stitch. Crochet into it and your coaster grows a mysterious bulge on one edge. Leave it alone.
Finally, resist the urge to frog (unravel) every tiny imperfection. Your first coaster will be slightly trapezoid. That’s fine. It’s a coaster. Nobody inspects coasters under a magnifying glass.
Creative Variation
Once you’ve made one plain coaster, try a striped version using two colours. Work two rows in colour A, then two rows in colour B, carrying the unused yarn loosely up the side. Same stitch, same skill, but the result looks far more advanced than it is — and it teaches you to manage multiple strands, which opens up a world of colourwork later.
Feeling brave? Swap the double crochet for half treble crochet (US half double crochet) on the final row. It’s a slightly taller stitch with an extra loop on the hook before the final pull-through. One row of it makes a lovely textured border and gives you a taste of a second stitch without committing to a whole project.
Troubleshooting
My edges are wavy. Almost always a tension issue or a miscount. Check that you’re not accidentally adding a stitch at the start or end of each row. Count your stitches after every single row for the next few rows until it levels out.
My piece is getting narrower. You’re dropping stitches, usually the last one in the row because it sits close to the turning chain and hides. Feel along the top edge — every stitch has a distinct V. If you can’t find the last one, count backwards from your hook.
My hook won’t go into the stitches. Too tight. Two fixes: consciously relax your yarn hand, and try going up half a hook size. There’s no shame in a bigger hook — it’s a tool, not a test.
The yarn keeps splitting. You’re probably inserting the hook between the plies rather than under both loops of the V. Look closely at where the hook enters. It should slide under the two top strands as one unit.
It looks nothing like the picture. First attempts rarely do. Crochet is a physical skill, like riding a bike — the learning happens in your hands, not your head. Make three coasters in a row and compare them. You’ll be astonished at the difference.
And what do you do when you’ve made a genuine, unfixable mess? Pull it out. All of it. Unravelling is not failure; it’s rehearsal. Every experienced crocheter has pulled out more rows than they’ve kept.
Conclusion
You now have everything you need to make your first coaster: a hook, some yarn, and a handful of double crochet stitches. The first one will be lumpy. The second will be better. The third will make you start eyeing up blankets. That’s how it goes — one small square at a time, until suddenly you’re the person at the craft group teaching someone else how to hold their hook. Give yourself an hour this evening. Make the slip knot. See where it takes you.