Beginner Leather Craft: Make a Card Wallet
Leather crafting has a reputation problem. People scroll past hand-stitched wallets and bags online and assume you need generations of knowledge, a workshop full of pricey tools, and fingers that never cramp. Not true. Last month I taught a room of total beginners — teachers, retirees, one very determined teenager — and every single one walked out with a finished, usable card wallet. You can too.
Here’s why this project earns its place. It teaches the three core skills of leatherwork in one afternoon: cutting, stitching, and finishing edges. A card wallet is small enough to finish in a single sitting, cheap enough that mistakes won’t break your heart, and useful enough that you’ll actually carry it. That’s the sweet spot for learning any craft. Start small. Finish something. Feel that little surge of pride when someone asks where you bought it.
Materials List
- Vegetable-tanned leather — about 2mm thick (4–5 oz). A 30cm x 30cm piece is plenty. Can’t get veg-tan? Chrome-tanned leather works but won’t burnish as nicely. Tandy, Weaver, or your local supplier will sell small offcuts for a few pounds.
- Waxed nylon thread — 0.8mm is ideal for beginners. Polyester is a fine substitute if that’s what you have. Avoid cotton — it rots and frays.
- Two harness needles — size 2 or 4. These have blunt tips, which is exactly what you want. Sharp embroidery needles will work, but they pierce the thread and drive you slightly mad.
- A stitching awl — the diamond-blade kind. A simple scratch awl for marking is also handy. No awl? A 1.5mm hole punch and a steady hand can substitute, though it’s slower going.
- Wing dividers or a stitching groover — for marking your stitch line. A ruler and a fine-tip pen work in a pinch, but the line won’t be as clean.
- A cutting mat and craft knife — a rotary cutter is lovely if you have one, but a fresh blade in a utility knife is perfectly fine.
- Edge beveler — optional but transformative. A size 1 or 2 will round off those sharp cut edges.
- Wooden slicker or canvas offcut — for burnishing edges. A piece of old denim rubbed vigorously does a surprisingly good job.
- Beeswax or gum tragacanth — for finishing edges. Plain beeswax is cheaper and easier to find.
- A metal ruler — for straight cuts. Plastic rulers get nicked by knives. Learn from my mistakes.
Step-by-Step
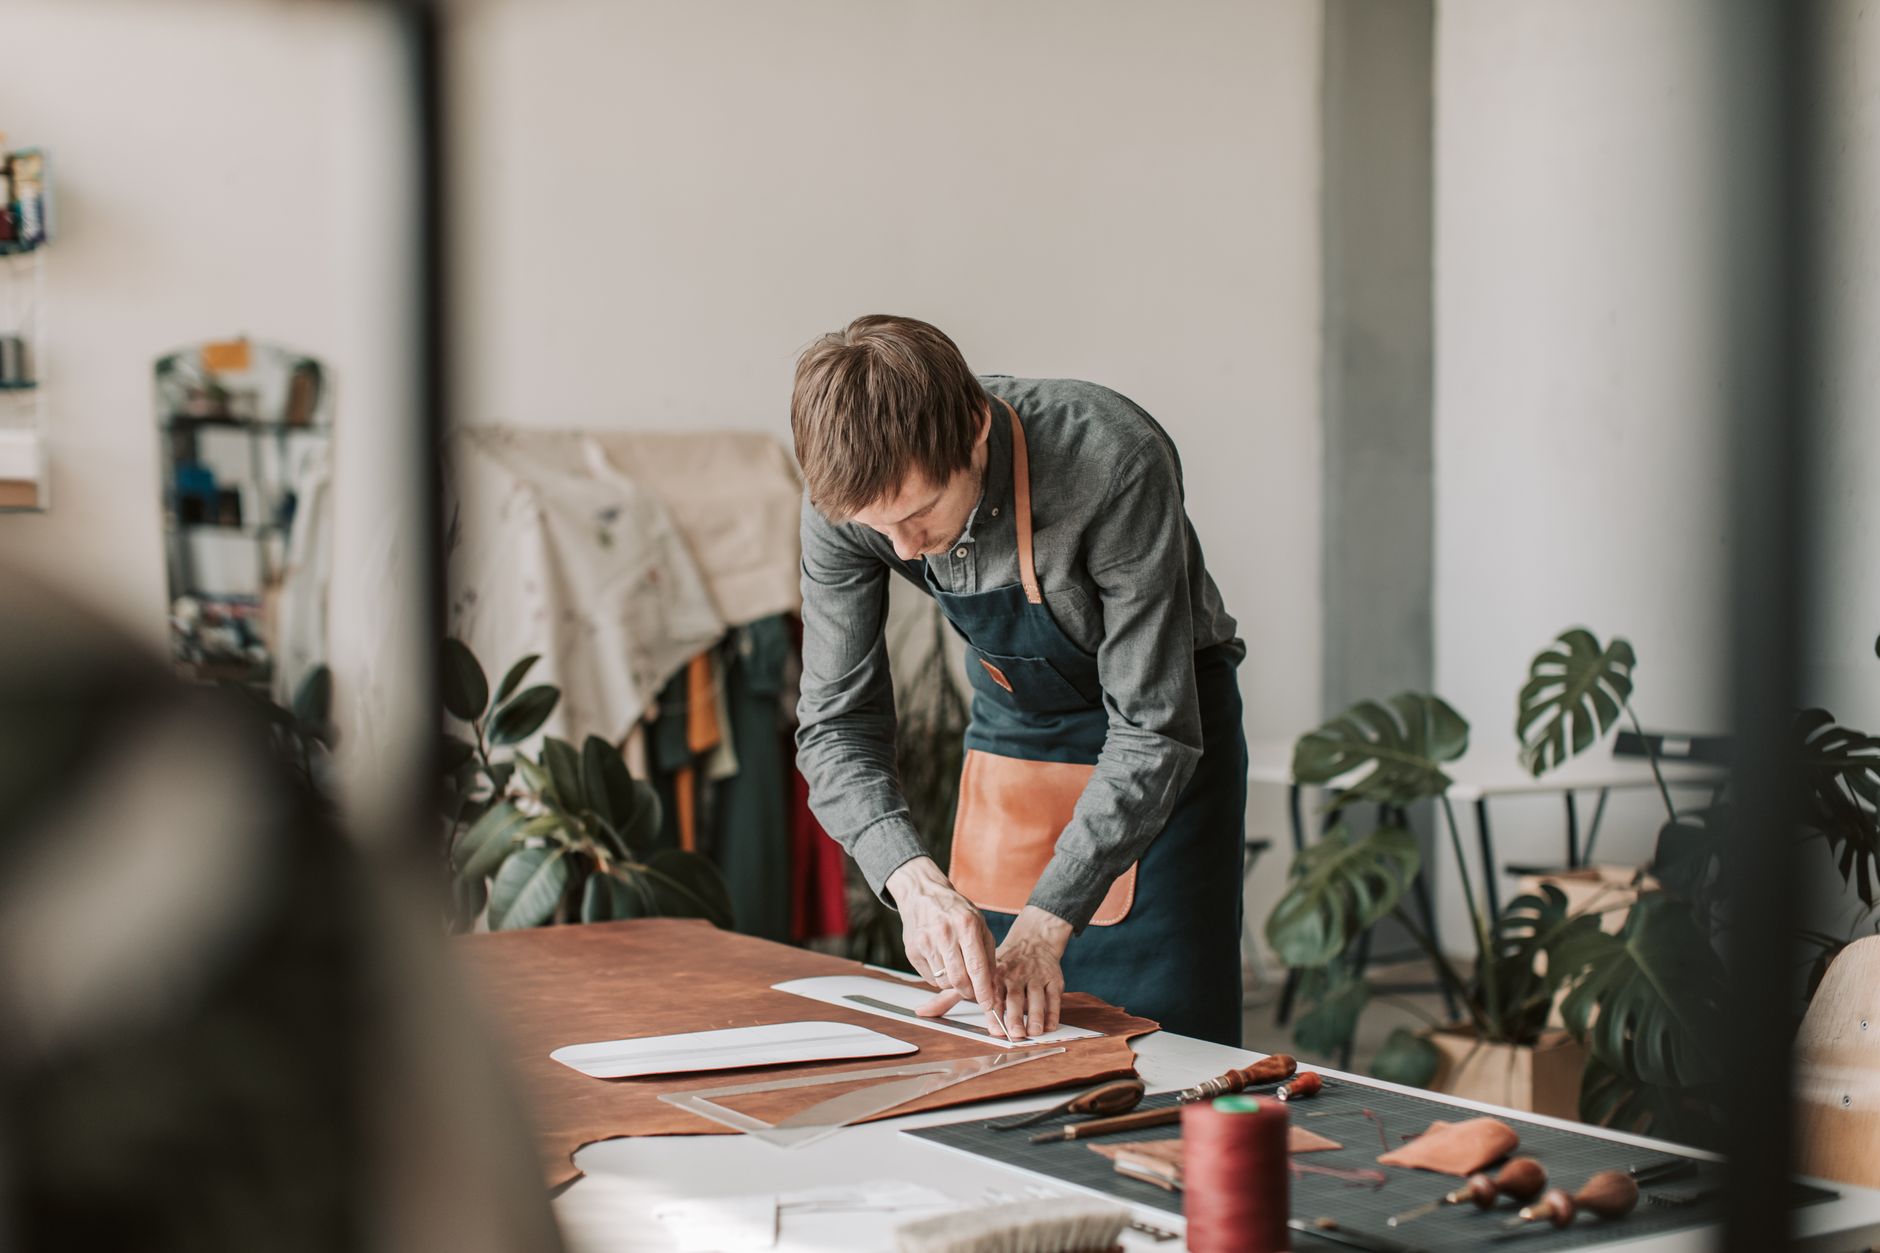
- Cut your leather pieces. You need two rectangles: one at 10cm x 7cm (the main body) and one at 10cm x 6cm (the inner pocket layer). Measure twice, cut once — leather doesn’t forgive. Use your metal ruler as a straight edge and make firm, single passes with your knife rather than lots of shallow ones. Using a rotary cutter? Press firmly and roll away from yourself.
- Round the corners. Take a coin or a small jar lid and trace a curve on each of the four corners of both pieces. Cut along those curves. This stops your corners from curling up and looking scruffy after a few weeks in a pocket. It also makes the wallet feel intentional rather than homemade.
- Mark your stitch line. On the main body piece, measure 5mm in from the edge all the way around. Run your wing dividers along that line, or draw it lightly with a fine-tip pen. On the inner pocket piece, mark 5mm in from the top edge only — that’s where you’ll stitch the pocket to the body.
- Bevel the edges. Run your edge beveler along all the cut edges — top, bottom, sides, and the rounded corners. One firm, consistent pass. This shaves off the sharp 90-degree corner and creates a small rounded profile that will burnish beautifully. Skip this step and your edges will look flat and unfinished no matter how much you polish them.
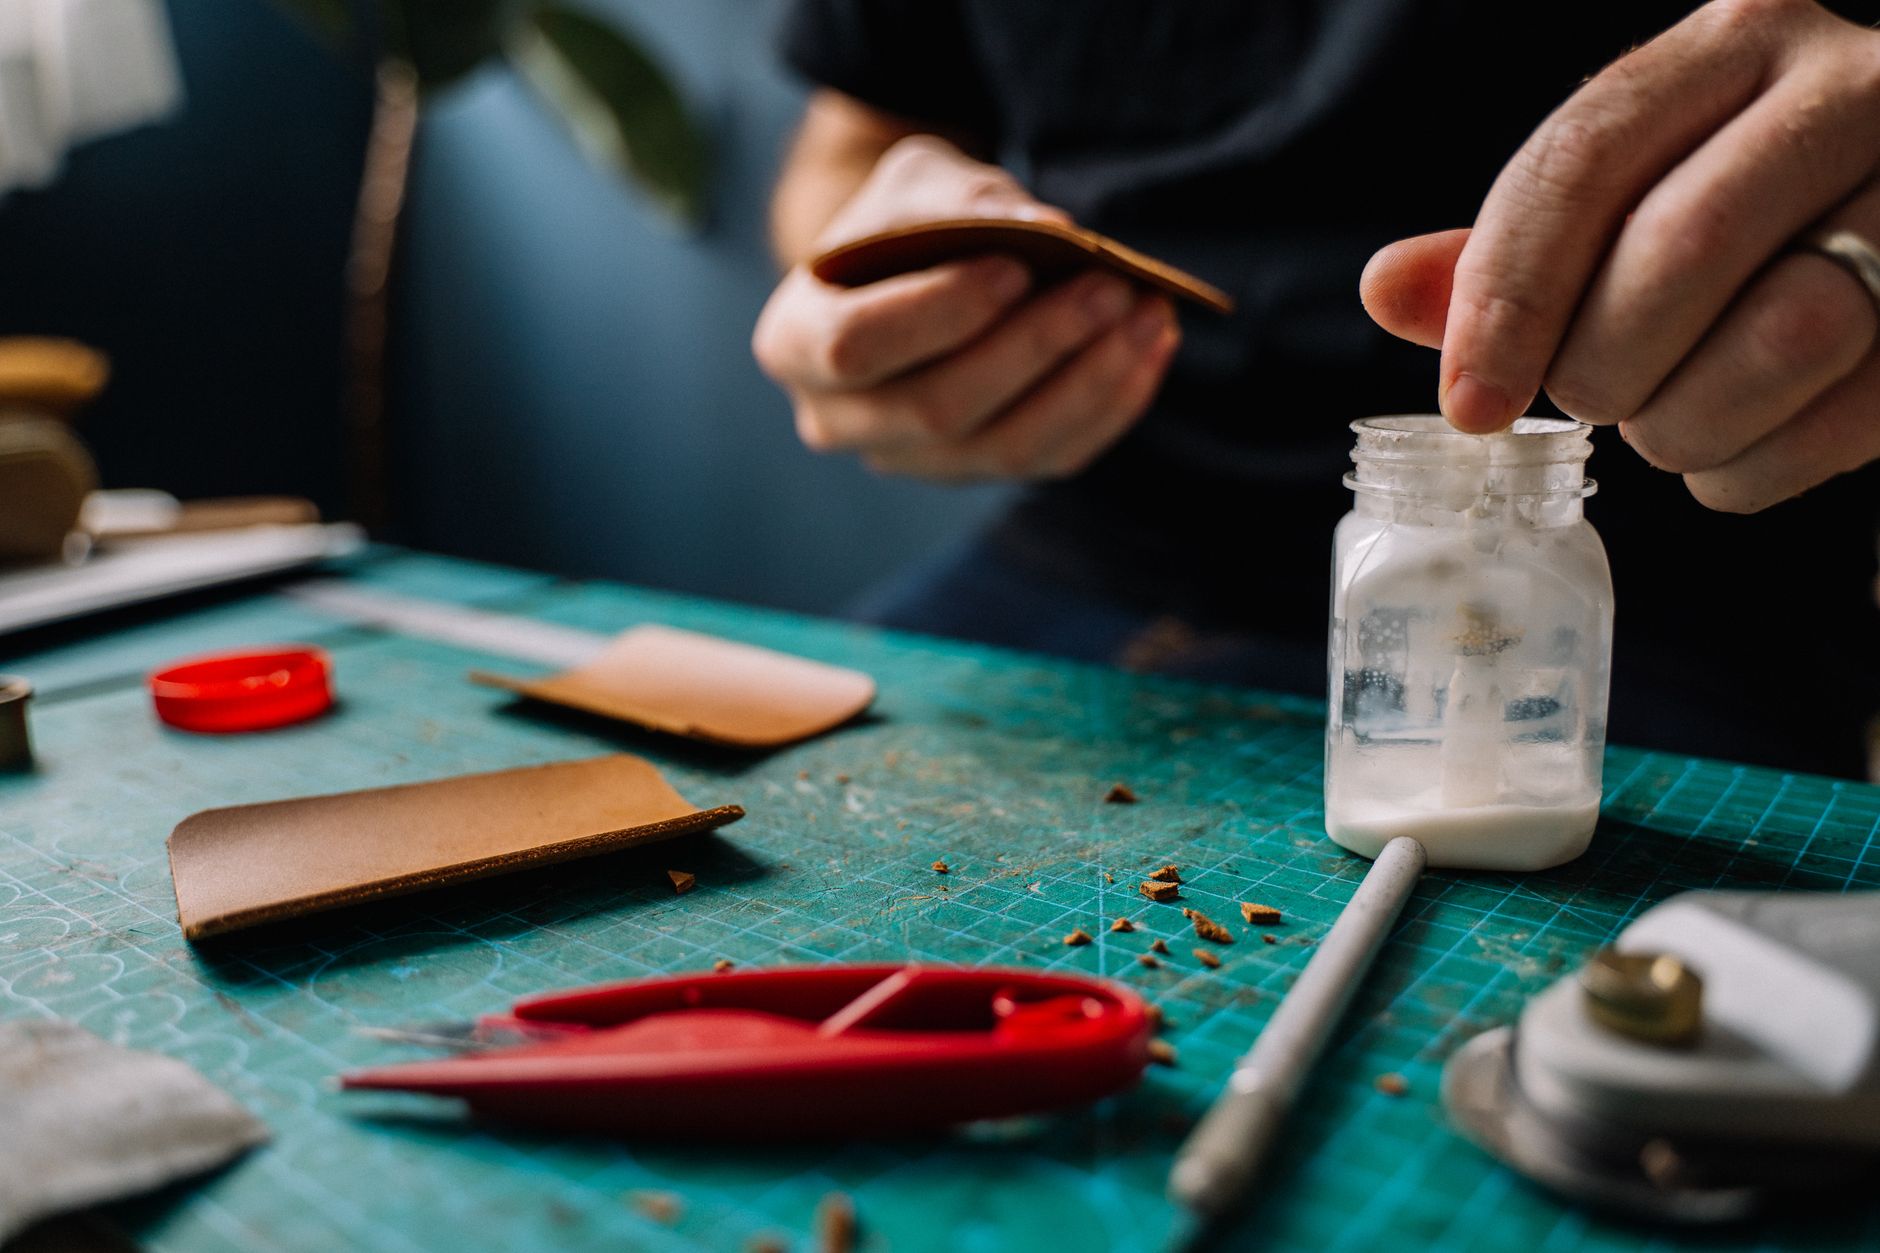
- Glue the pocket to the body. Apply a thin line of contact cement or leather glue along the bottom and side edges of the inner pocket piece. Press it onto the main body, aligning the bottom edges. Wait for the glue to get tacky before pressing — about 30 seconds for most contact cements. Clamp or weight it for ten minutes. This holds everything steady while you stitch.
- Punch or awl your holes. If you’re using an awl, place your leather on a cutting mat and push the diamond blade through at regular intervals along your marked stitch line — about 5mm apart. Keep the blade oriented the same way each time so your stitches sit at a consistent angle. If you’re using a hole punch, this is where you’ll appreciate having marked that line clearly.
- Thread your needles. Cut a length of thread about four times the length of the seam you’re stitching. Thread one needle on each end — yes, both ends. This is called the saddle stitch, and it’s stronger than anything a machine can do. Push the needle through the thread and pierce back through the middle of the strand to lock it.
- Saddle stitch the seam. Push one needle through the first hole from front to back. Push the other needle through the same hole from back to front. Pull both threads snug. Now you have a needle on each side. For the next hole, take the back needle through first, then the front needle through the same hole from the other side. Pull tight. Repeat. This creates a lockstitch that won’t unravel if one thread breaks. Yes, it’s slower than a running stitch. It’s also the reason hand-stitched leather lasts decades.
- Backstitch the last two holes. When you reach the end, go back through the previous two holes in reverse to lock everything off. Pull the threads to the inside (the side that won’t be visible), tie a small knot, and trim. A tiny dab of glue on the knot stops it from working loose.
- Burnish the edges. Dampen the edge slightly with a sponge — not soaking, just barely damp. Rub beeswax along the edge. Then rub vigorously with your wooden slicker or a piece of canvas. The friction heats the leather and the wax, sealing the fibres into a smooth, glossy edge. This takes a few minutes per edge. Put on a podcast and enjoy it. The transformation is genuinely satisfying.
- Give it a final condition. Rub a tiny amount of leather conditioner or even a light coat of beeswax over the whole wallet. Buff with a soft cloth. This protects it from rain and hand oils, and it deepens the colour slightly. Vegetable-tanned leather will darken naturally over time — that’s called a patina, and it’s the best part.

Beginner Tips
The biggest mistake I see is cutting the leather too small because someone forgot to account for the stitch line. Measure your card, add 1cm to each dimension, then cut. Your cards should slide in easily, not fight you.
Second mistake: pulling your stitches too tight. Crank down on every stitch and the leather puckers along the seam, leaving you with a wavy edge. Pull until the threads meet snugly, then stop. The leather should lie flat.
Third mistake: using dull tools. A dull awl requires more force, which means you slip and stab yourself or tear the leather. Sharpen your awl on a fine whetstone or replace your knife blade before you start. Sharp tools are safe tools. Dull tools send people to A&E.
One counter-intuitive piece of advice: don’t practise on scrap first. I know every tutorial says to, but beginners who practise on scrap get bored and never make the actual thing. Cut your wallet pieces, accept that the first one will have wonky stitches, and finish it anyway. A finished wonky wallet teaches you more than twenty perfect practice seams.
Creative Variation
Once you’ve made the basic version, try a contrasting thread colour. Natural linen thread on dark brown leather looks like something from a heritage workshop. Bright red or turquoise on tan leather makes it feel modern and a bit playful. Thread is cheap — buy three colours and see which one makes you smile.
You can also add a small stamped initial or a simple geometric pattern using a cheap leather stamping set. Wet the leather slightly, place your stamp, and hit it firmly once with a mallet. Don’t hammer it repeatedly — one good strike gives a cleaner impression than five timid taps.
Troubleshooting
Uneven stitches? Check your hole spacing. Hand-punched holes are rarely perfect, and that’s part of the charm. But if one hole is way off, you can fill it with a tiny drop of glue and re-punch slightly to the side. Nobody will notice.
Edges won’t burnish smooth? You’re probably not using enough friction. Burnishing is a physical process — you need speed and pressure. Rub faster than feels reasonable. If the leather starts to look shiny, you’re doing it right. If it looks fuzzy, add a touch more wax and keep going.
Wallet feels too tight for your cards? Don’t panic. Leather stretches. Slide two cards in and leave them overnight. By morning it’ll have relaxed into the perfect fit. This is also why you shouldn’t cut your pieces too generously — a snug start becomes a perfect fit.
Thread keeps fraying and breaking? You’re probably pulling it across the sharp edge of a hole. Run your fingernail along the hole to smooth it, or use a slightly larger awl. Waxed thread helps here too — the wax lubricates as it passes through.
And if you hate the finished result? Good. That means you’ve learned what you’d do differently. Cut another one. The second wallet takes half the time and looks twice as good. That’s not a coincidence — that’s how craft works.
Leather crafting isn’t about talent. It’s about patience, a few basic tools, and the willingness to make something slightly imperfect and carry it anyway. Your first wallet won’t look like the ones on Instagram. It’ll look like yours. And in six months, when the edges have darkened and the leather has softened to the shape of your pocket, you’ll understand why people get hooked on this craft. Now go cut some leather. I’ll be here if you get stuck.