How to Make a Photo Wall Collage: Easy DIY Guide
There’s a wall in your home doing absolutely nothing right now. Blank. A bit sad. Meanwhile, a hundred photos sit trapped inside your phone. Sound familiar? In nearly every workshop I teach, I meet people who take beautiful pictures and never look at them again. A photo wall collage fixes that in an afternoon.
Why bother with paper photos when everything’s digital? Because a wall you walk past every day becomes a story you keep telling yourself. It’s memory made visible. No fancy framing skills required. No expensive supplies. You need a plan, a bit of patience, and a free Saturday. That’s genuinely it.
Materials List
- Printed photos. Mix your sizes — 4×6, 5×7, and a couple of 8x10s if you’re feeling bold. Matte finish hides fingerprints far better than glossy. No printer at home? Any high street photo lab or online service will do this cheaply. Want a free option? Print on your home printer using decent photo paper — just check your ink levels first, because nothing kills momentum like running dry halfway through.
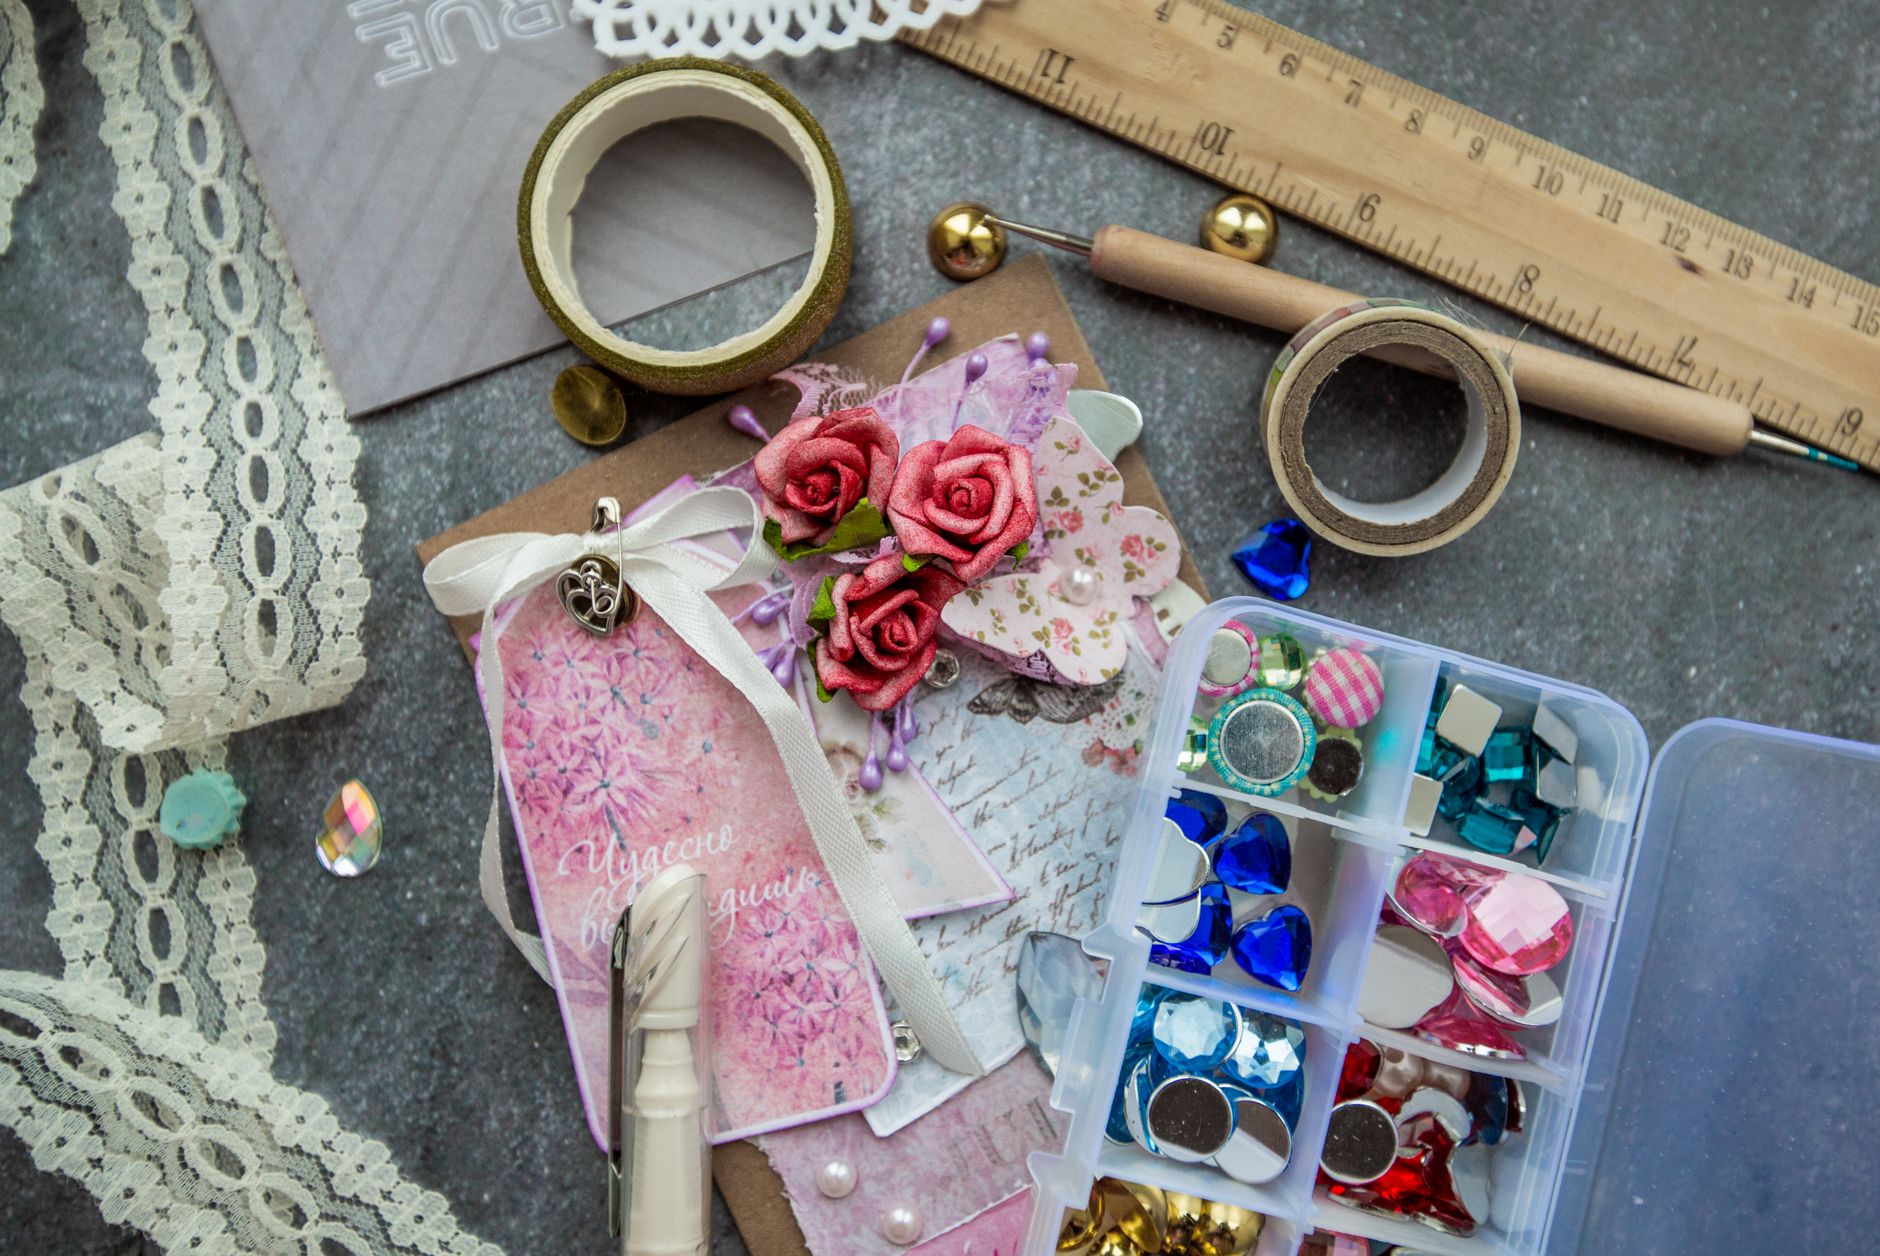
- Washi tape or painter’s tape. Your best friend for the planning stage. Masking tape works in a pinch. Removable adhesive putty is another solid alternative.
- Picture hanging strips or small nails. Command strips are brilliant for renters who want their deposit back. Small finishing nails work if you don’t mind a few holes. For heavier frames, use proper picture hooks.
- A spirit level or a phone level app. Trust me on this one.
- A pencil and a tape measure.
- A large sheet of paper or newspaper. You’ll use this to map out your layout before anything touches the wall.
- Optional: frames, clips, or a photo ledge shelf. Frames aren’t mandatory. Neither are shelves. Mixing framed and unframed pieces actually looks more interesting than everything matching.
Step-by-Step
- Choose your wall and measure it. Grab your tape measure and note the width and height of the space you’re working with. Write it down. Don’t try to remember it — you won’t. Leave at least 15cm of breathing room on each side so the collage doesn’t feel crammed into a corner.
- Pick your photos and decide on a rough number. Lay them all out on the floor or a big table. For a wall roughly 1.5 metres wide, somewhere between 12 and 20 photos usually feels right. Fewer than ten can look sparse. More than thirty on a small wall becomes visual noise.
- Choose a layout style. Three reliable options: a neat grid (equal spacing, same-size photos), a salon-style cluster (mixed sizes, tighter spacing, slightly chaotic), or a horizontal gallery line (photos in a single row at eye level). Grids feel calm and modern. Clusters feel warm and collected. Lines feel clean and minimal.
- Map it out on paper first. Cut paper templates to match each photo’s size. Tape them to the wall in your chosen arrangement. Step back. Walk to the other side of the room. Look at it from the doorway. This step takes fifteen minutes and saves you from patching twenty holes later.
- Adjust until it feels right. This is the fiddly part, and it’s completely normal. Nudge templates around. Swap a landscape photo for a portrait one. The gap between photos should be consistent — usually 5 to 8cm for a cluster, 4 to 6cm for a grid. Keep the centre of the whole arrangement at roughly eye level, about 145cm from the floor.
- Mark your hanging points. Once you’re happy, leave the paper templates in place. Pencil a small dot on each template where the nail or hook needs to go. Measure down from the top of each frame to its hanging wire to get this right.
- Hang the middle photo first. Start from the centre of your arrangement and work outward. This keeps everything anchored. If you start at a corner, small errors snowball across the whole wall.
- Add photos, checking with your level as you go. Hold the level against each frame’s top edge before you commit. It takes three extra seconds per photo and it’s the difference between a wall that looks intentional and one that looks like a mild earthquake hit it.
- Step back and live with it for a day. Don’t rush to fill gaps or move things immediately. Give your eye time to settle. You’ll notice things tomorrow that you can’t see today.
Beginner Tips
Here’s the mistake I see most often: people hang photos too high. We tend to overestimate where eye level actually is. If you’re standing and looking straight ahead, that’s your line. Not above the sofa, not near the ceiling. Eye level.
Spacing comes next. Uneven gaps make even gorgeous photos look messy. Pick a gap size and stick to it religiously. Measure if you have to.
And don’t mix too many frame styles on your first attempt. Two finishes maximum. Three different wood tones, black metal, and gold all together is a lot to manage when you’re learning.
Now, a counter-intuitive one for you — hanging photos slightly off-centre on a wall often looks better than dead centre. Perfect symmetry can feel stiff and a little boring. A gentle offset gives the arrangement energy.
One more thing. Don’t wait for the perfect photos. Use what you have. The wall will evolve over time anyway, and that’s part of the charm.
Creative Variation
Want to make this project truly yours? Build the collage around a single colour story instead of a chronological one. Pull every photo that features blue — a sky, a jumper, a coffee cup, a front door — and arrange them together. The result reads like a curated art piece rather than a family album page.
You can push this further by adding small non-photo elements into the mix. A postcard, a ticket stub, a pressed leaf, a handwritten note. These little anchors break up the rhythm of rectangles and make the wall feel collected over time rather than assembled in one go.
Another route: use a photo ledge shelf instead of hanging each piece. You can lean photos, swap them whenever you like, and add zero holes to your wall. Brilliant for renters and for anyone who changes their mind often.
Troubleshooting
Your photos keep sliding or falling. The adhesive strips are probably too small for the weight. Size up, or switch to proper hooks. Clean the wall with a dry cloth first — dust stops strips from gripping properly.
The arrangement looks unbalanced. Take everything down and lay it on the floor again. Group darker photos and lighter photos separately, then distribute them evenly across the layout. Visual weight matters as much as physical size.
You’ve made too many holes. Don’t panic. A little filler, a light sand, and a touch of paint fixes almost anything. If you’re renting, keep a small pot of matching paint on hand. Landlords rarely notice a well-patched wall.
The photos look washed out or glare badly. That’s usually a lighting issue, not a photo issue. Move the arrangement to a wall that gets softer, indirect light. Direct sunlight fades prints over time too, so this helps twice over.
You hate it halfway through. Stop. Walk away. Come back tomorrow. Almost every collage I’ve made has had an ugly middle stage. The awkward phase is not the final result.
And if a frame arrives scratched or a print comes back with a colour cast? Contact the printer or return it. Don’t try to work around damaged materials — you’ll notice the flaw every single time you walk past.
So there it is. A blank wall, a stack of photos, and an afternoon. That’s the whole recipe. You don’t need to be artistic or particularly handy — you need to start, adjust, and trust your own eye. The wall won’t be perfect. It’ll be yours, and that’s considerably better. Go pick your photos. Your blank wall is waiting, and honestly, it’s been waiting long enough.