Beginner Leather Craft: Easy Stitched Card Holder
The smell hits you first. Earthy, slightly sweet — vegetable-tanned leather, like a mix of hay and old books. Then the weight of it in your hand, heavier than you expect for something so soft. I still remember my first piece: a wobbly little card holder, stitches wandering off their line like a tipsy ant. It was wonky. It was also mine. That first cut into a fresh hide is terrifying and thrilling in equal measure, and once you’ve felt it, there’s no going back. If you’ve been circling leather craft from a distance, thinking it’s for “real makers” with dusty workshops and steady hands, let me stop you right there. You can start today, at your kitchen table, with tools that cost less than a takeaway dinner.
This project is a simple stitched card holder — the perfect first leather piece. It teaches you the core skills: cutting, edge finishing, punching, and saddle stitching. Small enough to finish in an afternoon. Useful enough that you’ll actually carry it. And forgiving enough that a few mistakes won’t ruin it. Let’s make something you’ll be proud to pull out of your pocket.
Materials List
- Vegetable-tanned leather — about 6 x 12 inches, roughly 2-3mm thick. Veg-tan is the beginner’s friend: it takes stitching, burnishing, and stamping beautifully. Alternatives: a scrap bag from a leather supplier, or an old leather belt from a charity shop (thinner, but workable for a first go).
- Craft knife with fresh blades — a Stanley knife or scalpel-style craft knife works. A dull blade is your enemy; it drags and tears. Alternative: a rotary cutter with a leather blade, if you have one.
- Cutting mat — a self-healing mat protects your table. Alternative: a thick piece of cardboard, though it won’t last long.
- Stitching awl or 4-prong hole punch — for making evenly spaced stitch holes. Alternative: a fine drill bit and hand drill, or even a sturdy needle pushed through with a thimble (slow but doable).
- Two harness needles — blunt-tipped, sturdy. Alternative: any heavy-duty needles you have, though sharp ones will snag the leather.
- Waxed thread — linen or polyester, about 0.8mm. Alternative: embroidery floss in a pinch, though it’s less durable.
- Edge beveler (optional but lovely) — rounds off sharp edges. Alternative: fine sandpaper (200-400 grit) does a similar job.
- Wooden burnishing tool — for slicking edges. Alternative: a smooth glass bottle, a wooden spoon handle, or even denim rubbed briskly.
- Gum tragacanth or beeswax — for edge finishing. Alternative: water and a bit of soap, or just water alone for a simple finish.
- Ruler, pencil, and a scratch awl or compass — for marking. Alternative: a ballpoint pen (mark on the flesh side, not the grain).
- Sandpaper — 200, 400, and 800 grit for smoothing edges.
- Bone folder or spoon — for creasing folds.
Step-by-Step
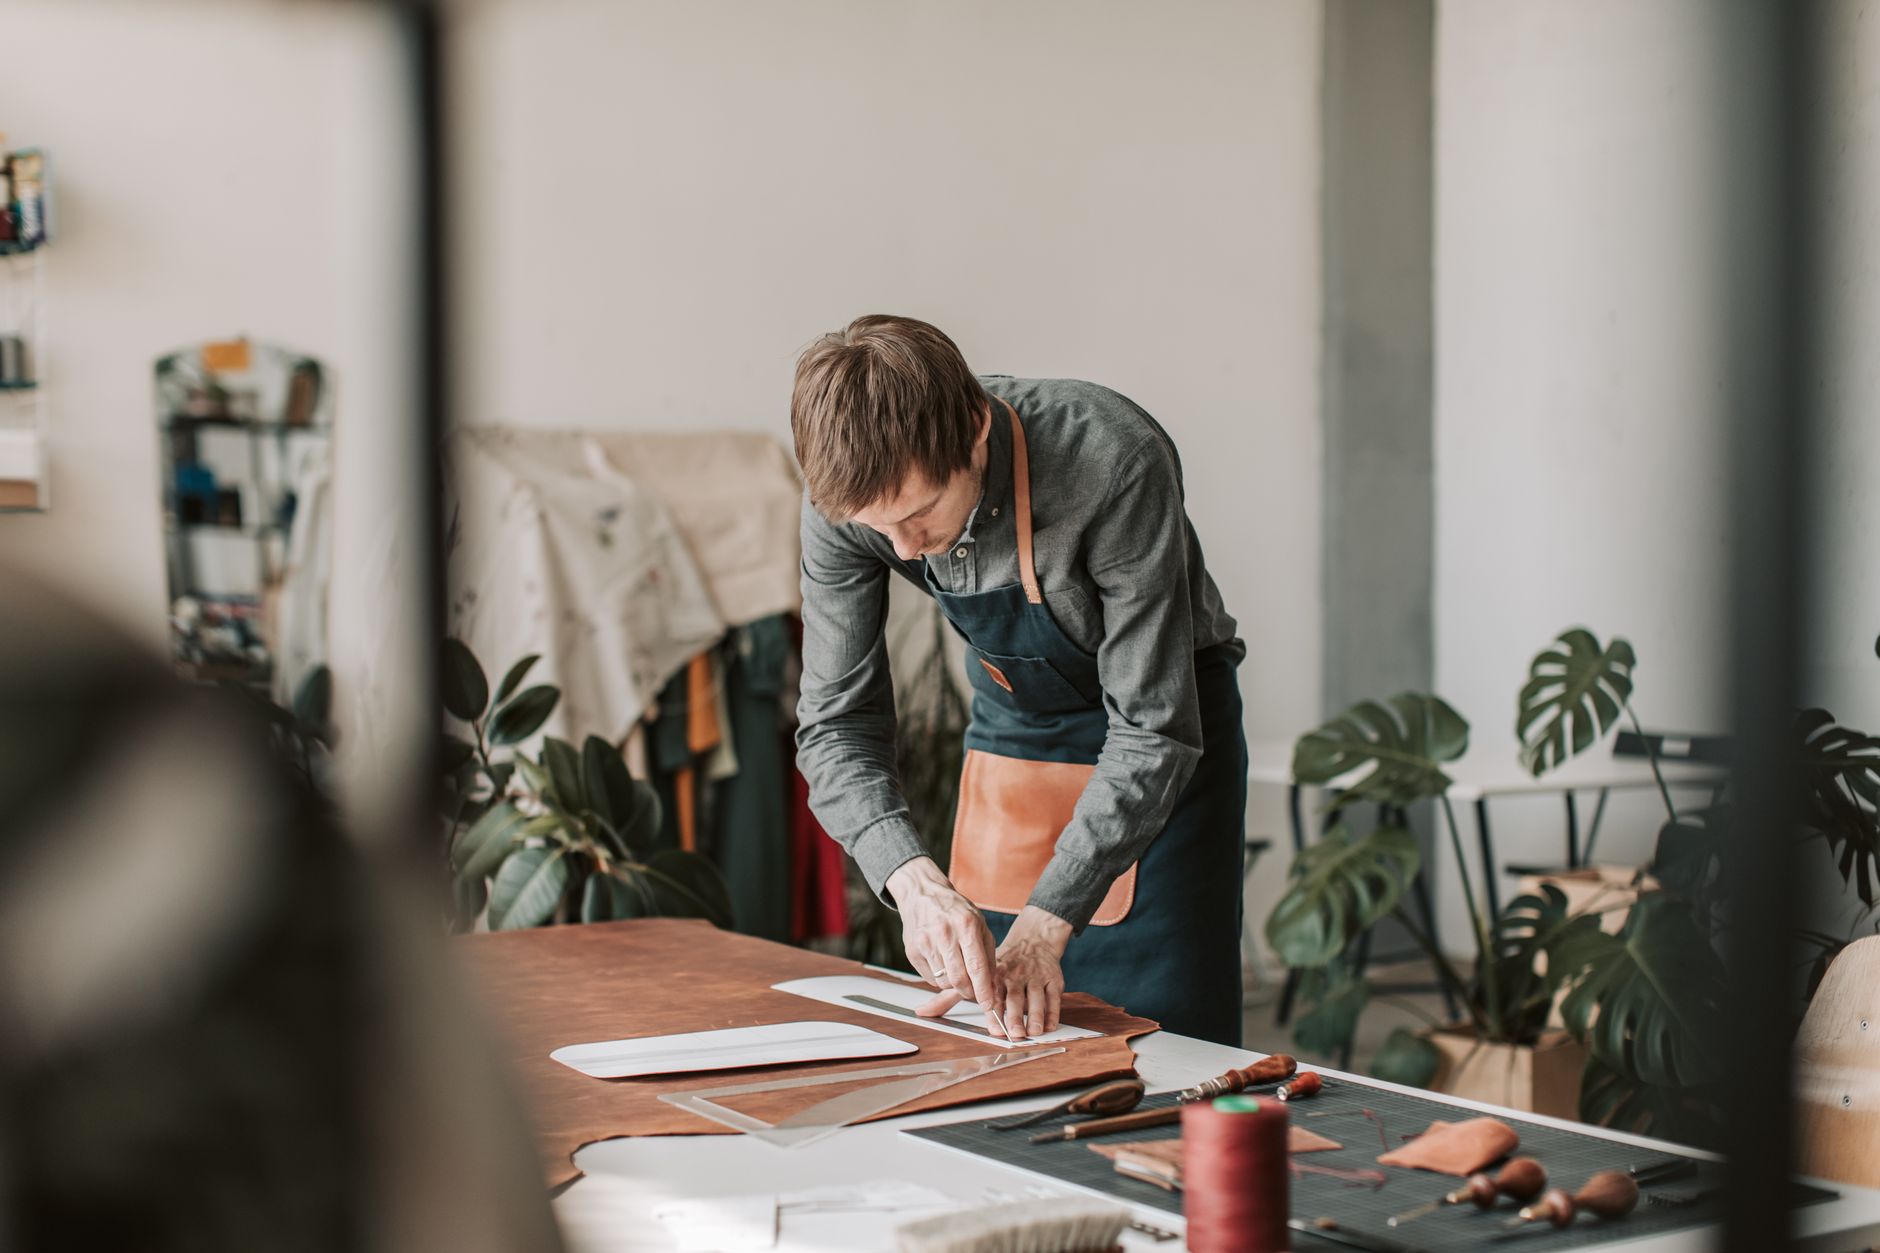
- Make your pattern. On paper, draw a rectangle 4 inches wide by 8 inches tall. This will fold in half to make a card holder roughly 4 x 4 inches. Add a curved notch at the top edge (about 1 inch wide, 1/2 inch deep) so cards peek out nicely. Cut it out — this is your template.
- Trace onto leather. Place the template on the flesh side (the fuzzy back) of your leather. Trace around it with your scratch awl or pencil. Press firmly but don’t gouge. Mark the fold line across the middle too.
- Cut it out. On your cutting mat, use slow, firm strokes with a fresh blade. Don’t try to cut through in one pass — score deeply, then cut again. Keep the knife vertical. Follow your line as best you can; small wobbles are character, not failure.
- Bevel and sand the edges. If you have an edge beveler, run it along all edges to round them off. No beveler? Skip straight to sanding. Start with 200 grit, sand the edges smooth, then move to 400 and 800. You’re aiming for a soft, even edge — like a well-worn book spine.
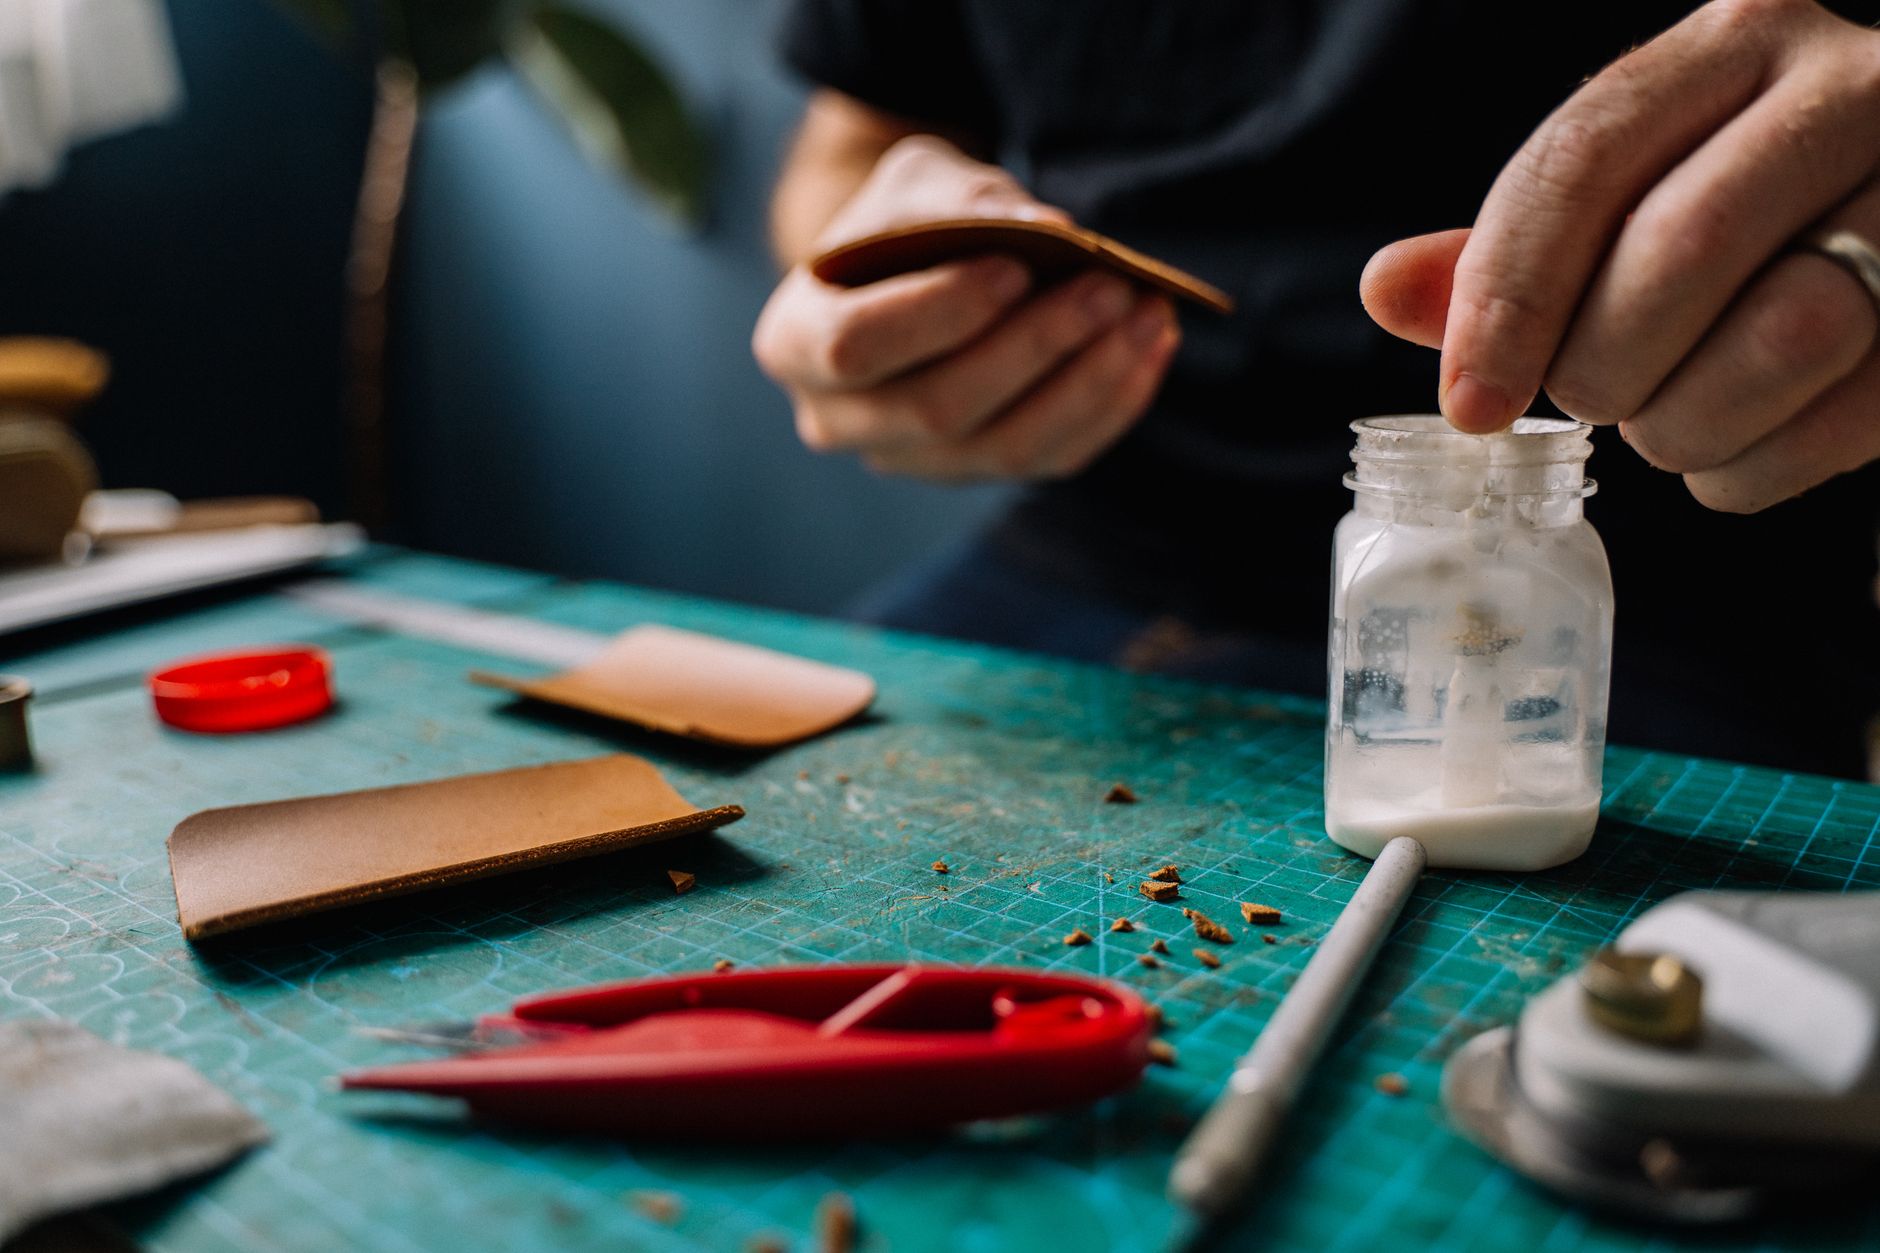
- Burnish the edges. Dampen the edges slightly with water (or gum tragacanth). Rub your burnishing tool along them briskly until they darken and shine. This takes a few minutes per edge. Put on a podcast. The result is worth it — smooth, sealed edges that look professional.
- Mark your stitch holes. Fold the leather in half, grain side out, and crease the fold with a bone folder or spoon. Along the two side edges and the bottom edge, mark stitch holes about 1/4 inch in from the edge, spaced 1/8 to 3/16 inch apart. A compass or stitching wheel helps here — or just mark carefully with a ruler.
- Punch the holes. With your awl or 4-prong punch, push through all layers (both sides of the folded leather). Work on your cutting mat. Keep the awl vertical. Go slowly — this is where impatience shows.
- Thread your needles. Cut a length of waxed thread about 3-4 times the length of the seam you’re stitching. Thread a needle on each end. Yes, two needles — this is saddle stitching, the strongest hand-stitch there is.
- Saddle stitch. Start at one end, push one needle through the first hole, pull it halfway through, then push the second needle through the same hole from the other side. Pull both snug. Now work hole by hole: needle from the front goes through, then the needle from the back goes through the same hole the opposite way. Pull firmly each time. You’ll find a rhythm. Keep the thread from twisting.
- Finish and secure. At the last hole, backstitch two holes for strength. Trim the thread close to the leather and melt the end briefly with a lighter (careful!) if using synthetic thread. For linen, a tiny dab of glue works.
- Final polish. Give the whole piece a light rub with a soft cloth. Admire your stitches — they won’t be perfect. Good. Perfect is boring. Slide a card in and check the fit.

Beginner Tips
Your first piece will have a wobbly stitch line. Mine did, and I’ve seen hundreds of students do the same. Here’s what actually matters.
Don’t buy a full hide. Seriously. A beginner doesn’t need a £100 side of leather. Buy a small scrap pack or a “beginner bundle” from a supplier. You’ll make three or four practice pieces before you know what you like.
Sharpen your knife constantly. Change the blade the moment it starts dragging. A sharp blade follows your line; a dull one wanders off and takes your confidence with it.
Punch holes before you stitch, not as you go. It’s tempting to punch one hole, stitch it, punch the next. Don’t. Punch them all first. Your spacing will be more even and your stitching faster.
Keep your thread length sensible. Too long and it tangles into a knotty mess. Too short and you’ll run out mid-seam. Three to four times the seam length is the sweet spot.
Don’t pull your stitches like you’re starting a lawnmower. Firm and even beats tight and yanked. Over-tightened stitches pucker the leather, and there’s no fixing that.
Test on scrap first. Before you touch your good piece, punch and stitch a scrap strip. You’ll learn your thread tension, your hole spacing, and whether your awl needs a sharper point — all without risking the real thing.
Creative Variation
Here’s where you make it yours. The simplest, most satisfying upgrade: add a decorative stamp or a hand-carved initial to the front flap before you fold and stitch. Veg-tan leather takes tooling beautifully — a few craft store stamps and a mallet, and you’ve got a personalised gift in an afternoon. Press the stamp firmly, hit it once with a mallet (not five times — one firm strike is better than a cluster of taps), and you’ve got a crisp impression. Try a simple border of dots around the edge, or a single initial in the corner. It’s the difference between “I made this” and “I made this for you.”
Another route: swap the thread colour. Contrast stitching — cream thread on dark brown leather, or rust on tan — makes even basic stitches look deliberate. And if you’re feeling bold, line the inside with a thin contrasting leather or a scrap of fabric glued in place. Small details, big impact.
Troubleshooting
My stitches are uneven and loopy. This is nearly always a tension problem. You’re either pulling too hard on one side or letting the thread slack on the other. Undo the last few stitches and try again, pulling both needles with equal, moderate pressure. It’ll click.
My holes are ragged and the leather tore. Your awl was blunt or you pushed too hard at an angle. Sharpen the awl (a few strokes on fine sandpaper works), keep it vertical, and punch on a firm surface. A torn hole will always look torn — there’s no hiding it, so slow down.
The edges won’t shine. Burnishing needs friction and a little moisture. Dampen the edge, not soak it. Rub harder and longer than feels reasonable. If you’re using a glass bottle, press firmly and work in one direction. It should feel warm under your hand.
My thread keeps knotting. Cut a shorter length. Wax your thread if it isn’t pre-waxed. And every few stitches, let the needle dangle and untwist — the thread builds a twist as you work, and that’s what tangles.
The fold cracked. You folded against the grain or the leather was too dry. Next time, dampen the fold line slightly before creasing, and fold with the grain. If it’s already cracked, a tiny dab of leather conditioner can soften the look, though it won’t fully heal.
My card holder is too tight. Leather stretches with use, so a snug fit now becomes perfect in a week. If it’s really tight, wet the leather slightly, slide a couple of cards in, and let it dry around them. It’ll mould to shape.
You’ve now got a card holder, a set of skills, and a new relationship with a material that’s been worked by human hands for thousands of years. That’s not nothing. The first piece is always the hardest — not because the craft is difficult, but because starting is. You’ve started. The next one will be neater. The one after that might have a stamped border, a contrast thread, a lining. Before long you’ll be the person friends ask to make them something. Keep your first wobbly piece. Put it somewhere you’ll see it. It’s proof you can make things with your hands, and that’s a quiet kind of magic worth holding onto.