Soap Making at Home: Easy Beginner’s Guide
Turning a jug of oil and a scoop of lye into a bar of soap you actually want to use — there’s something quietly magical about that. It’s chemistry you can hold. Once you’ve made your first batch, you’ll never look at a shop-bought bar the same way again.
This project is worth your afternoon. It’s cheap, endlessly customizable, and genuinely useful. You control every ingredient, which matters if your skin is fussy. A single batch makes around eight bars, and they’ll last months. Plus, there’s a real satisfaction in washing your hands with something you built from scratch. Ready to get your hands a little oily?
Materials List
- Olive oil (500g) — the backbone of a gentle, hard bar. You can swap in sunflower or rice bran oil if olive feels too expensive, though the bar will be softer.
- Coconut oil (250g) — gives big, fluffy bubbles. No good substitute here; it’s the lather-maker.
- Shea butter (100g) — for a creamy, conditioning feel. Cocoa butter works too, but it sets faster, so work quickly.
- Sodium hydroxide (lye) — 120g — the non-negotiable chemical. Buy it as pure lye flakes from a soap supplier, not drain cleaner. There is no substitute. Sorry.
- Distilled water (300g) — tap water has minerals that can mess with your batch. Bottled spring water is fine in a pinch.
- Essential oil (30ml) — lavender, peppermint, or orange are all lovely. Skip fragrance oils if you want a purely natural bar, but they do smell stronger.
- Safety gear — goggles, rubber gloves, long sleeves. This is the one part I won’t let you skip.
- Equipment — a digital scale, two heatproof jugs, a stick blender, a silicone loaf mould, and a thermometer. A cheap kitchen thermometer is fine.
Step-by-Step
- Weigh everything first. Soap making is not a “pinch of this” craft. Use a digital scale and measure to the gram. Set your oils, lye, and water in separate containers before you start.
- Put on your safety gear. Goggles on. Gloves on. Open a window. Lye is caustic when dry and worse when wet, and you do not want it in your eyes.
- Make the lye solution. Pour the distilled water into a heatproof jug. Slowly add the lye flakes while stirring gently. It will get hot — around 80°C — and give off fumes. Don’t lean over it. Set it aside to cool.
- Melt your oils. Combine olive oil, coconut oil, and shea butter in a saucepan over low heat, or in a microwave in short bursts. Stir until fully liquid, then let it cool to about 40°C.
- Check temperatures. Both the lye solution and the oils should be between 38°C and 45°C. Too hot and the batch seizes. Too cold and it won’t trace. Aim for the middle.
- Combine and blend. Pour the lye solution into the oils — never the other way round. Pulse with a stick blender for 15 seconds, then stir by hand for 15. Repeat until the mixture looks like thin custard.
- Look for trace. When you lift the blender and a drizzle leaves a faint trail on the surface for a second or two, you’ve hit “light trace.” That’s your cue.
- Add your scent. Stir in the essential oil now, quickly but gently. If you add it earlier, it can accelerate trace and you’ll end up with soap lumps.
- Pour into the mould. Scrape every last bit from the jug. Tap the mould on the counter a few times to knock out air bubbles.
- Insulate and wait. Cover with a towel or cardboard box. Leave it somewhere warm and undisturbed for 24 to 48 hours. It will get hot and gel — that’s normal and good.
- Unmould and cut. Once the soap is firm and cool, pop it out and slice into bars with a sharp knife or a wire cutter. Wear gloves; fresh soap is still alkaline.
- Cure for four to six weeks. Stand the bars on a rack with space between them. This lets excess water evaporate and makes a harder, milder bar. Yes, it’s a long wait. It’s worth it.
Beginner Tips
The biggest mistake first-timers make is rushing the temperature. I know, I know — you want to pour. But if your oils and lye are more than five degrees apart, you’ll get a grainy, separated mess. Get a thermometer and use it.
Second: don’t substitute the lye amount. Not even a little. Soap calculators online will give you exact numbers for your specific oils, and you should use one every single time. A batch with too much lye will burn your skin. Too little and it’ll be greasy and rancid.
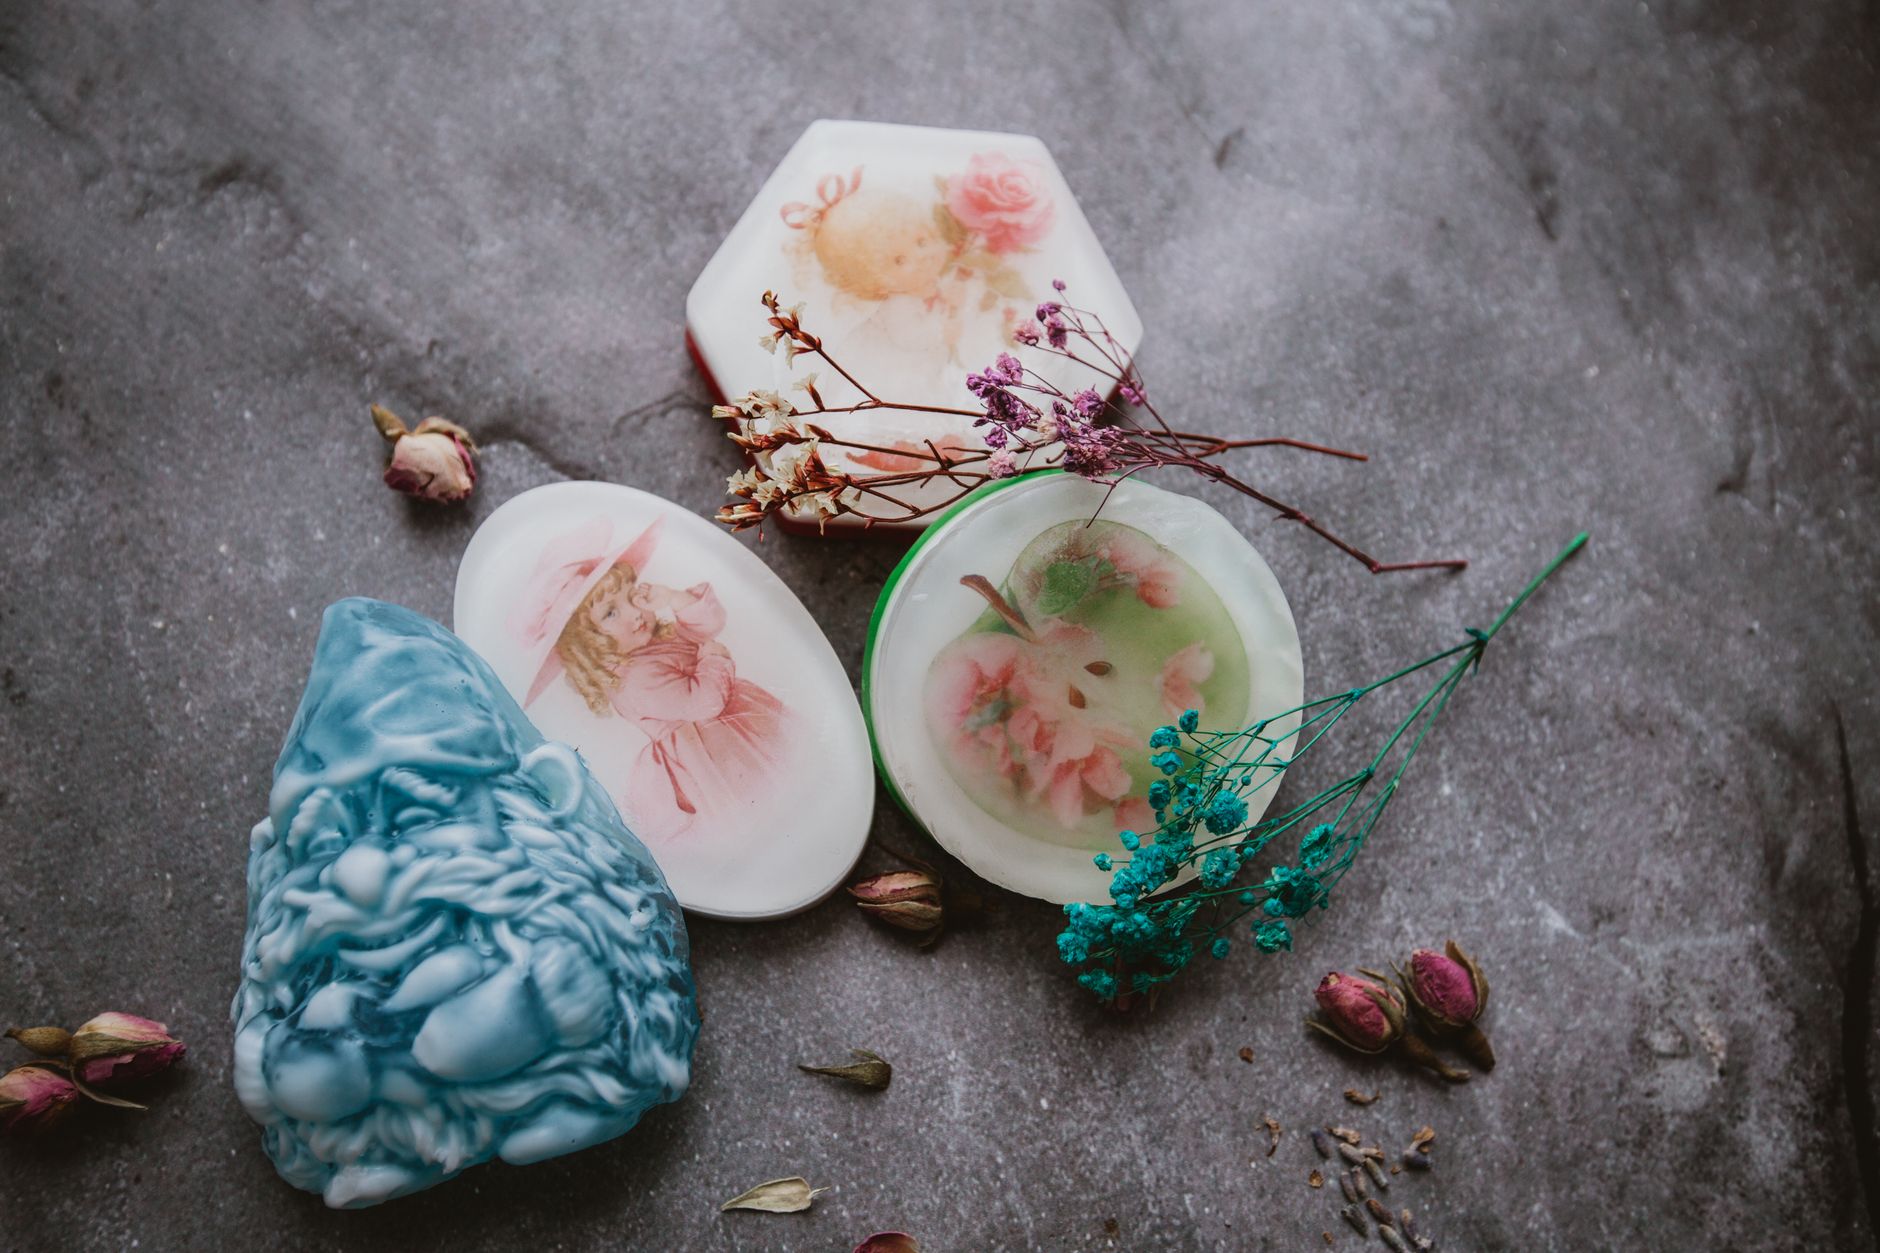
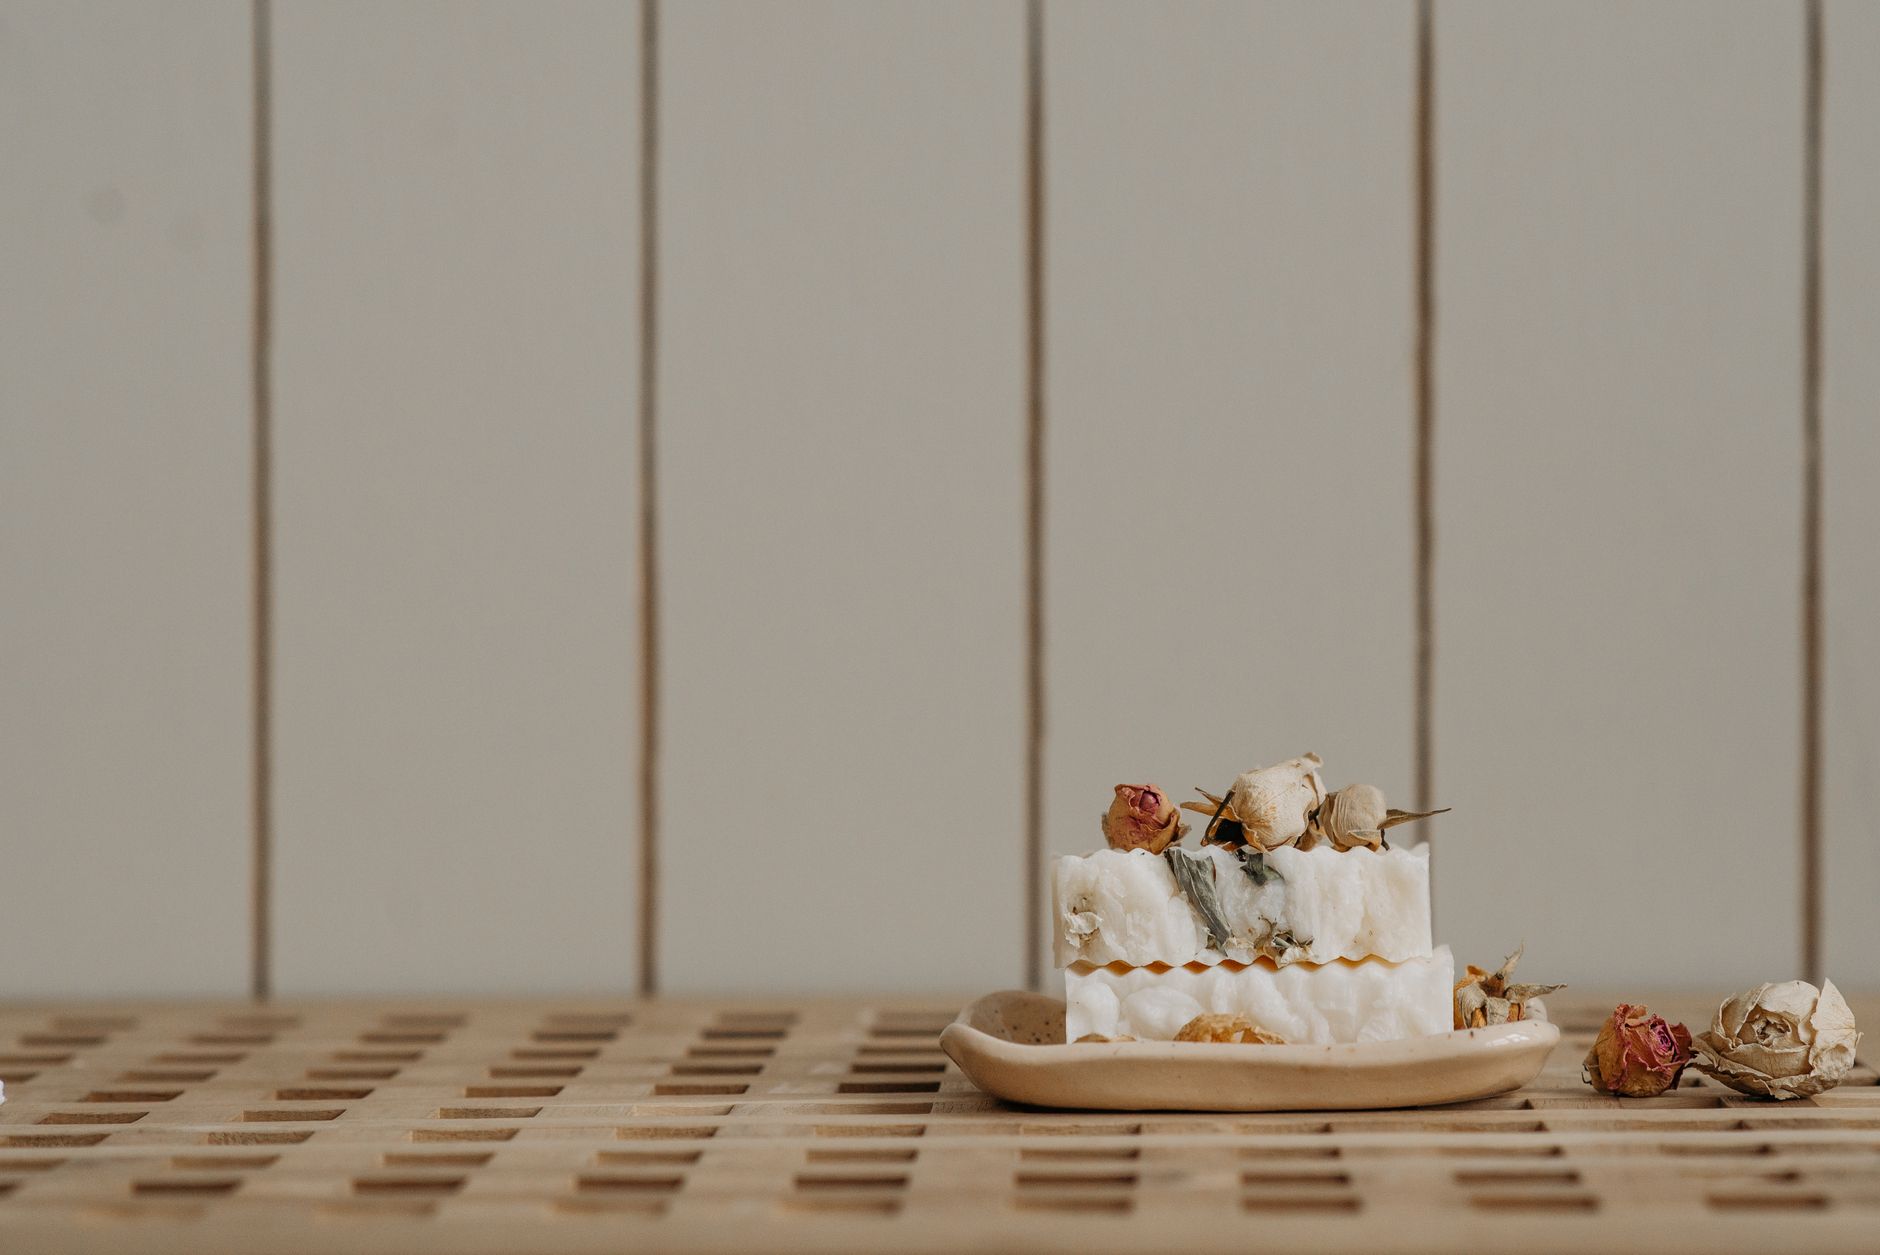
Third: skip the fancy additives on your first run. No oatmeal, no dried flowers, no clay. They can speed up trace or turn brown in the mould. Make a plain batch, learn the feel of it, then get creative.
And please, don’t use a aluminium pot or jug. Lye eats aluminium. Glass, stainless steel, or heatproof plastic only.
Creative Variation
Once you’ve nailed the basic recipe, try a layered loaf. Pour half the batch into the mould, wait ten minutes until it’s firm enough to hold a line, then pour the second half on top. Scent each layer differently — lavender on the bottom, peppermint on top, say. The bars come out with a visible seam and two distinct smells that blend as you wash.
Here’s a counter-intuitive bit: cheaper olive oil actually makes better soap than the expensive extra-virgin stuff. The fancy oil has more unsaponifiables that can make your bars soft and slightly sticky. Save the good bottle for your salad.
Troubleshooting
It never reaches trace. Your temperatures may be too low, or you’re stirring too gently. Warm the pot slightly in a sink of hot water and blend in longer bursts.
It seizes into a lumpy paste. Usually a fragrance oil or a too-hot lye solution. Don’t panic — glop it into the mould anyway. It’ll still be soap, just ugly soap.
There’s a white powdery layer on top. That’s soda ash, caused by cool air hitting the surface. It’s harmless. Wipe it off with a damp cloth, or steam it away.
It’s soft after a week. Give it more cure time. Some recipes, especially olive-heavy ones, need eight weeks. If it’s still soft at ten weeks, your lye measurement was probably off.
It smells like nothing. Essential oils fade during cure. Next time, add a touch more, or use a stronger scent like clove or lemongrass.
So there you have it — a craft that smells good, saves money, and gives you a genuinely useful thing at the end. Start with a small batch, keep your goggles on, and don’t stress the imperfections. Your first bars won’t be perfect. They’ll be yours. And honestly, that’s a much better reason to make them.