How to Make a Gratitude Journal: Easy DIY Guide
The smell of fresh coffee and old paper is one of my favourite combinations. Last Tuesday, I sat at my kitchen table with a stack of cheap notebooks I’d picked up from a charity shop, a glue stick that had seen better days, and a mug that was already going cold. Within an hour, I’d turned three plain cardboard covers into something I actually wanted to pick up every morning. That’s the thing about making a gratitude journal. It’s not really about the journal at all. It’s about giving yourself a reason to sit down and notice the good stuff.
Maybe you’ve tried a gratitude journal before and abandoned it by February. Join the club. But a handmade one is different. When you’ve spent an evening choosing paper and stitching a spine, you’re much more likely to keep going. This project takes one evening, costs almost nothing, and gives you a place to put the small, ordinary, lovely things that happen every day.
Materials List
- A notebook or journal. Any blank or lined notebook works. A5 is my favourite size because it’s small enough to carry but big enough to write three lines. A cheap exercise book, a half-used sketchbook, or a spiral notepad all work fine. If you want to make your own from scratch, a stack of A5 paper and a long-arm stapler will do it.
- Decorative paper or fabric. Scrapbook paper, wrapping paper, old maps, sheet music, or even a paper bag from your favourite shop. You need enough to cover your front cover — roughly A4 for an A5 journal. Fabric works beautifully too if you’re happy with a slightly chunkier finish.
- Glue. A glue stick is easiest and doesn’t warp paper. PVA or craft glue is stronger but needs pressing under a heavy book for an hour. Double-sided tape is a good backup for awkward corners.
- Scissors and a craft knife. Scissors for trimming paper, a craft knife and metal ruler for clean straight edges.
- A pencil and eraser. For marking and measuring before you cut.
- Washi tape. Optional, but brilliant for securing edges and adding a pop of pattern. Masking tape works if you don’t have washi.
- Ribbon or elastic. A length of ribbon about 30cm long for a bookmark, or a hair elastic for a closure band.
- Embellishments. Stickers, stamped images, pressed flowers, ticket stubs, a label for the front. Keep it light — anything too bulky makes the journal awkward to write in.
- A bone folder or the back of a spoon. For smoothing paper flat and pressing creases.
Don’t worry if you don’t have every single item. The alternatives are real alternatives, not compromises. A cereal box covered in pretty paper makes a sturdy cover. A rubber band does the job of an elastic closure. Some of my favourite journals have been made from things that were heading for the recycling bin.

Step-by-Step
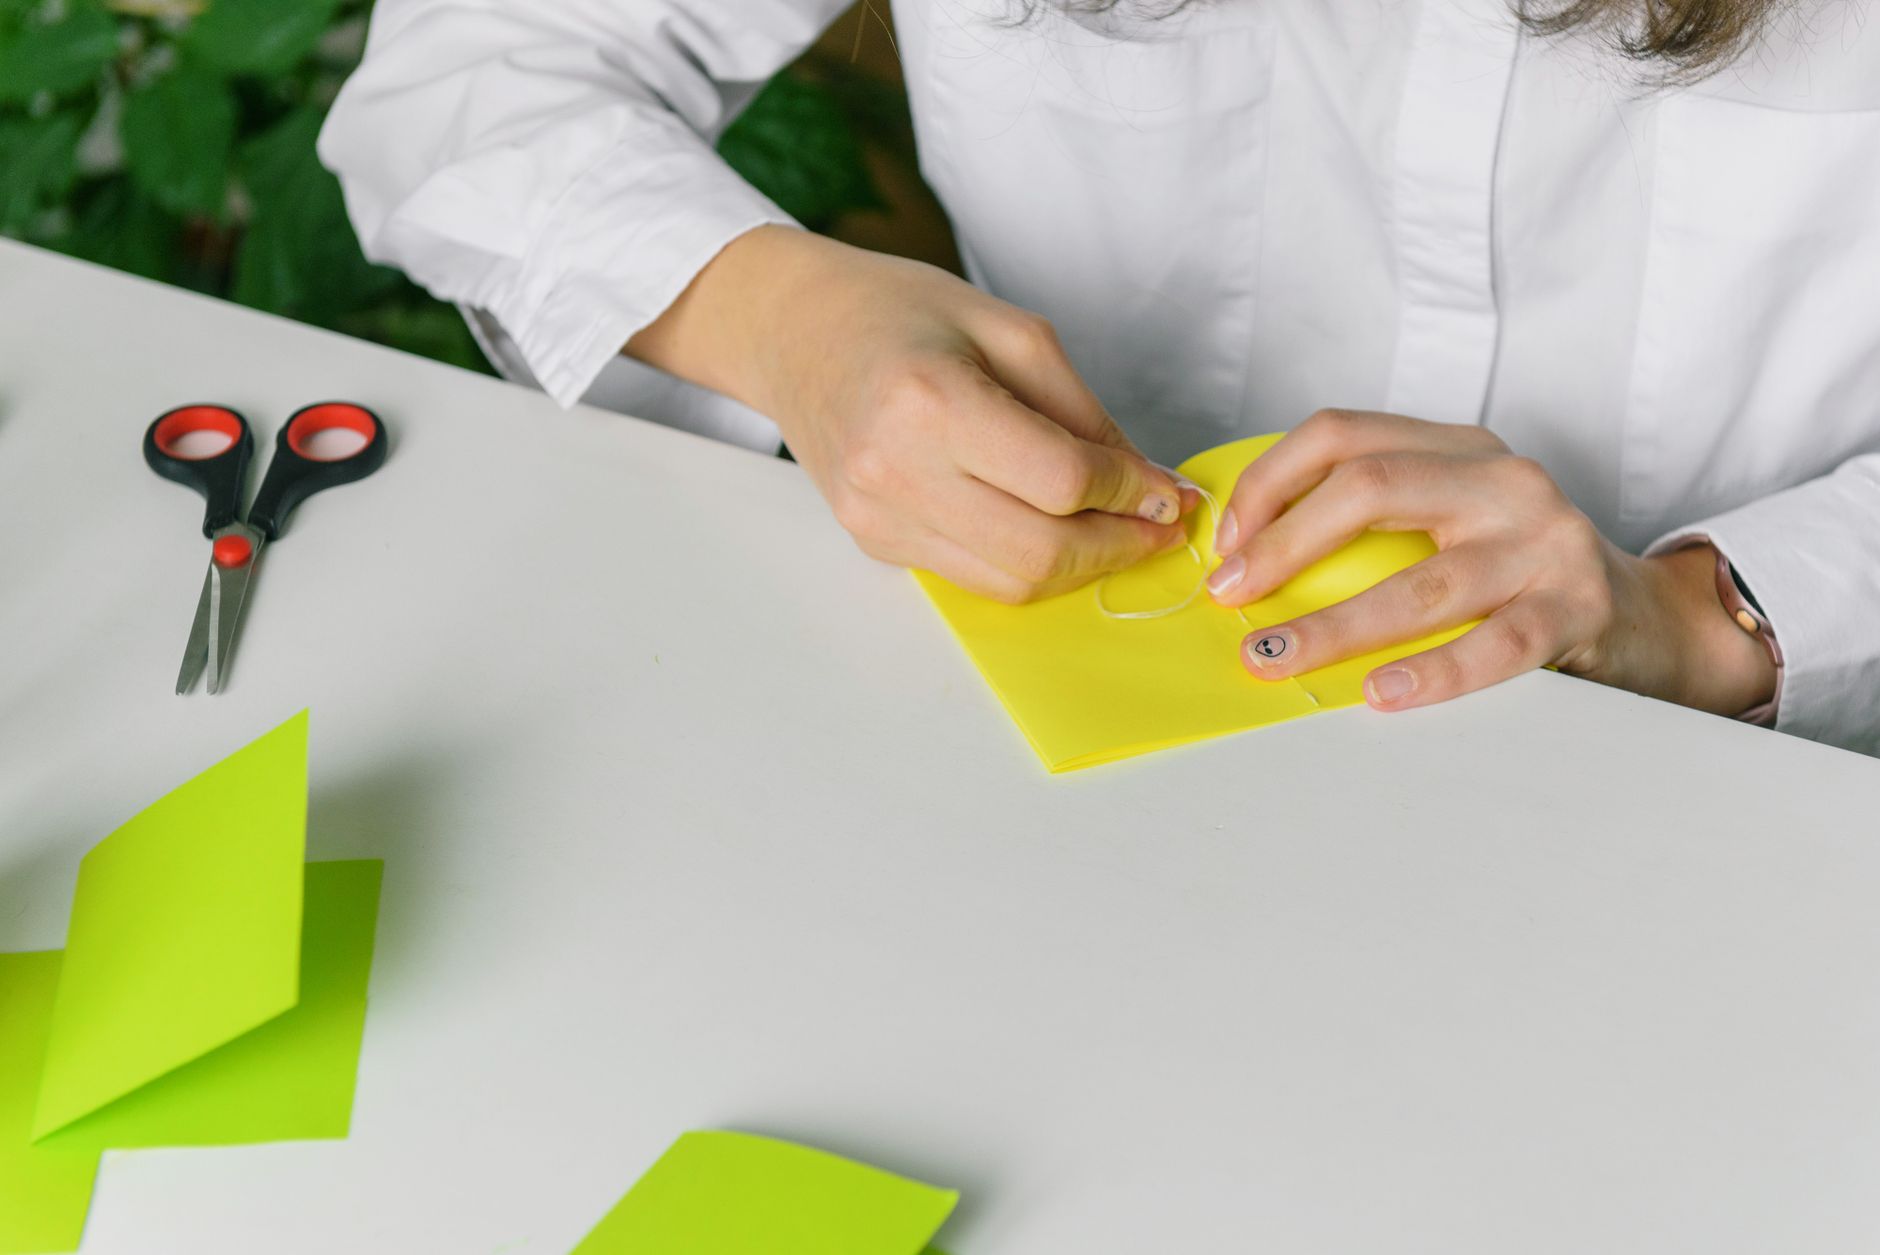
- Choose your journal and clear a workspace. Set out your notebook, paper, and tools on a clean, flat surface. A kitchen table with a sheet of newspaper or a cutting mat underneath is perfect. Give yourself elbow room. This project is small but fiddly, and you’ll want space to lay things out.
- Measure your cover. Lay your notebook flat and measure the front cover with a pencil and ruler. For an A5 notebook, expect roughly 15cm by 21cm. Write the measurements down. If your notebook has a rounded spine, add an extra 1cm to the width so the paper wraps around the edge.
- Cut your decorative paper. Measure and mark your paper to the cover dimensions, then add a 2cm border on all four sides. That border is your wrap allowance. Cut along your pencil lines with scissors or a craft knife and ruler. Don’t skip the border. It’s what gives you a clean, folded edge instead of a ragged one.
- Test-fit before you glue. Lay the paper face-down on your table. Place the notebook on top, centred, with the cover you want to decorate facing down. Fold the border up over the edges of the notebook to check the fit. Trim any corners that feel bulky. This dry run saves a lot of swearing later.
- Glue the paper to the cover. Remove the notebook and apply glue stick evenly across the back of your paper. Work from the centre outwards so you don’t get bubbles. Press the notebook back into place, cover-side down, and smooth the paper from the centre to the edges with your bone folder or the back of a spoon.
- Fold and glue the edges. Working one side at a time, fold the border over the edge of the cover and press it flat. Glue stick works here, but a tiny dab of PVA on the corners holds better. Fold the corners in neatly, like you’re wrapping a present, before folding the long edges. Press everything down firmly.
- Add a lining to hide the messy bits. Cut a piece of plain paper slightly smaller than the inside front cover. Glue it in place to cover the folded edges. This is the step that makes the whole thing look professionally finished, and nobody will ever know about the wonky corner underneath.
- Attach a ribbon bookmark. Cut a length of ribbon about 30cm long. Glue one end to the inside of the back cover, near the spine, and press it under a heavy book for ten minutes. Let the rest of the ribbon hang free so it dangles down the spine when the journal is closed.
- Add a closure if you want one. For an elastic band, glue one end to the back cover and leave the other free to stretch around the front. For a ribbon tie, glue two lengths to opposite covers so they meet in the middle. Press under a heavy book again while the glue sets.
- Decorate the front. Add a label, a sticker, a stamped title, or a small collage. Keep it light — a heavy embellishment will catch on things in your bag. Write your name and the year on the label if you like. There’s something satisfying about claiming a notebook as yours.
- Press the journal overnight. Place it under a heavy book or a stack of magazines for a few hours, or overnight if you can. This flattens the paper, sets the glue, and gives the cover a lovely crisp finish.
- Write your first entry. Open to the first page and write three things you’re grateful for today. They don’t have to be big. Coffee. A text from a friend. The fact that the bus was on time. That’s it. You’ve started.
Beginner Tips
The most common mistake I see in workshops is over-gluing. A glue stick applied generously but evenly beats a thick blob of PVA every time. Blobs create bumps that never flatten, and your journal will feel lumpy when you write in it. Apply glue in thin strokes and smooth as you go.
Another one: don’t cut your paper exactly to the cover size. The 2cm border is not optional. I’ve watched people trim their paper to the exact measurements and then wonder why the edges look ragged. You need that wrap allowance to fold over and hide the raw edge. Measure twice, cut once, and always add the border.
Choose thin decorative paper. Thick cardstock looks lovely on the roll but it doesn’t fold neatly around corners. It cracks and lifts. Scrapbook paper, wrapping paper, and thin fabric are your friends here. If you’ve fallen in love with a thick paper, use it for a label or a patch instead of a full cover wrap.
And please, press the journal under a heavy book before you start writing. It feels like a pointless extra step. It isn’t. It’s the difference between a journal that looks handmade and one that looks homemade.
Creative Variation
Here’s one I love: turn the inside covers into a gratitude collage. Instead of lining them with plain paper, use them as a place to stick ticket stubs, pressed leaves, photos, and small notes throughout the year. The journal becomes a living record, not just a place for words. Every time you open it, you’re greeted by tiny reminders of good days. It’s a lovely way to use up scraps and make the journal feel completely personal. Start the collage now with a few bits from your week, then add to it as you go. The pages fill up faster than you’d think, and each one becomes a small time capsule you didn’t plan to make.
Troubleshooting
Bubbles under the paper? You’ve probably used too much glue or trapped air. Lift the paper gently from one corner, smooth it flat with your bone folder, and press it back down. If the bubble won’t budge, prick it with a pin and smooth it out. A tiny pinprick is invisible once the paper settles.
Corners looking bulky? Trim a small triangle off each corner of your border before folding. That removes the excess paper that bunches up. Fold the corners in first, then the long edges over the top.
Paper lifting at the edges? Glue sticks sometimes dry out and let go. Run a thin line of PVA along the edge with a cotton bud and press it down under a heavy book for an hour. Don’t try to fix it while the glue is wet. You’ll just make a mess.
Ribbon coming loose? The glue wasn’t set before you started using the journal. Pull the ribbon out, trim the glued end, and reattach it with a stronger adhesive. Press it under a heavy book for a full hour this time. A hot glue gun works brilliantly for ribbon if you have one, but use it sparingly — a tiny dot is plenty.
Cover feels flimsy? Your notebook cover might be thin. Cut a piece of cereal box card to the cover size and glue it underneath the decorative paper for extra rigidity. It adds barely any weight and makes the journal feel much more substantial.
Conclusion
Making a gratitude journal is one of those rare projects that’s genuinely as simple as it looks. You need paper, glue, and an evening. The rest is just paying attention. And here’s the counter-intuitive bit: the journal doesn’t need to be beautiful to work. A wonky corner or a slightly crooked label won’t stop you from writing three lines a day. In fact, I’d argue the imperfections make it easier to use. You’re less worried about spoiling something precious. So make one this week. Grab a notebook, cover it in something you love, and write your first entry. What are you grateful for today?