How to Make a Fabric Scrap Quilt: A Beginner’s Guide
A shoebox of fabric scraps sat on my studio table for three years. Every workshop I taught, every hem I shortened, every cushion cover I sewed added another handful of odd-shaped pieces to that box. Last winter I finally tipped the whole lot onto the floor and started sorting by colour. Something clicked. The quilt that came out of that shoebox now lives on my daughter’s bed, and she sleeps under scraps from her own baby clothes. Fabric holds memory in a way that’s hard to explain. Every piece in that quilt came from somewhere real.
Making a scrap quilt is the most forgiving sewing project I know. There’s no pattern to match, no perfect measurements, no expensive materials. You’re turning waste into something warm and lasting. And because every scrap is different, nobody can tell when your seams wobble. Ready to empty that box?
Materials List
- Fabric scraps — cotton, linen, and poly-cotton blends work best. You need roughly 3 to 4 pounds of scraps for a lap-sized quilt. Old shirts, worn jeans, and leftover quilt binding all count. Skip anything stretchy like jersey unless you’re feeling brave.
- Backing fabric — 4 yards of 44-inch-wide cotton. A flat bedsheet works beautifully and costs almost nothing secondhand.
- Batting — a 60 x 72-inch piece of low-loft cotton or bamboo batting. Polyester blends are cheaper and easier to find.
- Rotary cutter and cutting mat — a 45mm cutter is the most versatile. No rotary cutter? Sharp dressmaking scissors do the job, just slower.
- Quilting ruler — a 6 x 24-inch clear ruler is the workhorse. A smaller 6 x 12-inch one is fine too.
- Sewing machine — any basic machine with a straight stitch. A walking foot helps but isn’t essential.
- Thread — all-purpose polyester in a medium grey. It hides in almost every colour palette.
- Safety pins — about 100 curved or straight quilting pins for basting.
- Iron and ironing board — non-negotiable. Pressing is half the work.
- Seam ripper — you’ll need it. I promise.
Substitutions I’ve tested: parchment paper works under your iron instead of a pressing cloth. Masking tape marks your quilting lines if you don’t own a hera marker. And if you have no batting at all, a second layer of old flannel sheets will do for a summer-weight quilt. These little workarounds have saved me on more than one rushed evening before a workshop, and they’ll save you too. Nobody ever notices the difference once the quilt is finished and draped over a sofa.

Step-by-Step
- Sort your scraps by colour family. Make piles of warm colours, cool colours, neutrals, and darks. Don’t overthink this — you’re just looking for balance so one loud print doesn’t take over the whole quilt.
- Wash and press everything. Scraps from old clothes carry body oils that wreck stitch tension. A quick hot wash, then press every piece flat. Wrinkled fabric cuts crooked and you’ll fight it later.
- Cut your scraps into usable shapes. I use 5-inch squares as my base, but rectangles of 5 x 2.5 inches or 5 x 10 inches work just as well. Cut around stains and worn patches. Aim for a mix of sizes so the quilt looks collected, not manufactured.
- Lay out your blocks. Arrange the squares on a large floor or bed until you like the spread. Step back and squint — that’s the trick for spotting clumps of the same colour. Take a photo with your phone so you can rebuild the layout later.
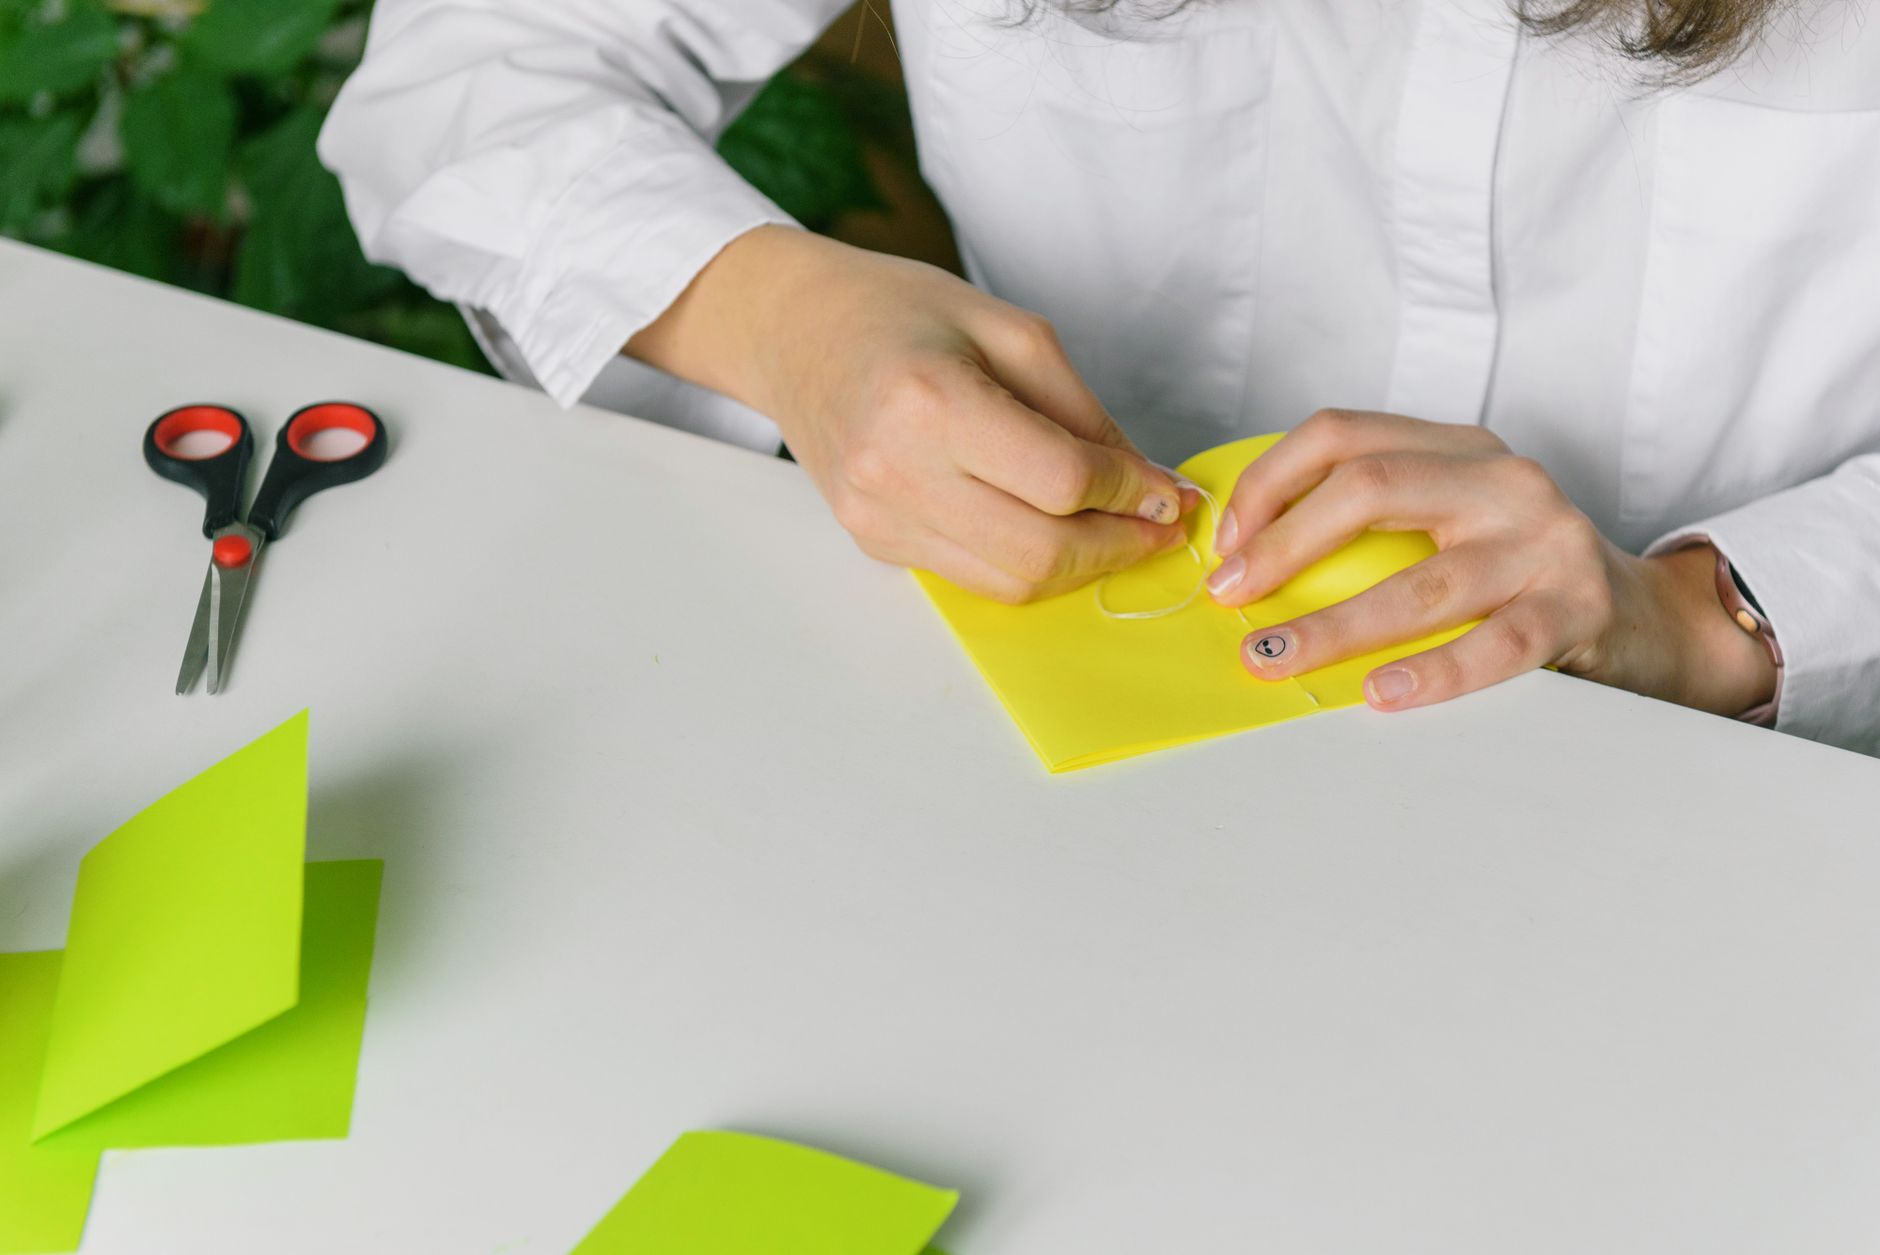
- Sew squares into rows. Place two squares right sides together, pin along one edge, and sew with a ¼-inch seam allowance. Chain-piece the whole row: feed pairs through one after another without cutting the thread. Press all seams open. Then join pairs into fours, and fours into rows.
- Join the rows. Pin rows together at every seam intersection, matching the seams so they lock against each other. Sew, then press the long seams open. This step is where wobbly quilts happen — pin generously and go slowly.
- Square up the quilt top. Lay it flat and trim the edges with your ruler and rotary cutter until all four sides are straight and the corners are 90 degrees. A square top saves you hours at the binding stage.
- Make your quilt sandwich. Tape the backing fabric face-down to the floor, smoothing out every wrinkle. Layer the batting on top, then the quilt top face-up, centred and flat. Smooth from the middle outward with your hands.
- Baste with safety pins. Pin every 4 to 6 inches across the whole quilt, working from the centre out. Skip this step at your peril — shifting layers are the number one cause of puckered quilts.
- Quilt it. Straight lines work beautifully: stitch in the ditch along the seam lines, or run parallel lines 2 inches apart across the whole quilt. A walking foot helps, but a regular foot with a slightly longer stitch length (3.0) will do.
- Trim the excess and bind. Trim batting and backing even with the quilt top. Cut 2.5-inch-wide strips from leftover fabric, join them end to end, and sew around the edges, folding to the back and stitching down by hand or machine.
Beginner Tips
The first mistake almost everyone makes is cutting scraps too small. A 2-inch square sounds economical until you’re sewing a ¼-inch seam on both sides and the block shrinks to a postage stamp. Start with 5-inch squares and work down from there once you trust your seam allowance. Give yourself room to learn. The scraps aren’t going anywhere, and there’s no prize for making life harder on your first quilt.
Second mistake: skipping the press. I’ve watched students sew entire rows without pressing and then wonder why their quilt top bulges like a duvet. Press every seam as you go. Open seams lie flat and make the next join accurate. A hot iron is the cheapest accuracy tool you own, and it works harder than any gadget in the sewing shop.
Third, don’t mix fabric weights in one block. A lightweight cotton voile next to heavyweight denim will pull the block out of shape every time. Keep heavy fabrics together in their own section of the quilt. Your machine will thank you, and so will your shoulders after a long sewing session.
And here’s the counter-intuitive one: don’t buy a quilting ruler and rotary cutter set from a budget shop. The cheap rulers slip on fabric and the blades dull in a week. Spend the extra ten pounds on a good brand and your cuts will be straight from day one. Good tools don’t make you a better quilter, but bad ones will convince you that you’re a bad quilter.
Creative Variation
Try a “memory quilt” layout. Instead of sorting purely by colour, group scraps by where they came from — a section for old work shirts, one for baby clothes, one for the curtains from your first flat. Then write the story of each fabric in a notebook and tuck it into the quilt’s label. Years later, that label will mean more than the stitching. I’ve seen grown adults weep over a quilt made from their father’s shirts, and that’s the whole point of this craft.
You can also make the whole quilt scrappy by cutting every piece into 2.5-inch strips and sewing them end to end into one long, chaotic jelly roll. That method is faster, uses up the tiniest pieces, and gives you a wonderfully messy, improvised look. It’s the opposite of the tidy square layout, and I love it just as much. Some nights you want precision. Other nights you want to sew fast and let the fabric decide.
Troubleshooting
My quilt top is wavy at the edges. This usually means your seams drifted wider than ¼ inch somewhere. Check your seam allowance against a ruler. If the top is already sewn, pin it flat and steam-press the edges before squaring up — you can often trim away the wobble.
My needle keeps breaking. You’re probably sewing through too many thick seams at once. Slow down, use a fresh needle (a 90/14 quilting needle is ideal), and press the seams flat before crossing them. If a junction is very thick, trim the seam allowances inside it to reduce bulk.
My quilting lines are puckered. Your basting wasn’t tight enough. Unpick the puckered section, re-pin generously, and try again. Also check your tension — puckering on the back usually means the bobbin tension is too tight.
My colours look muddy. Scraps in similar values blur together. Add a few bright whites or deep darks to create contrast. Squinting at the layout helps here too — if everything looks the same shade, you need more variety.
The binding won’t lie flat. You’re probably stretching the strip as you sew. Let the machine feed it through without pulling, and clip the strip to the quilt edge with wonder clips before stitching.
If all else fails, remember that a scrap quilt is supposed to look handmade. A wobble here and a mismatched seam there is part of the charm. Nobody’s going to inspect your seam allowances at midnight when they’re cold.
Conclusion
That shoebox of scraps turned into a quilt in about three weekends of evening sewing. It wasn’t perfect. One corner is slightly off-square and I had to rip out a whole row of quilting. But it’s warm, it’s full of memories, and it kept a pile of fabric out of landfill. That’s a good trade. Three weekends of evenings, a few broken needles, and one very smug daughter under her own history.
Start with a small project if a full quilt feels daunting — a pram blanket or a cushion cover uses the same method and takes an afternoon. Gather your scraps, press them flat, and cut the first few squares tonight. What’s the oldest piece of fabric in your house right now, and what could it become?