Linocut Printing Basics: A Beginner’s Guide
There’s something almost magical about carving a design into a soft grey block, rolling on ink, and pulling your first print. It never gets old. I’ve watched hundreds of workshop students go from “I can’t draw” to holding a crisp, gallery-worthy print in under an hour. Linocut is one of the most forgiving printmaking methods out there, and it costs very little to try. Curious about relief printing? This is your sign to give it a go.
Materials List
- Lino block: Traditional grey linoleum works beautifully, but the softer Japanese vinyl blocks (often called “softcut”) are much kinder to beginners. A thick rubber carving block from a craft shop is a fine substitute if you can’t find either.
- Lino cutters: A handle with interchangeable blades, usually a V-shaped blade for details and a U-shaped blade for clearing larger areas. A craft knife can fill in for fine lines, though it’s slower going.
- Ink: Water-based block printing ink is easy to clean up with soap and water, while oil-based ink gives richer, sharper results. No printmaking ink on hand? Thick acrylic paint works in a pinch, though it dries fast.
- Brayer: A small rubber roller, ideally 4 inches wide. A foam roller from the DIY shop will do if you’re just testing the waters.
- Paper: Smooth cartridge paper, Japanese washi, or even brown kraft paper. Avoid heavily textured watercolour paper at first, it fights you.
- Bench hook or non-slip mat: This keeps your block steady while you carve. A damp cloth underneath the block works too.
- Pencil and tracing paper: For transferring your design onto the block.
- Baren or wooden spoon: For pressing the paper onto the inked block. A clean rolling pin also does the job.
Step-by-Step
- Draw your design. Keep it bold and simple for your first attempt. Think a single leaf, a chunky star, or a simple animal silhouette. Fine details are tempting, but they’re the enemy of a beginner’s first print. Sketch it at the actual size you want it to print, remembering that the image will come out mirrored.
- Transfer the design to your block. Place tracing paper over your drawing and trace it in pencil. Flip the tracing paper over and rub the pencil lines onto the block using a coin or your fingernail. You should see a faint grey outline. If tracing feels fussy, draw straight onto the block with a soft pencil instead.
- Decide what stays and what goes. This is the bit that trips people up. In linocut, whatever you carve away stays white (the paper colour), and whatever you leave raised gets the ink. So carve the background, not the subject. Mark the areas you plan to cut with a light pencil cross so you don’t lose track halfway through.
- Start carving with the V blade. Hold the handle like a pencil and push the blade away from your body, keeping your free hand safely behind the cutting edge. Go slowly. Short, gentle strokes beat one big dig every time. Outline your design first before removing any large areas.
- Clear the background with the U blade. Work in steady parallel lines, then go back over the area at a slight angle to level it out. You don’t need to carve down to the fabric backing, just remove the top surface cleanly.
- Test your cuts. Run a fingertip lightly over the block. Everything you want to print should feel level and untouched. Anything that feels lower than the rest will print white. Hold the block up to a window if you’re unsure, the light will show you the raised areas.
- Ink up the brayer. Squeeze a small blob of ink onto a flat surface, like a glass chopping board or a tile. Roll the brayer back and forth until it makes a soft, even hissing sound. That sound means the ink is ready.
- Roll ink onto the block. Use light, even passes in several directions. You want a thin, tacky layer, not a thick, gloppy one. If it looks shiny and wet, you’ve used too much.
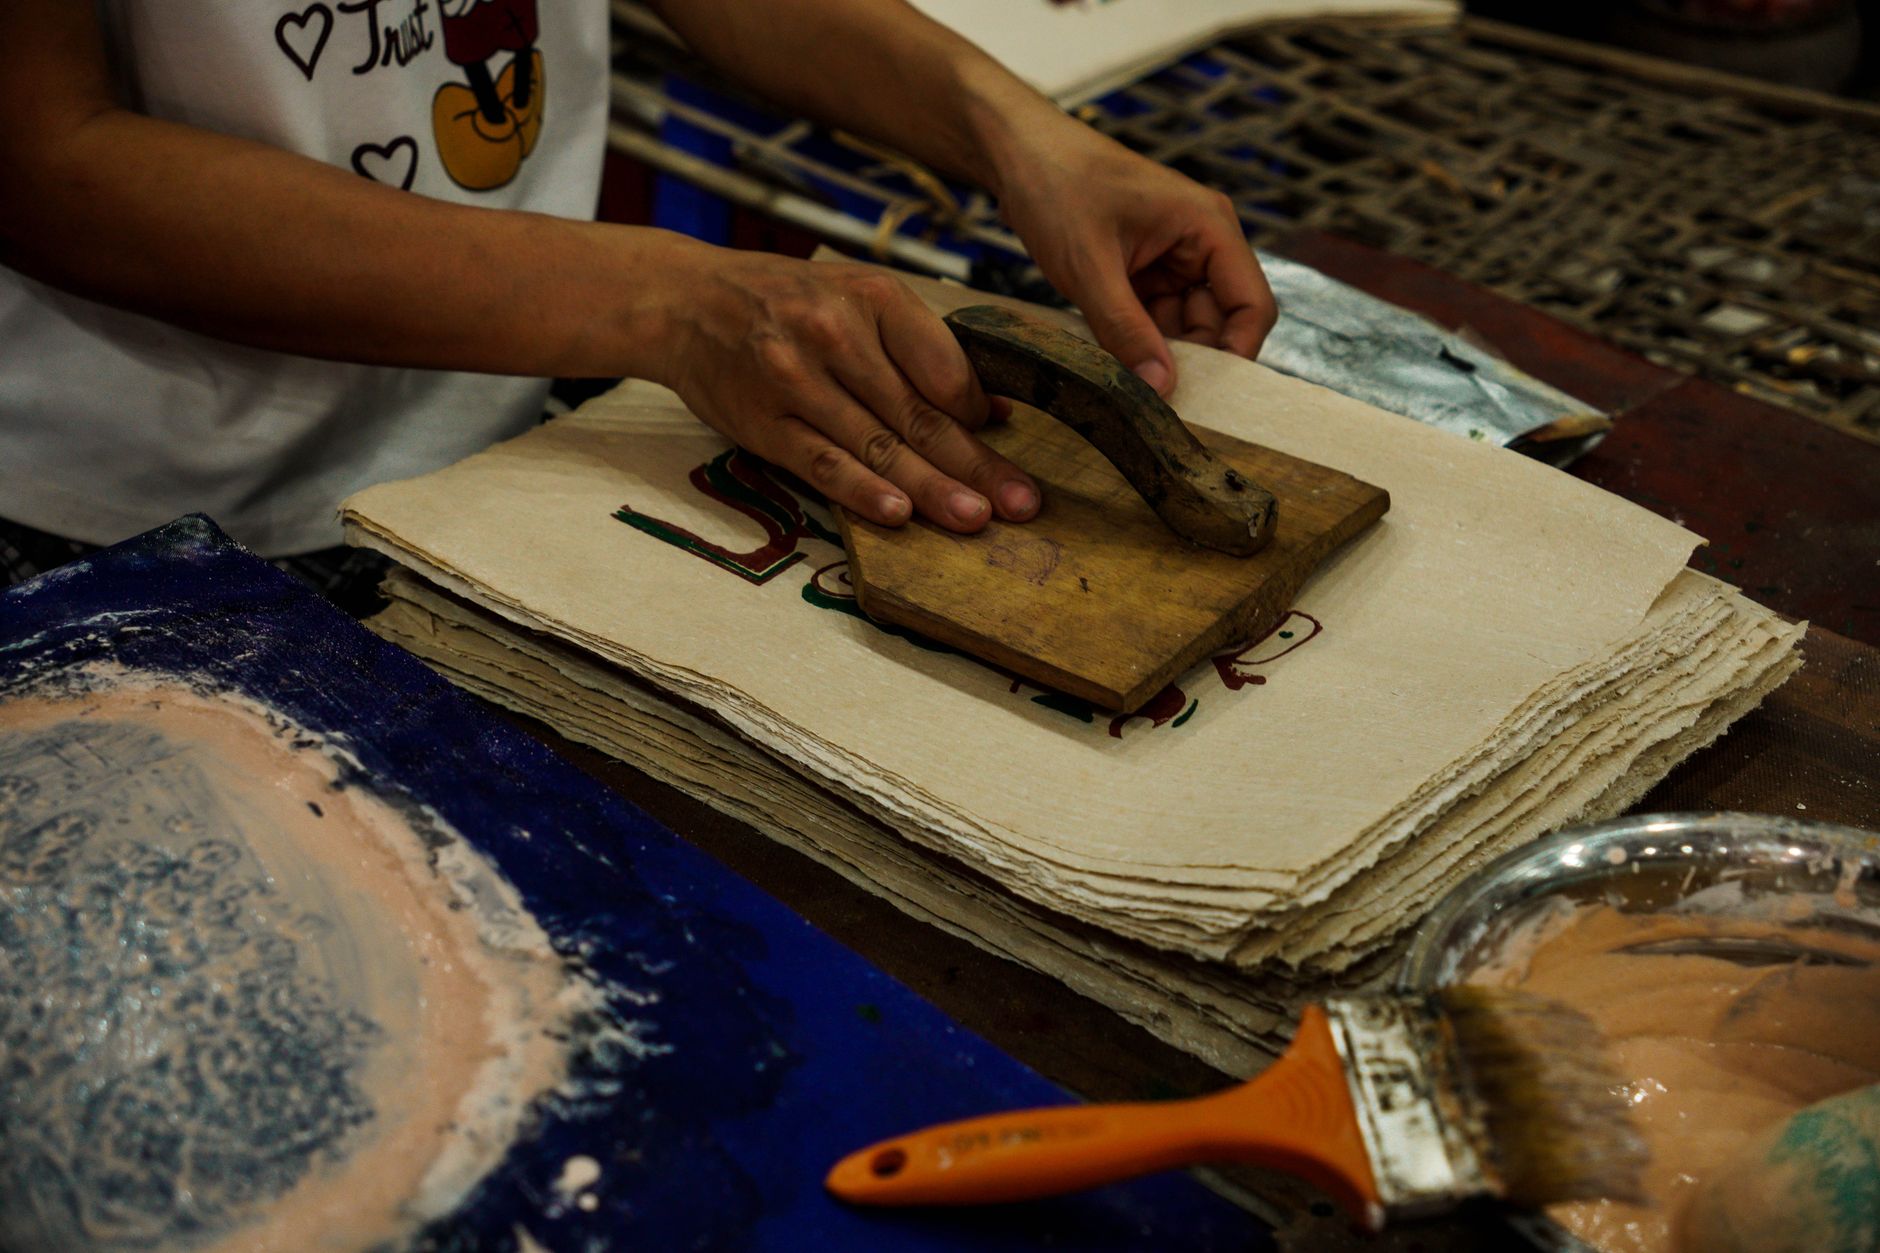
- Place your paper and press. Lay the paper down carefully, then press firmly all over with a baren, wooden spoon, or clean rolling pin. Work from the centre outwards in small circles. Don’t let the paper shift, or you’ll get a blurry double image.
- Pull your print. Peel the paper back from one corner in a single smooth motion. Hold your breath. That first reveal is the best part.
- Re-ink and repeat. You can pull several prints from one inking, though the first two or three tend to be the crispest. Re-roll the block between each one for consistent results.

Beginner Tips
Carve less than you think you should. Nearly every first-timer over-carves, then panics when their design disappears. You can always go back and cut more, but you can’t put it back.
Keep your blades sharp and your hands dry. A dull blade skids across the surface instead of biting in, and that’s how slips happen. Change blades often, they’re cheap and your fingers are not.
Ink thinly. Thick ink fills in your fine lines and turns a delicate print into a blotchy mess. The brayer should sound like a whisper, not a squelch.
Print more copies than you need. The first pull is often patchy while you learn how much pressure to use. By print four or five, you’ll be getting the results you imagined.
Creative Variation
Here’s one that changes everything: try a two-colour reduction print. Carve your design, print a full run in a light colour like pale yellow, then carve away more of the block and print over the same sheets in a darker colour. The first colour shows through wherever you didn’t cut. It’s a genuinely clever technique, and the layered result looks far more complex than the effort involved. Just remember that once you’ve carved for the second colour, you can’t go back to the first version. Print a few extra sheets at each stage so you have room to experiment.
Troubleshooting
My print is patchy and uneven. You’re probably not pressing hard enough, or your paper is too thick. Try a thinner paper and press more firmly in small circular motions, covering every corner of the block.
The ink is filling in my fine lines. Too much ink, or your lines aren’t carved deep enough. Wipe the block clean, re-ink with a thinner layer, and if it still happens, go back in with the V blade and deepen those grooves.
My design looks backwards. It will, if you didn’t mirror it before transferring. Text and arrows are the usual culprits. Redraw your design in reverse on the tracing paper, then transfer again.
The block keeps sliding while I carve. Grab a non-slip mat or pop a slightly damp cloth under the block. It makes an enormous difference to your control and your safety.
My prints look grey and muddy. That’s usually old ink or a dirty brayer. Clean everything with warm soapy water and start fresh. Ink that’s been sitting out for an hour or more gets tacky and dull.
Linocut rewards patience more than talent, which is exactly why I love teaching it. You don’t need to draw beautifully. You need to think in shapes, carve slowly, and accept that your first print won’t be your best one. That’s fine. That’s the process. Grab a block, a cheap cutter, and an afternoon, and see what happens. The worst case is you make something wonky and learn a lot. The best case is you fall in love with a craft that will keep you busy for years. I’d bet on the second one.