Terrarium Building: A Beginner’s Guide to Tiny Gardens
There’s a particular smell that hits you when you open a bag of damp sphagnum moss. Earthy, a little sweet, like a forest floor after rain. It fills the kitchen and you either love it or you don’t. I’ve taught terrarium workshops for eleven years, and that moment when the moss comes out is always the same: a few people lean in, a few pull back. Within twenty minutes, every single one of them is elbow-deep in charcoal and soil, laughing about how messy their fingernails are. That’s the thing about building a terrarium. From a distance it looks like a fussy, delicate craft. Up close, it’s mud pies with better lighting. And it will outlive most of the houseplants you’ve killed.
Why make one? A terrarium is a tiny, self-watering world you build in an afternoon. It needs almost no maintenance, fits on a windowsill, and forgives neglect better than a fern in a dry radiator-heated room. It’s also the cheapest plant project I know — a jar, some soil, a few £3 plants. Let’s build one.
Materials List
- A clear glass container with a wide mouth. A large mason jar, a Kilner jar, a fish bowl, even a big pickle jar scrubbed clean. Wide mouth matters — you need your hand in there. Alternatives: a glass sweet jar, a small hurricane vase, or a jam jar for a tiny version.
- Small pebbles or gravel, roughly a handful. Aquarium gravel, washed pea shingle, or even the gravel from the garden path (rinse it). This is your drainage layer.
- Activated charcoal, about a tablespoon. The kind sold for aquarium filters, not the barbecue kind. It keeps the air inside fresh and stops smells. Alternative: horticultural charcoal from a garden centre.
- Sphagnum moss, a small handful. This sits above the charcoal to stop soil falling through. Alternative: a sheet of landscape fabric or a coffee filter trimmed to fit.
- Potting compost, two or three handfuls. Use a houseplant or general mix, not garden soil — garden soil brings in bugs and compacts like concrete.
- Small plants. Three to five little ones. Good picks: fittonia, small ferns, creeping fig, baby’s tears, peperomia. Avoid succulents for a closed terrarium — they rot in humidity.
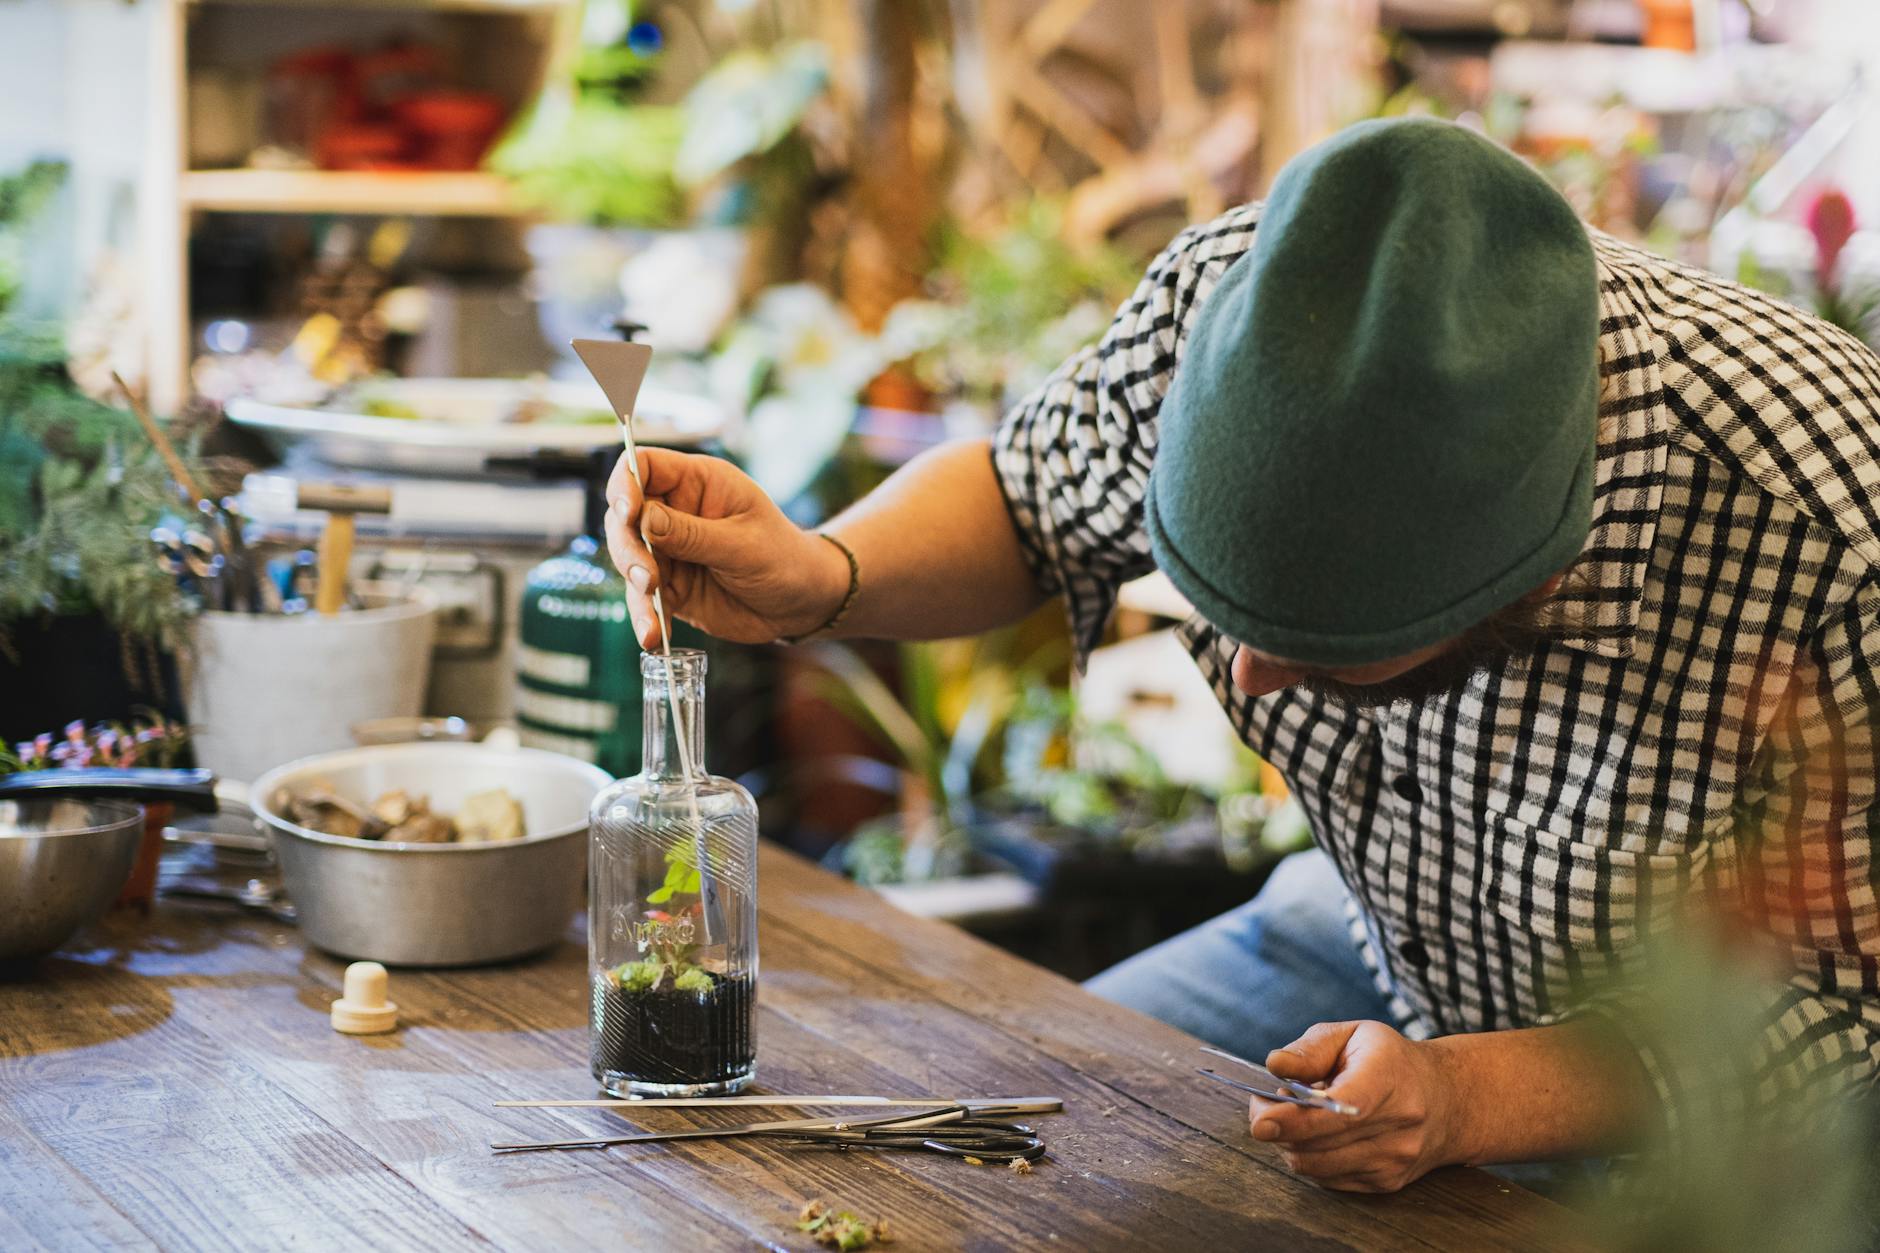
- Long tweezers or chopsticks. For planting in awkward corners.
- A spray bottle filled with room-temperature water.
- A small spoon or a rolled paper funnel for getting soil where you want it.
- Optional decoration: a tiny pebble, a piece of driftwood, a small figure. Keep it clean and dry first.
Step-by-Step
- Wash and dry your container. Soapy water, rinse well, then dry it completely with a cloth. Any residue will cloud the glass and any water droplets will turn the soil into soup. Take your time here.
- Add the drainage layer. Pour in your pebbles to about 2–3 cm deep, or roughly a fifth of the jar’s height. Tilt and rotate the jar as you go so the layer sits level. If you’re using a tall narrow jar, a rolled paper funnel helps.
- Sprinkle the charcoal on top. A thin, even layer over the pebbles — you don’t need much. This is your terrarium’s air freshener. Skip it and you’ll know within a month.
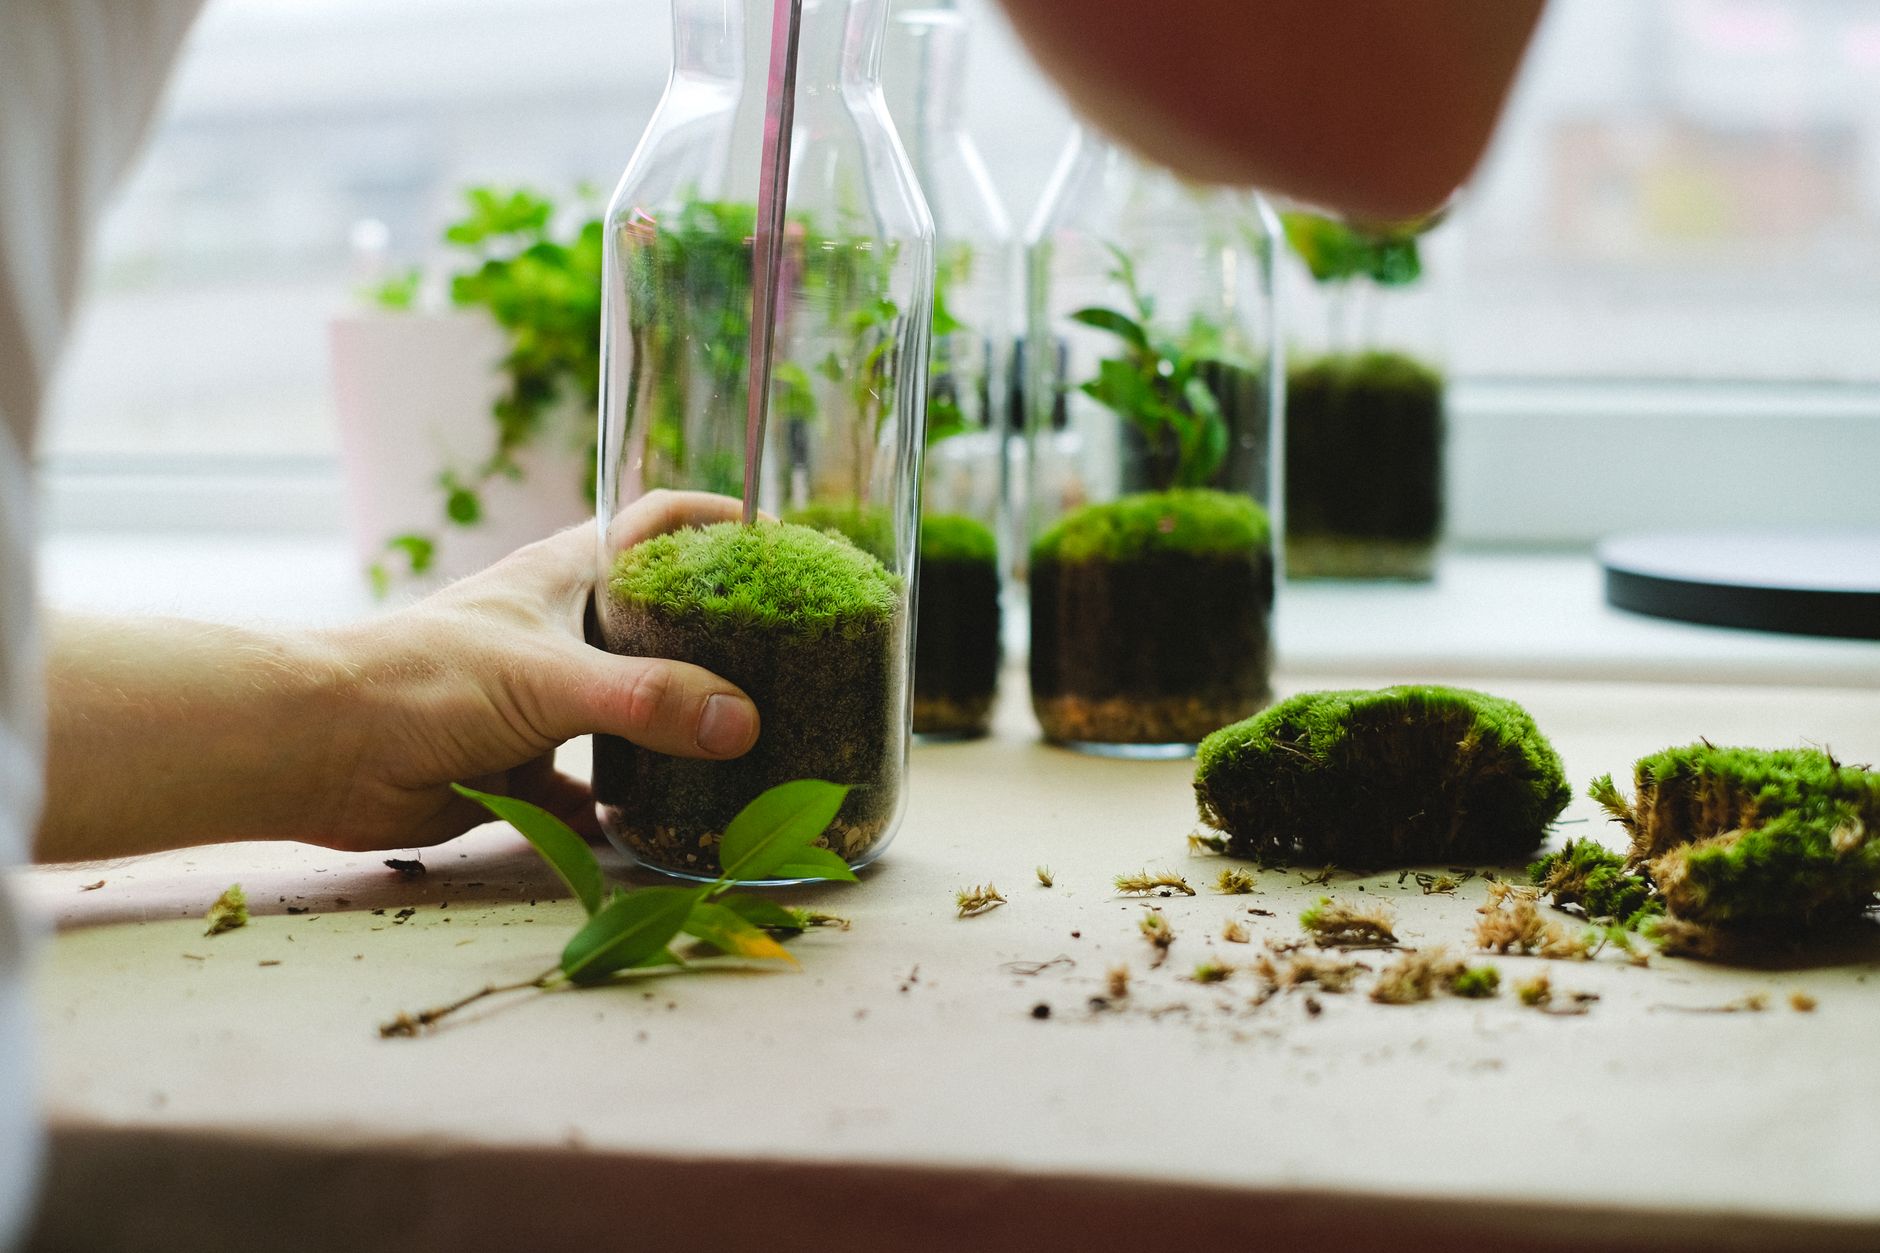
- Add the moss layer. Press your sphagnum moss flat over the charcoal so it forms a soft carpet. It should cover the charcoal completely. This stops soil sifting down into your drainage layer and clogging it.
- Add the soil. Spoon in potting compost to about 4–5 cm deep, or a third of the remaining height. Tamp it gently with the back of your spoon — firm, not compacted. You want a bed the plants can root into, not a brick.
- Plan your planting before you plant. Take the plants out of their pots and set them on a plate. Decide which goes front, which goes back. Taller plants at the back, low spreaders at the front. Rearranging later is fiddly and messy.
- Plant from the back forwards. Use your tweezers or fingers to make a small hole, tease the roots loose, and tuck the plant in. Firm the soil around the base with your fingertips. Work from the far side of the jar towards you — that way you’re not reaching over finished plants.
- Add decoration. A pebble path, a piece of driftwood, a tiny figure. Less is more. One good object beats five cluttered ones.
- Water lightly. Mist the plants and soil with your spray bottle — maybe eight to ten pumps for a large jar. You want damp, not soaked. If water pools at the bottom, you’ve overdone it; leave the lid off for a day.
- Close it up and place it in bright, indirect light. Not direct sun — that cooks the plants. A north or east-facing windowsill is ideal. Leave the lid off for the first 48 hours to let things settle.
Beginner Tips
These are the four things I see go wrong in almost every first attempt.
Don’t overwater. This is the big one. People see a closed terrarium and think it needs a drink every week. It doesn’t. A sealed terrarium recycles its own water — you might water it three or four times a year. If the glass is fogged all day, it’s too wet. Open the lid for a day or two and let it breathe.
Don’t cram in too many plants. A crowded terrarium looks lovely for a fortnight and then everything fights for light and space. Three plants in a large jar is plenty. Leave room to grow.
Don’t skip the charcoal. I know it feels like an optional extra. It isn’t. Without it, the trapped air goes stale and you get a sour, swampy smell. It’s a £4 fix that saves the whole project.
Don’t put it in full sun. Glass magnifies heat. A terrarium on a sunny south-facing windowsill becomes a slow oven by mid-afternoon. Bright, indirect light — that’s the spot.
Creative Variation
Here’s where you make it yours. The version I build most often is a woodland floor terrarium — and it’s the one people photograph at the end of workshops. Instead of tidy little houseplants, you build a miniature forest floor.
Start with the same layers. Then swap the plants for small ferns, a tiny ivy cutting, and a patch of real moss collected from a wall or pavement crack (rinse it well). Scatter a few small twigs and a piece of lichen-covered bark across the soil. Add a single flat pebble as a “boulder”. The trick is scale: everything should look like it belongs in a forest that’s been shrunk down. A tiny figure standing on the bark turns it into a story. My counter-intuitive tip? Don’t buy a figurine. Use something from your kitchen drawer — a thimble, a bottle cap, a broken earring. The best terrariums I’ve seen had a Monopoly house and a single dried leaf. Imperfection reads as real.
Troubleshooting
Mould on the soil or plants. White fuzz means too much moisture and not enough air movement. Open the lid, wipe the mould off with a cotton bud, and leave it open for two or three days. Cut back on watering. If it keeps returning, your drainage layer may be too thin — sadly, that means a rebuild.
Plants turning yellow or mushy. Overwatering again, almost always. Yellow, soft leaves mean the roots are drowning. Stop watering, open the lid, and let the soil dry out a little. If a plant is completely gone, pull it out — a rotting plant will spread rot to its neighbours.
Condensation so thick you can’t see in. Some fogging in the morning is normal; it should clear by afternoon. If it never clears, the terrarium is too wet. Lid off for a day.
Plants looking pale and leggy. Not enough light. Move it somewhere brighter, but still out of direct sun. Leggy growth means the plant is stretching towards a window it can’t reach.
Smell coming from the jar. This means the charcoal layer is either missing or exhausted, or something is rotting. Open the lid, remove any dead plant material, and air it out. If the smell lingers, the charcoal needs replacing — which means lifting the plants out and rebuilding the layers.
Algae growing on the glass. Green film on the inside of the jar means too much light and moisture. Wipe it off with a cloth wrapped around a chopstick, and move the terrarium out of bright light.
One more: if your terrarium is open-topped rather than sealed, it will dry out far faster. Check the soil every week with a fingertip and mist when it feels dry to the touch.
And if it all goes wrong? Empty it out, wash the jar, and start again. The whole project costs less than a takeaway. That’s the joy of it — there’s no preciousness here. Every terrarium I’ve built that failed taught me something about water, light, or patience. Usually water.
So find a jar, gather your layers, and get your hands dirty. Build one this weekend, put it on the windowsill, and watch it settle into its own little weather system. And when it thrives — because it will — you’ll have a living world you made from scratch in an afternoon. That’s a good feeling. Go on, give it a go.