Beginner Watercolor Techniques: Easy Landscape Tutorial
Watercolor has a reputation problem. People picture it as the delicate, unforgiving medium reserved for folks who’ve been painting since they could hold a brush. That’s nonsense. Watercolor is actually one of the most welcoming ways to start making art, because the paint does half the work for you. Learn a few basics, then let go of the idea that you need to control everything.
This tutorial walks you through a simple abstract landscape — hills, sky, a little water — using four beginner techniques: flat wash, graduated wash, wet-on-wet, and dry brush. You’ll finish with a painting you can actually frame. Better yet, you’ll have the muscle memory to try again tomorrow.
Materials List
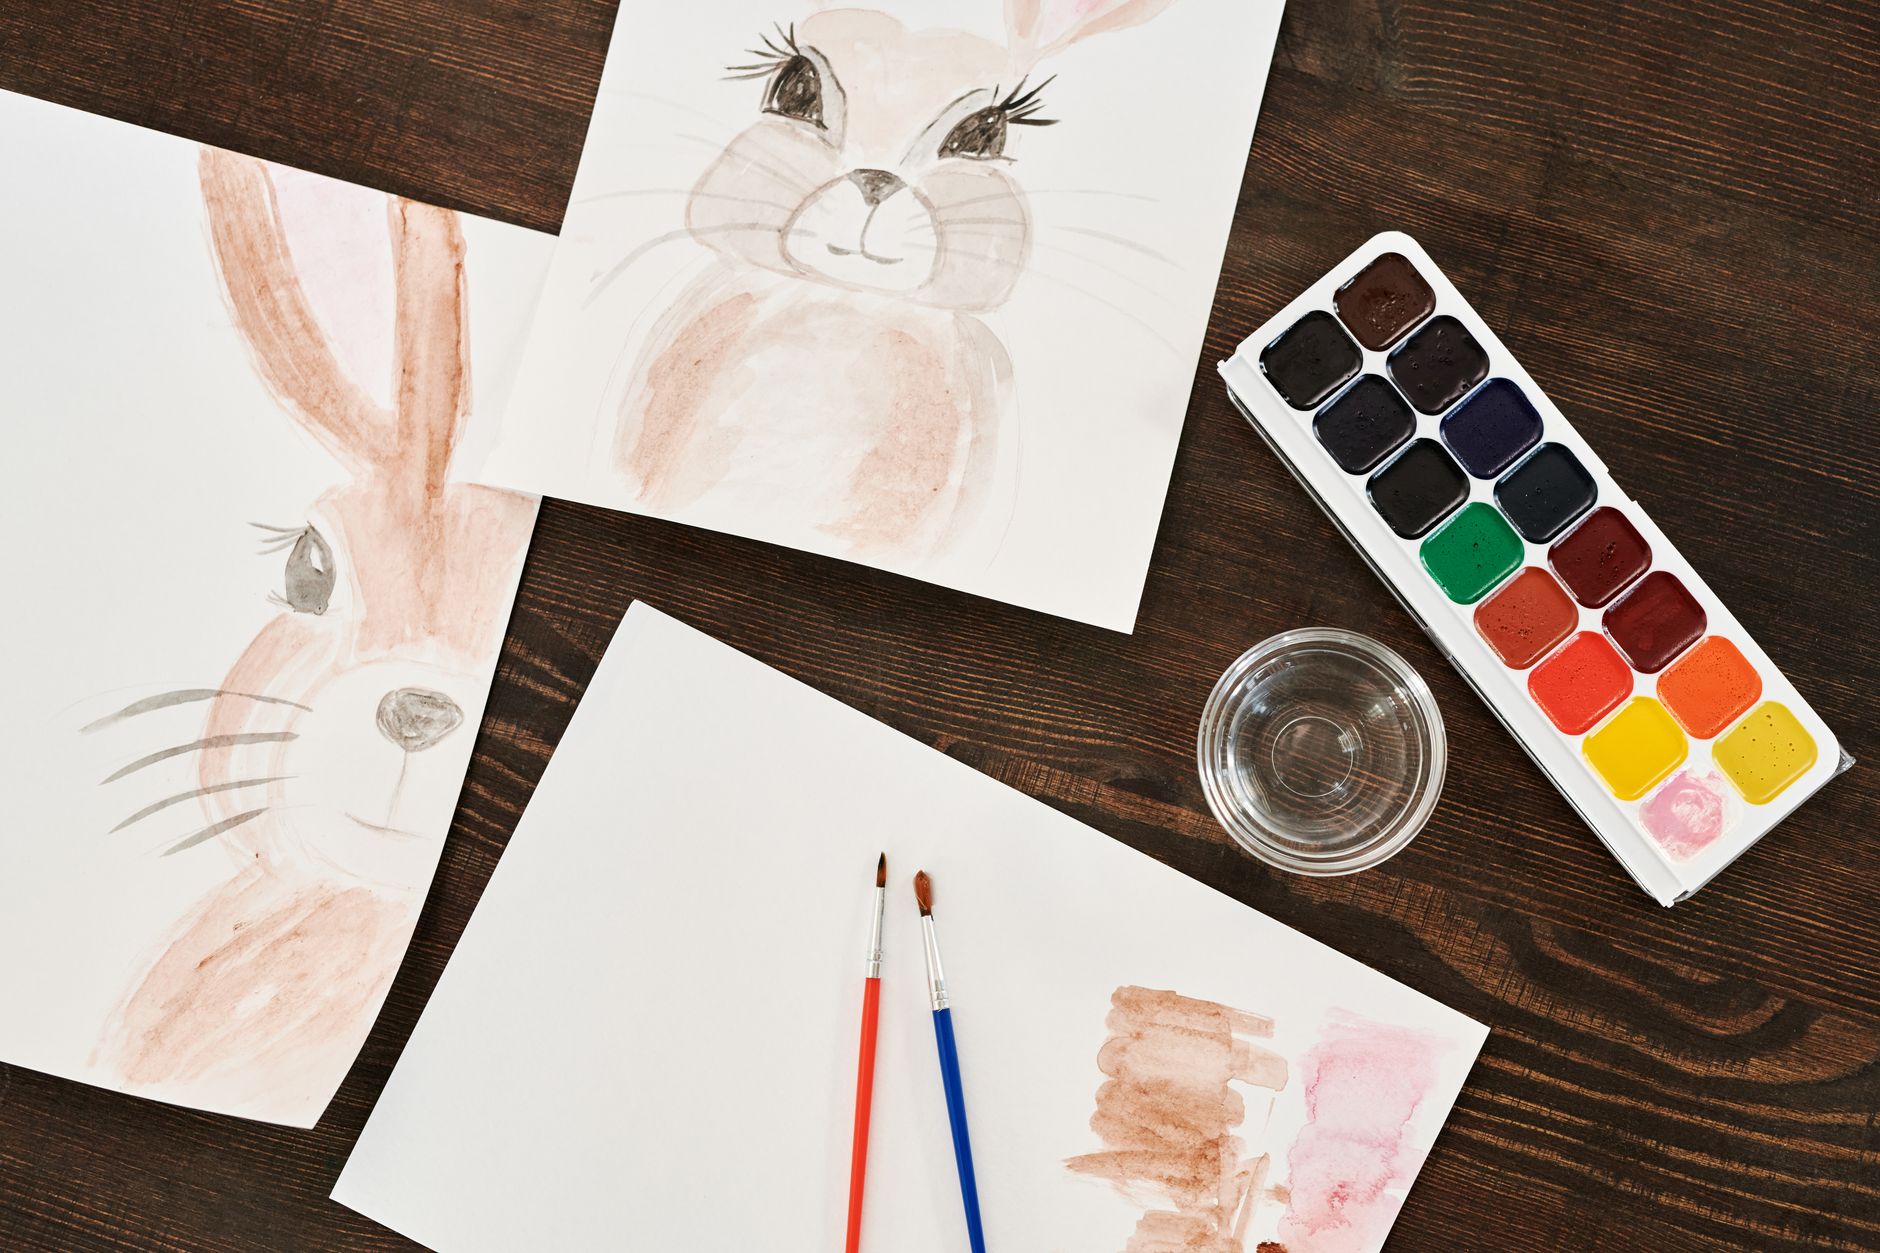
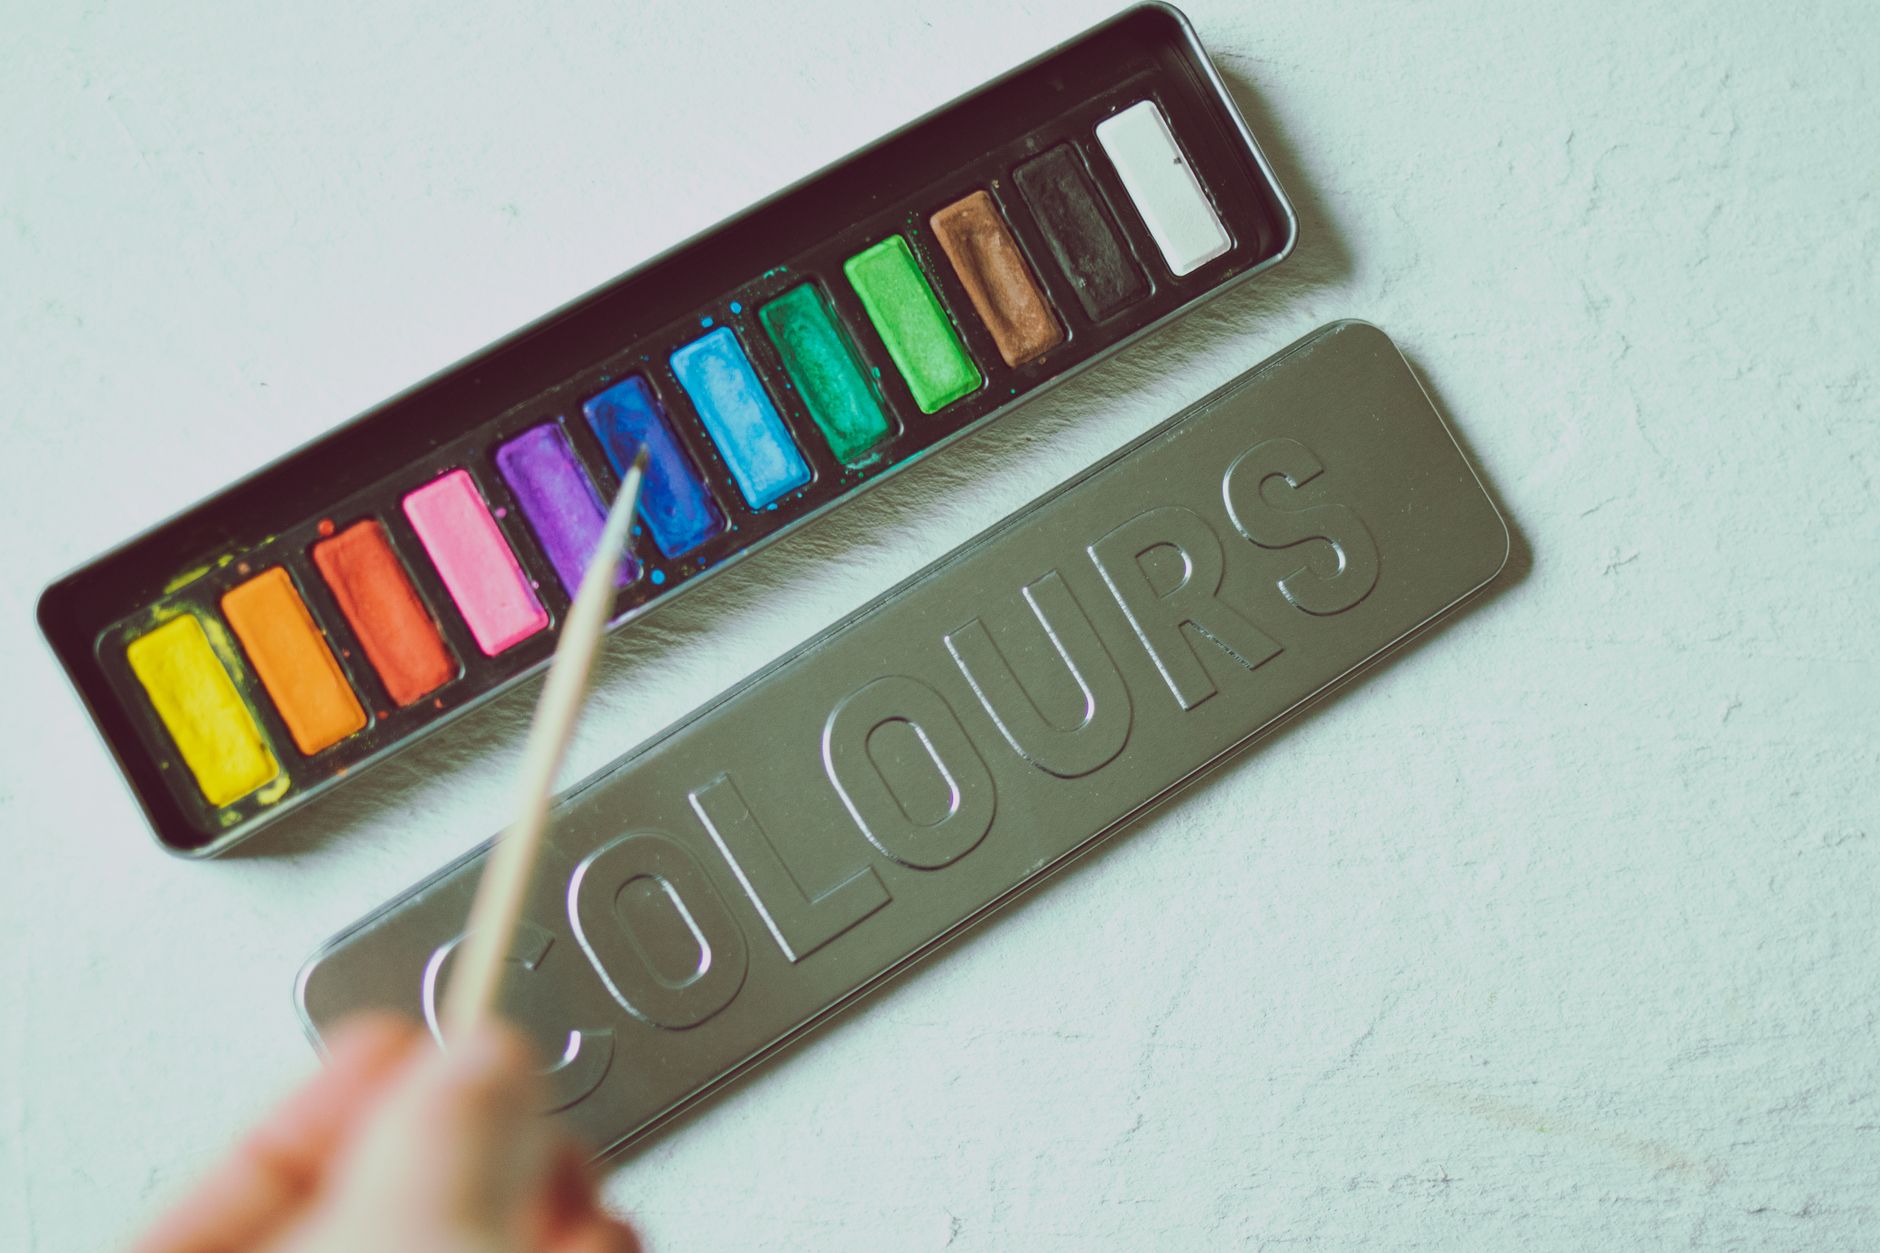
- Watercolor paint — a student-grade pan set is perfect (Winsor & Newton Cotman or Koi Field Set). Tube paint works too if you already have it. Skip artist-grade for now; you don’t need it.
- Watercolor paper — cold press, 140 lb (300 gsm) minimum. This is the one place you should not skimp. Canson XL or Strathmore 400 Series are affordable and reliable. Printer paper will buckle and frustrate you.
- Brushes — one round size 8 or 10, one flat ½ inch, and a small detail round size 2 if you have it. Synthetic is fine. A cheap set from a craft store will get you started.
- Water jar — an old jam jar works beautifully.
- Palette — a white ceramic plate, a plastic lid, or a proper folding palette.
- Paper towel or rag — for blotting and controlling water.
- Masking tape — low-tack painter’s tape. The blue stuff.
- A board or sturdy cardboard — anything flat and slightly larger than your paper.
- Pencil and eraser — for a light sketch, if you want one.
Substitutions are easy here. No watercolor palette? Use a white dinner plate. No masking tape? Skip it and just paint to the edges — your painting will have a softer border, which looks lovely too. No flat brush? Your round brush can do almost everything with a little practice.
Step-by-Step
- Tape your paper down. Cut or tear your paper to roughly 7×10 inches. Lay it on your board and run masking tape along all four edges, pressing firmly. This keeps the paper flat as it dries. If you skip this, expect ripples.
- Set up your workspace. Fill your water jar. Squeeze or activate your paints — if you’re using pans, drop a little water on each color and let it sit for a minute to soften. Put a dab of each color you plan to use on your palette. You’ll want: a blue (ultramarine or cerulean), a yellow (lemon or cadmium), a red (alizarin crimson), and maybe a burnt sienna.
- Mix your sky color. With a clean brush, pick up some blue and mix it in a puddle on your palette with plenty of water. You want a light, milky consistency — like skimmed milk, not cream. Test it on a scrap of paper. If it’s too strong, add more water.
- Paint a flat wash for the sky. Load your round brush and paint a horizontal band across the top third of your paper, working left to right. Keep the brush moving. Don’t go back over what you’ve painted — that’s the number one beginner mistake. If a bead of water forms at the bottom edge, that’s normal. Just keep moving.
- Add a graduated wash. While the sky is still wet, dip your brush in clean water and paint a stroke along the bottom edge of the blue. The color will bleed downward and fade. Tilt your board slightly if you want a softer transition. Let it dry completely — about 10 minutes. You can speed this up with a hairdryer on low, held at a distance.
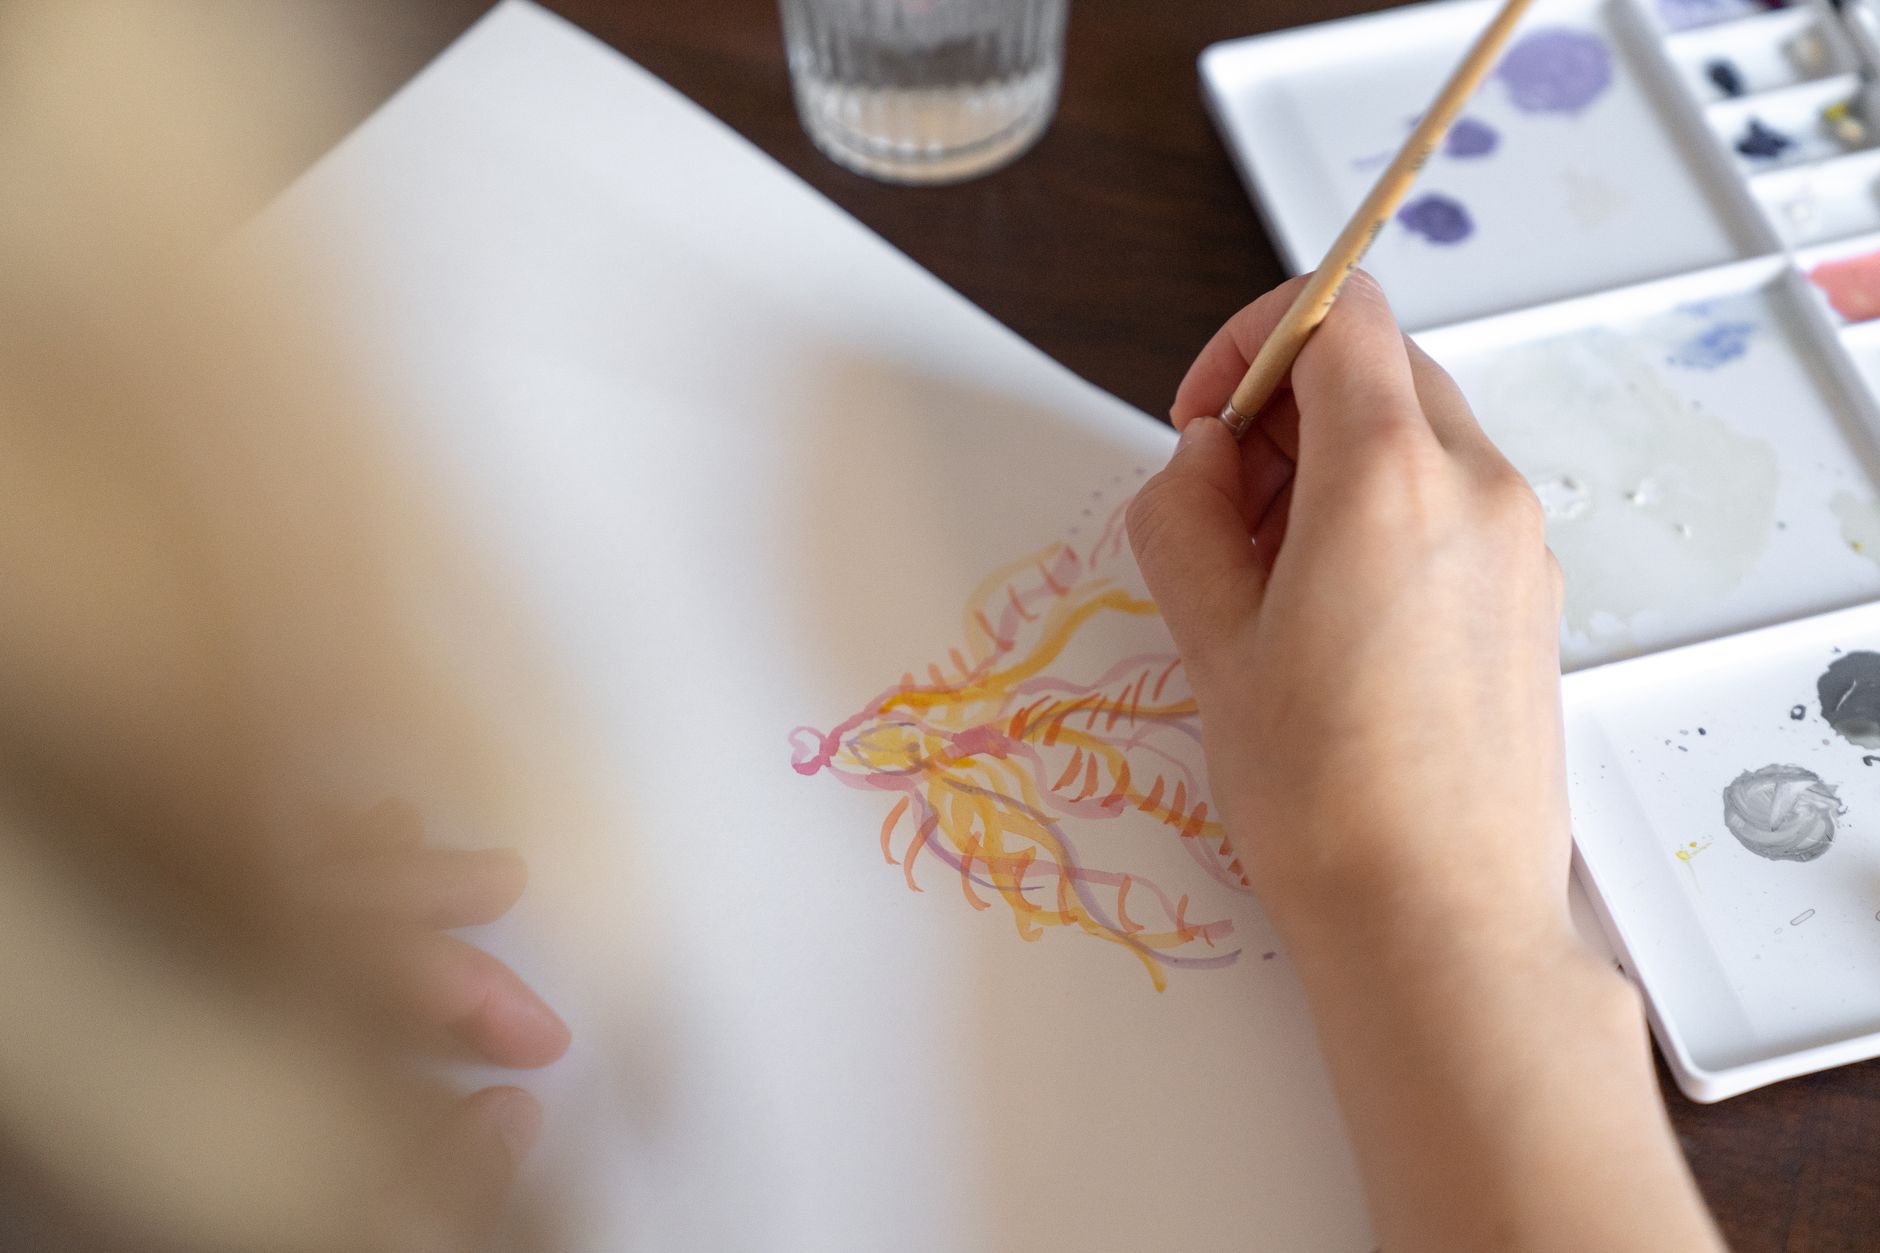
- Paint the distant hills with wet-on-wet. Mix a soft purple or gray-blue (blue plus a touch of red). Wet the middle band of your paper with clean water using your flat brush. Then touch your loaded brush to the wet surface. The paint will spread on its own. Add two or three soft hill shapes. Don’t fuss. Let it bloom.
- Paint the foreground with dry brush. Wait until the hills are dry to the touch. Mix a stronger, darker green or brown. Wipe most of the water off your brush on a paper towel — you want it damp, not dripping. Drag the brush across the bottom third of the paper with quick, light strokes. The texture of the paper will show through, creating grass or rough ground.
- Add a water reflection. If you want a lake or river, paint a horizontal band of light blue near the bottom. While it’s wet, drag a clean, damp brush through it vertically to pull the color downward. This creates the illusion of reflection. Let it dry.
- Add final details. Once everything is bone dry, use your small detail brush to add a few dark marks — a couple of birds, some reeds, a distant tree line. Less is more here. Three marks are usually enough.
- Remove the tape. Wait until the painting is completely dry. Pull the tape slowly at a 45-degree angle. That crisp white border will make your painting look intentional and finished.
Beginner Tips
Here’s what I see go wrong most often in my workshops, and how to sidestep it.
- Don’t overwork the paint. Once watercolor is on the paper, poking at it turns it muddy. One stroke, then leave it. If you hate it, let it dry and paint over it — or start again. Paper is cheap.
- Water control is everything. If your paint looks like a puddle, your brush has too much water. Wipe it on the rim of your jar or a paper towel. You can always add water; you can’t take it away.
- Test your color first. Always swatch on scrap paper before committing. The color on your palette looks different once it hits the paper.
- Work light to dark. Watercolor is transparent. You can’t paint light over dark. Start pale and build up. This feels slow at first, but it saves you every time.
- Let layers dry fully. If you paint wet paint over damp paint, you’ll get blooms and bleeding. Sometimes that’s beautiful. Usually it’s not what you wanted.
- Don’t use a hair dryer on high. It’ll blow wet paint across the page and warp your paper. Low heat, held far away, or just wait.
Counter-intuitive as it sounds, the best thing you can do as a beginner is to stop trying to be precise. Watercolor rewards looseness. The paintings you’ll love most are the ones where you let the medium do its thing.
Creative Variation
Try this: paint the whole scene in a single color. Pick one — indigo, burnt sienna, whatever calls to you — and mix it in three strengths: pale, medium, and strong. Paint the sky pale, the hills medium, the foreground strong. This is called a monochrome study, and it teaches you more about value than any color exercise. The result looks sophisticated and moody, and it takes half the time because you’re not constantly mixing new colors. Once you’ve done one, try the same scene in warm colors only (reds, oranges, yellows) or cool colors only (blues, greens, purples). You’ll be shocked how different the same composition feels.
Troubleshooting
My paper is buckling. It wasn’t taped down properly, or you used paper that’s too thin. Tape all four edges next time, and stick with 140 lb paper. You can flatten a finished painting by pressing it under heavy books for a day.
The colors turned muddy. You probably mixed too many colors together, or you went back over wet paint. Stick to two or three colors per mix, and let layers dry before adding more.
I have hard edges where I didn’t want them. That happens when paint dries before you blend it. Work faster, or wet the paper first with clean water so the paint has somewhere to travel.
My wash has streaks. You didn’t use enough water, or you went back over a drying area. Mix a bigger puddle than you think you need, and paint in one direction without lifting your brush.
The paint looks chalky or dull. You might be using too little pigment. Load your brush with more paint and less water for richer color. Or your paints are old and dried out — revive pans with a drop of water and a minute of patience.
I hate the whole thing. Good. That means you’re learning. Turn it over and paint on the back, or cut it into bookmark-sized strips and use them for collage. No painting is wasted if you made it.
Watercolor is a conversation, not a command. You put down a mark, the water moves it, you respond. That back-and-forth is the whole point. So tape down a fresh sheet, mix a puddle of blue, and see what happens. You might surprise yourself.