How to Make Jewelry from Old Buttons
A tin of mismatched buttons has a smell. Not a bad one, exactly — old wood, brass, and that faintly dusty sweetness that comes from decades in sewing boxes, jam jars, and coat pockets. My grandmother’s tin arrived at my house eleven years ago. For a long time I just opened it, sorted through it, and closed it again. Then one rainy Saturday I decided those buttons deserved better than a shelf. Here’s the thing about a button: it already has two holes, which means it’s already halfway to being a bead. Today I’ll show you how to turn that tin into jewelry you’ll actually wear.
This project earns its keep for a few reasons. It’s nearly free. It’s fast enough to finish in an afternoon. Every piece you make carries a story. You’ll also pick up skills — wire wrapping, simple linking, hole placement — that transfer to every other jewelry project you attempt. No kiln. No soldering iron. No previous experience required.
Materials List
- Old buttons. Aim for a mix of sizes. Two-hole buttons are easiest; four-hole buttons give you more design options. Shank buttons (the ones with a loop on the back) work beautifully as pendants.
- Jewelry wire. 20-gauge craft wire for structural work, 26-gauge for wrapping. Alternative: craft store beading wire works, or you can repurpose fine-gauge wire from an old broken necklace.
- Jump rings. 5mm and 7mm are the most useful sizes. Alternative: make your own by coiling wire around a pencil and snipping with flush cutters.
- Ear wires or hooks. Alternative: clip-on earring backs if you don’t have pierced ears, or repurpose hooks from earrings you no longer wear.
- Chain or cord. A ball chain, a leather cord, or a length of ribbon all work. Alternative: embroidery floss braided into a necklace.
- Flat-nose pliers, round-nose pliers, and flush cutters. If you only own one pair of pliers, flat-nose is the one to start with.
- A metal file or fine sandpaper. For smoothing wire ends and, occasionally, button edges.
- A small drill with a 1mm bit (optional). Only needed for shank buttons you want to convert.
- A shallow dish or tray. Buttons roll. Buttons hide. A tray keeps you sane.
Step-by-Step
- Sort your buttons. Tip the tin out onto your tray and group buttons by size, color, and hole count. Set aside anything chipped in a way that could snag clothing — those buttons can still be pendants if the damage is on the back.
- Choose a design. For your first piece, make a simple button pendant: one large button, one smaller button stacked on top, wired together and hung from a chain. It’s forgiving, and it looks intentional even when your wire work is wobbly.
- Cut your wire. Snip about 8 inches of 26-gauge wire. Eight inches sounds like a lot for one button, but you need slack to grip and twist.
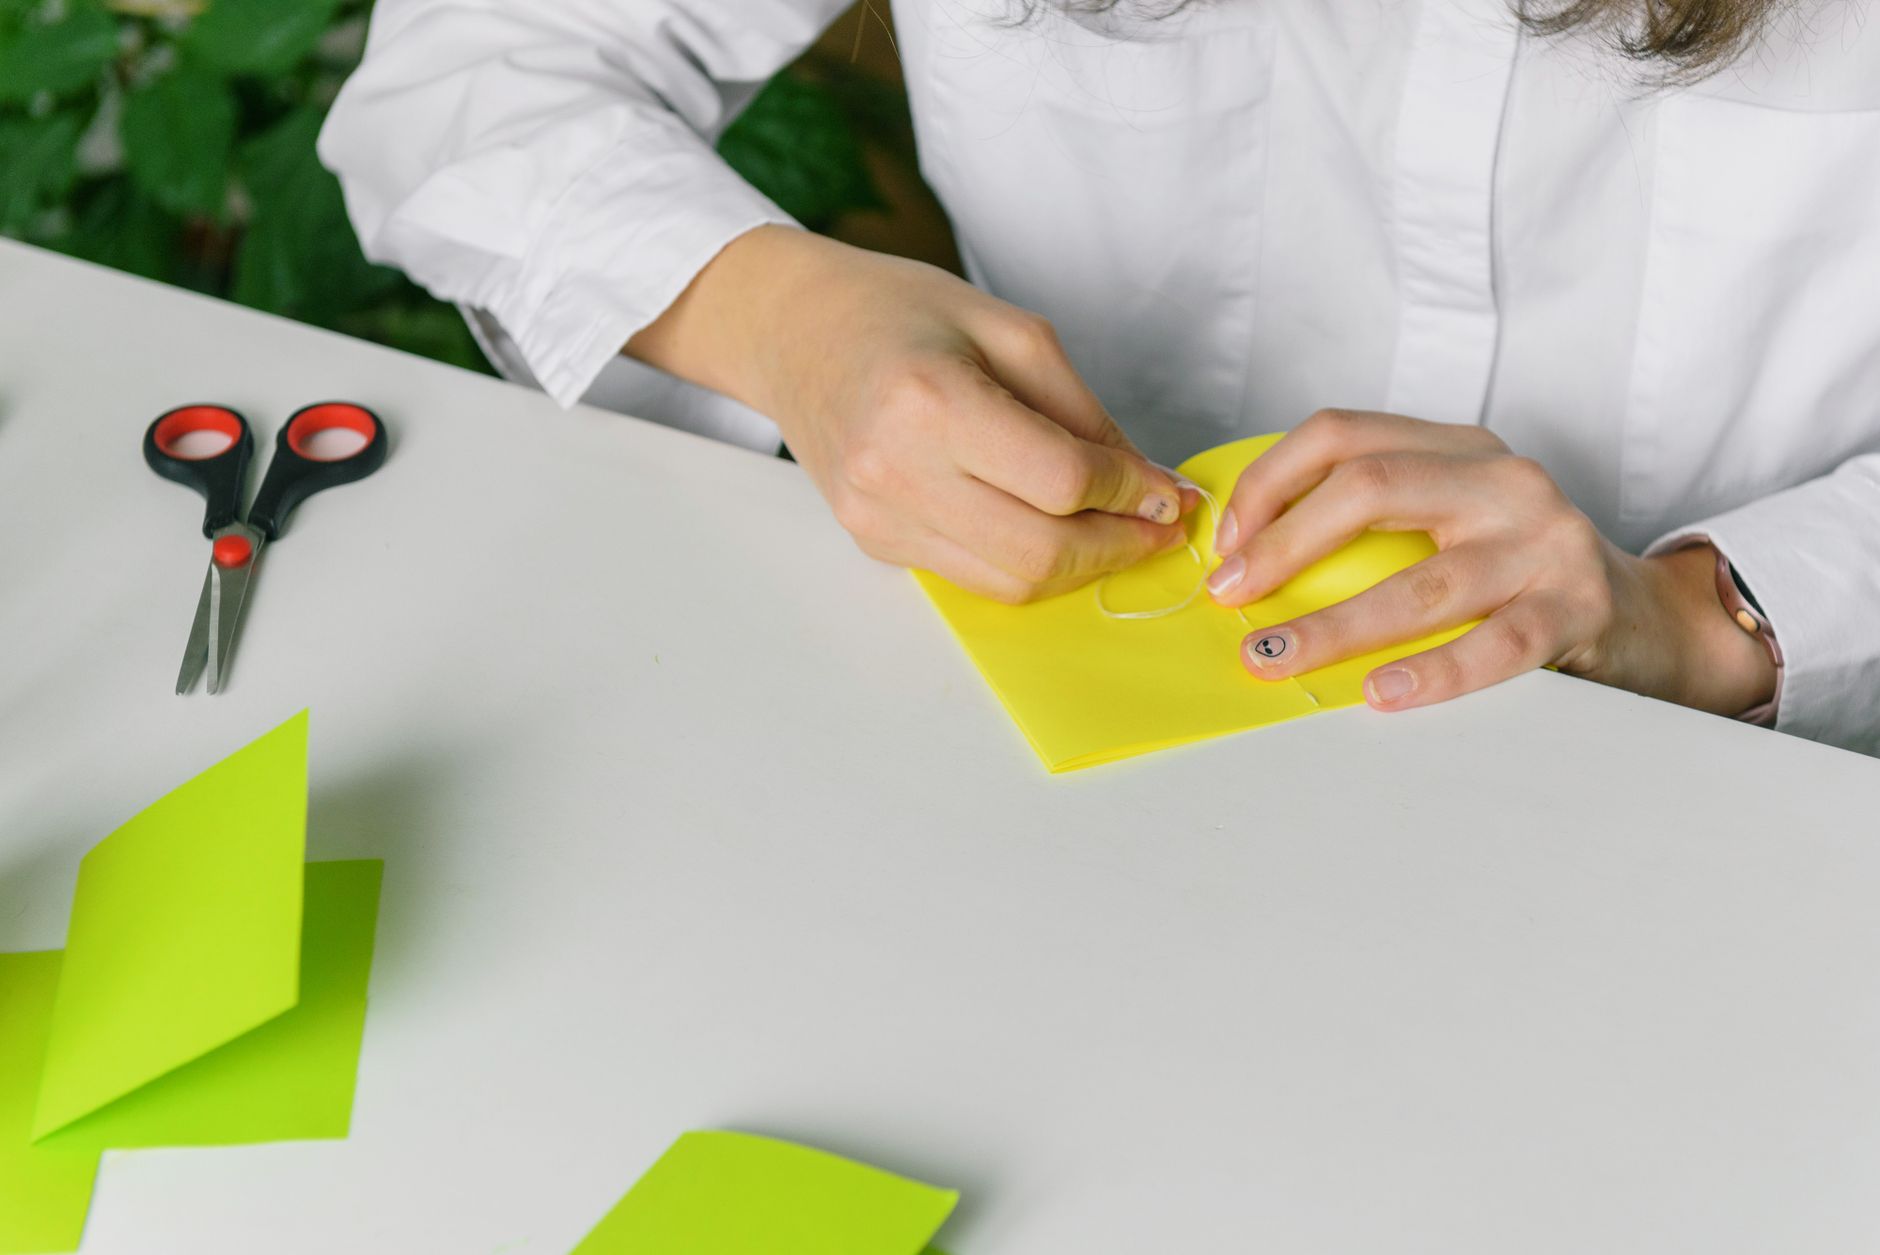
- Thread the wire. Push one end of the wire up through a hole in the large button from the front, then down through a second hole. The wire should form a U on the back. Pull it snug but not tight.
- Stack and secure. Lay the smaller button on top, aligning its holes with the wire path. Thread the wire up through the small button, then back down through the large one. Two or three passes is plenty.
- Twist the ends. Bring both wire ends to the back of the button stack and twist them together three or four times with your fingers, then tighten with flat-nose pliers. Trim the excess with flush cutters, leaving about half an inch.
- Make a loop. With round-nose pliers, curl the remaining wire tail into a small loop at the top back of the button. This is your hanging point. File any sharp tip smooth.
- Attach the jump ring. Open a jump ring by twisting the ends apart sideways — never pull them straight apart, or the ring will never close cleanly. Slip it through your wire loop, close it, then thread your chain through the jump ring.
- Test the hang. Hold the necklace up. Does the button sit flat? If it tilts, the wire tension is uneven. Gently adjust by nudging the wire on the back with your pliers.
- Make matching earrings. Repeat steps 3 through 7 with two smaller buttons, then attach each to an ear wire instead of a chain. Keep the buttons under 20mm across — anything heavier will drag on your earlobe.
- Finish and wear. Give everything a final once-over for sharp wire ends, then put your new piece on immediately. Wearing it the same day is the best way to spot a flaw before it becomes a habit.

Beginner Tips
The most common first-time mistake is using wire that’s too thick. Twenty-gauge wire through a standard two-hole button is a fight, and you’ll bend the button or scratch the finish trying to force it. Drop to 26-gauge for threading. Save the heavier wire for structural loops.
Second mistake: skipping the file. A wire end that feels smooth to your fingertip can still catch on a sweater. Run the file over every cut end, even the ones you think are hidden.
Third: over-tightening. Beginners twist wire like they’re wringing out a towel. Snug is enough. Over-twisted wire work hardens and snaps, often right at the loop where you need it most.
Creative Variation
Here’s a counter-intuitive opinion: your best buttons should not go into your first piece. Save the ornate glass ones and the hand-painted ones for later. Start with plain plastic buttons in a single color family, because a monochrome palette makes even simple wire work look deliberate and expensive. Once you’ve got the mechanics down, then you can build a statement necklace from a rainbow of mismatched buttons and let the color chaos do the talking.
Troubleshooting
The button spins on the wire. You only threaded two holes. Add a third pass through a different hole pair, or add a dab of clear-drying craft glue at the back.
The wire keeps slipping out of the hole. Your hole is larger than your wire gauge. Double the wire back through the hole so you’re threading two strands at once.
The necklace hangs crooked. Check that your jump ring is centered. A loop even 2mm off-center will tilt the whole pendant.
The wire broke at the loop. You twisted too many times. Cut the loop off, leave a longer tail, and redo it with three twists instead of six.
The buttons look dull. Wash them in warm water with a drop of dish soap and dry thoroughly. A tiny bit of mineral oil on a cloth brings back shine on shell and horn buttons — skip the oil on painted or printed buttons.
Go find that tin. Sort through it with a cup of tea and no deadline. The buttons have been waiting patiently for years, and all they need now is a bit of wire and twenty minutes of your attention. Make one pendant today. Wear it to the shops. See how it feels to have a piece of history hanging around your neck — and then tell me: which button did you choose first?