How to Make Coasters from Tile: Easy DIY Guide
I still remember my first tile coaster. It was a chipped slate sample I’d grabbed from a skip, and I glued a scrap of wallpaper to it with the confidence of someone who had never met a bubble in her life. The bubbles won. But the coaster? Still on my coffee table eight years later, holding a mug of tea right now. make-a-memory-jar-easy-diy-guide/”>make-a-gratitude-journal-easy-diy-guide/”>Make Gratitude Journal.
That’s the thing about tile coasters. They’re cheap. They’re sturdy. And they hide a multitude of sins behind a good seal of varnish. You can make a set of four in an afternoon, and nobody at the table will guess they started life as a 40p sample from a hardware shop. Let’s make some.
Materials List
Most of these you’ll already have. The ones you don’t are easy to swap out. Here’s the full kit:
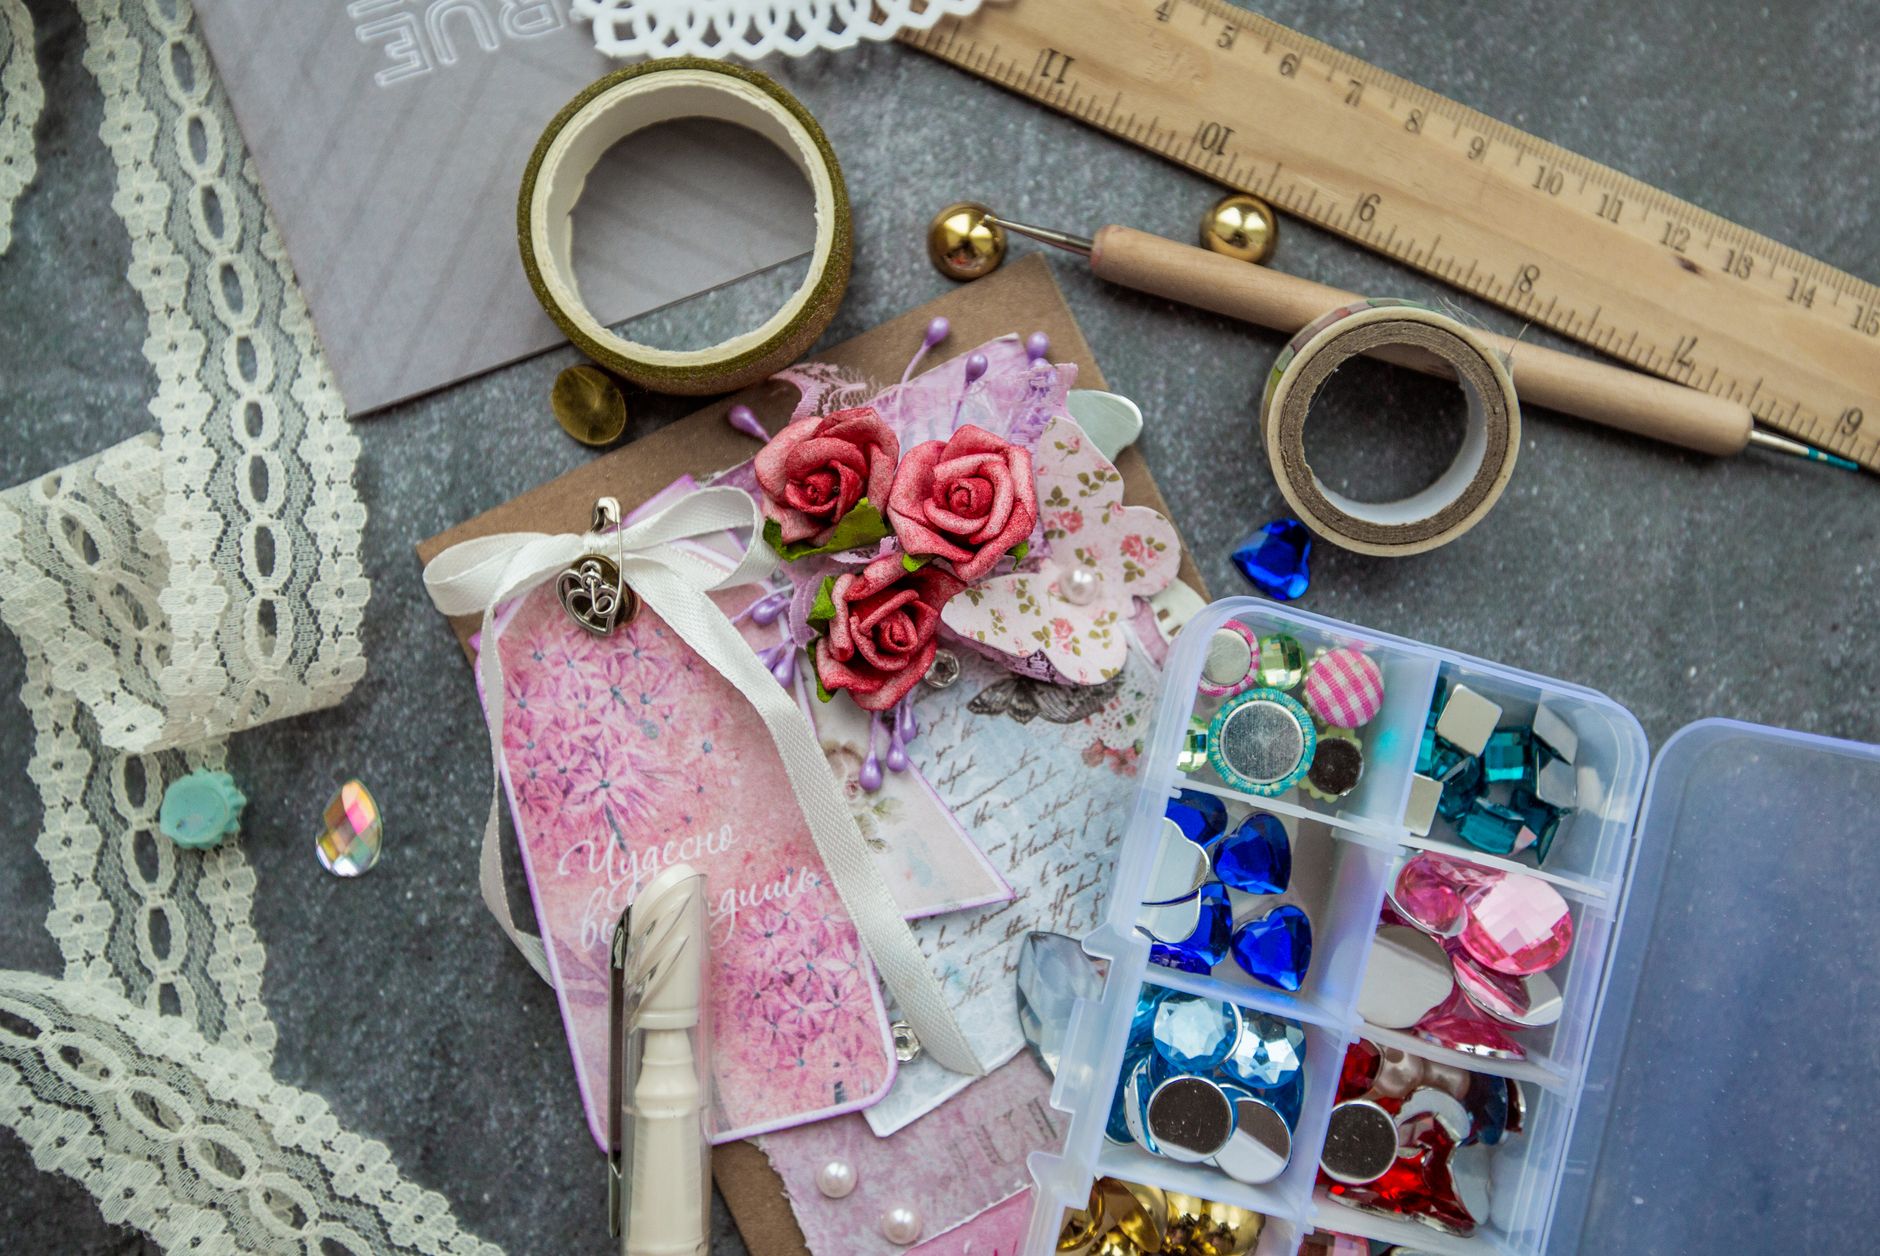
- Tiles. Four 10cm x 10cm (4in x 4in) ceramic or stone tiles. Glazed or unglazed both work. Tumbled stone and travertine look lovely but are more porous, so you’ll need an extra coat of sealant. Avoid polished porcelain — nothing sticks to it, not even your hopes.
- Mod Podge or PVA glue. Matte or gloss, your call. White craft PVA diluted 50/50 with water works just as well and costs pennies. Skip superglue; it dries too fast to reposition anything.
- Paper for the design. Scrapbook paper, old maps, sheet music, fabric offcuts, pressed flowers, book pages, or your own prints. Thin paper is your friend. Thick cardstock will fight you.
- Foam brush or a cheap flat paintbrush. Foam gives you fewer brush marks. A 2.5cm (1in) brush is fine if that’s what’s in the drawer.
- Felt or cork sheet. For the backing. Self-adhesive felt pads cut to size are a lazy but perfectly good alternative.
- Scissors and a craft knife. A cutting mat helps but a chopping board works.
- Clear acrylic sealer or varnish. Spray or brush-on. Polyurethane is tougher; acrylic is faster. Either is fine.
- A damp cloth and a dry cloth. Boring, but you’ll use them constantly.
- Optional: a small roller or brayer, wax paper, and a ruler.
One note on tiles: check the back before you buy. If it’s smooth, your felt will need proper glue. If it’s ribbed, you’re in luck — that texture gives the adhesive something to grip.
Step-by-Step
Work on a protected surface. I use a silicone mat, but newspaper will do. Set aside a good hour and don’t rush the drying stages.
- Clean the tiles properly. Wipe the front of each tile with a damp cloth, then dry it. Any dust or grease and your paper will lift at the corners within a week. If the tile feels slick, give it a light rub with fine sandpaper — just enough to take the shine off.
- Cut your paper to size. Place a tile face-down on your paper and draw around it, then cut inside your line by about 3mm (1/8in). You want the paper slightly smaller than the tile so the edges sit cleanly. Trust me on this — paper that overhangs will fray and look scruffy no matter how neatly you trim it later.
- Test your layout. Lay all four papers on their tiles before any glue comes out. Check for patterns that clash, colours that fight, or one sheet that’s noticeably paler than the rest. Rearrange now, not after sticking.
- Apply a thin base coat. Brush a layer of Mod Podge or diluted PVA onto the tile face. Thin and even. Too much and the paper will wrinkle like a raisin; too little and it won’t bond. Aim for the consistency of a light coat of milk.
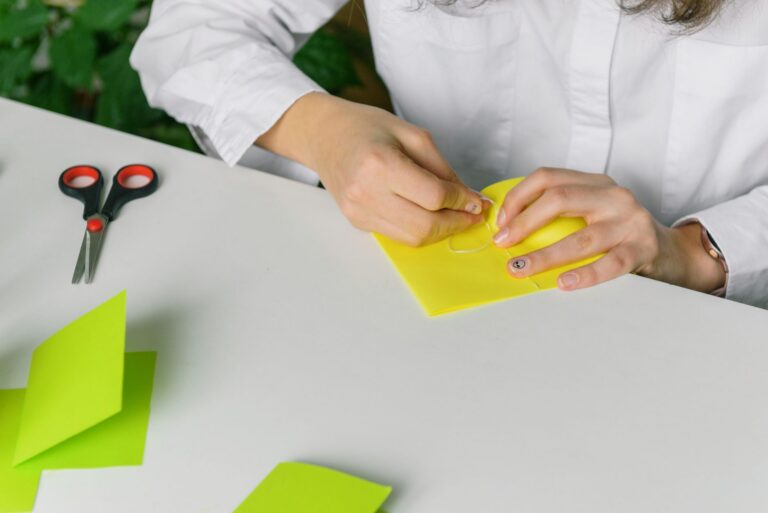
- Place the paper down. Starting at one edge, lower the paper onto the wet tile and smooth it outward with your fingers. Don’t press hard yet. If it’s a large piece, work from the centre out to push air to the edges.
- Smooth out the bubbles. This is the step everyone skips and everyone regrets. Lay a sheet of wax paper over the top and roll firmly with a brayer or a rolling pin. Work from the centre outward in all directions. Small bubbles will often vanish once the glue dries; big ones won’t. If a stubborn bubble remains, prick it with a pin and press it flat.
- Wipe the edges. Run a damp cloth around the tile edge to catch any glue that’s squeezed out. Do it now while it’s wet. Dried glue on a tile edge is a nightmare to remove without scratching the surface.
- Let it dry fully. Twenty to thirty minutes, or until the paper looks matte and feels dry to the touch. Don’t poke it. Don’t “just check” the corner. Leave it alone.
- Seal the top. Brush two to three coats of Mod Podge over the paper, letting each coat dry for about 20 minutes. Brush in one direction per coat and alternate directions between coats — this gives you a smoother finish than scrubbing back and forth. The first coat may look milky. It’ll dry clear.
- Attach the backing. Cut felt or cork to fit the underside of each tile. Spread an even layer of glue across the back of the tile, press the felt on, and weight it down with a book for half an hour. Self-adhesive pads are fine here too, but press them firmly and give them an hour before you use the coaster.
- Final cure. Let everything sit overnight. Not two hours. Overnight. The sealer needs time to harden, and a coaster that feels dry can still be soft underneath.
- Give it a top coat of varnish if you want real durability. Spray-on polyurethane in two light passes, or brush-on acrylic varnish, adds serious water resistance. This matters if you’re the sort of person who leaves condensation rings everywhere. You know who you are.
Beginner Tips
Here’s what I wish someone had told me before my first set ended up in the bin.
Don’t use thick paper. It seems sturdier, so it should work better, right? Wrong. Thick cardstock is the single most common reason these projects fail. It holds memory — every curl and bend stays curled and bent — and it sucks up glue unevenly. Thin paper lies flat and stays flat. If you’ve only got thick paper, mist it lightly with water and press it under a heavy book for an hour before you start.
Less glue than you think. Beginners flood the tile because more adhesive feels safer. It isn’t. Excess glue soaks through paper, causes ripples, and takes days to cure. Thin coats, more of them.
Never skip the felt backing. A bare ceramic tile will scratch your furniture. It also slides, which means your beautiful coaster will be on the floor within a week. The backing is not optional.
Watch your drying times. Rushing from glue to seal to varnish is how you get cloudy patches and peeling corners. Each stage needs to be genuinely dry, not just dry-ish.
Test on one tile first. Make a single coaster before committing to a set of four. If your paper wrinkles or your sealer goes milky, you’ve lost one tile instead of four.
Creative Variation
Once you’ve got the basic method down, the real fun starts. Here’s my favourite twist: skip the paper entirely and pour your design instead.
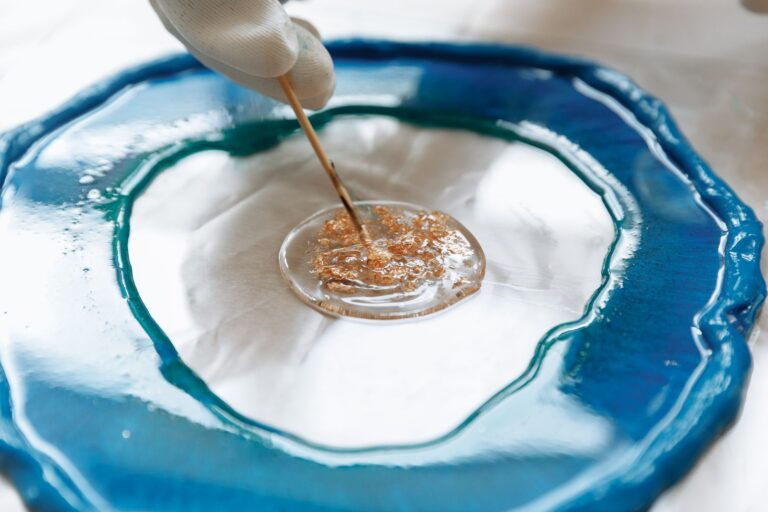
Take plain unglazed tiles and a few bottles of acrylic pour paint. Mix each colour with a splash of pouring medium, then drizzle them onto the tile in ribbons and swirls. Tilt the tile gently to let the colours run, and stop before they reach the edge — the paint will spread a little more on its own. Let it cure for 48 hours, then seal with three coats of polyurethane. Every tile comes out different, which is exactly the point.
It’s messier than the paper version, and you’ll use more sealer, but the results look like something from a gallery gift shop. Pair four mismatched tiles with a ribbon and you’ve got a housewarming present that cost you almost nothing.
Troubleshooting
Bubbles under the paper. If the glue is still wet, lift the paper carefully, add a touch more adhesive, and lay it back down. If it’s already dry, prick the bubble with a pin and press it flat with your thumbnail. For anything larger than a 5p coin, you’re better off peeling the paper off entirely, cleaning the tile, and starting again.
The sealer dried cloudy. This almost always means you applied it in a cold room, in high humidity, or in too thick a coat. Sand it back lightly with fine grit paper and reapply in thin layers somewhere warm and dry. If it’s a brush-on product and the cloudiness is faint, a second thin coat sometimes clears it.
Corners lifting after a few days. Not enough base coat, or the tile wasn’t clean. Peel the corner back, apply a little fresh glue underneath, and press it down with a weight overnight. Then add an extra coat of sealer over the whole surface.
Paper looks wrinkled. Too much glue underneath, or you used thick paper. Sometimes a wrinkle will relax as it dries. If it doesn’t, you’ve learned the lesson for next time — and honestly, a slightly textured finish can look charming if the design suits it.
The felt won’t stick. You probably used a glue that’s too thin, or the tile back is very smooth. Rough it up with sandpaper, use a stronger craft adhesive, and weight it down properly.
Coaster sticks to the mug. Your sealer hasn’t fully cured. Give it another 48 hours. If it still sticks, you used a soft acrylic rather than a hard varnish — overcoat it with polyurethane.
None of these are disasters. Every single one is fixable, and every single one teaches you something that makes the next set better.
So go on — dig out that box of tile samples, raid the recycling for interesting paper, and make a set this weekend. They’ll be a bit wonky the first time. They’ll also be completely, unmistakably yours, and that’s worth far more than anything you’d buy in a shop. Send me a photo when they’re done. I want to see the bubbles.