Felt Crafts for Beginners: Easy First Patch Tutorial
The first time I handed someone a needle and a square of wool felt, they held it like it might bite. Ten minutes later they were stitching a tiny fox face and asking if we could make a second one. Felt is the friendliest fabric in the craft cupboard. No fraying, no grain line, no fiddly hemming. It forgives wobbles, holds its shape, and comes in colours that make you want to hoard every shade. This tutorial walks you through a simple felt patch that teaches the core stitches without any pressure to be perfect. By the end you’ll have something small and charming, and a new skill you can apply to a hundred projects.
Why bother making a felt patch? Because it’s the fastest route from “I’ve never sewn” to “I made that.” You’ll practise three stitches, learn how felt behaves, and finish in under an hour. The finished patch can become a badge, a keyring, a hair clip, or a patch on a jacket. Small projects build real confidence.
Materials List
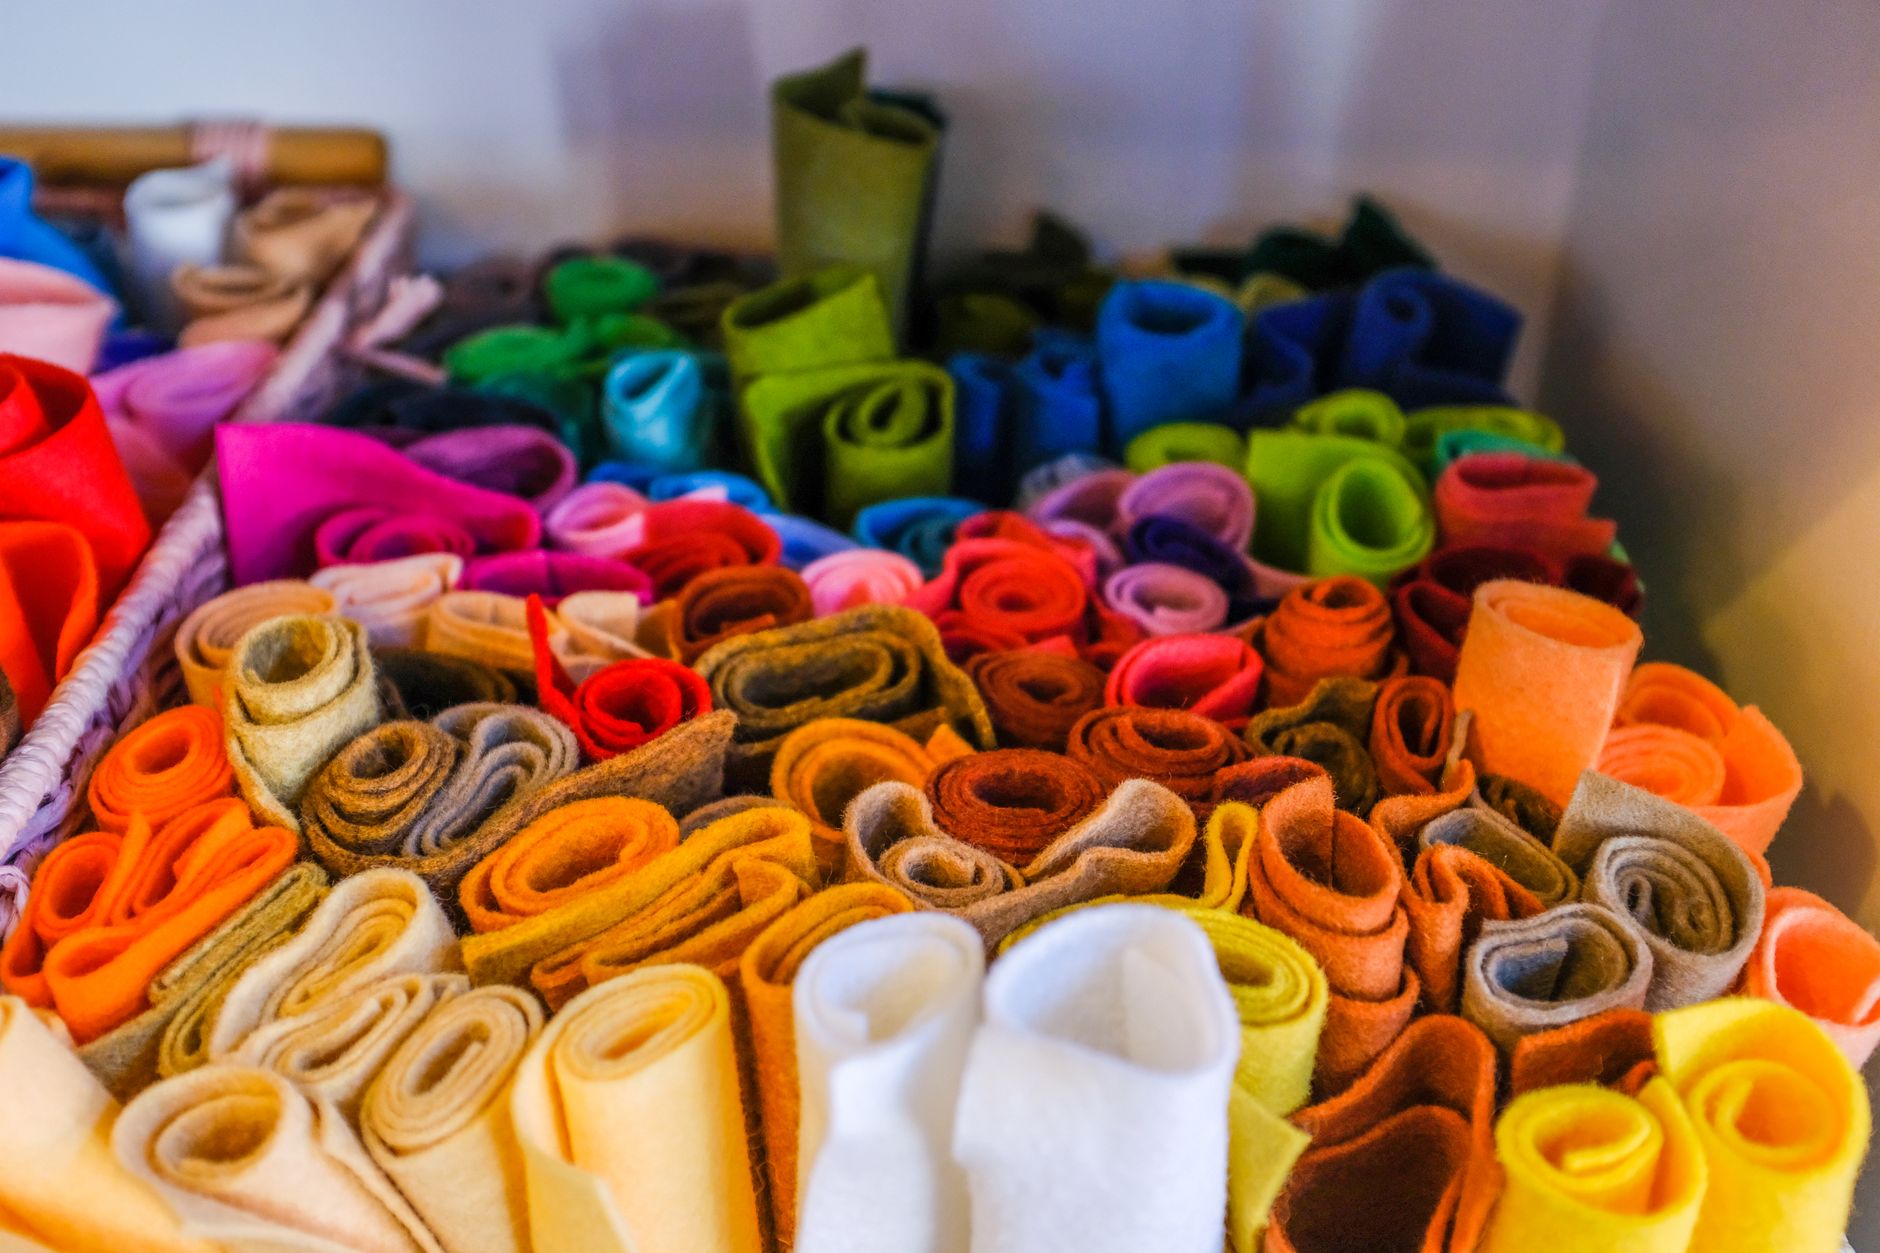
- Wool felt squares — two colours minimum, about 9 x 9 inches each. Wool or a wool-blend is best because it holds shape and doesn’t pill. Craft-store acrylic felt works fine for a first attempt and costs less, but it stretches and bobbles with wear. If you can only find acrylic, buy the thickest you can.
- Embroidery needle — a size 5 or 7 with a sharp point. Sharp is key: felt has no weave to push through, so a blunt tapestry needle will drag and distort the edge.
- Embroidery floss — one skein in a contrast colour. Six-strand floss is standard; split it down to two or three strands for neat stitching. Perle cotton size 8 is a lovely alternative if you want a chunkier look.
- Small sharp scissors — fabric scissors or embroidery snips. Blunt craft scissors crush the felt edge instead of cutting it.
- Pins or clips — sewing clips are gentler on felt than pins, but fine pins work if you pin inside the seam line.
- Template — a simple shape drawn on paper: a heart, a leaf, a circle, a star. Keep it under 3 inches wide for your first go.
- Optional: fabric marker or tailor’s chalk — for tracing. A fine-tip water-soluble pen is ideal. Test it on a scrap first, because some markers stain pale felt.
- Optional: stuffing — a small handful of polyester fibrefill or wool roving if you want a puffy patch.
Step-by-Step
- Draw and cut your template. Sketch your shape on plain paper and cut it out. Fold the paper in half first if you want a symmetrical shape — hearts and leaves come out far neater that way. Keep curves gentle; tight, spiky shapes are harder to stitch cleanly on a first attempt.
- Trace onto felt. Place the template on your main felt colour and trace around it with your marker or chalk. Hold the template flat and don’t stretch the felt as you trace, or the shape will come out lopsided. If you’re using dark felt, chalk shows up better than pen.
- Cut the shape. Cut just inside your traced line with long, smooth snips rather than little nibbles. Small choppy cuts make a ragged edge that no amount of stitching hides. Cut slowly around curves and turn the felt, not the scissors.
- Cut a backing piece. Trace and cut the same shape from your second felt colour. This becomes the back of the patch and hides your knots. Trim it a hair smaller — about 1/16 inch inside the front shape — so it doesn’t peek out at the edges.
- Thread your needle. Cut a length of floss about 18 inches long. Split it to two strands if you’re using six-strand floss. Thread the needle and tie a small knot at the long end. Don’t use a giant knot; it makes a lump under felt.
- Pin the layers together. Stack the backing piece under the front piece, lining up the edges as best you can. Clip or pin them together at two or three points around the edge. Keep pins well inside the seam line so your needle doesn’t catch on them.
- Start with a running stitch. Bring your needle up through both layers about 1/8 inch from the edge. Take a small stitch forward — about 1/8 inch long — and come back up. Repeat around the shape. Keep your stitches evenly spaced; rhythm matters more than exact size. This is the stitch that holds everything together.
- Try a whip stitch on the curves. For tighter curves, switch to a whip stitch: bring the needle from the back over the edge to the front, then back over again, wrapping the edge. It covers the raw edge neatly and looks tidy on circles and hearts.
- Add a detail stitch. Once the edge is closed, add a simple decorative line — a French knot for an eye, three straight stitches for a leaf vein, or a little backstitch outline. Keep it to one or two details. Restraint looks intentional; clutter looks accidental.
- Finish and secure. Take your needle to the back of the work, slide it under a few stitches on the reverse, and knot off close to the fabric. Trim the tail. Don’t knot on the front — it will show through the felt.
- Press gently. Lay the patch face down on a towel and press with a warm iron for a few seconds. Skip steam; moisture can distort wool felt. A quick press settles the stitches and flattens the edges.

Beginner Tips
The biggest mistake first-timers make is cutting the felt too small. Felt doesn’t fray, so there’s no seam allowance to worry about — but it also means every cut is final. Draw your shape slightly larger than you think you want it, then trim after stitching if needed.
Second: don’t over-tighten your stitches. Pulling the floss hard puckers the felt and leaves dimples that won’t press out. Let the thread sit snug, not tight. You should be able to slide a fingernail under a finished stitch.
Third: resist the urge to use all six strands of floss. Chunky thread on small shapes looks clumsy and tangles constantly. Two strands give a clean, even line that suits small felt work.
Here’s a counter-intuitive one: don’t buy the cheapest felt you can find. Thin acrylic felt is tempting, but it tears at the stitch line, pills under handling, and makes every mistake more visible. Spending a little more on a wool blend actually makes the learning curve gentler, because the fabric cooperates.
Finally, keep your stitches small and your patience large. Felt rewards slow, even work. Speed comes later.
Creative Variation
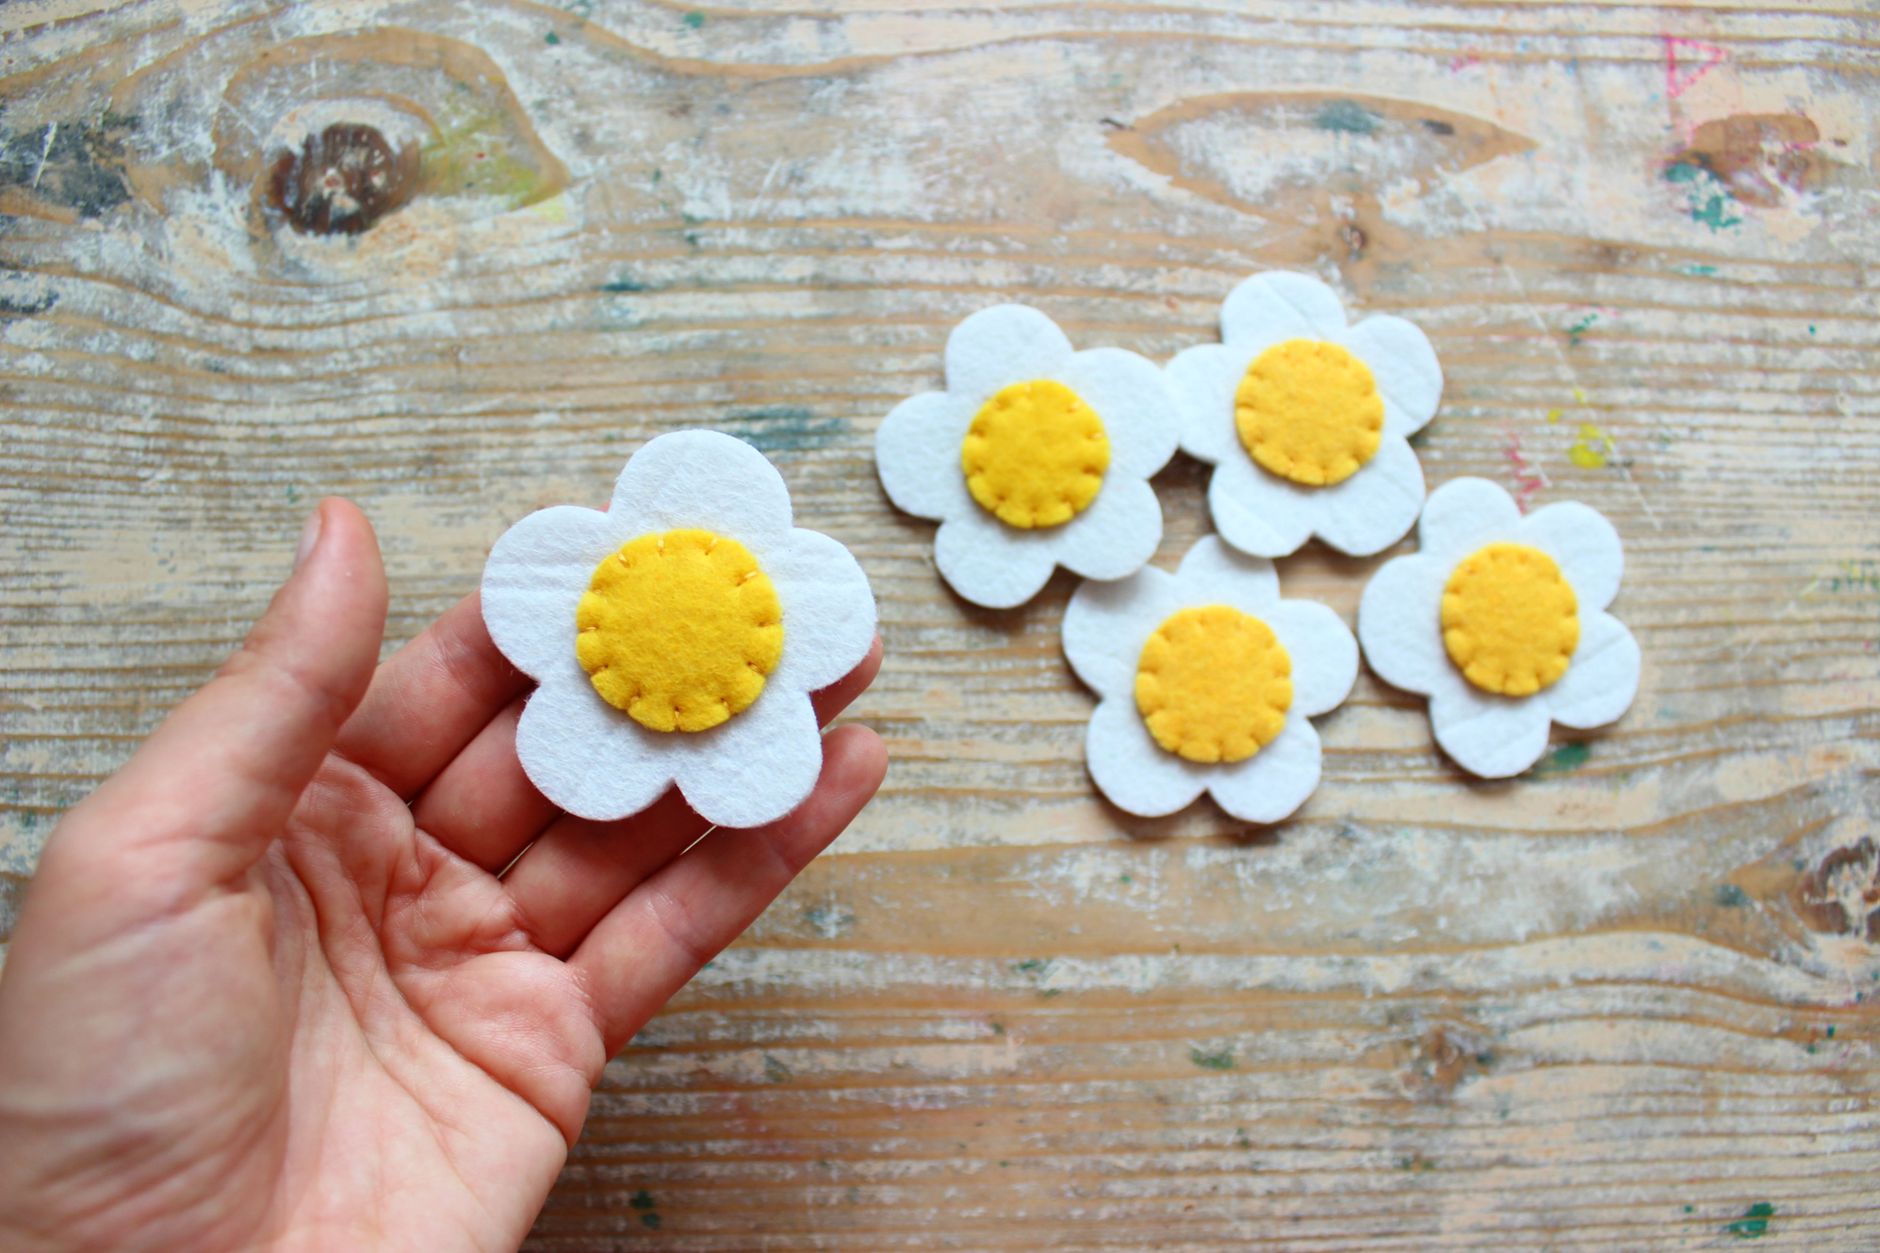
Once you’ve made one flat patch, turn it into a puffy one. Before you close the final inch of the edge, tuck a small pinch of fibrefill between the layers, then finish stitching. The patch becomes a soft little pillow — perfect for a keyring or a hanging ornament. You can also layer a smaller contrasting shape on top of the front piece before stitching, using a few stab stitches to hold it down. A tiny heart on a bigger circle, a leaf on a mushroom cap: simple layering turns a basic shape into something that looks designed. Try one variation per patch rather than stacking three at once.
Troubleshooting
My stitches look uneven. That’s normal on a first attempt. Mark your stitch spacing lightly with chalk before you start, or count threads as you go. Even spacing is a habit, not a talent.
The felt is puckering. You’re pulling too hard. Undo the last few stitches, relax your tension, and stitch again. Felt is forgiving — it will recover from a light press.
My needle keeps catching. Check for a pin inside the seam line, and make sure you’re using a sharp embroidery needle rather than a blunt one. A dull needle drags and distorts the felt.
The edges look ragged. Sharpen your scissors or switch to smaller snips. Long, smooth cuts fix most ragged edges. If the felt has already frayed slightly, a whip stitch around the edge hides it neatly.
My marker won’t come off. Some pens stain pale felt permanently. Test on a scrap first, or trace on the back side of the piece so any marks stay hidden.
The patch won’t lie flat. A warm iron, face down on a towel, usually sorts it. If it’s still cupping, your stitches are too tight — loosen them slightly on the next one.
You’ve now got the three stitches that unlock most beginner felt projects: running, whip, and backstitch. That’s genuinely enough to make badges, ornaments, bookmarks, and small soft toys. Felt is a wonderfully patient teacher — it doesn’t punish a wobbly line, and it lets you practise without wasting expensive fabric. So grab that square you’ve been saving, pick a shape you love, and give it a go this weekend. What will you make first?