Beginner Knitting Projects: Easy First Makes
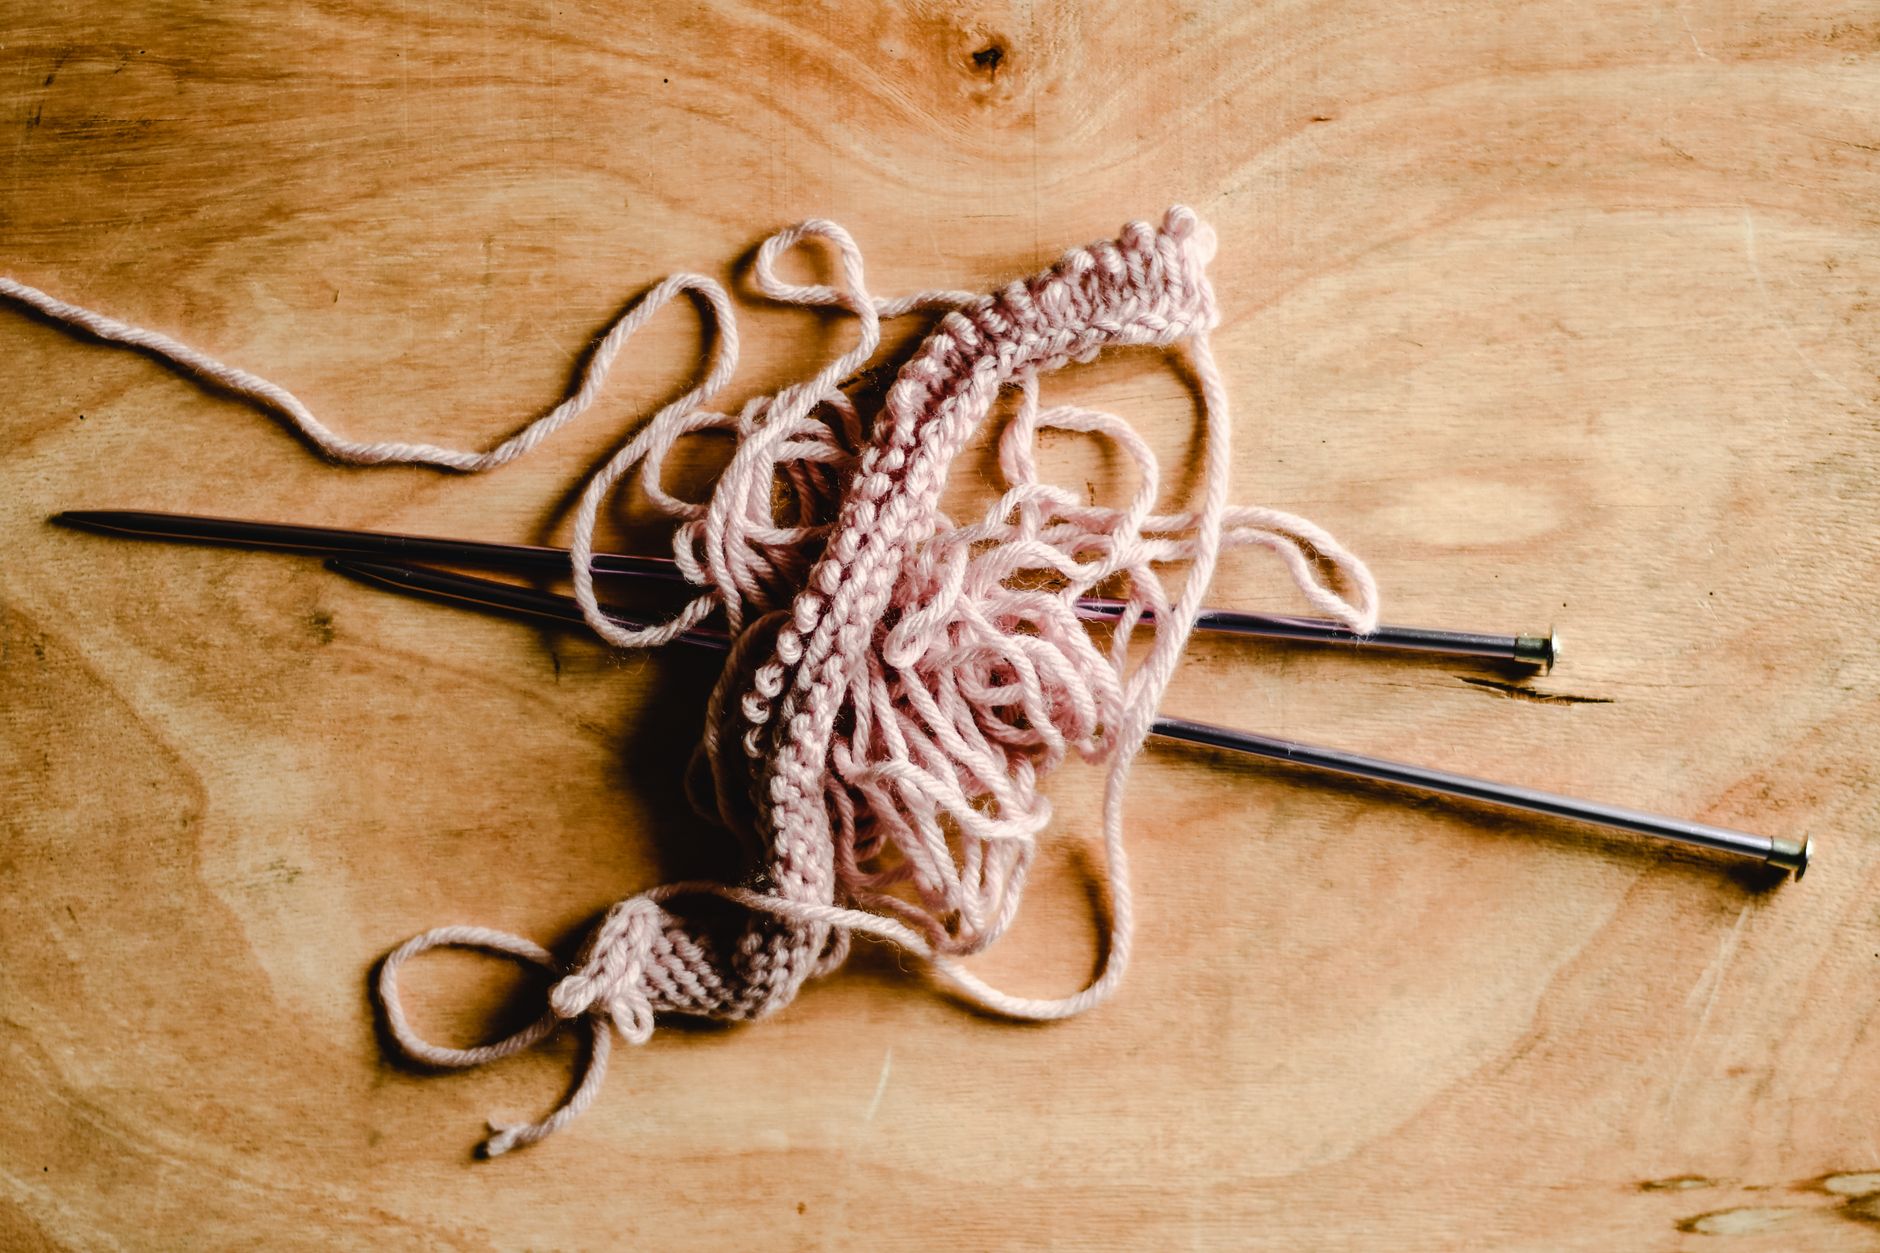
The first stitch I ever knitted was so tight I had to lever it off the needle with a fork. Not exaggerating. My gran watched from the sofa, sipped her tea, and said nothing for a full ten minutes. That little square of grey wool was lumpy, uneven, and full of holes. I still have it somewhere in a drawer. Knitting has a reputation for being fiddly and old-fashioned, and honestly, that first attempt did nothing to change my mind. But then something clicked. Twenty years and hundreds of workshops later, I promise you this: if you can tie a shoelace, you can knit.
Why start with a simple project like a chunky garter-stitch scarf or a cotton washcloth? Because finishing something is the whole game. A small, achievable project teaches you the two stitches that unlock everything else, gives you quick wins, and builds the muscle memory you’ll rely on for years. Nothing motivates a new knitter like holding a finished thing in their hands.
Materials List
- Yarn: One 100g ball of chunky (bulky) weight yarn in a light or bright colour. Light colours let you see your stitches; dark yarn hides every mistake you’re trying to learn from. Alternative: aran or worsted weight works just as well — just check the label’s recommended needle size.
- Needles: One pair of 6mm (US 10) single-point needles for chunky yarn. Alternative: 5mm for aran, 4.5mm for worsted. Bamboo or wooden needles grip the yarn and stop stitches sliding off — ideal for beginners. Metal needles are faster but slippier.
- Tapestry needle: A blunt, large-eyed needle for weaving in ends. Alternative: a small crochet hook does the job in a pinch.
- Scissors: Any sharp pair will do.
- A tape measure: For checking your scarf length.
- Stitch markers (optional): Little plastic rings or even paper clips. Handy once you start increasing.
Step-by-Step
- Make a slip knot. Pull about 20cm of yarn from the ball and create a loop, then pull a second loop through it, like the first move of tying a shoelace. Slide it onto one needle and gently tighten. It should be snug but able to slide.
- Cast on 20 stitches. This is the part that trips everyone up, so go slowly. Hold the needle with the slip knot in your left hand. With your right hand, wrap the yarn around your thumb and index finger to create a loop, slide the right needle through that loop, wrap the working yarn around the right needle, and pull it through to form a new stitch. Slide that new stitch onto the left needle. Repeat until you have 20 stitches on the left needle. (If this feels like wrestling an octopus, look up a “thumb cast-on” video — seeing it once beats reading it ten times.)
- Learn the knit stitch. Hold the needle with stitches in your left hand. Insert the right needle into the front of the first stitch, from left to right, like you’re going to poke it. Wrap the working yarn (the yarn coming from the ball) around the right needle, front to back. Now pull that loop through the stitch and slide the old stitch off the left needle. Congratulations — that’s one knit stitch. You now have 19 stitches on the left needle and one on the right.
- Knit every row. Keep going until all 20 stitches have moved to the right needle. Turn the work around (the needle with stitches becomes your left needle again) and repeat. Knitting every row is called garter stitch, and it produces a lovely bumpy, stretchy fabric that lies flat and never curls. It’s also the most forgiving stitch for beginners.
- Keep going for your chosen length. For a scarf, knit until the piece measures around 140cm — roughly 60 rows at this gauge, depending on how loosely you knit. For a washcloth, aim for a 20cm square, about 30 rows. Check with your tape measure every so often.
- Cast off (bind off). Knit two stitches normally. Then, using the left needle, lift the first stitch over the second and off the right needle. You’ve cast off one stitch. Knit one more, lift the previous stitch over, and repeat until one stitch remains. Cut the yarn leaving a 15cm tail, pull the tail through that last loop, and tighten.
- Weave in the ends. Thread the tail onto your tapestry needle and run it through the back of several stitches, then snip. Do the same with your cast-on tail. Block the piece if you like — a gentle steam with an iron held a few centimetres above the fabric smooths out any unevenness.


Beginner Tips
Tension is the number one thing new knitters fight. Most people hold the yarn far too tightly at first, and their stitches end up so snug they can barely get the needle in. If you find yourself tugging, stop, shake out your hands, and try again with a looser grip. The yarn should glide, not squeak.
Count your stitches at the end of every row for the first few attempts. If you started with 20 and now have 22, you’ve accidentally added stitches — usually by knitting into the space between stitches rather than into the stitch itself, or by letting the yarn slip over the needle tip. If you have 18, you’ve dropped one. Both are fixable, and both are normal.
Don’t work when you’re tired or distracted. Knitting is a rhythm skill, and half your brain needs to be paying attention at this stage. Save the TV knitting for later, once the motion is automatic.
Here’s a counter-intuitive one: don’t buy expensive yarn for your first project. Cheap acrylic or a basic wool blend is far better for practice. You’ll make mistakes, unravel, and re-knit the same yarn several times, and pricey merino will felt and fuzz under that kind of abuse. Save the good stuff for project number three.
And resist the urge to unravel every tiny imperfection. A slightly uneven stitch here and there disappears once the fabric is finished and washed. Perfectionism stops more beginners than dropped stitches ever do.
Creative Variation
Once you’ve knitted a plain garter-stitch scarf, try a striped version. Knit 10 rows in one colour, then join a second colour and knit 10 rows, alternating as you go. Joining a new colour is simple: just start knitting with the new yarn, leaving a 15cm tail, and weave both tails in at the end. Wide stripes look bold and graphic; narrow stripes look like a classic Breton top. You can also play with texture by knitting three rows plain and then working a row where you knit two, purl two across — but save purling for after you’ve nailed the knit stitch. One new skill at a time keeps the frustration low and the fun high.
Troubleshooting
My stitches are too tight to slide. You’re gripping the yarn too hard. Loosen your hold, and make sure you’re not pulling the yarn after each stitch. If it’s really stuck, switch to larger needles.
My scarf is getting wider. You’re adding stitches. Count them, and if the number has grown, look carefully at the end of each row — beginners often knit into the little bump at the edge, which creates an extra stitch. Only knit into the stitches that are clearly on the needle.
My scarf is getting narrower. You’re dropping stitches, usually by letting one slide off the needle unnoticed. Count after every row, and keep the work pushed back from the needle tips when you’re not actively knitting.
There’s a hole in the middle of my fabric. That’s a dropped stitch that ran down a few rows. Don’t panic. Use a crochet hook to catch the loose loop and pull it back up through each row, ladder-style, until it’s back on the needle. It’s genuinely easier than it sounds.
My cast-on edge is a tight, unyielding mess. Cast on over two needles held together, then slide one out. This gives you a looser, stretchier edge. Or try a different cast-on method entirely — the long-tail cast-on is stretchier once you get the hang of it.
I’ve lost count of my rows. Use a stitch marker or a scrap of contrasting yarn to mark every ten rows. A row counter app on your phone works too, but honestly, a piece of scrap yarn never runs out of battery.
What’s the worst that happens if you make a mess of it? You pull it out and start again. Yarn is remarkably forgiving — it doesn’t remember a single mistake. That’s a lesson worth learning early, and it applies well beyond knitting. It also explains why the people who finish their first project are rarely the most talented ones in the room. They’re just the ones who kept going after the ugly rows.
So find a comfy chair, put on something you don’t have to watch closely, and cast on those 20 stitches. Your first square might be lumpy. Mine certainly was. But somewhere around row fifteen, your hands will find the rhythm, and you’ll look down and realise you’re actually doing it. That’s the moment I’ve watched hundreds of students reach, and it never gets old. Send me a photo of your first finished piece — I’d love to see it.