How to Start Scrapbooking: Beginner’s Guide
There’s a shoebox in your closet right now. Maybe it’s under the bed, or on the top shelf behind the winter coats. Inside are ticket stubs, a pressed flower from a walk you almost forgot, birthday cards, and a photo of people you love looking slightly blurry because someone laughed mid-shot. A scrapbook gives those scraps a home they deserve — a place where they can be seen instead of stored.
Why bother making one when your phone holds thousands of photos? Because a scrapbook slows you down. It turns a pile of loose memories into something you can hold, flip through, and hand to someone else. This project is worth making because it’s forgiving — there’s no wrong way to arrange a page, and every crooked sticker tells a story. In an hour, you’ll have your first finished spread. Let’s make it together.
Materials List
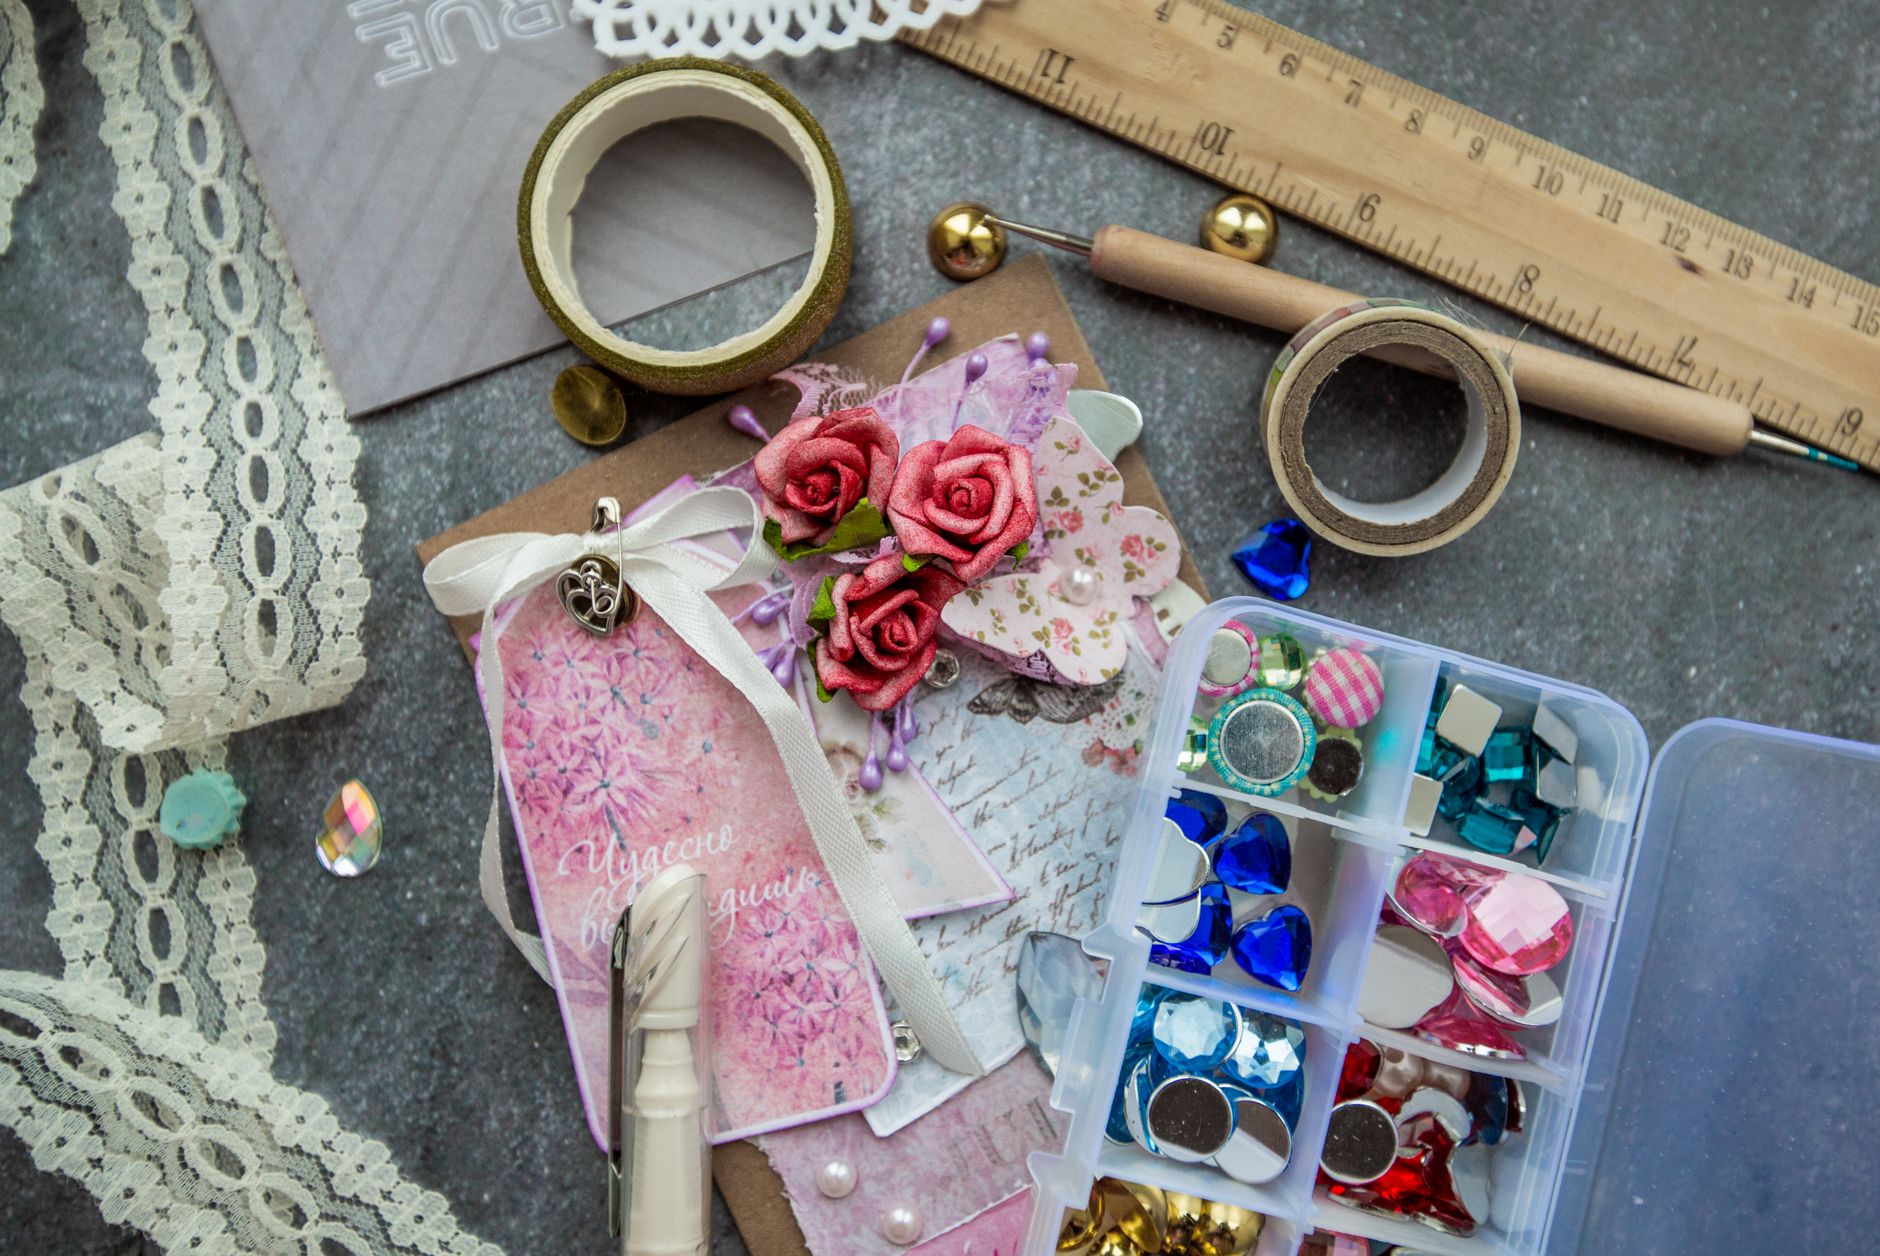
- An album or blank book. A ring-bound scrapbook with page protectors is the easiest start. No album yet? A plain sketchbook, a three-ring binder with cardstock pages, or even a sturdy folder works fine.
- Cardstock or patterned paper. This is your background. Buy a mixed pad, or raid your recycling bin for interesting packaging, maps, and old book pages.
- Adhesive. Double-sided tape, glue dots, or a tape runner. Alternatives: a glue stick for paper (though it can wrinkle), or photo corners if you want to keep photos removable.
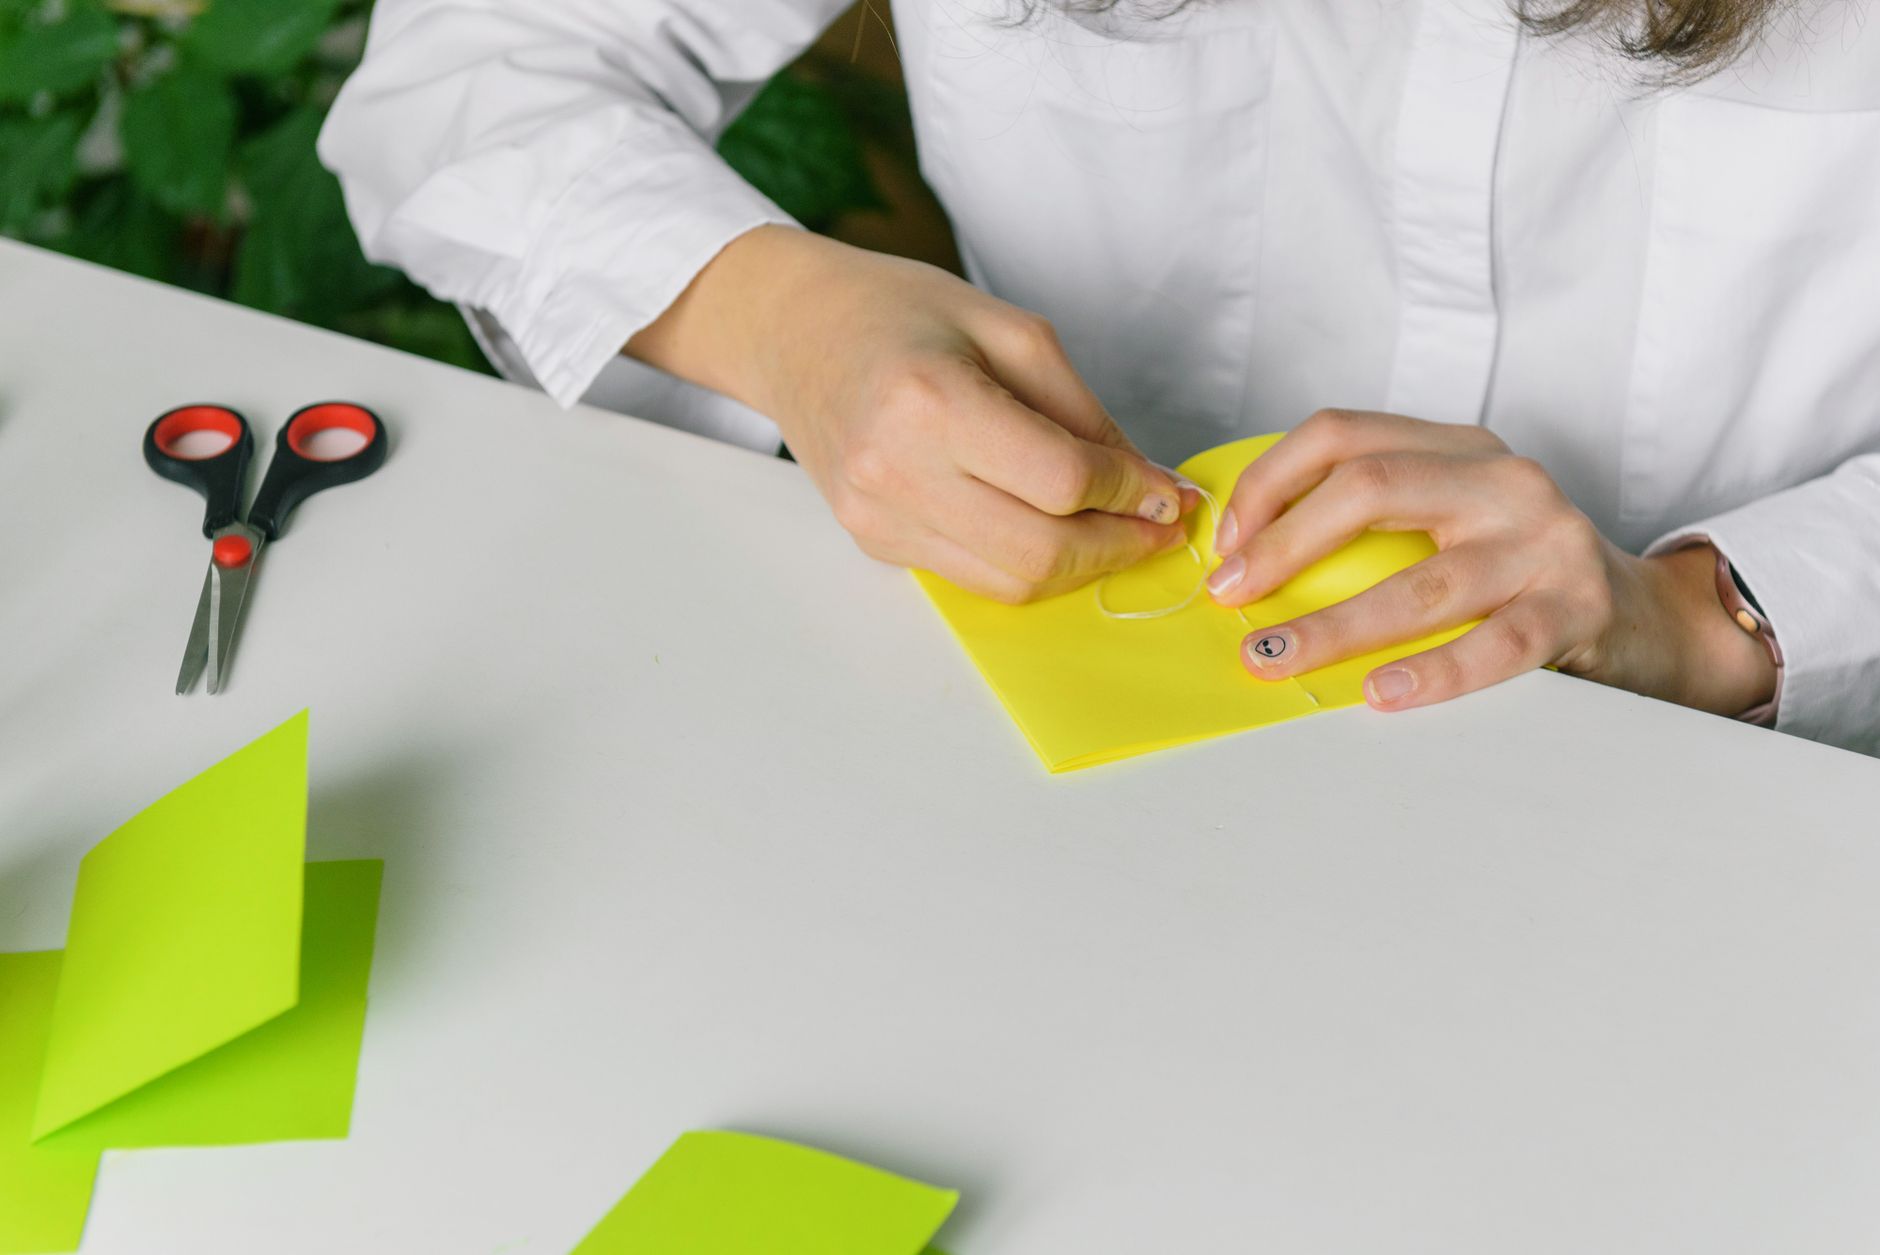
- Scissors and a craft knife. Sharp small scissors for fussy cutting. A craft knife and cutting mat give you cleaner straight lines. A ruler helps too.
- Photos and ephemera. Prints, tickets, receipts, pressed leaves, fabric scraps, handwritten notes. Anything flat-ish is fair game.
- A pen. Archival or acid-free ink if you can, but any fine-liner will do. You’ll want it for dates and little captions.
- Embellishments (optional). Washi tape, stickers, paper clips, ribbon, stamps. Use what you already have — don’t buy a whole aisle on day one.
Step-by-Step
- Gather your memories first. Before you touch a single sheet of paper, spread everything on the table. Photos, tickets, notes. This sounds obvious, but most beginners skip it and end up designing around a hole. Seeing everything at once tells you what the page is actually about.
- Pick a theme. One event, one person, one feeling, or one color palette. A trip to the coast. A single afternoon. Your grandmother’s hands. Narrow beats broad every time — a page about “summer” gets muddy, but a page about “the day we got caught in the rain” practically designs itself.
- Choose your background paper. Lay a few sheets down and set your photos on top. Step back. Which one lets the photos breathe? If your pictures are busy, go with a plain or subtly patterned paper. If your photos are quiet, you can afford something bolder. Don’t glue anything yet.
- Arrange before you adhere. Move your photos and bits around the page. Try a grid. Try a diagonal. Try one large photo with small items clustered nearby. Nothing is permanent at this stage, so play. I move things around at least five times before I commit.
- Start with your focal point. Decide what the eye should land on first — usually the best photo — and place it slightly off-center. Dead center can feel static. Off-center feels alive.
- Add your supporting pieces. Tuck tickets and notes around the main photo. Overlap slightly so the page feels layered rather than scattered. Leave some empty space. White space isn’t wasted space; it’s where the eye rests.
- Glue things down. Work from the bottom layer up. If pieces overlap, glue the ones underneath first. Press firmly and give adhesive a moment to set. For items you might want to remove later, use photo corners instead of glue.
- Add your words. A date, a place, a name, or one sentence about why this moment mattered. You don’t need a paragraph. In ten years, “June 2019, the day Dad taught me to fish” will mean more than you can imagine right now.
- Finish with small details. A strip of washi tape along an edge. A few stickers. A doodled arrow pointing to something funny. Stop before it feels crowded — you can always add more later, but you can’t easily take it away.
- Slide it into the protector and step away. Come back in an hour. Fresh eyes catch things you missed. Then start the next page.
Beginner Tips
Here’s the mistake almost every first-timer makes: they glue their photos down too soon. I know, I just told you to glue things — but only after you’ve arranged, rearranged, and lived with the layout for a few minutes. Once that adhesive touches paper, you’re committed. Lay everything out first, photograph it with your phone if you want a reference, then commit.
Mistake number two is trying to fill every square inch. New scrapbookers treat empty space like a problem to solve. It isn’t. A page with breathing room looks intentional and calm. A page packed edge to edge looks exhausting. Leave gaps. Your future self will thank you.
Third: don’t use regular tape or cheap glue on photos. Over time, the acids in some adhesives and papers can yellow and damage images. Look for “acid-free” and “archival” on labels. It matters more than you’d think, especially for photos you can’t reprint.
And fourth — the counter-intuitive one — don’t aim for perfect. The scrapbooks people treasure most are rarely the tidiest ones. They’re the ones with messy handwriting and a coffee ring on the corner and a photo taped in slightly crooked. Perfection is forgettable. Honest is not.
Creative Variation
Once you’ve made a standard page, try a “then and now” spread. Take two photos of the same place or person, years apart, and set them side by side on one page. The contrast does all the storytelling for you, and you barely need any embellishment.
Or go the other direction entirely: build a page around a single object instead of a photo. A pressed ticket, a swatch of fabric, a handwritten recipe card. Let that one item be the star and write around it. It’s a beautiful way to honor something small that would otherwise get thrown away. If you want to make it truly your own, pick a color palette pulled straight from one photo — the blues of a sky, the greens of a garden — and let every paper and sticker echo it. Suddenly the whole page feels like a single thought.
Troubleshooting
Your paper is buckling or wrinkling. This usually means too much liquid glue. Switch to double-sided tape or glue dots, or apply glue stick in a thin, even layer and press the paper flat under a heavy book for a few minutes.
Photos won’t stay stuck. Glossy photo paper resists some adhesives. Try photo corners, double-sided foam tape, or a tape runner made specifically for photos. Test on a corner first.
The page looks cluttered and you don’t know why. Take one thing off. Then another if needed. Nine times out of ten, the fix is subtraction, not addition. Set the removed pieces aside for a future page.
Your handwriting feels messy. Write on a separate strip of paper, cut it out, and glue that down instead. Nobody will know, and it looks deliberate. Or print your caption on the computer and trim it to size.
You hate the whole layout. Good news: if you used removable adhesive or photo corners, you can gently lift everything and start over. If you glued permanently, don’t panic. Add a layer on top — a larger piece of paper, a big sticker, a photo — and let it become part of the design. Scrapbooks are forgiving that way.
You’ve run out of inspiration. Flip through old magazines or look at other people’s albums online. Steal a layout idea, not a whole page. Or just make a simple grid of photos with one line of text and call it done. Simple pages age beautifully.
Starting a scrapbook isn’t about supplies or skill or having the perfect photos. It’s about deciding that your ordinary days are worth remembering. They are. Grab that shoebox, clear the kitchen table, and make one page this week. It won’t be your best page — it’ll be your first, and that’s the one that matters. If it comes out a little crooked, good. That’s how you’ll know it’s yours.