Polymer Clay Bowl Tutorial for Beginners
The clay smells faintly of rubber and vanilla the moment you open the wrapper. Cool in your palm. A little stiff. It resists for half a second before it starts to soften under your thumb. That first squeeze is the whole trick, honestly. Within a minute it moves like warm toffee. I’ve taught this bowl project to absolute beginners at kitchen tables and community halls for years, and the same thing happens every time: people who swore they had no artistic bone in their body end up holding a finished, glossy bowl by the end of the session. You can too. No kiln, no wheel, no single lesson required.
Polymer clay bowls are the perfect first project. They cure in a home oven, they hold their shape beautifully over a simple mould, and the colour options are endless. You’ll learn conditioning, shaping, and finishing in one afternoon, and you’ll walk away with something genuinely useful: a dish for keys, jewellery, or garlic. Small, quick, and forgiving.
Materials List
- Polymer clay — one 56g block makes a small dish. I like a mid-range brand for beginners because it conditions easily. Alternative: any oven-bake polymer clay you can find; avoid air-dry clay, which won’t give you the same durable finish.
- A mould or form — a small oven-safe glass bowl, a ceramic ramekin, or a metal tart tin. Alternative: an upturned teacup covered in baking parchment if you want a domed shape.
- Baking parchment — for lining your mould and your baking tray.
- Your hands — genuinely the best tool you own for this job.
- A craft knife or tissue blade — for trimming edges. Alternative: a clean, sharp paring knife works fine.
- A smooth rolling pin or acrylic rod — for flattening clay. Alternative: a clean glass jar.
- Acrylic paint, gold leaf, or mica powder — optional, for finishing touches.
- Water-based varnish or clay glaze — optional but lovely for sealing.
- Nitrile gloves — optional, but they stop fingerprints and keep pale clay clean.
Step-by-Step
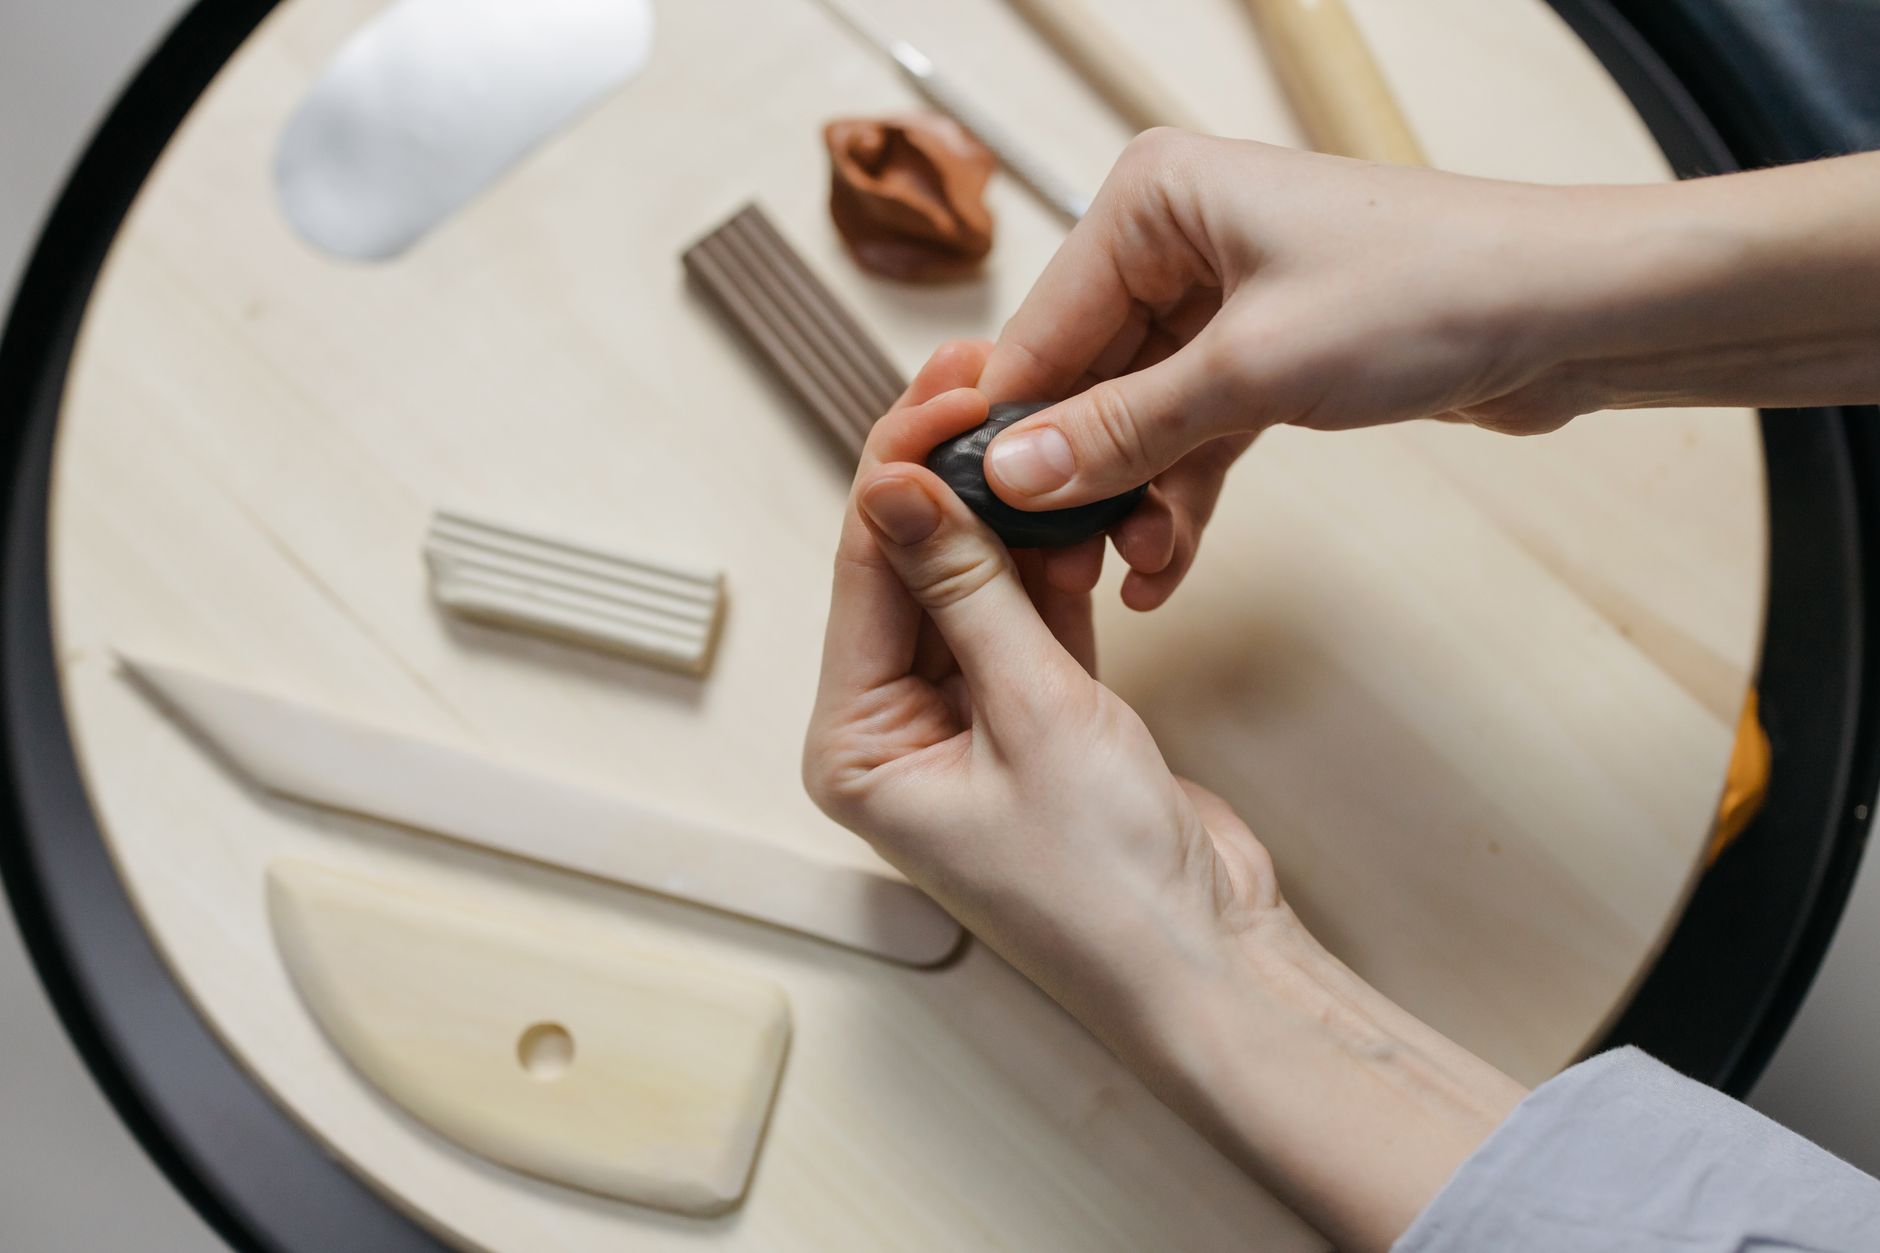
- Warm up your clay. Knead the block in your hands for two to three minutes until it’s pliable and slightly warm. Fold it over itself, press, repeat. You’re looking for a smooth, uniform texture with no cracks at the edges.
- Roll a ball. Pinch off a piece roughly the size of a walnut for a small dish, or use the whole block for a larger one. Roll it between your palms until it’s round and even.
- Flatten it into a disc. Press the ball down on your work surface, then roll it out with your rolling pin to about 4mm thick. Keep the pressure even so the disc stays uniform.
- Lift it gently. Slide your knife under the disc and peel it up. Don’t rush this bit — a warm disc will stretch, and that’s fine.
- Drape it over your mould. Lay the disc over the outside of an upturned glass bowl or press it into a lined ramekin. Ease it down with your fingers, smoothing from the centre outward to push out air bubbles.
- Trim the edges. Run your blade around the rim to neaten the edge. For a fluted look, pinch small folds all the way around with your fingers.
- Refine the surface. Smooth any fingerprints with a fingertip dipped in a tiny amount of water, or buff with a soft cloth. This is the step that separates homemade from handcrafted.
- Bake it. Follow your clay’s package instructions — usually 110–130°C for 30 minutes for this thickness. Bake on a parchment-lined tray with the mould in place so the bowl holds its shape.
- Cool completely. Let it sit in the switched-off oven for 15 minutes, then move it to a rack. Don’t handle it while warm; it’s soft and easily marked.
- Finish it. Sand any rough edges with fine sandpaper, then paint, gild, or varnish if you like. Two thin coats of varnish, dried between, gives a lovely sheen.
Beginner Tips
Here’s the mistake almost everyone makes first time: they skip conditioning. Under-worked clay is crumbly, cracks as it bakes, and looks tired before it’s even finished. Knead until your arms complain a little. It’s worth it.
Keep your clay thin but not too thin. Anything under 3mm gets fragile, and edges can chip. Aim for 4mm and check with a ruler once — after that, your eye will do it.
Watch your oven temperature with more suspicion than you’d expect. Home ovens run hot, and polymer clay scorches into a dark, brittle mess above about 130°C. Buy a cheap oven thermometer. It costs less than a coffee and saves projects.
Don’t bake on a bare metal tray. Parchment or a ceramic tile protects both your clay and your tray.
And please, ventilate. The fumes from baking are mild but not nothing. Open a window, and if you’re sensitive, bake with a lid on a covered tray or use a dedicated toaster oven you don’t cook food in.
Finally, resist the urge to handle the bowl before it’s fully cool. Warm clay dents under a fingertip. Patience wins.
Creative Variation
Once you’ve made one plain bowl, try a marbled version. Take two or three clay colours, twist them together into a rope, fold, and twist again three or four times. Roll it flat and you get a swirl that looks like poured cream. Here’s my counter-intuitive opinion: don’t over-mix. The most striking marbling comes from stopping early, while the colours are still fighting each other. Mix too much and you get muddy grey. Two twists, maybe three, and you’re done. The same logic applies to embedding dried flowers, gold leaf, or fine glitter — restraint reads as skill.
Troubleshooting
The edges cracked during baking. Usually under-conditioned clay or a disc rolled too thin. Next time, knead longer and keep the thickness even. You can sometimes rescue cracks with a little fresh clay pressed in and a second short bake.
The bowl slumped or lost its shape. Your mould wasn’t sturdy enough, or the clay was too warm. Chill the shaped bowl in the fridge for 15 minutes before baking, and use a rigid mould.
The surface is lumpy. Air bubbles. Press the clay down from the centre outward when draping, and pierce any visible bubbles with a pin before baking.
It came out scorched. Oven too hot. Check with a thermometer and bake lower and longer. Scorch marks won’t come off, but a dark bowl can sometimes be painted opaque and repurposed.
The varnish went cloudy. Humidity, or coats applied too thick. Work in a dry room and brush thin layers.
Fingerprints everywhere. Gloves, a light touch, and a final buff with a soft cloth. It’s a five-second fix that changes everything.
You’ve got this. The first bowl might be a little wonky, and honestly, those are the ones people keep. Make one this weekend, then make three more for everyone who asks where you got it. That’s how this hobby gets you.