Resin Art Tutorial: Ocean Coaster Set for Beginners
Resin Art Tutorial: How to Pour Your Very First Ocean-Inspired Coaster Set
There’s something almost magical about watching liquid resin settle into a glossy, glass-like surface. This project gives you that thrill in under an hour of active time. No pressure. No perfectionism. You’ll walk away with four coasters that look like tiny slices of sea, and the confidence to try bigger pieces next. Honestly, if you can stir a cup of tea, you can do this.
Materials List
- Epoxy resin and hardener — a 1:1 ratio art resin (like ArtResin or similar). For four coasters, a 250ml kit is plenty. Alternative: use a deep-pour resin if you want thicker pieces, but stick to coating resin for your first go.
- Silicone coaster molds — round or square, about 1cm deep. Alternative: use a silicone ice cube tray with large cavities, or a silicone baking mat folded into a shallow well.
- Pigment pastes or alcohol inks — white, blue, and a touch of gold. Alternatives: eyeshadow powders (mica-based), or even a drop of acrylic ink. Avoid water-based paints — they won’t mix properly.
- Wooden stir sticks — at least three. Alternative: popsicle sticks, but get the wider craft kind.
- Disposable cups — clear plastic, 200ml each. You’ll need two to mix, plus one for blending pigments.
- Heat gun or lighter — to pop bubbles. Alternative: a hairdryer on low heat, held far away.
- Gloves and a dust mask — nitrile gloves are best. Mask is non-negotiable; resin fumes are not your friend.
- Newspaper or silicone mat — to protect your table. Also, old clothes. Resin does not come out of fabric.
- Toothpicks or a thin skewer — for swirling details.
Set everything out before you start. Resin waits for no one once mixed.
Step-by-Step
- Prep your space and molds. Wipe the silicone molds with a lint-free cloth to remove dust. Place them on a perfectly level surface. Check with a spirit level — a tilted table means lopsided coasters. Tape a piece of paper under one side if needed.
- Read the resin instructions. Yes, actually read them. Mixing ratios vary by brand. Most art resins are 1:1 by volume, but some are 2:1. Write down the exact amounts for your mold size — about 30ml per coaster if your molds are 8cm across.
- Put on your gloves and mask. Open a window. Resin fumes can be subtle but they’re real. Work in a space that’s between 21°C and 24°C — too cold and resin thickens, too warm and it cures too fast.
- Measure and pour the resin. In one disposable cup, pour exactly the amount of resin part A. In another cup, pour exactly the same amount of hardener part B. Do this with care — eyeballing leads to sticky messes.
- Mix slowly and thoroughly. Pour part B into part A. Stir with a wooden stick for a full two minutes. Scrape the bottom and sides constantly. You’ll see the mixture go from cloudy to crystal clear. That’s your cue it’s ready.
- Divide your base. Pour the clear resin evenly across four small cups. Leave one cup clear, then add a drop of blue pigment to two cups, and a drop of white to the last. Stir each cup separately with a fresh stick. Go gentle — you don’t want to create air bubbles.
- Pour the first layer. Into each mold, pour a thin layer of clear resin — just enough to cover the bottom (about 5mm). This is your base that holds everything together.
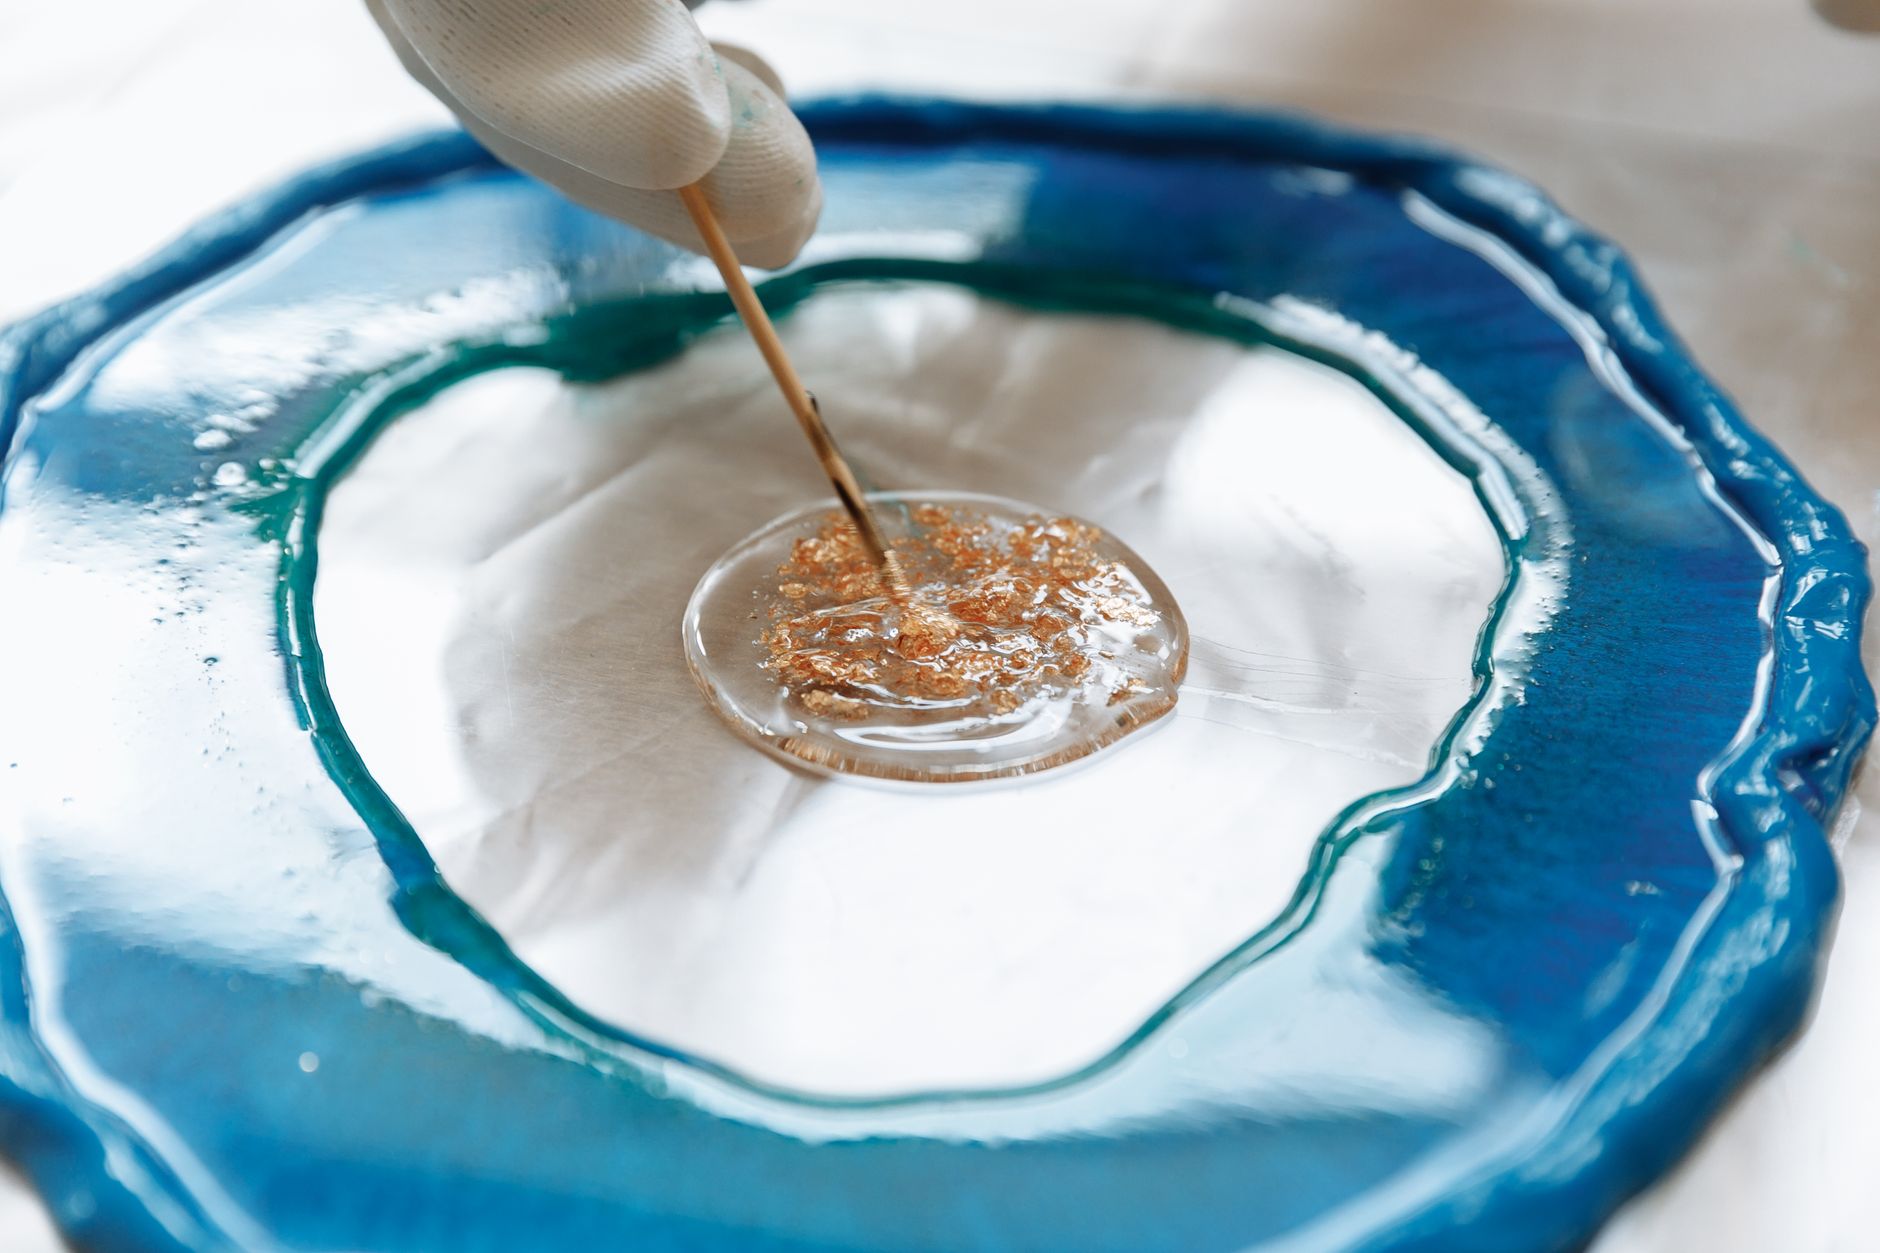
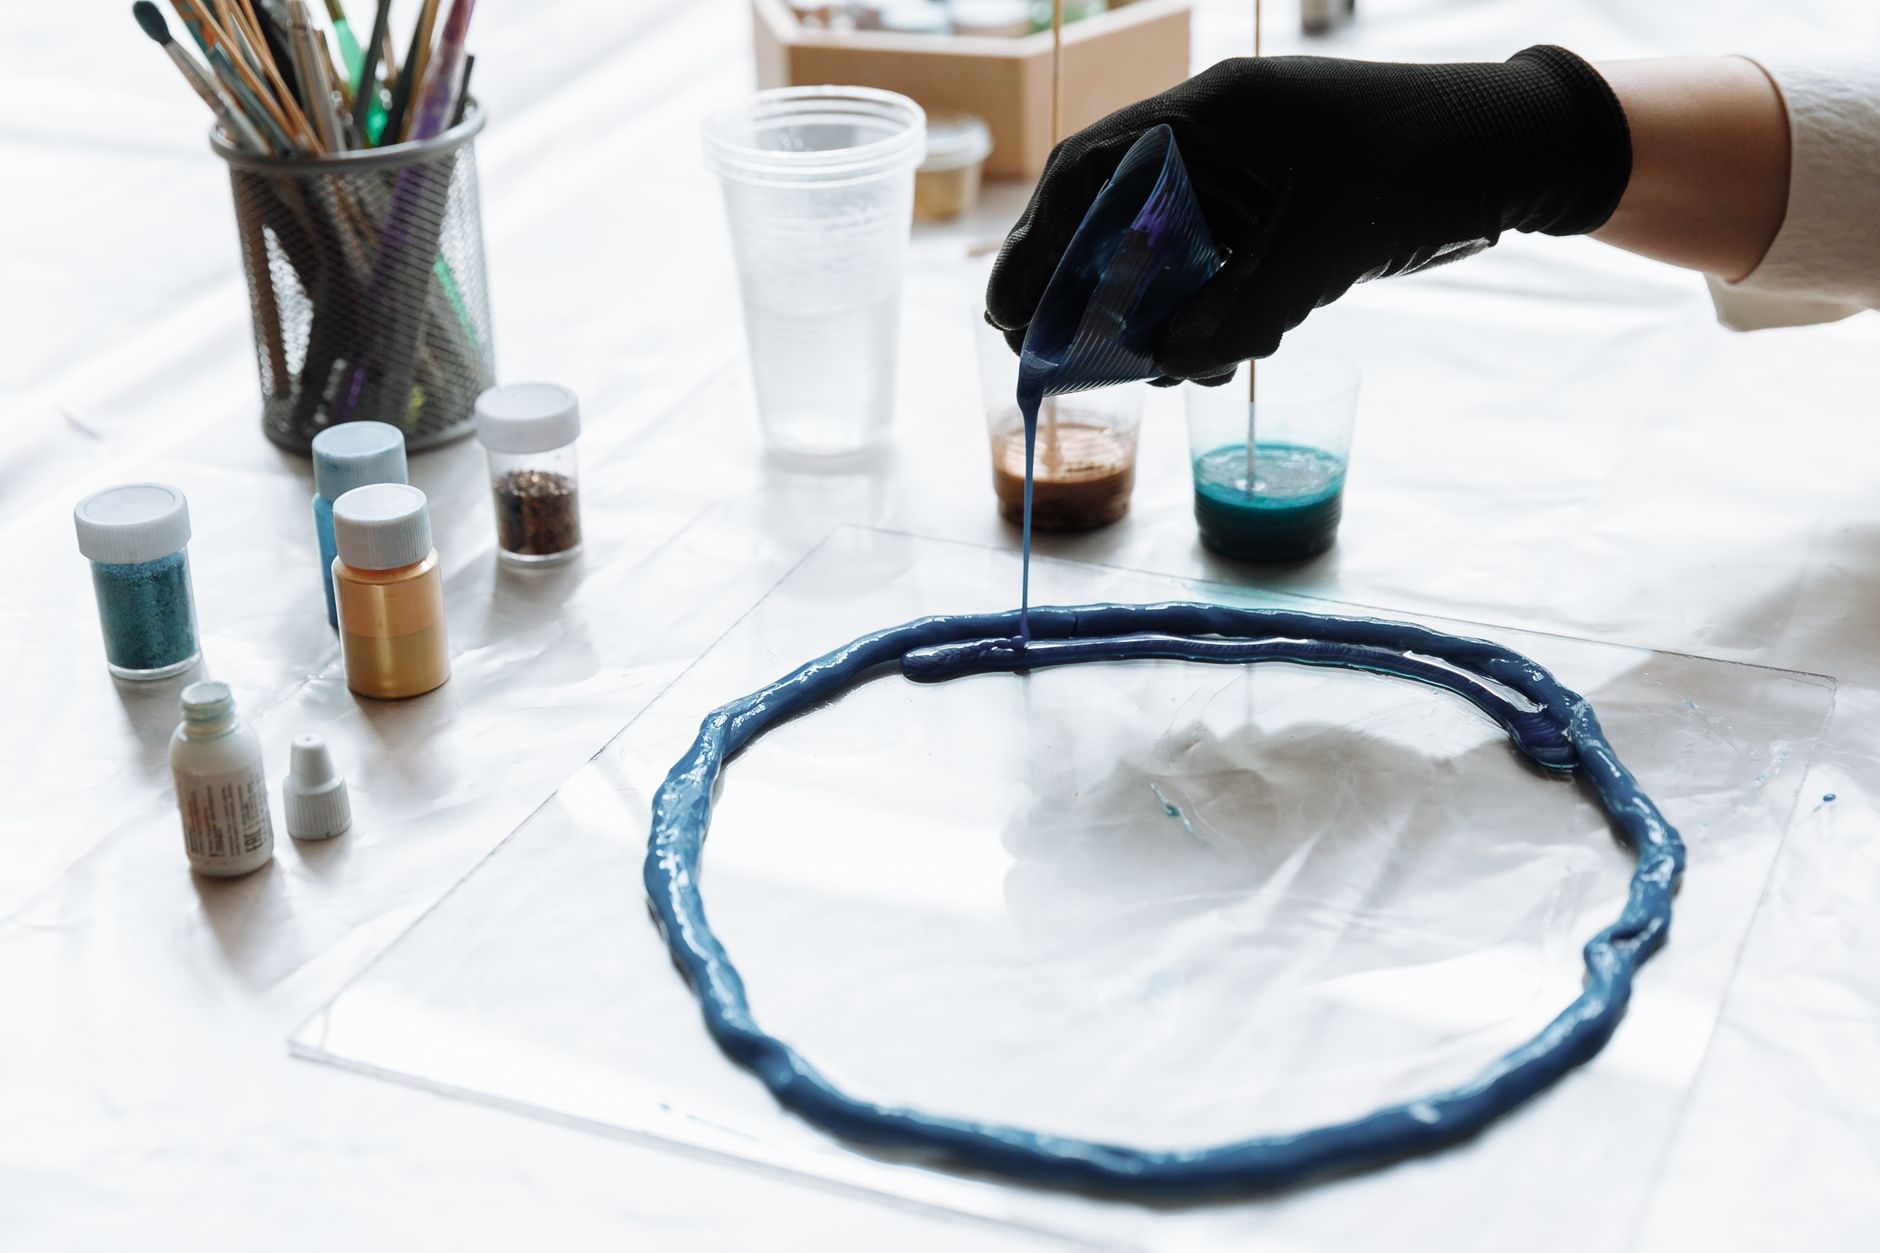
- Add your colors. Drop blue resin in the middle of each coaster. Then add white resin around the edges. Don’t overthink placement — random is good.
- Swirl gently. Use your toothpick to drag the blue into the white, creating waves. Do three or four passes max. Over-swirling makes mud. You want to see distinct shapes, not a grey blob.
- Pop the bubbles. Wave your heat gun over the surface in sweeping motions — don’t hold it still or you’ll burn the resin. You’ll see bubbles rise and burst. If using a lighter, pass the flame quickly over the surface, never pausing.
- Add gold flecks (optional). Dip the tip of a toothpick into dry gold pigment and flick it over the wet resin. Tiny specks will float at the surface. Do this right after bubble-popping.
- Cover and wait. Place a cardboard box over the molds to keep out dust. Resin will cure to touch in 8-12 hours, but don’t unmold for at least 24 hours. Full cure takes 72 hours — be patient.
- Unmold carefully. Flex the silicone from the back and the coaster should pop out. If it resists, place the mold in the freezer for 5 minutes, then flex again. Wash with warm soapy water and dry with a microfiber cloth.
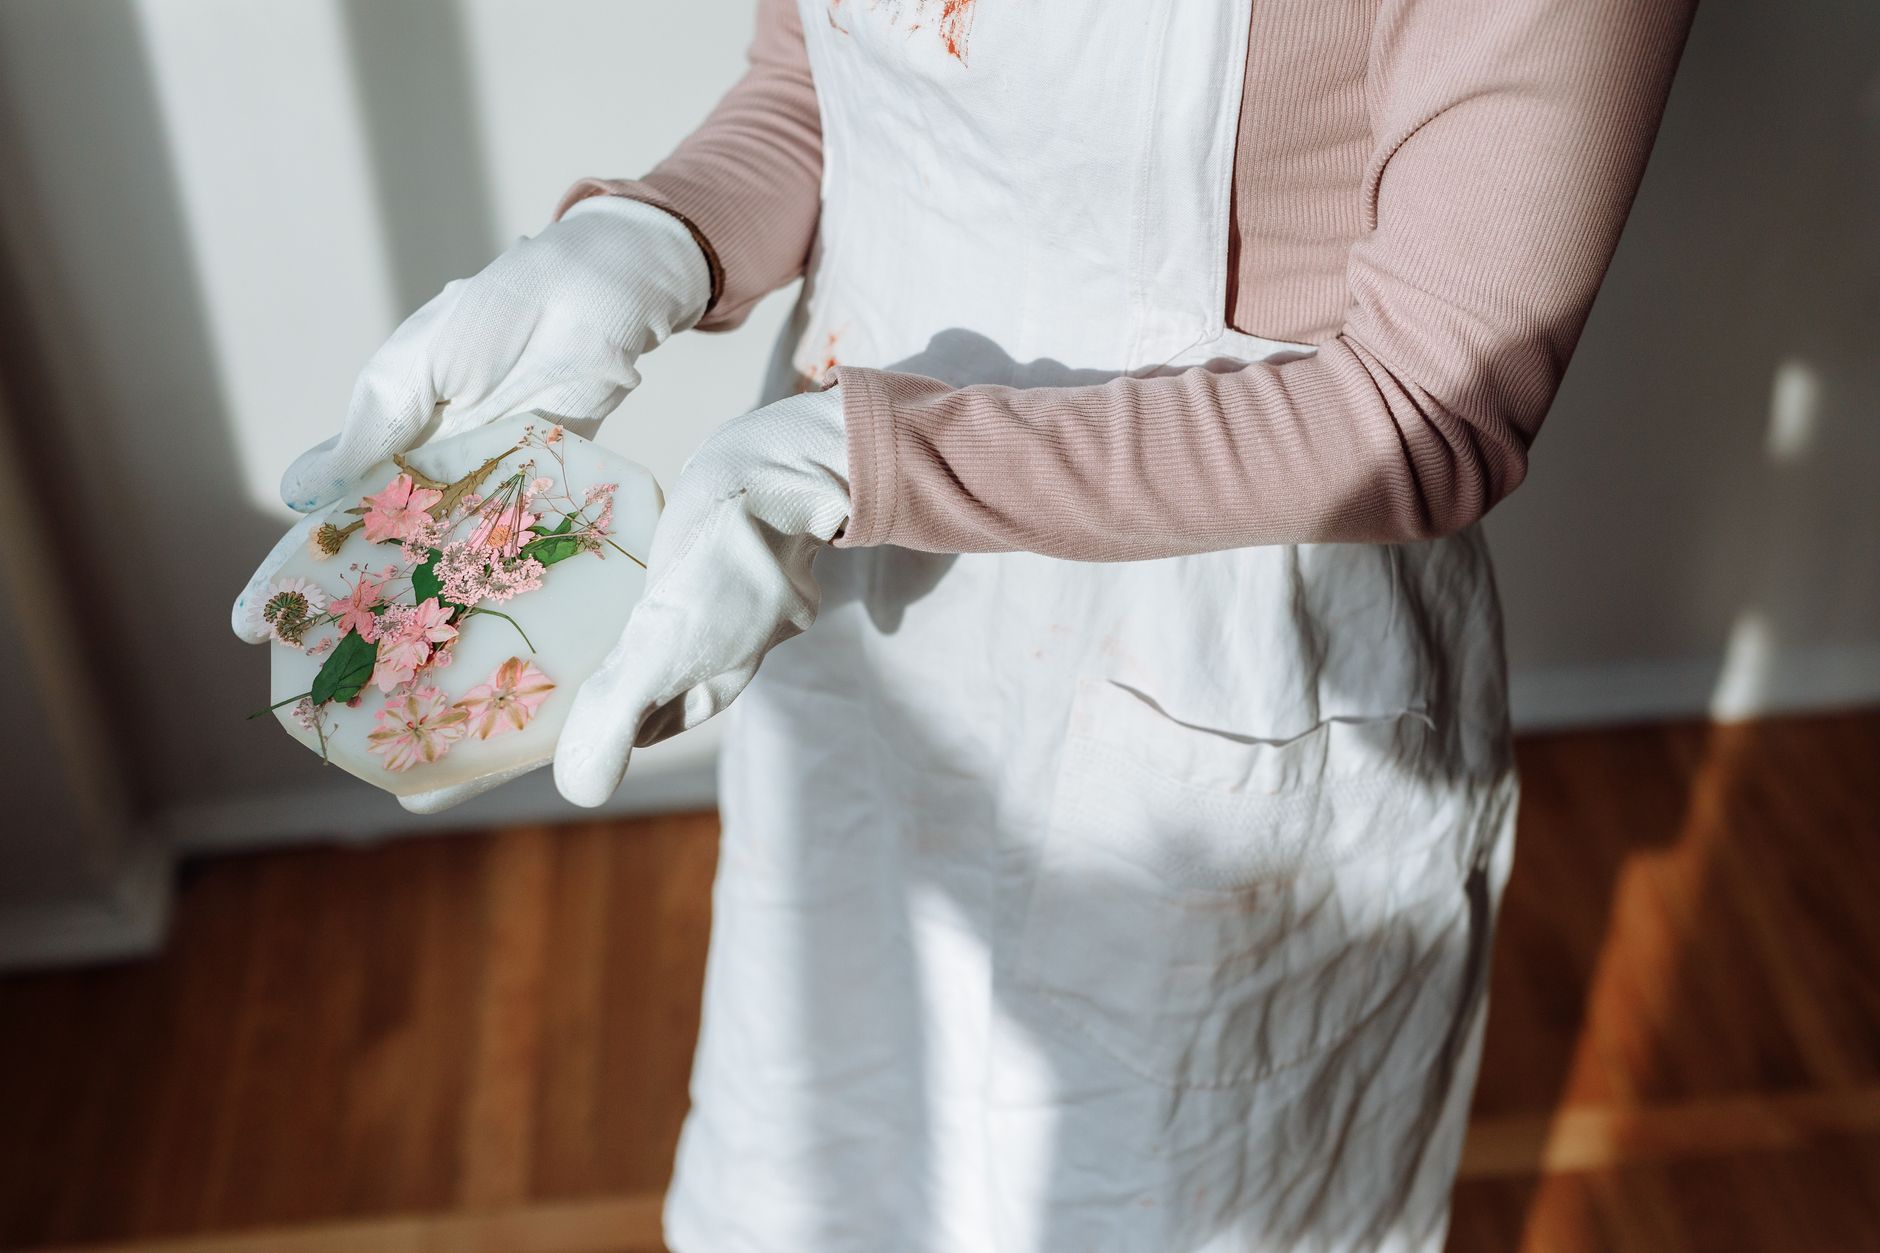
Imagine a photo here of four glossy coasters in blues and whites, gold specks catching the light, sitting on a wooden table. That’s your goal.
Beginner Tips
Mistake one: mixing too fast. Fast stirring creates thousands of micro-bubbles that are a nightmare to remove. Slow, steady strokes win.
Mistake two: using too much pigment. A drop of alcohol ink goes further than you think. If you add too much, the resin becomes translucent but murky, like frosted glass — not the clear ocean you want.
Mistake three: pouring too deep. Coasters are thin for a reason. If you pour more than 1cm, resin heats up as it cures and can crack or yellow. Trust the mold depth.
Mistake four: touching the surface while it’s tacky. That fingerprint will never come out. If you must check, look at the reflection, don’t poke it.
One more thing — don’t use kitchen measuring cups for resin. They’re for food, and resin particles linger. Buy cheap plastic ones and label them “resin only.”
And here’s a counter-intuitive tip: less swirling looks better. Most beginners overwork the colors. Pull the toothpick through twice, then stop. The resin will continue to move on its own for a few minutes, creating organic shapes you couldn’t plan if you tried. Let it do the work.
Creative Variation
Instead of an ocean theme, try a sunset palette — yellow, orange, and a touch of magenta. Pour the yellow first, then orange in one corner, magenta in the opposite. Swirl in a figure-eight motion. The colors will blend into a glowing gradient that looks like a summer evening.
Or go botanical — mix a few drops of green alcohol ink with a speck of gold mica. After pouring, press a real pressed leaf gently into the surface (make sure it’s completely dry and flat). The resin will seal it forever, preserving the leaf’s delicate veins in crystal.
You could even skip the coaster molds entirely and pour into a silicone cake pan for a trinket tray. Same process, bigger canvas. Just remember to double your resin amounts and always pour thin.
For a marbled look, try this: pour white resin into the mold first, then add a few drops of black resin in a line down the center. Use a toothpick to drag perpendicular lines across the black — you’ll get a striking zebra or agate pattern. It’s surprisingly modern, and it teaches you how different colors interact when they’re wet.
What kind of mood do you want your coasters to hold? That question alone can guide every color choice you make.
Troubleshooting
Sticky surface after 24 hours. This almost always means inaccurate measuring or incomplete mixing. If the resin is tacky but not wet, you can try pouring a fresh thin layer of properly mixed resin over it — this sometimes bonds. If it stays sticky, wait 72 hours. Some resins cure slower in cold rooms. If it’s still tacky after that, scrap the piece. You can’t fix it, but you can learn.
Cloudy or milky spots. That’s moisture. Either the resin absorbed humidity from the air, or your molds weren’t fully dry. Next time, work in a dehumidified room and dry the molds with a hairdryer on cool setting. Cloudy spots may clear after a week in a warm, dry place — but it’s not guaranteed.
Bubbles that won’t pop. If bubbles appear after you’ve already used the heat gun, you might have stirred too late. Some resins have a working time of only 20 minutes. Try a slower-curing resin next time (look for “24-hour working time”). For now, you can try a second pass with the heat gun — but only within the first hour of curing.
Resin leaked out of the mold. Your mold might have a tear, or you overfilled it. Coasters should be filled to about 80% of the depth. If it leaks, wipe it up immediately with paper towels — don’t let it cure on your table. And check the mold’s rim next time.
Yellowing over time. UV exposure does this. Art resins are formulated to resist yellowing, but cheaper brands aren’t. If your coasters sit in direct sunlight, they’ll amber over months. Store them in a drawer or keep them on a shaded table. You can also buy a UV-resistant topcoat spray as a protective layer.
If you get a piece that looks like a total disaster, don’t throw it away. Sand it down with fine-grit sandpaper (400 then 800 grit) and pour a fresh clear layer over the top. It’s called a “rescue layer” and it works wonders.
Conclusion
Your first resin pour won’t be perfect — and that’s exactly why you should try it. Every mistake teaches you something the tutorials can’t: how the resin moves, how it reacts to heat, how colors blend in real time. Start with these coasters, keep your mixing slow, and don’t be afraid to let the swirling happen on its own. In three days, you’ll hold something you made from two liquids and a little patience. That’s not just a coaster — that’s proof you can create beautiful things with your own hands. Now go mix something wonderful.