Fabric Dyeing Techniques for Beginners
The first time I dyed fabric in my kitchen, I turned a brand-new white cotton shirt the colour of a bruised peach. My wooden spoon went a permanent shade of indigo. My hands stayed faintly blue for three days. I’d read maybe half the instructions and assumed the rest would sort itself out. It didn’t. But that shirt became my favourite thing I owned that year, and the spoon still lives in my utensil jar as a small monument to learning by doing. Fabric dyeing is one of those crafts that rewards curiosity and forgives almost everything except impatience. Give it a proper afternoon and it will give you back something nobody else on earth owns.
Why bother when shops sell coloured fabric by the metre? Because the colour you mix yourself is the colour nobody else has. Dyeing teaches you how fibre behaves, how colour builds, and how a plain white tea towel can become the best thing on your kitchen wall. It’s cheap to start. It’s endlessly repeatable. And it’s forgiving enough for total beginners.
Materials List
- Natural-fibre fabric — cotton, linen, rayon, or silk. Synthetics like polyester won’t take standard dye. Old white bed sheets and charity-shop shirts are perfect and free.
- Fibre-reactive dye — the most reliable choice for cotton and linen. Procion MX is the classic. If you can only find all-purpose or hand-dye, that works too, just follow its own ratios.
- Soda ash (sodium carbonate) — the fixer that bonds dye to fibre. Sold as “dye fixer” in craft shops, or as washing soda in the laundry aisle. Not the same as baking soda.
- Non-iodised salt — table salt is fine. It helps dye strike evenly.
- Rubber gloves — long ones. Trust me on this.
- A plastic bucket or tub — dedicated to dyeing from now on. Never your cooking pots.
- Old towels and a plastic sheet — for the floor and the drying zone.
- Measuring spoons and cups — again, dye-only. Keep them in a labelled box.
- A dust mask — dye powder is very fine and you do not want to breathe it.
- Optional: rubber bands, string, wooden blocks, and a squeeze bottle for tie-dye and shibori patterns.
Step-by-Step
- Wash the fabric first. New fabric carries sizing and manufacturing oils that block dye. Run it through a hot wash with a little detergent and no fabric softener, then leave it damp. Damp fibre drinks up dye more evenly than dry.
- Set up your space. Cover your work surface with a plastic sheet, keep a roll of paper towels within reach, and put on your gloves and dust mask before you open any dye powder. Work near a window or with a fan on low. Dye powder travels further than you’d think.
- Mix your dye bath. In your bucket, dissolve about one teaspoon of dye powder in a cup of warm water first — this stops clumps. Then add enough warm water to cover your fabric comfortably, plus about a quarter cup of salt per litre. Stir until everything is dissolved.
- Wet out the fabric. Soak your fabric in plain warm water for five minutes, then squeeze out the excess. Wet fabric takes dye more evenly and helps avoid patchy results. Wring it gently — don’t twist hard or you’ll set creases that dye unevenly.
- Add the fabric and stir. Lower it into the dye bath and stir gently for the first ten minutes. This is the single most important step for even colour. Fabric that sits still gets blotchy. Keep it moving like you’re stirring a very lazy soup.
- Add the soda ash fixer. After about ten minutes, dissolve two teaspoons of soda ash per litre of bath water in a cup of warm water, then pour it in and stir. The colour will deepen quickly from here — this is normal and exciting.
- Let it soak. Leave the fabric in the bath for thirty to sixty minutes, stirring every ten minutes or so. Longer soaking means deeper colour. For pastels, pull it out after fifteen minutes.
- Rinse in stages. Lift the fabric out and squeeze gently. Rinse under cool running water, then gradually warmer water, until the water runs clear. Sudden temperature changes can shock the fibre and set creases, so go slow.
- Wash and dry. Run the piece through a warm machine wash with a little detergent, then tumble or line dry. This final wash removes any loosely bound dye so it won’t rub off on your sofa later.
Beginner Tips
The biggest mistake first-timers make is skipping the wet-out step. Dry fabric grabs dye unevenly and you end up with a mottled mess you didn’t plan. Damp fabric is your friend.
Second mistake: not stirring. I know it’s boring. Stir anyway. Set a timer and walk away between stirs — just don’t forget the fabric is in there.
Third: using too little dye and expecting a deep colour. Start with the amount on the packet and add more only if you want it richer. Under-dyeing is easy to fix; over-dyeing means you’re now making a dark garment whether you planned to or not.
Keep your dye tools separate forever. A wooden spoon that’s been in a dye bath will keep leaching colour into your soup. Label the box “DYE ONLY” and mean it.
Creative Variation
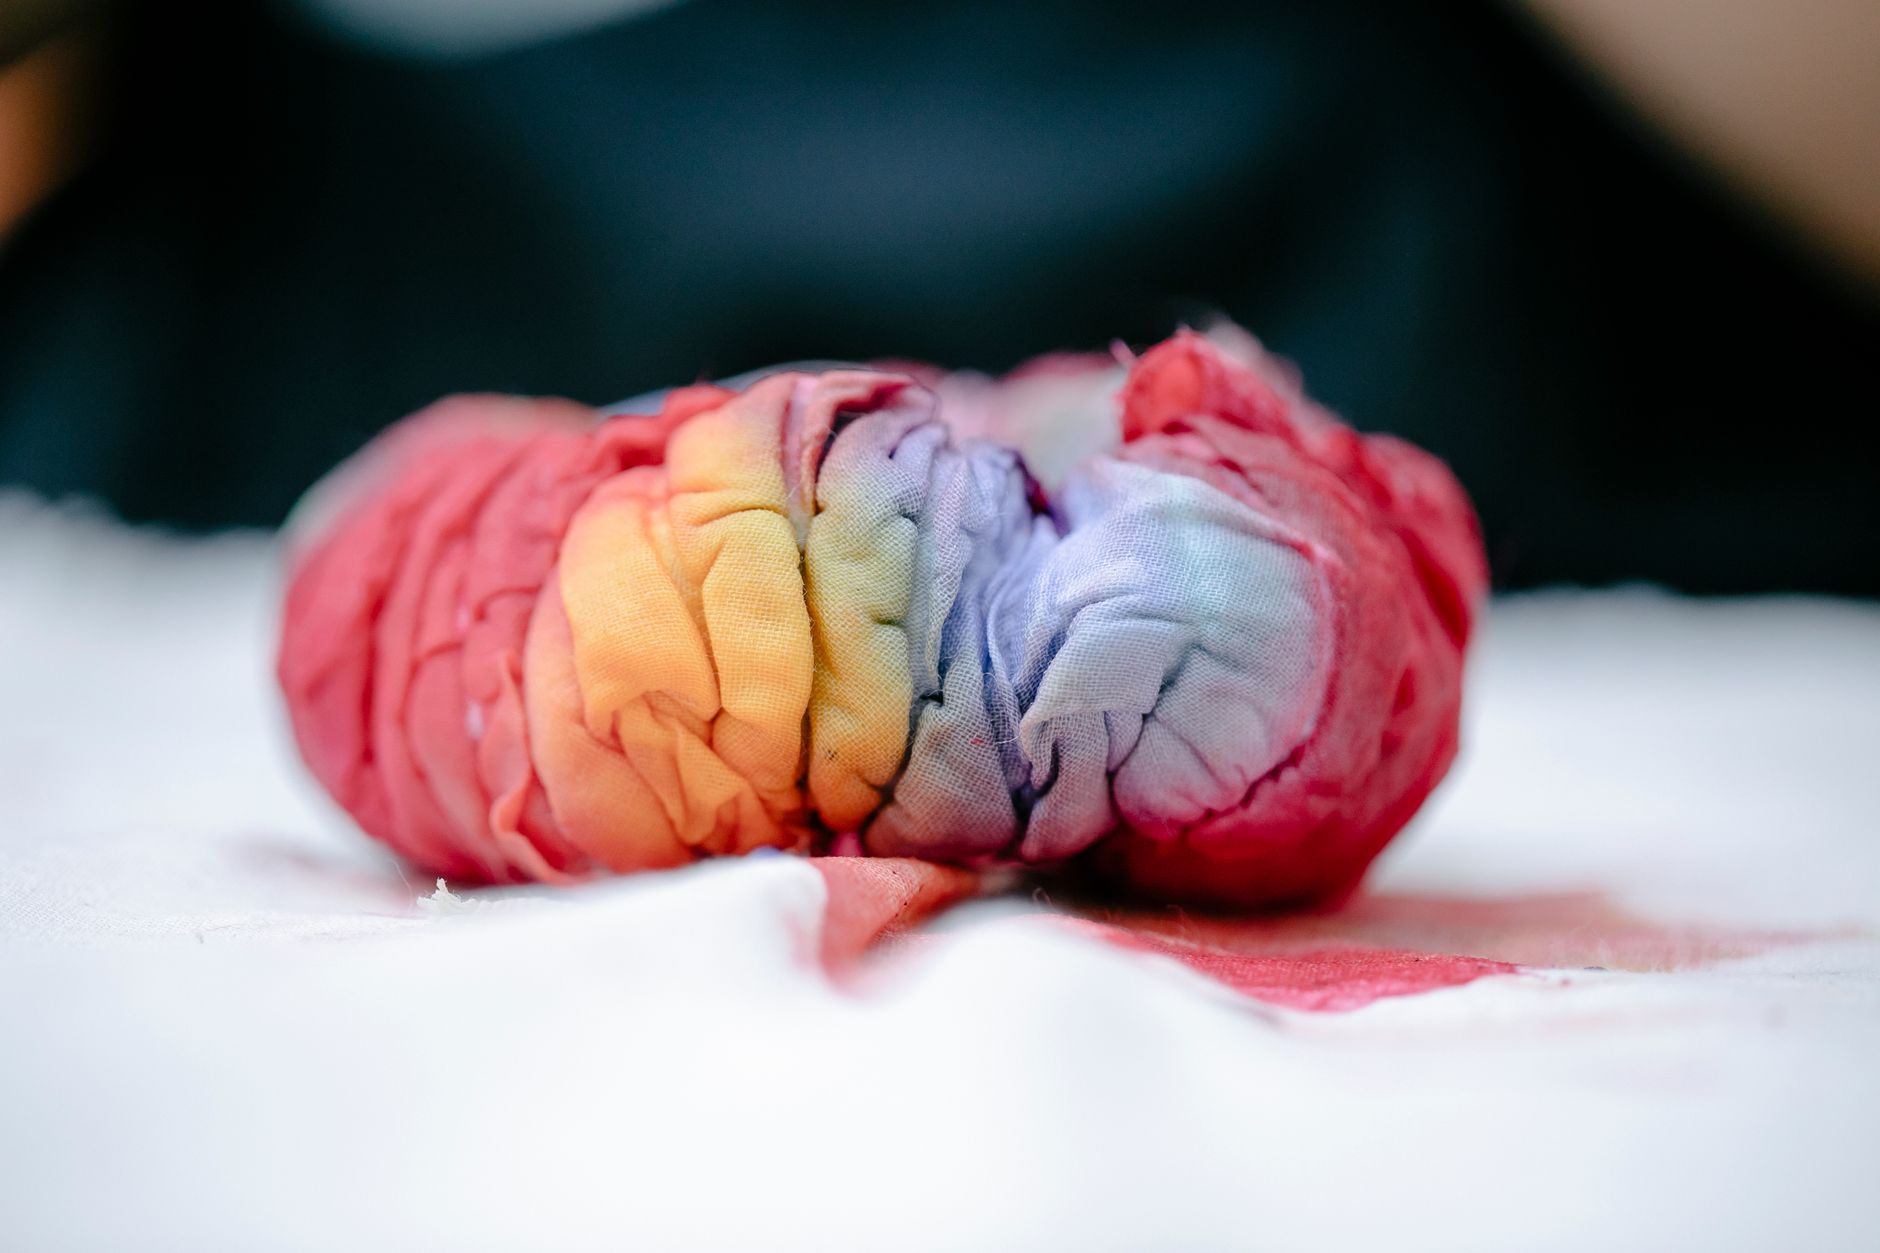
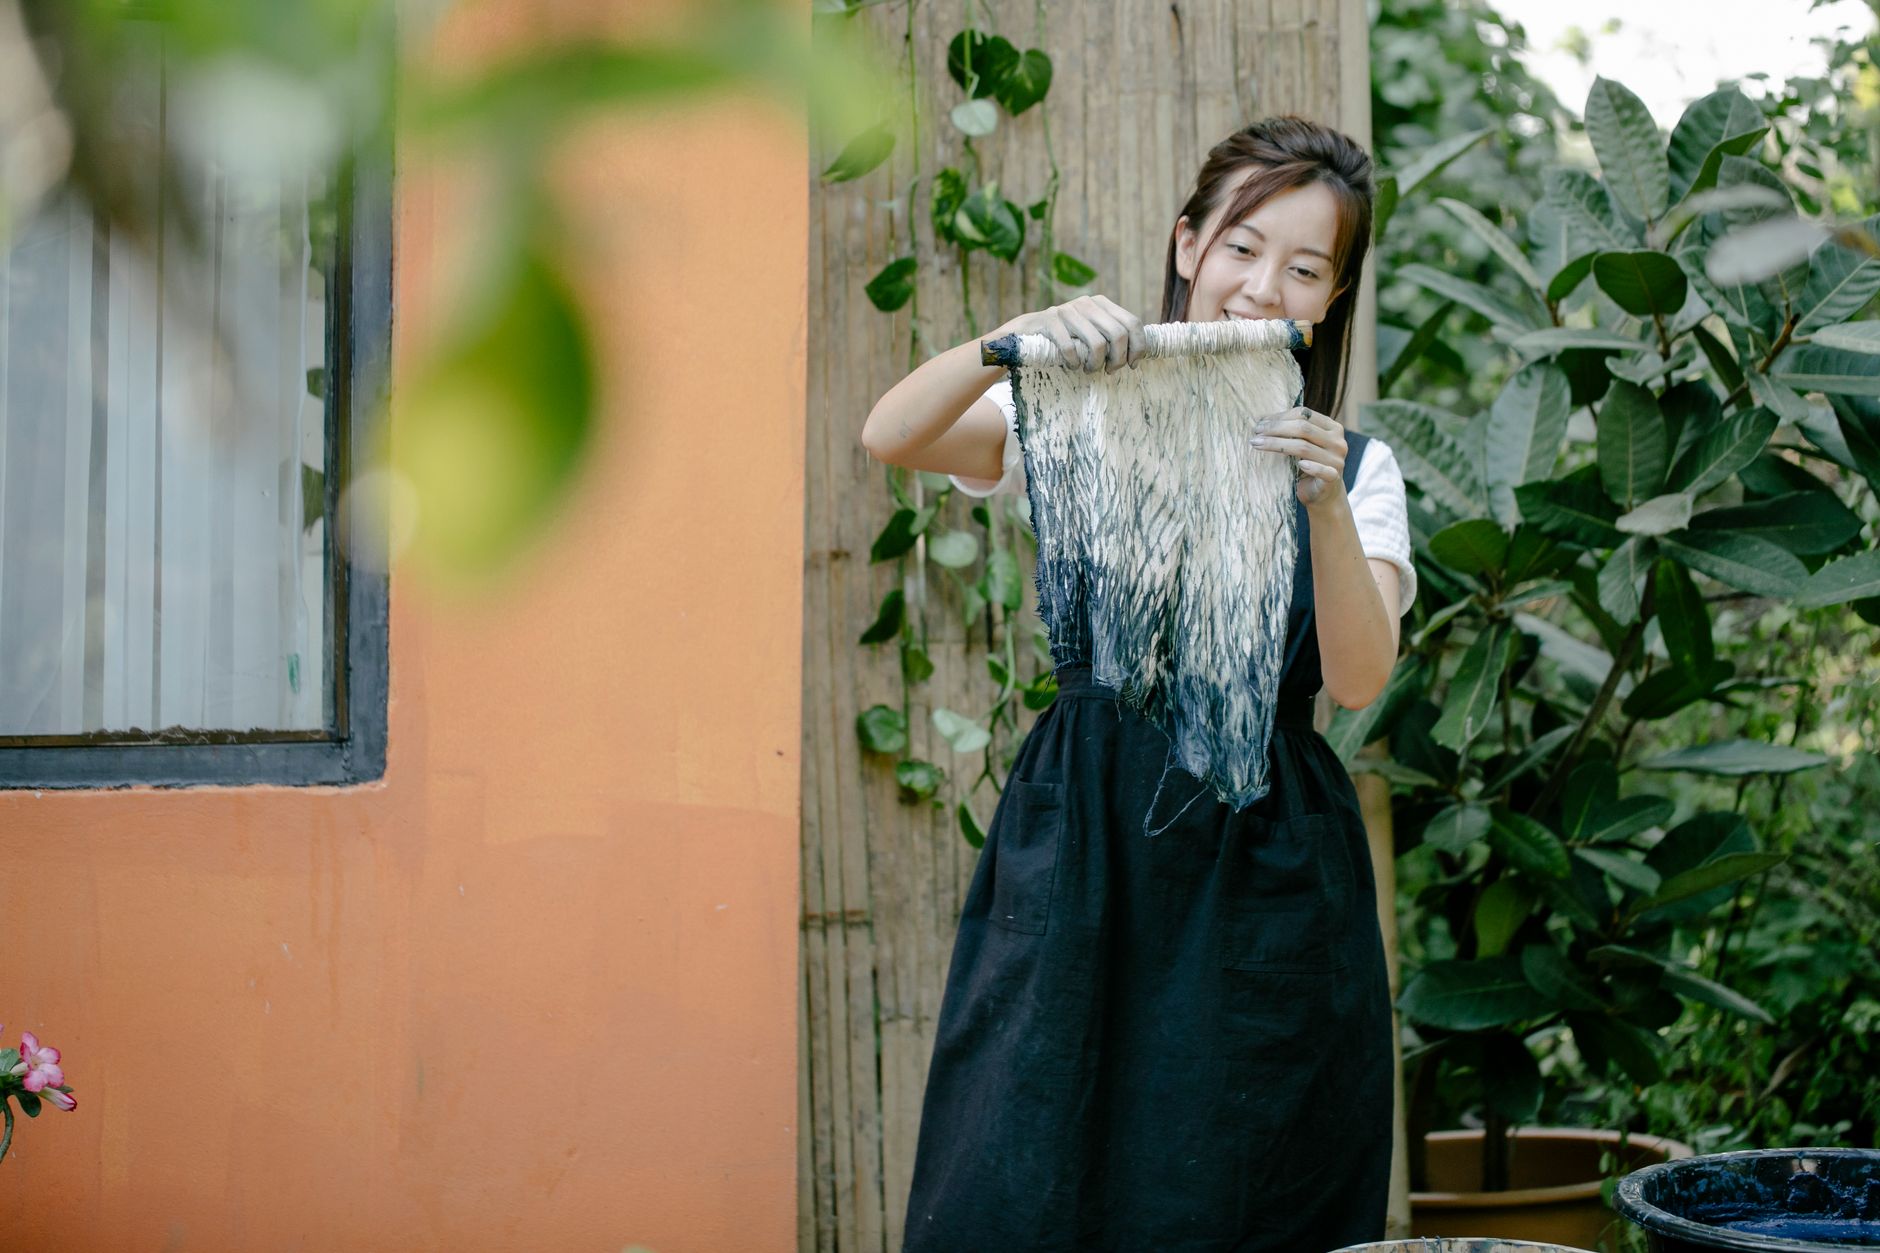
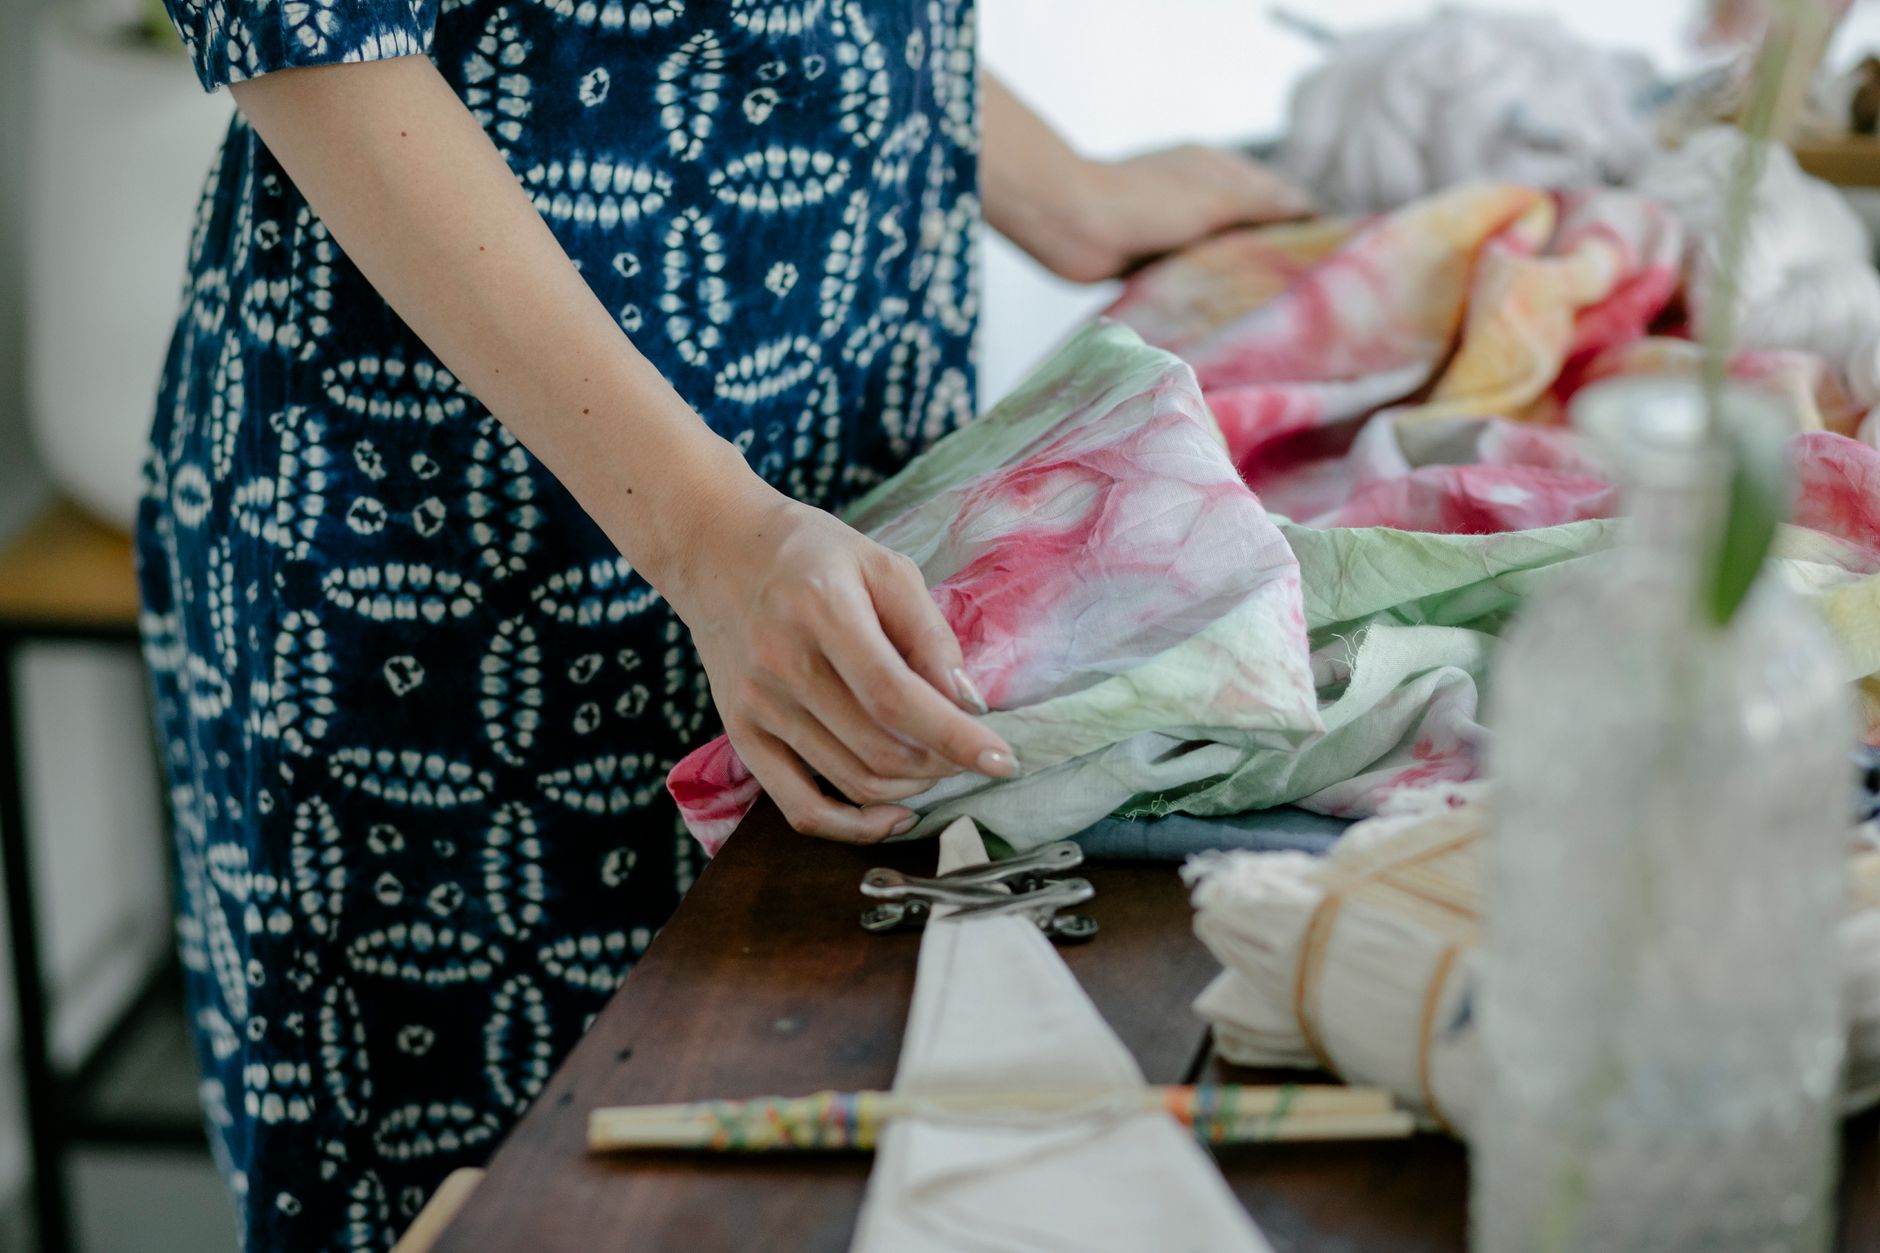
Once you’ve done a flat dye bath, try a simple shibori resist. Fold your damp fabric into a tight accordion, wrap rubber bands around it at intervals, and pop it in the dye bath. Where the bands pinch, the fabric stays pale, and you get a soft striped pattern that looks hand-drawn. It’s the same process as tie-dye, but with a quieter, more grown-up result. Scrunched-up fabric gives you a cloud-like mottling. Twisted fabric gives spirals. There’s no wrong answer here — every pinch is a small gamble and most of them pay off.
Troubleshooting
Patchy, blotchy colour? Usually uneven wetting or not enough stirring. You can over-dye the whole piece a shade darker and the blotches will soften into a mottled texture that actually looks intentional.
Colour came out much lighter than expected? Check your dye-to-water ratio and whether you used soda ash. Some dyes also need heat — if your packet mentions “hot water dyeing,” you’ll need to simmer the bath on a stove (in a dedicated pot, never a cooking one).
Dye rubbing off on hands or furniture? The final wash step was too short. Wash again in warm water with detergent until the rinse water is clear.
Fabric feels stiff or crunchy? That’s leftover soda ash residue. A second warm wash with a splash of white vinegar will soften it right up.
Colour faded after a few washes? Reactive dyes on cotton are quite colourfast, but hot washes and harsh detergent will dull them over time. Wash cool, inside out, and skip the dryer when you can.
Dyeing is one of those crafts where the mess is half the point. You’ll ruin a spoon. You’ll probably dye a fingernail. You might end up with a shirt in a colour you’d never have chosen in a shop — and that’s exactly why it’ll be the piece you reach for first. Start with something small and cheap, like a tea towel or an old pillowcase, and let yourself learn the rhythm of it before you commit a favourite garment. The process is simple, the results are yours alone, and the skills carry over to every other textile project you’ll ever try. Go on — pick a colour and see what happens.