Candle Making at Home: A Beginner’s Guide
My first candle drowned. The wick slumped sideways and gave up before the flame ever caught, and I stood in my kitchen staring at a sad puddle of lavender-scented disappointment. That was twelve years ago. Since then I’ve taught hundreds of people to make candles on kitchen tables, in community halls, and over shaky webcams. The same thing happens every time: someone lights their first homemade candle, watches that small steady flame settle in, and grins like they’ve discovered fire. You can make this. It takes an afternoon, a saucepan you don’t mind sacrificing to crafts, and a willingness to learn from the first wobbly attempt.
Why bother when shops sell candles for the price of a coffee? Control, mostly. You choose the wax, the scent, the jar, the burn time. You also sidestep the mystery ingredients in cheap paraffin blends. A jar of homemade soy candle makes a genuinely lovely gift, costs very little per unit once you own the basics, and gives you a skill you can scale from one jar to twenty. Ready to get melting?
Materials List
- Soy wax flakes (about 500g makes roughly two 200ml jars). Alternatives: coconut wax for a slower, creamier burn, or a soy-coconut blend. I’d skip paraffin for your first go — it’s fussier with temperature and the fumes bother some people.
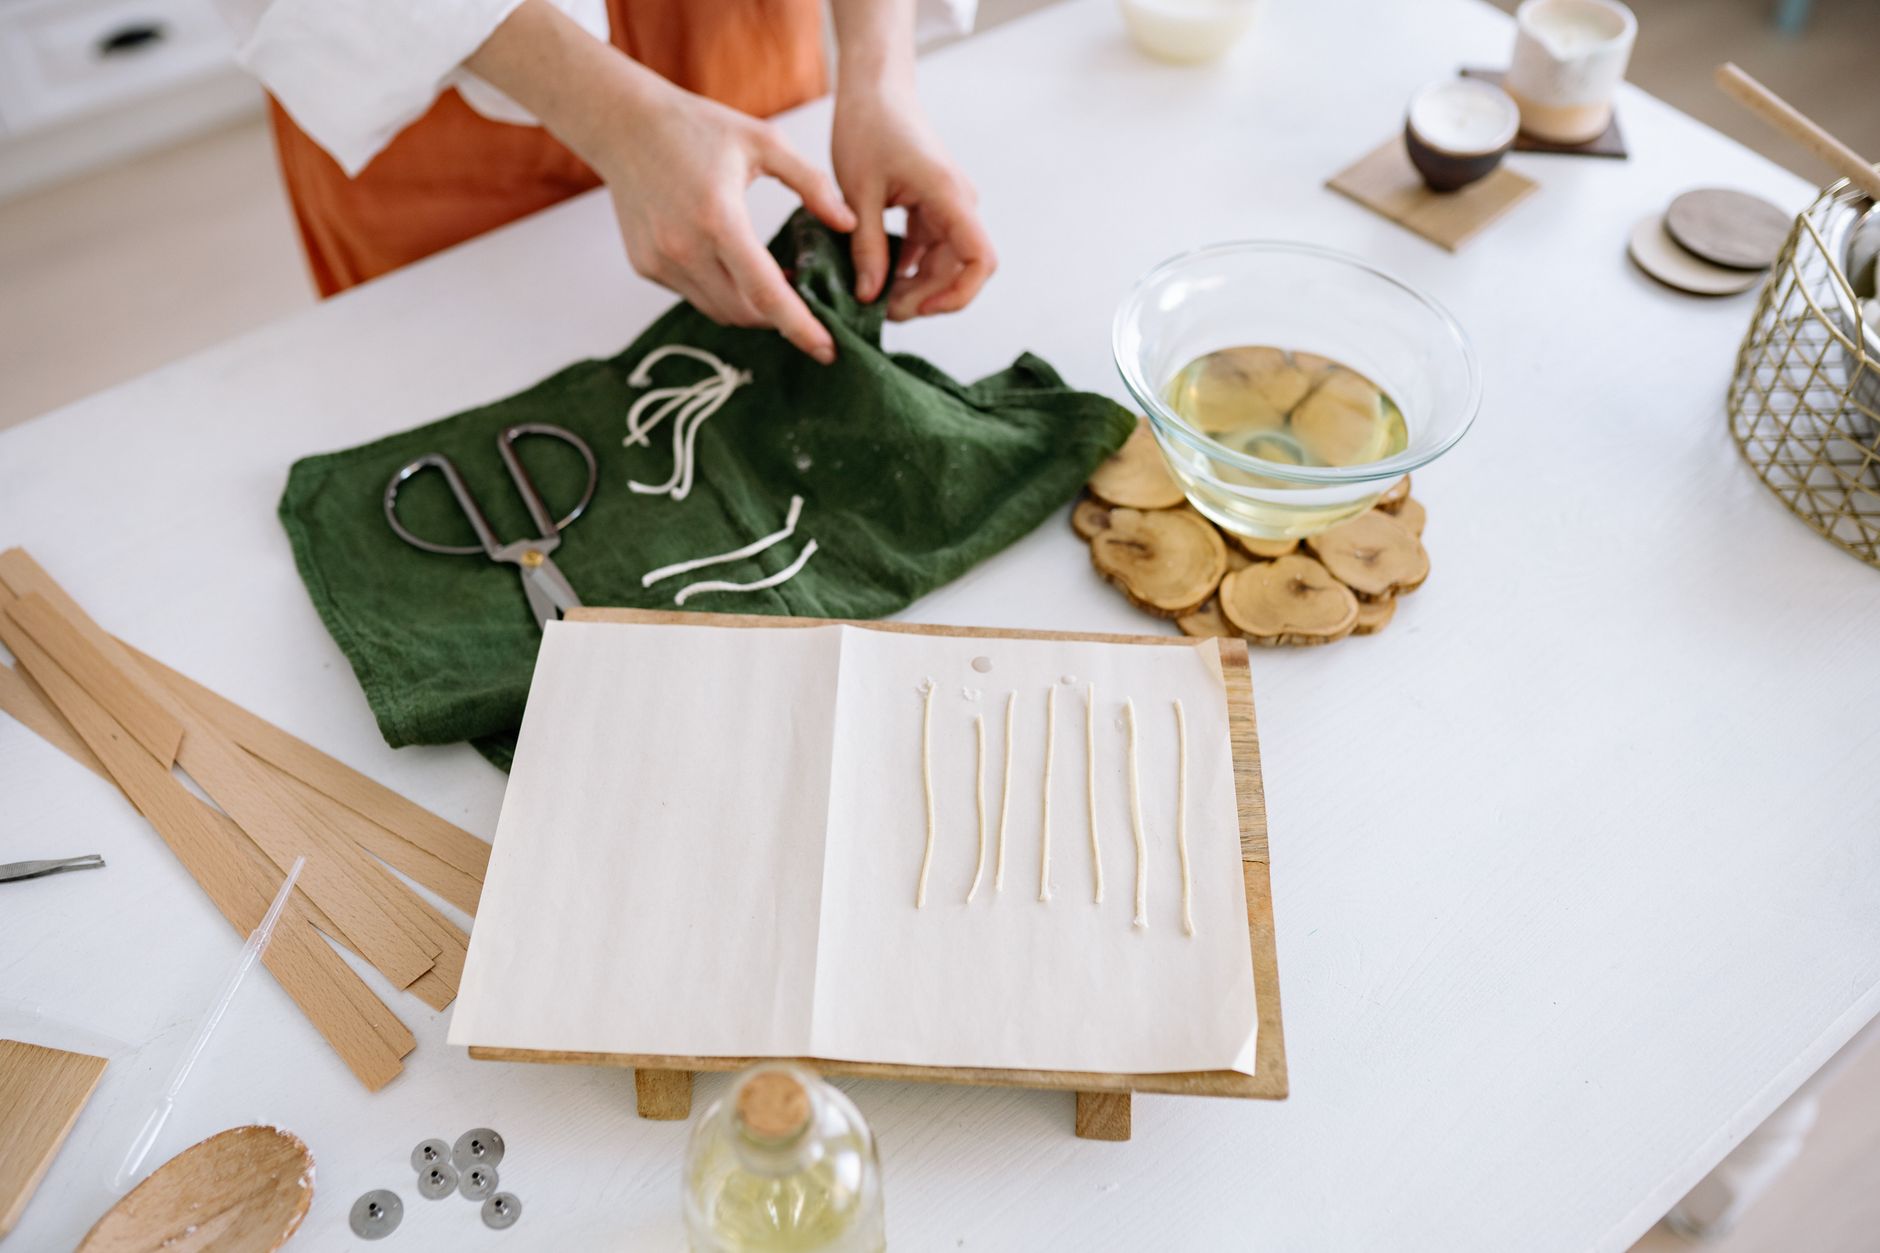
- Cotton wicks with metal tabs, sized for your jar diameter. Too-thin wicks tunnel; too-thick ones smoke. A 200ml jar usually wants a wick around 2–3mm thick. Alternatives: wooden wicks, which crackle beautifully but need more room and a steadier hand.
- Heatproof jug or a dedicated pouring pitcher. A Pyrex measuring jug works fine. Alternative: a clean tin can with a bent spout, if you’re feeling rustic.
- A saucepan for the water bath (double boiler). Or a microwave-safe jug if you prefer — see the tips section for why I don’t.
- Fragrance oil made for candles, not perfume or essential oil alone. Around 20–30ml per 500g of wax. Alternatives: essential oils work but fade fast and some (citrus especially) can misbehave in hot wax.
- Jars — clean, dry, heatproof. Old jam jars are perfect. Alternatives: teacups, tins, small terracotta pots (line those first).
- A thermometer. Please don’t skip this. A cheap digital probe or a candy thermometer does the job.
- Wick centering tools — chopsticks, pencils, or lolly sticks laid across the jar rim.
- Scales for weighing wax and oil accurately.
- Newspaper or a silicone mat for drips, plus a cloth for wiping the jug while it’s still warm.
Step-by-Step
- Prep your jars. Wash and dry them thoroughly, then warm them slightly — a minute in a low oven or a rinse in hot water and a towel dry. Cold glass and hot wax are not friends; the thermal shock can crack a jar. Stick your wick to the base with a dab of melted wax or a glue dot, then hold it upright with a chopstick laid across the rim. Get this centred properly. It matters more than anything else on this list.
- Weigh your wax. A rough rule: the jar’s water capacity in millilitres, times 0.85, gives you the grams of wax needed. So a 200ml jar takes about 170g of flakes. Weigh out a little extra to account for the wax that clings to the jug.
- Set up your double boiler. Put a couple of inches of water in the saucepan and bring it to a gentle simmer. Rest the jug of wax inside, making sure the water doesn’t touch the jug’s base directly — you want steam heat, not a hotplate. Low and slow is the whole game here.
- Melt the wax. Stir gently now and then with a chopstick. Soy flakes melt around 70–80°C and you want to stop there. If the wax starts smoking or smells sharp, the heat is too high — lift the jug out and let it settle.
- Add fragrance at the right moment. Let the wax cool to about 60–65°C before stirring in your oil. Too hot and the scent burns off before the candle’s even lit; too cool and it won’t blend properly. Stir for a full minute, slowly, so you don’t whip air bubbles into the wax.
- Pour slowly. Aim for around 55–60°C — warm enough to flow, cool enough to set without shrinking away from the glass. Pour down the side of the jar or over the back of a spoon to soften the stream. Leave a centimetre of headspace at the top.
- Hold the wick steady. Check your centering stick hasn’t shifted. Nudge the wick back to middle if it’s drifted.
- Let it cool undisturbed. Two to four hours at room temperature. Resist the urge to move the jars or peek under the wick holder. A slow, even cool gives you a smooth top; a draughty windowsill gives you cracks and sinkholes.
- Top up if needed. Soy wax often sinks slightly in the middle as it sets. Melt a little spare wax and pour a thin second layer once the first is fully cool. This is normal, not a failure.
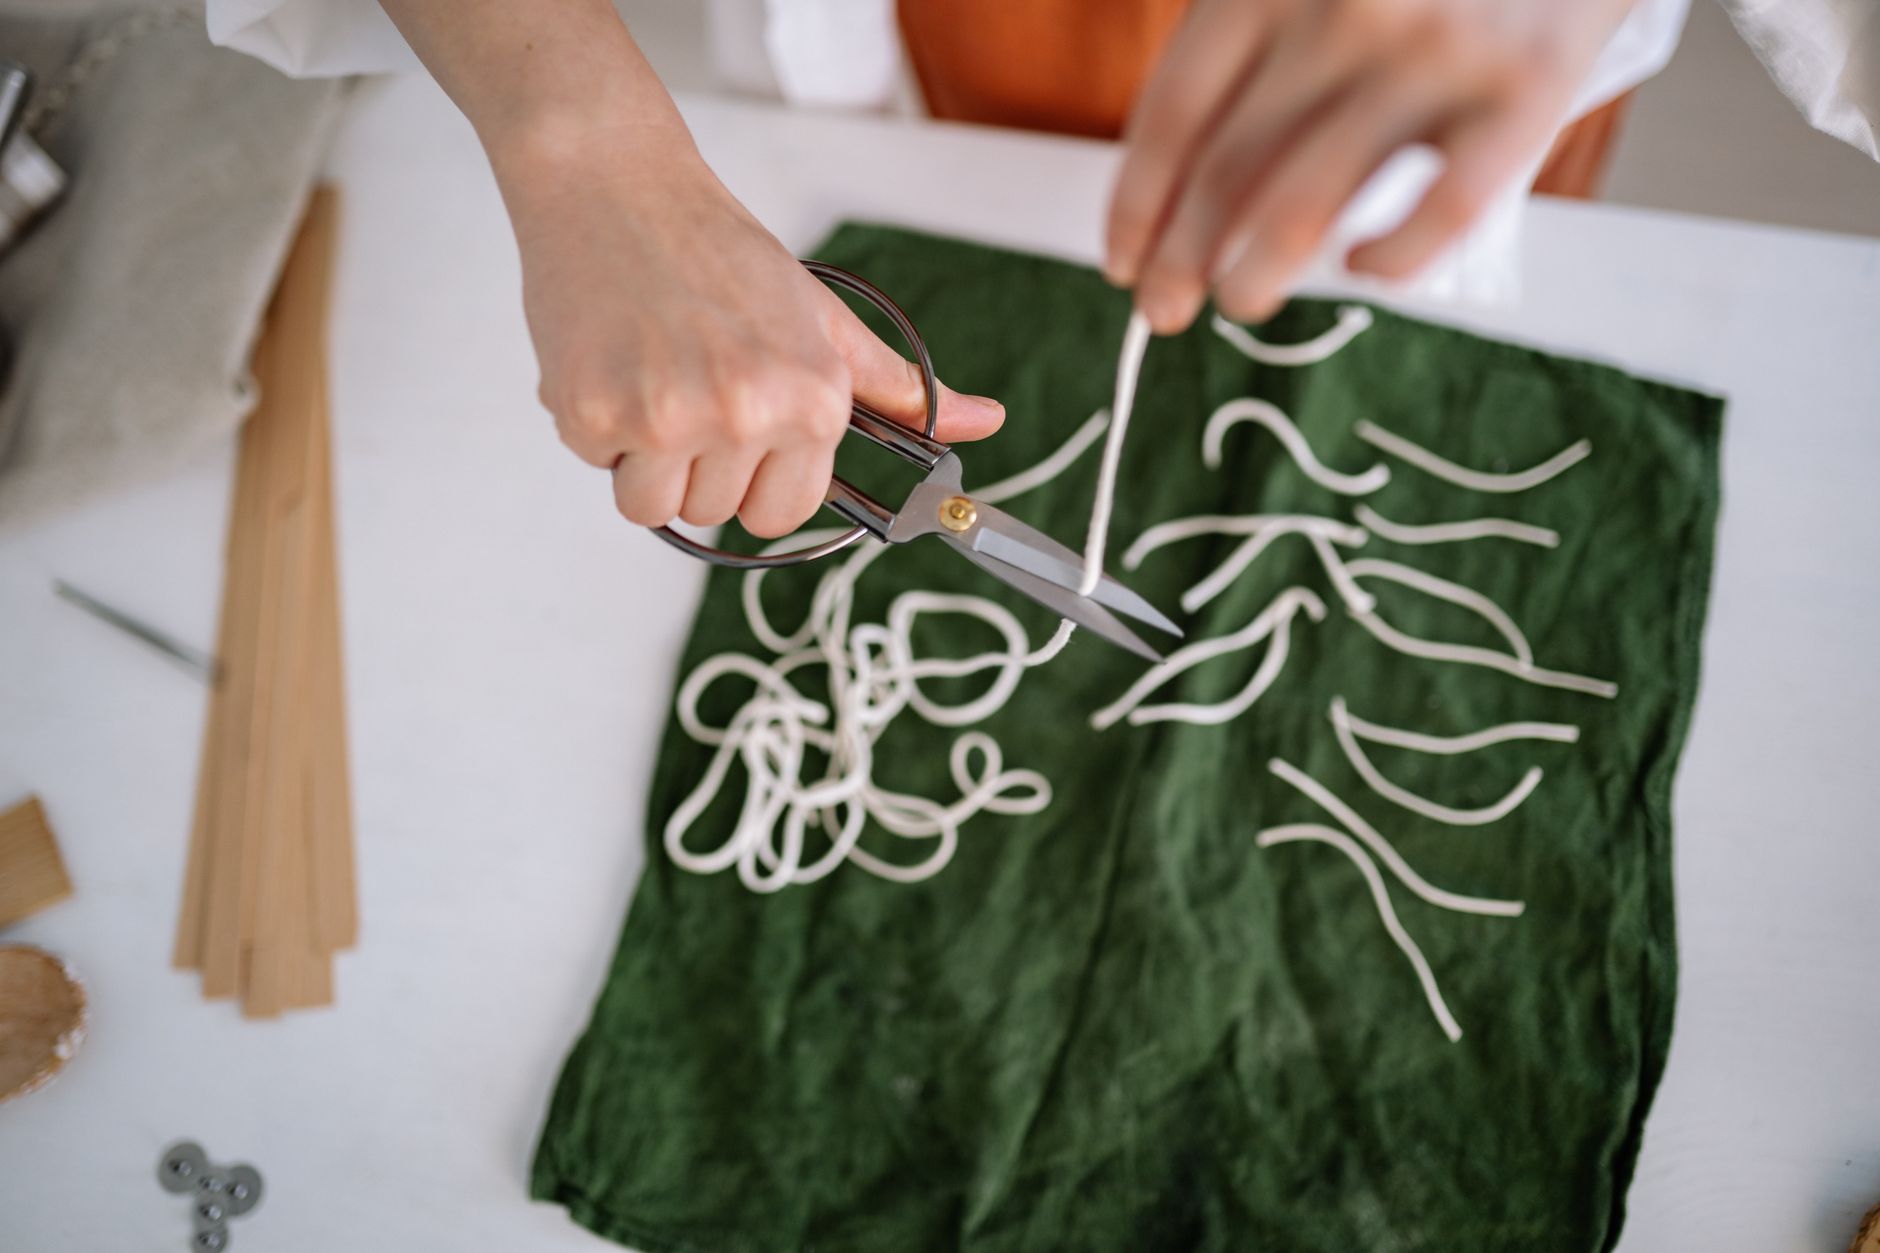
- Trim and cure. Snip the wick to about 5mm. Then — and this is the hard part — leave the candles for 3–7 days before lighting. The scent needs time to bind with the wax. A candle burned on day one smells weaker and burns faster.

Beginner Tips
Most first-timer problems come from three habits. Rushing the melt is the first. Wax heated fast on a high flame develops a grainy, lumpy texture and can scorch at the bottom of the jug before the top has even softened. Patience costs you ten minutes and saves the whole batch.
Habit two: skipping the thermometer because “it’s just wax.” Temperature is the single variable that decides whether your candle smells like a French boutique or a faint memory of a scented drawer liner. Buy the thermometer. Use it every time.
And the third? Pouring into cold jars. I know I’ve said it, but it’s the mistake I see most often in workshops, usually followed by a horrible cracking sound. Warm glass, always.
One more thing worth saying plainly — here’s my counter-intuitive opinion for the day: your first few candles will not look like the ones on craft blogs, and that’s completely fine. Wobbly tops, a slightly off-centre wick, a faint line where you topped up — none of that affects how the candle burns. Chase a good burn, not a perfect surface. The pretty ones come with practice.
Creative Variation
Once you’ve got a plain jar candle working reliably, try a layered pour. Choose two colours of the same wax type and pour the first layer, letting it set until firm but still slightly warm to the touch — about 30–40 minutes. Then pour the second colour at the same temperature as before. The warm boundary helps the layers bond, so they don’t split when the candle burns down. Keep your scent the same in both layers, or use a lighter note on top and a deeper one underneath so the fragrance shifts as the candle burns. It looks impressive and takes almost no extra skill. Just don’t let that first layer cool completely, or the second pour will sit on top like a separate disc and crack away from it later.
Troubleshooting
The wax has a grainy, cloudy top. This is called frosting and it’s usually a cooling-speed issue or a sign your wax got too hot during melting. It’s purely cosmetic — the candle still burns fine. For future batches, pour a touch cooler and cool the jars more slowly, maybe in a closed cardboard box.
The candle tunnels down the middle, leaving a ring of wasted wax. Your wick is too small for the jar, or you’re not burning it long enough. Candles need roughly an hour per 2.5cm of diameter to melt a full pool each time. If it still tunnels after a proper burn, size up your wick.
The flame is huge, flickering, and smoking. Wick too big, or it needs trimming. Blow it out, let it cool, trim to 5mm, relight. If it happens again, that wick is too thick for the jar.
The scent is barely there. Three likely culprits: you added oil when the wax was too hot, you used too little oil, or you didn’t let the candle cure. Check all three before blaming the fragrance.
The wax pulled away from the glass. It cooled too fast. No harm done — the candle’s still usable — but next time, cool it somewhere draught-free and slightly warmer.
The wick won’t stay lit. It’s probably drowning in a pool of wax because it’s too short or too thin. Let the candle cool, dig out a little wax around the wick, and try again. If it keeps happening, replace the wick — easier than it sounds, and worth the practice.
Candle making rewards a bit of care and punishes shortcuts, but the gap between a failed batch and a lovely one is usually just a few degrees of temperature and a little patience. Start with one jar. Light it a week later. You’ll know exactly what to adjust. What will your first scent be — something clean and green, or deep and smoky for the darker evenings? Whatever you choose, make it yours, make it slowly, and don’t be surprised when you find yourself buying wax flakes in bulk by the end of the month.