Resin Art Tutorial: Beginner Epoxy Pour Guide
The smell hits before you even open the bottle — sharp, a little sweet, strangely chemical. That first pour of two-part epoxy onto a prepared board feels like a small act of faith. You tilt the cup, watch a ribbon of amber resin fold across the wood, and for a second nothing happens. Then it creeps, slow as honey, finding every dip and grain. I’ve taught this workshop to teenagers and grandmothers, and that same quiet gasp happens every single time. Resin rewards patience and punishes rushing. It’s also far more forgiving than the internet makes it look. If you can stir and wait, you can do this.
Why do I keep teaching resin? Because it takes a flat, ordinary surface and turns it into something people pick up and turn over in their hands. No studio required. No years of practice. A kitchen table, a drop cloth, and a couple of hours will get you a finished piece you’ll actually want to keep or gift. Let’s make one together.
Materials List
- Two-part epoxy resin kit — look for a casting or coating resin with a 1:1 mix ratio. The 1:1 kits are far more forgiving for beginners than the 2:1 or 3:1 versions. Alternatives: a UV resin if you’re only making tiny pieces (needs a UV lamp), or a pre-measured pouch kit if you want zero math.
- A wooden board or canvas panel — birch ply, MDF, or a stretched canvas all work. Alternatives: a ceramic tile, a slate coaster, or a wooden chopping board you don’t cook on anymore.
- Two plastic measuring cups — the clear graduated kind. Alternatives: disposable paper cups with lines drawn on in permanent marker (measure once with water, mark, dry thoroughly).
- Wooden craft sticks — for stirring. Don’t reuse between Part A and Part B; grab a fresh one.
- Nitrile gloves — a box, not a pair. You’ll go through several. Alternatives: vinyl gloves in a pinch, but nitrile holds up better against resin.
- Drop cloth or plastic sheeting — old newspaper works too, but plastic catches drips better.
- Heat gun or a hairdryer — for popping bubbles. A kitchen torch works but needs a very light touch.
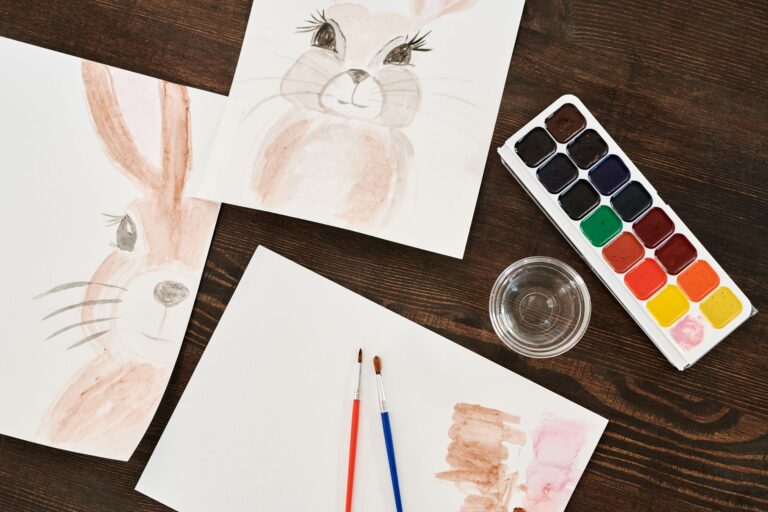
- Pigment — mica powders, resin-safe dyes, or even a tiny dab of acrylic paint. Alternatives: crushed eyeshadow (genuinely), glitter, or dried flowers pressed flat.
- Isopropyl alcohol and paper towels — for cleanup. Keep this within arm’s reach the whole time.
- Sandpaper (120, 240, 400 grit) — only if you plan to sand the edges.
- A level — a phone level app is fine. Trust me on this one.
Step-by-Step
- Set up your space before you open anything. Lay the drop cloth, put on gloves, and get every tool within reach. Resin starts curing the moment it’s mixed, so you won’t have time to hunt for a stir stick mid-pour. Work in a room around 20-22°C. Cold rooms make resin thick and bubbly; hot rooms make it cure too fast.
- Level your surface. Place your board on the level table and check it with your phone or a spirit level. A surface that’s off by even a couple of degrees will send resin pooling to one edge. Shim the table legs with folded card until the bubble sits dead centre.
- Seal the edges of your board. If you’re working on bare wood or MDF, brush a thin coat of the mixed resin (or a wood sealer) around the sides and let it tack up for about 20 minutes. This stops the resin from soaking into the edges and leaving a dry, crumbly rim.
- Measure Part A and Part B separately. Pour Part A into one cup to the mark, then Part B into a second cup to the same mark. Do not eyeball it. A ratio that’s off by even a little leaves you with a sticky, uncured mess days later. If your kit says 1:1 by volume, it means volume — use the cup lines.
- Combine and stir slowly for a full three minutes. Pour B into A, then stir with a craft stick, scraping the bottom and sides as you go. Slow, deliberate figure-eights. Fast stirring whips in air, and air is your enemy here. Set a timer. Three minutes feels longer than you think.
- Pour a second cup and combine. This is the trick most tutorials skip. Pour your mixed resin into a clean cup and stir again for another minute. It sounds fussy, but it catches the unmixed resin clinging to the first cup’s walls. Skip it and you’ll get soft patches.
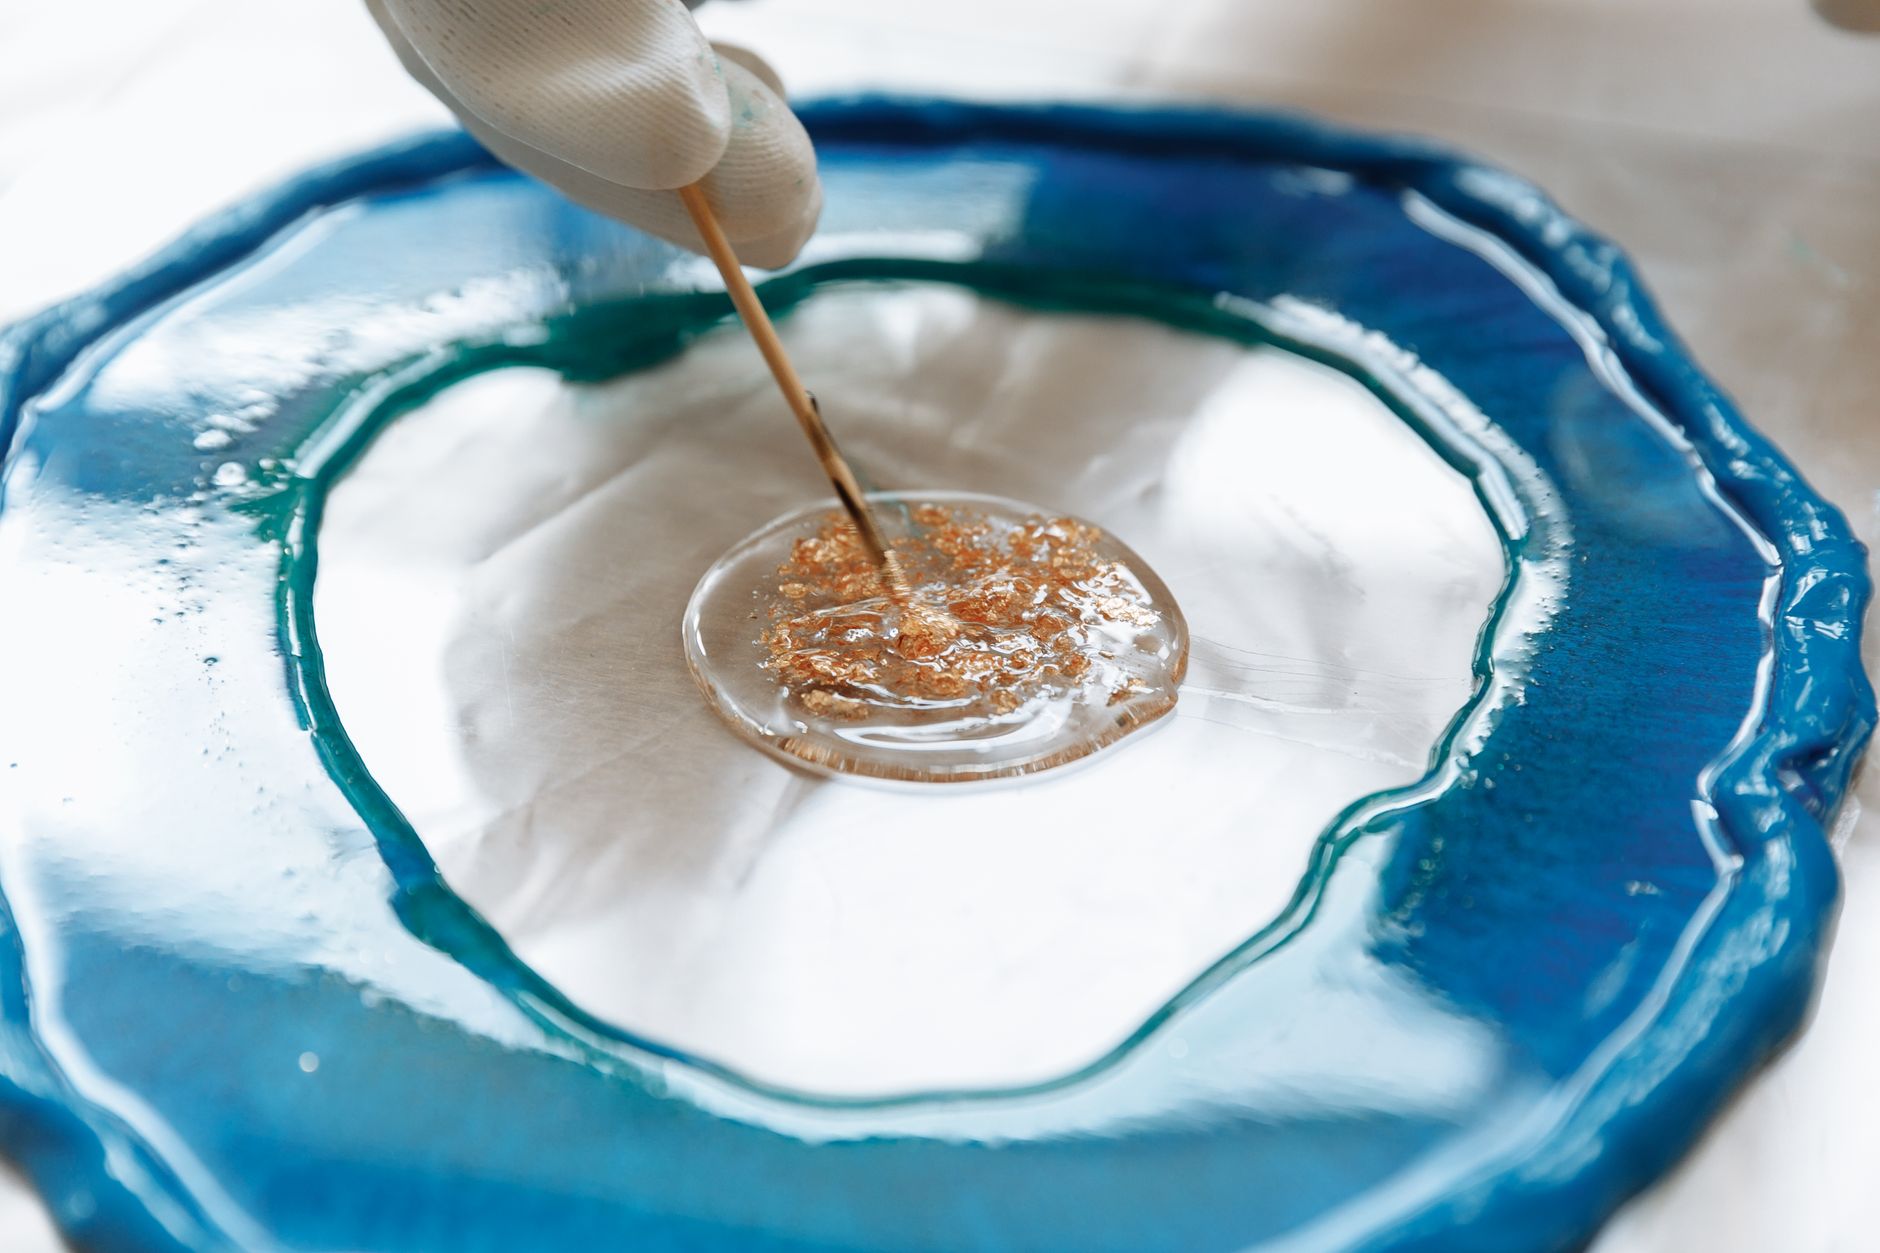
- Add your pigment now, not before. Stir in a tiny pinch of mica or a drop of dye. Less is more — you can always add, never subtract. For a marbled look, don’t mix it in fully. Leave streaks.
- Pour slowly from a height of about 15cm. A thin, steady stream from a little height helps bubbles rise and pop on their own. Start in the centre and let it spread. Don’t chase it with your stick yet.
- Spread and tilt. Lift the board gently and tilt it so resin runs to the edges. Use your craft stick to guide it into corners. Work quickly but calmly — you’ve got roughly 20-30 minutes of working time with most 1:1 kits.
- Pop the bubbles. Run your heat gun about 15cm above the surface in quick, sweeping passes. Keep it moving or you’ll cook the resin and get a wrinkled skin. A hairdryer on cool works if you don’t have a heat gun.
- Cover it and walk away. Dust is the enemy of a glossy finish. Tent a cardboard box or a plastic storage tub over the piece, propped on cups so it doesn’t touch the surface. Leave it for a full 24 hours without peeking.
- Demould and sand the edges after 48-72 hours. Once it’s fully hard, sand the drips and rough edges with 120 grit, then 240, then 400 for a smooth finish. Wipe with isopropyl alcohol and you’re done.
Beginner Tips
Here’s what I wish someone had told me before my first pour. Measure twice as carefully as you think you need to. Most failed projects I see in class aren’t about technique at all — they’re about a ratio that was slightly off. Buy a cheap digital kitchen scale and weigh your parts if your kit gives weight ratios. It’s the single biggest upgrade you can make.
Wear gloves the whole time, and change them when they get tacky. Resin on bare skin is a sensitizer — meaning the more you’re exposed, the more likely you are to develop a reaction. A lot of people learn this the hard way on their third or fourth project.
Don’t pour too thick. Most beginner resins cap out around 6mm per layer. If you want a deep, chunky piece, pour in layers with 12-24 hours between them. One thick pour will overheat, crack, and sometimes smoke. I’ve watched a beautiful piece split right down the middle because someone got impatient.
And here’s my counter-intuitive take: don’t buy the cheapest resin kit you can find. The bargain buckets bubble more, yellow faster, and cure inconsistently. Spend the extra tenner on a mid-range brand while you’re learning. You’ll save yourself a lot of frustration, and your early projects will actually look good enough to keep.
One more thing — keep a notebook. Write down your brand, your room temperature, your pour thickness, and how it turned out. After five projects you’ll have your own reference guide, and that’s worth more than any tutorial.
Creative Variation
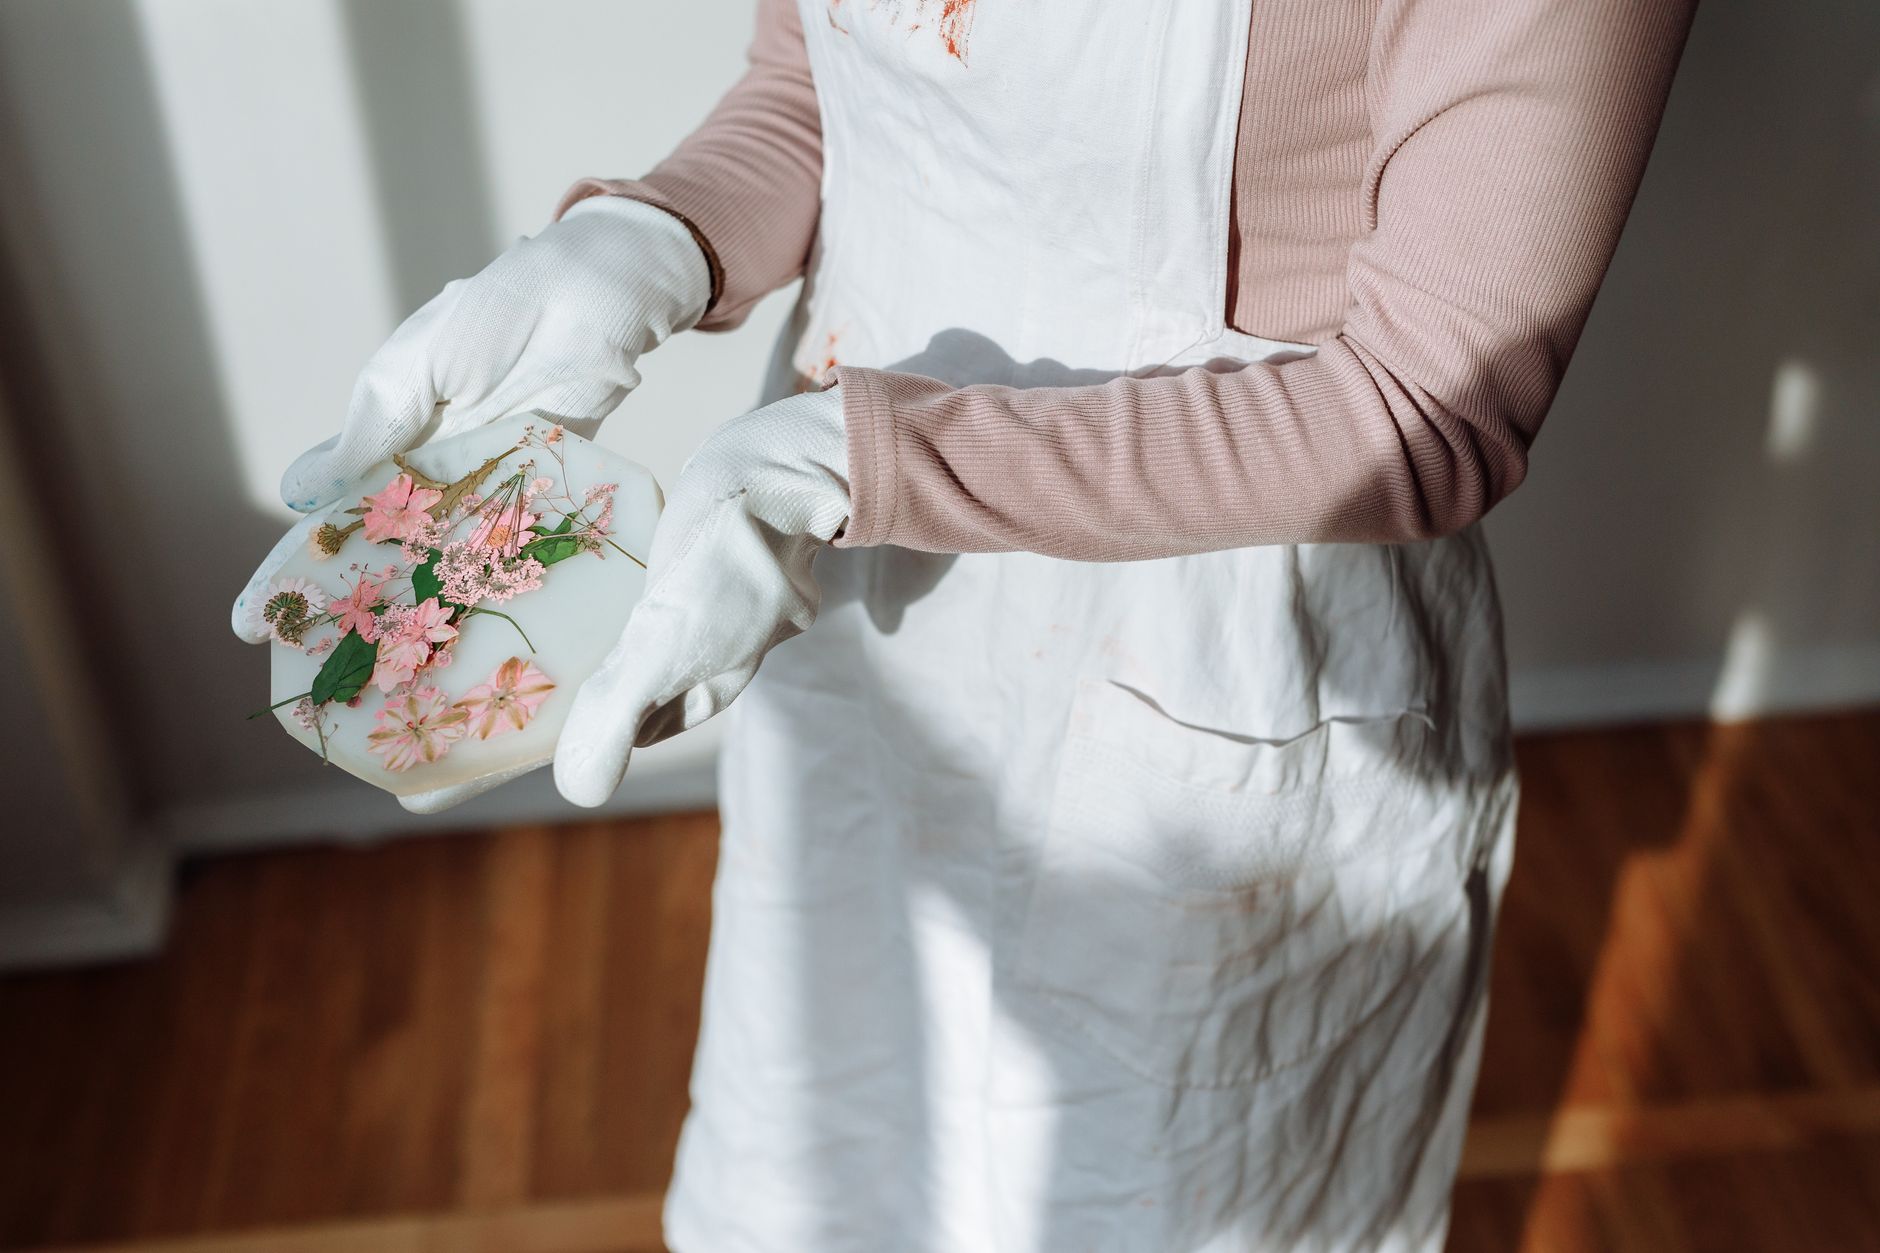
Once you’ve got a clean, flat pour under your belt, try embedding something. Pressed flowers are my favourite — they’re cheap, they look stunning, and they teach you how resin behaves around three-dimensional objects. Lay your dried flowers flat on the sealed board, pour a thin base layer first and let it tack up for about an hour, then arrange the flowers and pour your top layer over them. This stops them floating to the surface.
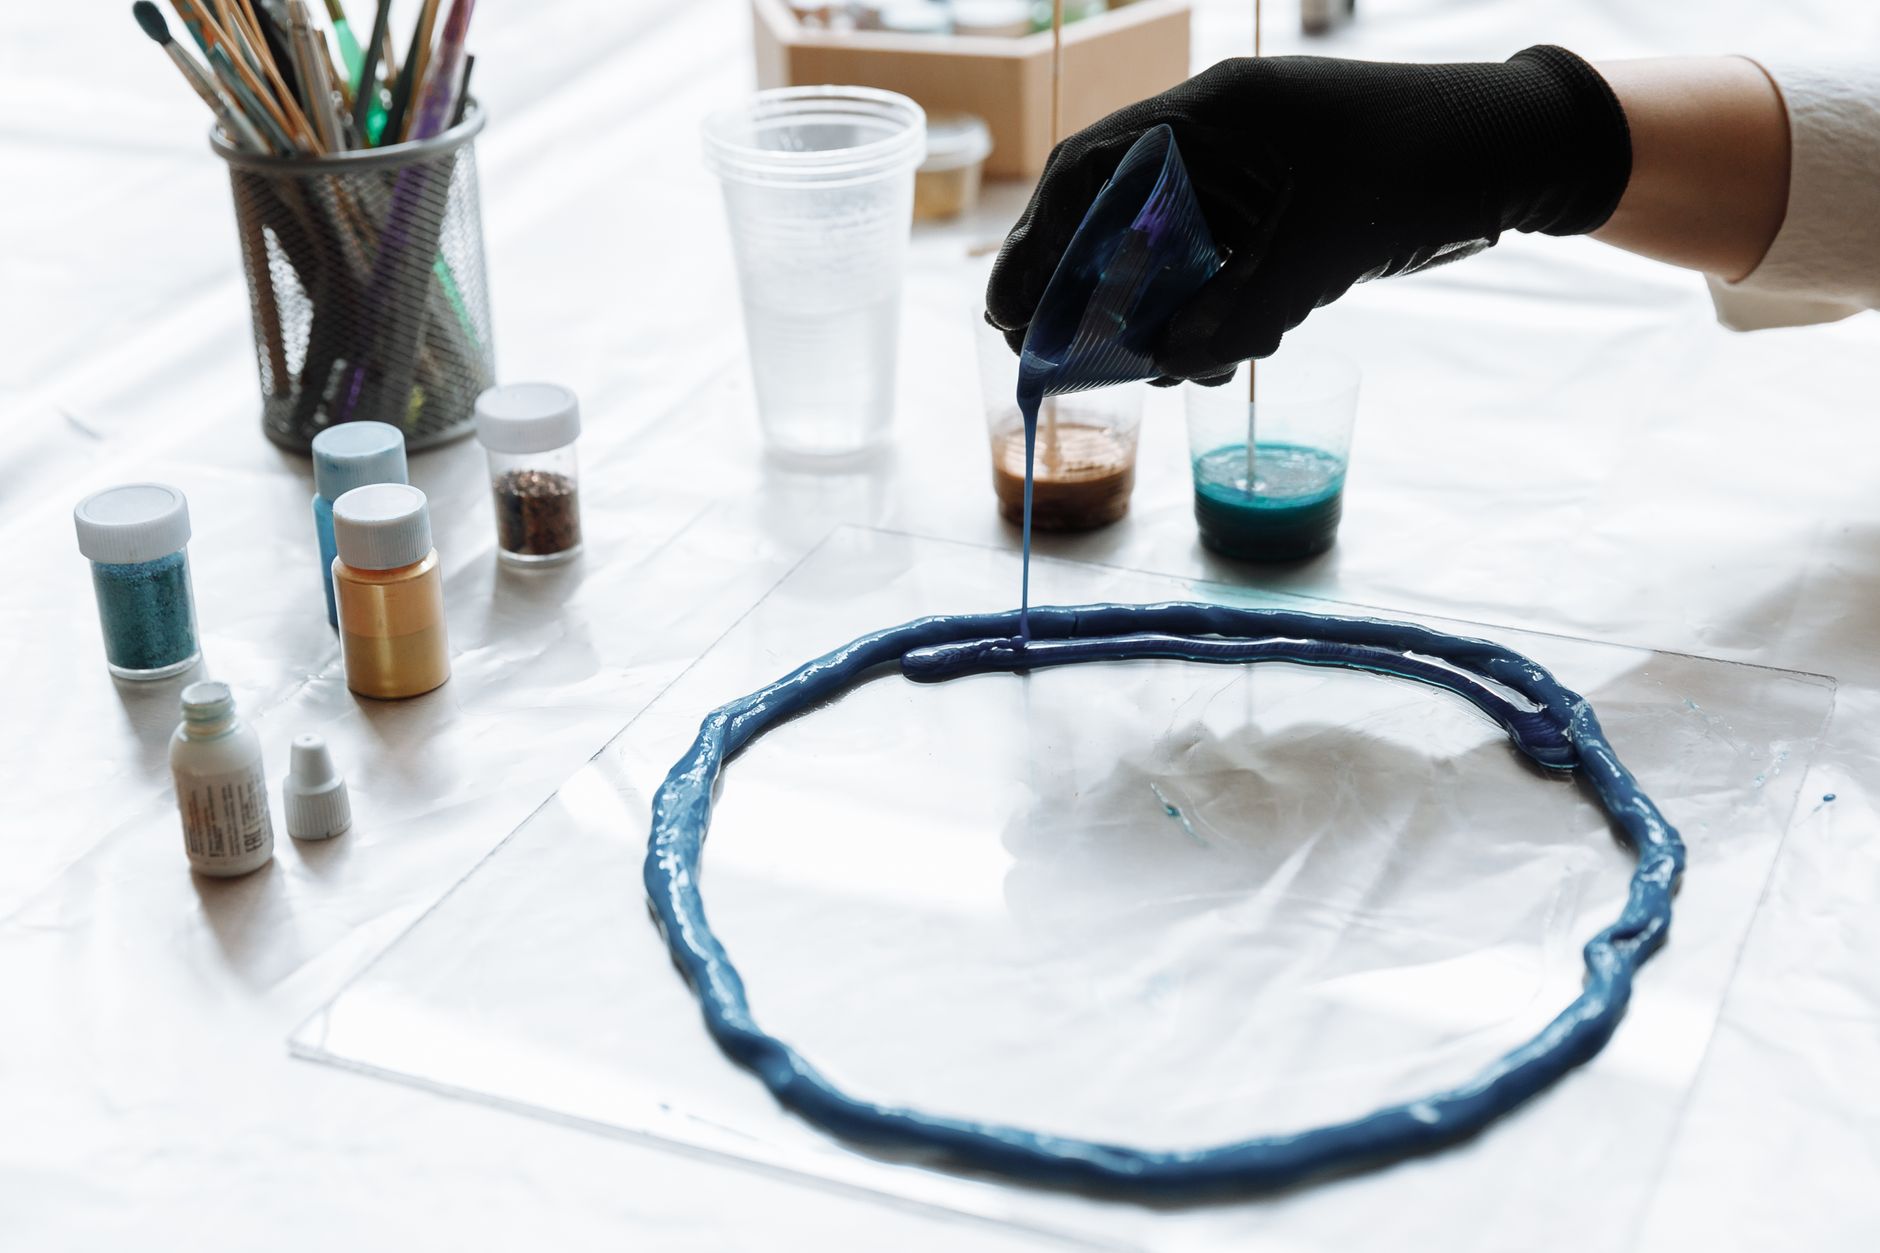
You can also try a “dirty pour” for a marbled, ocean-like effect. Mix two or three small cups of resin, tint each a different colour, then pour them all into one cup and pour that combined cup onto your board in a single pass. The colours swirl on their own. Don’t stir. The magic is in the chaos. Have you ever seen those ocean-wave cheeseboards? That’s the technique. It looks like you spent hours. You didn’t.
Troubleshooting
Sticky or tacky after 48 hours? Your ratio was likely off, or the room was too cold. Move it somewhere warmer for another day. If it’s still tacky after that, you’ll need to scrape it off and start again — there’s no rescue for badly mixed resin. Sorry.
Bubbles everywhere? You stirred too fast, poured from too high, or your resin was cold. Warm the bottles in a bowl of warm (not hot) water for ten minutes before mixing. Bubbles that rise to the surface can still be popped with the heat gun within the first hour.
Resin pooling on one side? Your surface wasn’t level. You can sometimes rescue this by gently tilting the board the other way during the working time, but once it starts to gel, leave it. A slightly uneven edge can be sanded flat later.
Dust specks in the finish? Cover it next time. For now, you can sometimes pick out a speck with a toothpick while it’s still wet, or sand and re-pour a thin top coat once it’s fully cured.
Yellowing within weeks? That’s UV damage or a cheap resin. Keep finished pieces out of direct sunlight, and look for a resin labelled “non-yellowing” or “UV-stabilised” next time.
Resin art has a reputation for being tricky, and I think that scares people off unnecessarily. The truth is that it’s one of the most beginner-friendly crafts out there — it just asks you to slow down and pay attention. Measure carefully, stir patiently, cover it up, and trust the cure time. Your first piece might have a bubble or two. Your second will be better. By your fifth, you’ll be the one teaching your friends at the kitchen table, gloves on, heat gun in hand, watching them gasp at that first slow pour.