How to Make a Fabric Scrap Quilt: Beginner Guide
Every scrap quilt has that turning point. The pile of odd-shaped leftovers stops looking like clutter and starts looking like a plan. Maybe you’ve got a bag of offcuts from old projects. A drawer of shirts that no longer fit. A friend who keeps handing you fabric she swears she’ll use someday. This is the project that finally puts all of it to work.
Making a scrap quilt is worth your time because it turns waste into something warm and genuinely useful. You don’t need matching fabric or perfect cutting skills — the mismatched pieces are the whole charm. Every quilt tells a story of the clothes and projects it came from. You’ll end up with a one-of-a-kind blanket that costs almost nothing but a few evenings of sewing.
Materials List
- Fabric scraps — aim for a mix of cotton, linen, and flannel. Quilting cotton is easiest to work with, but old bedsheets, dress shirts, and cotton dresses all work beautifully. Avoid stretchy knits for your first quilt; they shift and pucker. If you’re short on scraps, charity shops sell cotton shirts for pennies, and fabric shops often have remnant bins.
- Rotary cutter and cutting mat — these make life far easier, but sharp fabric scissors and a steady hand work fine. A cheap cutting mat from a discount store is still better than none.
- Quilting ruler — a 6 x 12 inch ruler is the most useful size. No ruler? Cut a cardboard template and trace around it.
- Sewing machine — any basic machine with a straight stitch. You can hand-sew the whole thing, but it takes considerably longer. If you’re borrowing a machine, test it on scraps first.
- Thread — cotton or polyester, in a neutral colour like grey or cream. Matching every fabric is a fool’s errand; one good neutral thread blends with almost everything.
- Batting — the middle layer. Cotton batting is breathable and easy to quilt. An old fleece blanket or a flannel sheet works as a budget alternative.
- Backing fabric — a flat bedsheet is perfect. It needs to be a few inches larger than your quilt top on all sides.
- Pins or clips — curved safety pins are traditional for basting, but sewing clips are faster and kinder to your fingers.
- Iron and ironing board — pressing is not optional. It’s the difference between a quilt that looks handmade and one that looks homemade in the wrong way.
Step-by-Step
- Sort your scraps by colour and size. Pull out anything smaller than a 2.5 inch square — those go in a separate bag for a future project. Group the rest into lights, darks, and mediums. This takes twenty minutes and saves you an hour of indecision later.
- Decide on a block size. A 5 inch square is the sweet spot for beginners. Big enough to handle, small enough to use up small scraps. Cut every piece to exactly 5 x 5 inches using your ruler and rotary cutter. If you’re using scissors, draw the square on the back of the fabric with a pencil first.
- Press every square flat. Set your iron to cotton heat with steam. Press each square individually, not in a stack. Yes, this is tedious. Do it anyway. Wrinkled fabric sews into wrinkled quilts.
- Lay out your squares on the floor or a large table. Aim for a layout about 5 squares wide and 7 squares tall for a lap quilt. Move them around until the colours feel balanced. Step back and squint — if one square jumps out too much, swap it.
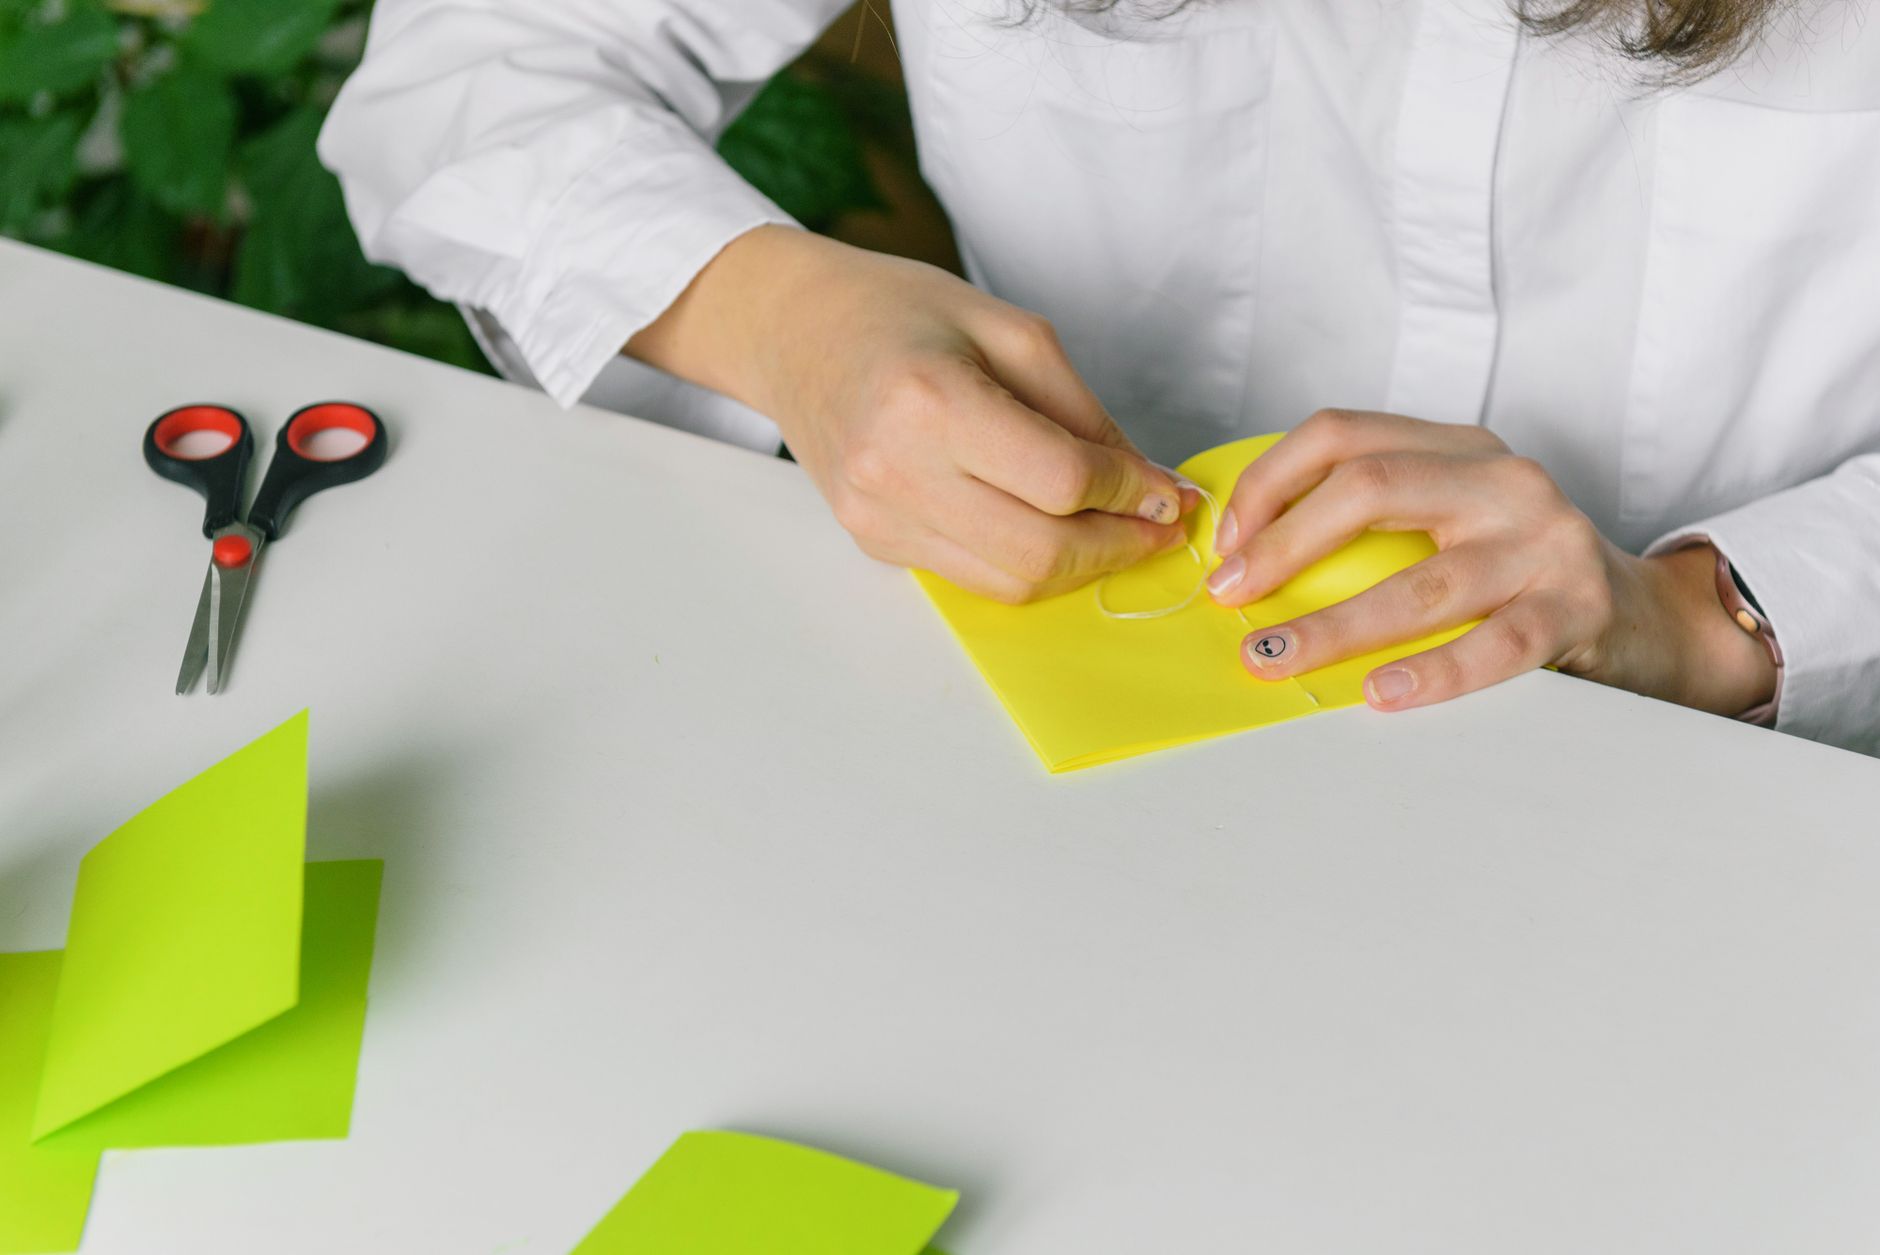
- Sew the squares into rows. Place two squares right sides together, pin the edge, and sew a quarter-inch seam. Add the next square the same way until you have a full row. Press the seam allowances to one side as you go. Make all seven rows.
- Join the rows together. Place row one and row two right sides together, matching the seams where the squares meet. Pin at every seam intersection. Sew with a quarter-inch seam. Repeat until all rows are joined into one quilt top. Press the whole top flat.
- Layer your quilt. Spread the backing fabric face down on the floor, smooth out every wrinkle. Add the batting on top, then the quilt top face up. Smooth each layer from the centre outward. Pin or clip every 4 to 6 inches across the entire quilt.
- Quilt it. Sew straight lines across the quilt, following the seam lines between rows. Start from the centre and work outward to avoid shifting. A walking foot helps if you have one, but a regular foot works if you go slowly.
- Trim the edges. Use your rotary cutter or scissors to trim the batting and backing even with the quilt top. Take your time here — wonky edges are hard to fix later.
- Bind the quilt. Cut 2.5 inch wide strips of fabric, join them end to end, and press the strip in half lengthwise. Sew the raw edge to the front edge of the quilt all the way around. Fold the strip over to the back and hand-sew it down with a blind stitch. This is the slowest part, and the most satisfying.
Beginner Tips
Measure twice, cut once — but with fabric, measure three times. The most common first-quilt mistake is cutting squares slightly different sizes, which makes rows misalign. Cut a cardboard template if you don’t trust your ruler.
Don’t skip the pressing. I know it feels like busywork. It isn’t. Pressing sets your seams flat and makes every subsequent step easier. A quilt that’s pressed at each stage looks crisp; one that isn’t looks lumpy.
Use a quarter-inch seam allowance consistently. Mark it on your machine bed with a piece of tape if there’s no guide. If your seams wander, your blocks won’t line up, and you’ll spend hours unpicking. Slow down and watch the fabric edge, not the needle.
Resist the urge to buy all new fabric. The whole point of a scrap quilt is using what you have. A quilt made from twenty different shirts and offcuts has more character than one made from a coordinated bundle.
Here’s a counter-intuitive one: don’t aim for perfection. Slightly mismatched corners and imperfect points are part of the charm. The quilt police aren’t coming. A finished quilt that’s a bit wonky beats a perfect one that never gets finished.
Creative Variation
Try a “string quilt” instead of squares. Cut your scraps into long strips of varying widths — anything from 1 to 3 inches wide. Sew them onto a foundation square of scrap muslin or old bedsheet, laying them diagonally across the square and flipping and pressing each strip before adding the next. Trim the finished block to 5 inches square. The result looks like a woven sunburst, and it uses up even the tiniest scraps. String quilts are also more forgiving than square quilts because the foundation fabric keeps everything stable. You can sew strips by colour family for a gradient effect, or go completely random for a scrappy, folk-art look.
Troubleshooting
My rows don’t line up. This almost always means your seam allowance drifted. Unpick the offending seam, pin more carefully at the intersections, and sew slowly. If the misalignment is small, don’t worry — quilting hides a multitude of sins.
My quilt top has ripples. You stretched the fabric while sewing or pressing. Press with an up-and-down motion rather than dragging the iron. When you layer the quilt, smooth from the centre out and pin generously.
The batting is bunching up. You didn’t pin closely enough. Add more pins or clips, spacing them no more than 4 inches apart. Baste with a long running stitch if you’re still worried.
My binding looks messy. Binding takes practice. Next time, cut your strips 2.75 inches wide instead of 2.5, and sew the front edge with a slightly wider seam. Hand-sewing the back down gives you more control than machine stitching.
The quilt is too stiff. You used too much quilting or too thick a batting. For a drapier quilt, space your quilting lines 4 to 6 inches apart and choose a low-loft cotton batting.
Finishing a scrap quilt feels like closing a loop. All those leftover bits from dresses, curtains, and half-finished projects finally have a home. The first one you make will teach you more than any tutorial can — and the second one will be easier, faster, and even more yours. So dig out that bag of scraps, pick a square size, and start cutting. Your future self, wrapped up on the sofa, will thank you.