Paper Mache Bowl: Easy Beginner Craft Tutorial
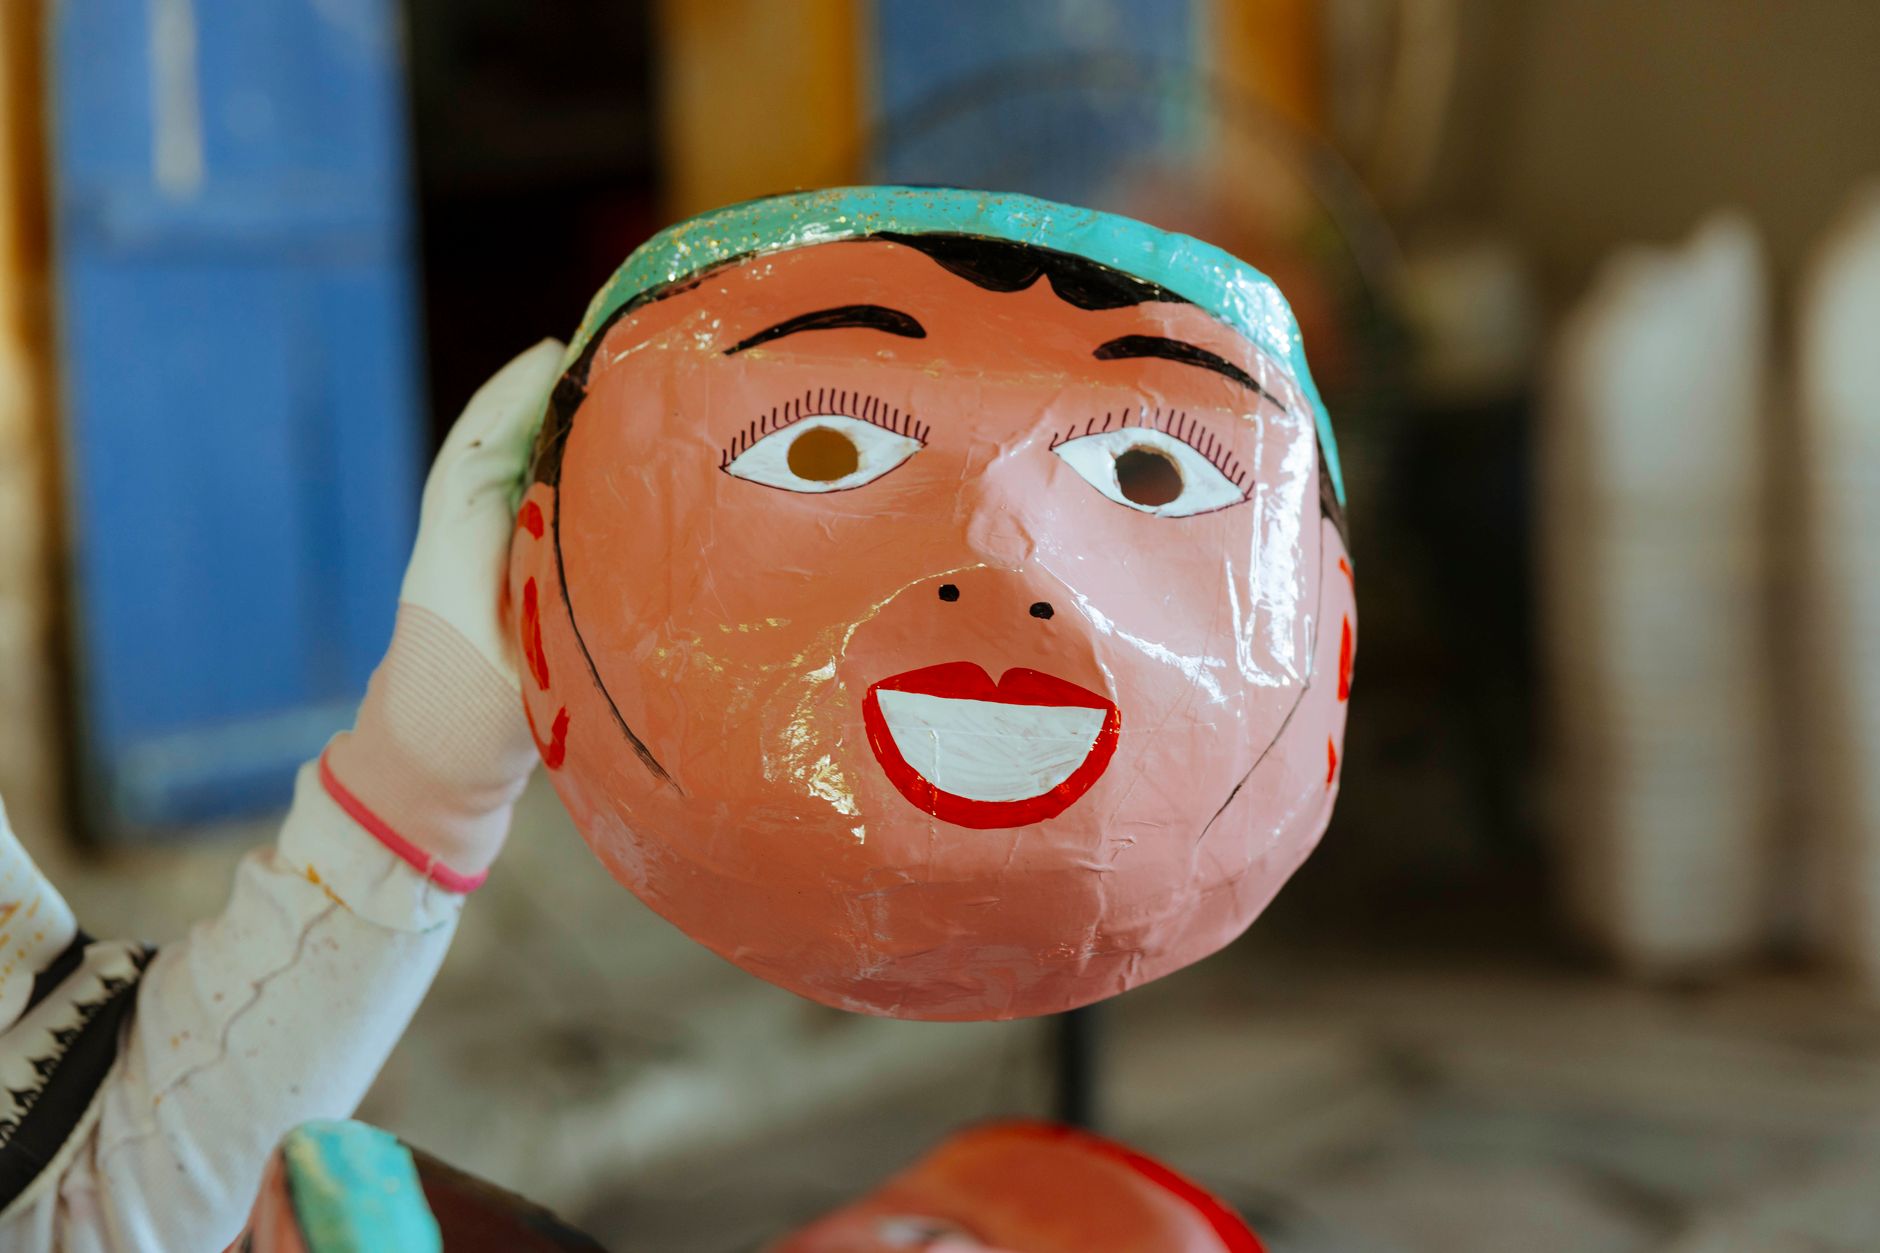
Paper mache has a reputation problem. People hear the words and picture lumpy school projects that fell apart by Friday. That’s a shame. Paper mache is one of the most forgiving, cheapest, and genuinely satisfying craft materials out there. You can build a bowl, a mask, a set of decorative letters, or a sculptural centerpiece using nothing but scrap paper and a bit of flour. Today we’re making a simple paper mache bowl — the perfect first project, and one you’ll actually want to keep on your shelf.
This project costs almost nothing, uses materials you probably already own, and takes about two evenings including drying time. It’s a lovely way to use up old newspaper, and the finished bowl makes a genuinely beautiful gift. Best of all, there’s no wrong way to do it. If you can tear paper and stir a paste, you can make this.
Materials List
- A mold or form. A glass or ceramic bowl you don’t mind getting messy works perfectly. A balloon is another classic option if you want a rounder shape. Avoid anything with deep texture — you want smooth curves.
- Newspaper or scrap paper. Newspaper is traditional and tears beautifully. Printer paper, brown kraft paper, or even old phone book pages all work. Avoid glossy magazines — the coating repels paste.
- Flour. Plain white flour is ideal. Bread flour is a fine substitute if that’s what’s in your cupboard.
- Water. Room temperature, straight from the tap.
- White PVA glue (optional). Some makers prefer a glue-and-water paste for a smoother, stronger finish. A 50/50 mix of PVA and water works well if you’d rather skip flour.
- A mixing bowl and whisk. Nothing fancy — a fork will do in a pinch.
- Cling film or plastic wrap. This is your mold release. Skip it and you’ll be scraping paper mache off your favorite bowl for an hour.
- Petroleum jelly or cooking spray. An extra insurance layer over the cling film. Vegetable oil also works.
- Acrylic paint and a brush (for finishing). Craft acrylics are perfect. Spray paint is a good alternative if you want a smooth, even coat.
- A sealant (optional). Mod Podge, varnish, or a diluted PVA coat will protect the finished piece.
Step-by-Step
- Cover your workspace. Lay down newspaper or a plastic sheet. Paper mache paste gets everywhere, and dried flour paste is a nuisance to chip off a table. Give yourself more room than you think you need.
- Prepare your mold. Wrap your bowl or balloon tightly in a layer of cling film, smoothing out the wrinkles as best you can. Then rub a thin layer of petroleum jelly or spray a little cooking oil over the top. This is your release agent — do not skip it.
- Tear your paper into strips. Tear, don’t cut. Torn edges feather into each other and give you a smoother surface. Aim for strips roughly 2–3 cm wide and 8–12 cm long. Smaller pieces for curves, bigger ones for flat areas. Make a generous pile — you’ll use more than you expect.
- Mix your paste. Combine one part flour with two parts water in your mixing bowl. Whisk until smooth. You’re looking for the consistency of thin pancake batter — it should coat the back of a spoon but still drip off easily. If it’s lumpy, add a splash more water and keep whisking. Lumps will show up in your finished piece.
- Dip and drag. Take a strip of paper and dip it into the paste. Now here’s the trick — drag it between two fingers to squeeze off the excess. Sloppy, dripping strips make for a soggy, slow-drying project. You want the paper coated, not saturated.
- Apply the first layer. Lay the strip across your mold and smooth it down with your fingers. Work your way around, overlapping each strip slightly. Don’t worry about neatness on this first layer — it’s the foundation, not the finish.
- Build up layers. Repeat until you’ve covered the whole mold. Aim for three to four layers total for a sturdy bowl. Here’s the key: let each layer dry completely before adding the next, or alternate the direction of your strips (horizontal on one layer, vertical on the next). Wet-on-wet layering is faster but weaker.
- Dry thoroughly. This is the part nobody wants to hear. Set your project somewhere warm and well-ventilated and leave it alone for 24 hours minimum. Near a radiator is good. A fan helps. Do not use a hairdryer on high heat — it’ll warp the shape and crack the surface.
- Release from the mold. Once it’s bone dry and rigid, gently work your fingers under the edge of the paper mache. It should pop away from the cling film fairly easily. If it resists, you’ve likely got a damp patch — give it more drying time.
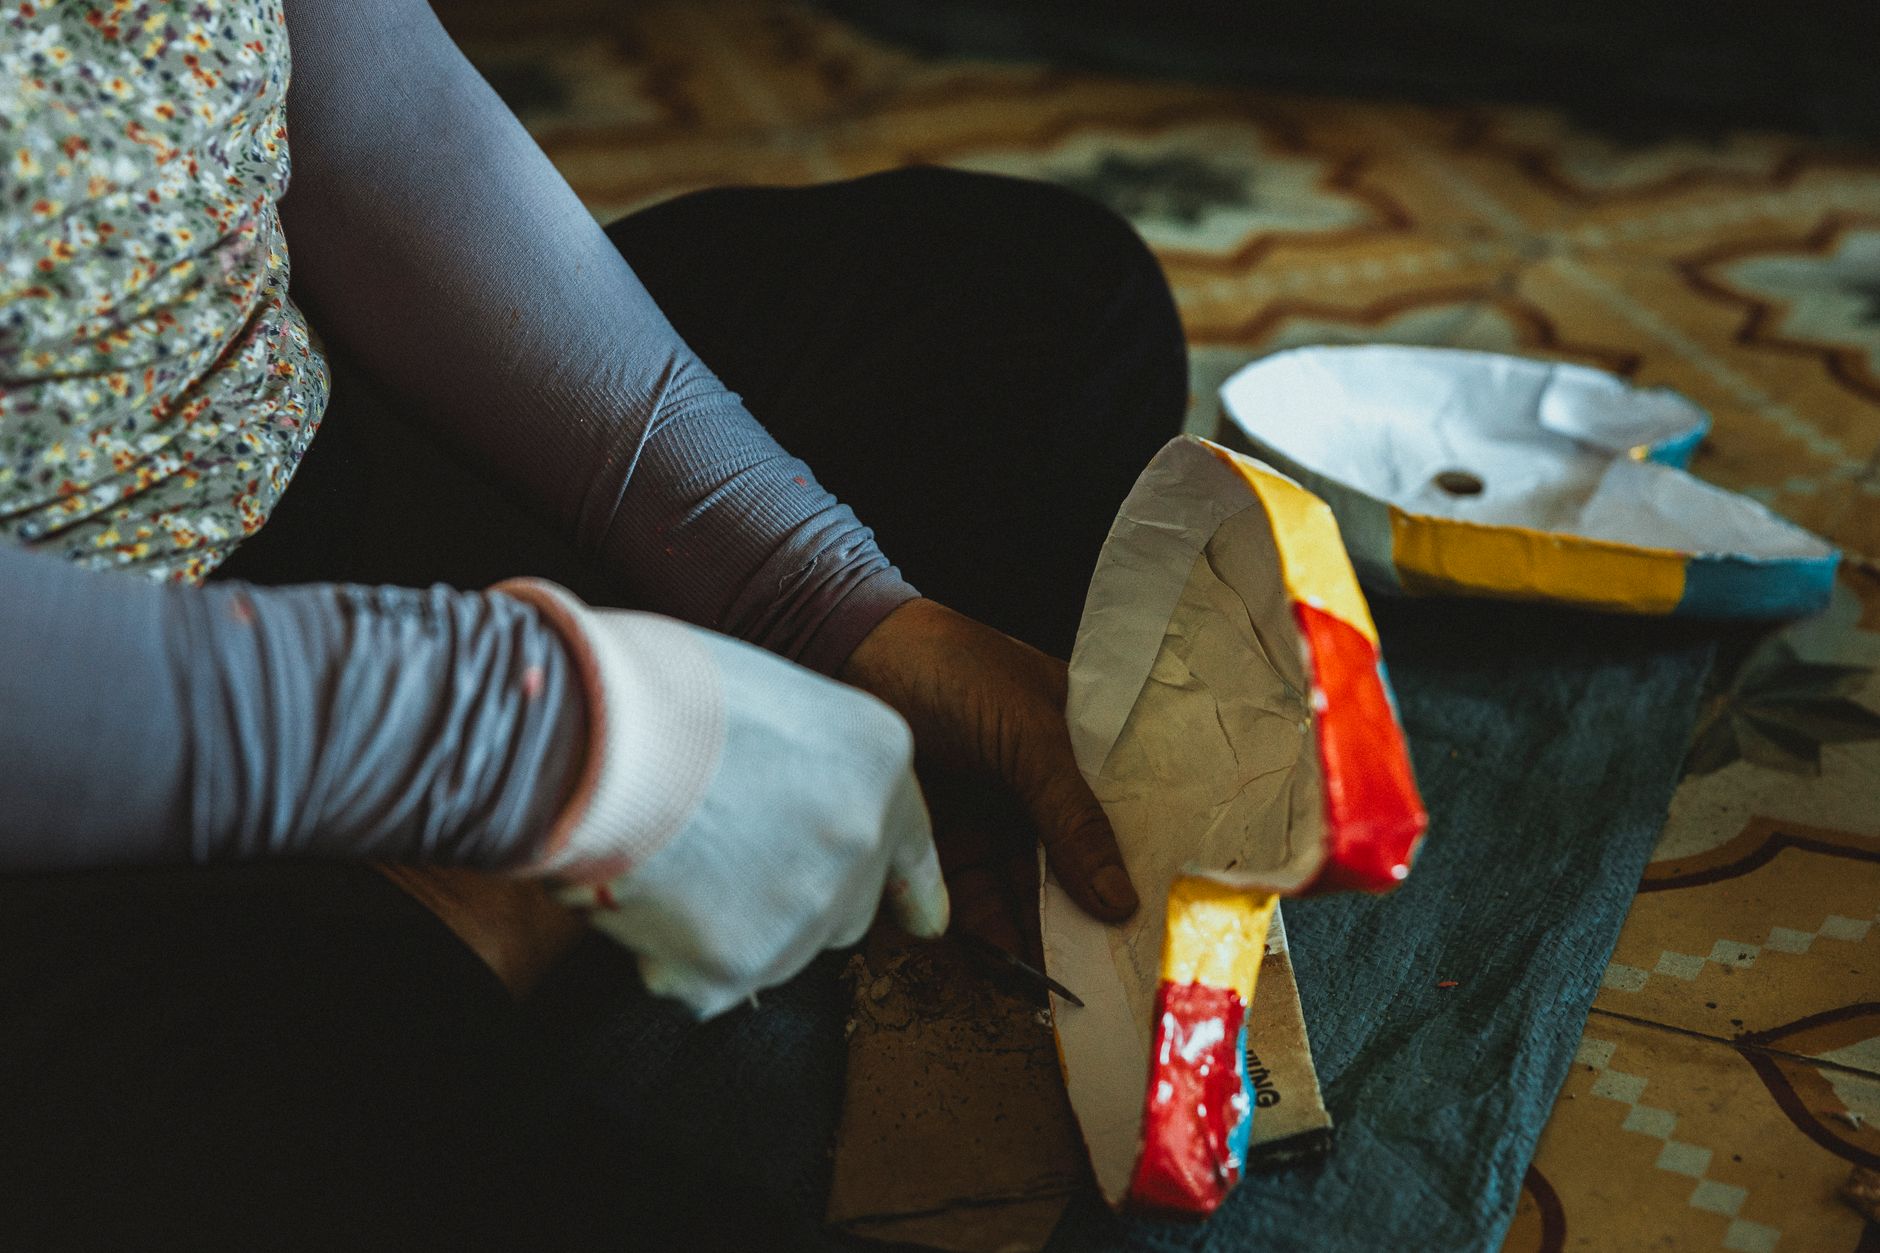
- Trim the rim. Use scissors or a craft knife to tidy up the top edge. You can cut a straight rim or a wavy, organic one. This is your bowl now — shape it how you like.
- Paint and seal. Give it two coats of acrylic paint, letting each dry fully. Once the paint is dry, brush on a coat of Mod Podge or varnish. This protects the surface and makes it wipeable. A sealed paper mache bowl can hold dry items like fruit or keys — just don’t fill it with soup.
Beginner Tips
The single biggest mistake first-timers make is rushing the drying. I know, I know — you want to see the finished thing. But damp paper mache will sag, mold, and lose its shape. Patience here is everything.
Second mistake: too much paste. New makers dunk strips like they’re dipping toast in soup. Wring them out. A well-coated strip should feel damp, not dripping.
Third: forgetting the release layer. Cling film plus a little oil is non-negotiable. I’ve watched a grown adult try to pry a paper mache bowl off a ceramic one with a butter knife. It didn’t end well.
Also — and this one surprises people — don’t use hot water for your paste. It makes the mixture gluey and hard to work with. Room temperature is perfect.
Creative Variation
Once you’ve made one basic bowl, try a leaf-shaped dish. Blow up a balloon, then instead of covering the whole thing, lay strips in a single leaf shape on one side. When it dries, pop the balloon and you’ve got a curved, organic dish that looks like something from a boutique. Paint it with a marbled effect using two or three acrylic colors swirled together while wet. It’s the same technique, a completely different result — and it makes a gorgeous little jewelry or trinket dish.
Troubleshooting
My project is still soft after two days. It’s too thick or too wet. Move it somewhere warmer with more airflow, and give it another day. If the middle is genuinely soggy, you may have applied too much paste — you can sometimes save it by gently prying off the top layer and letting the rest dry.
The paste smells sour. Flour paste can ferment if left out. Toss it and mix a fresh batch. Next time, add a pinch of salt to the paste to slow spoilage, or switch to the PVA-and-water method.
There are lumps in my paste. Strain it through a sieve or just keep whisking. For next time, add water to flour gradually rather than dumping it all in at once.
My bowl is lopsided. Welcome to handmade. Honestly, a slightly uneven rim looks intentional once it’s painted. If it really bothers you, trim the rim with scissors to even it out.
The paper keeps sliding off the mold. Your paste is too thin. Add a little more flour, a spoonful at a time, until it holds.
Paper mache rewards the patient and forgives the clumsy. It’s cheap enough to experiment with, sturdy enough to actually use, and old enough that you’re joining a tradition stretching back centuries. Make one bowl this week. Then make another, and give it away. That’s how this craft hooks you — not with perfection, but with the quiet satisfaction of turning a pile of scrap paper into something you’d happily put on your table.