How to Make Greeting Cards: Easy DIY Guide
There’s a particular kind of magic in a handmade card. Maybe it’s the wonky edges. Or the way the glue stick shows through just a little. Whatever it is, a card you made yourself says something a shop-bought one never can: I thought about you, and I made the time.
This project suits a rainy afternoon or a quiet evening. It costs almost nothing, needs no special talent, and you can finish a batch of cards in under an hour. Let’s make something lovely together.
Materials List
- Card blanks — pre-scored A6 cards and envelopes are the easiest starting point. No blanks? Fold A4 cardstock in half and trim to size. Cereal box cardboard works too, just paint it first.
- Patterned paper — scrapbook paper, old wrapping paper, or pages from a damaged book. Even junk mail envelopes have beautiful inner patterns.
- Glue — a glue stick for flat paper, PVA for heavier pieces. Double-sided tape is a brilliant no-mess alternative.
- Scissors — sharp ones for clean cuts. Craft knives work for straight lines if you have a cutting mat.
- A ruler — for measuring and for scoring folds. A bone folder if you own one, but a fingernail will do.
- Embellishments — washi tape, buttons, ribbon, dried flowers, stickers, stamped images. Raid your junk drawer.
- A pen — fine-liner or gel pen for your message. Pencil first if you’re nervous about your handwriting.
Step-by-Step
- Choose your card base. Pick a card blank that matches your mood and the occasion. White and cream are the most versatile. Kraft brown feels rustic and warm. If you’re folding your own, press the crease firmly with a ruler edge so the card lies flat.
- Plan your layout on scrap paper. Before you touch the good stuff, sketch a rough rectangle and block in where your elements will go. This takes thirty seconds and saves you from a crooked disaster. Trust me on this one.
- Cut your background layer. Cut a piece of patterned paper about 5mm smaller than your card front on all sides. This creates a neat border that makes the design look intentional, even when it isn’t. Measure twice, cut once — you know the drill.
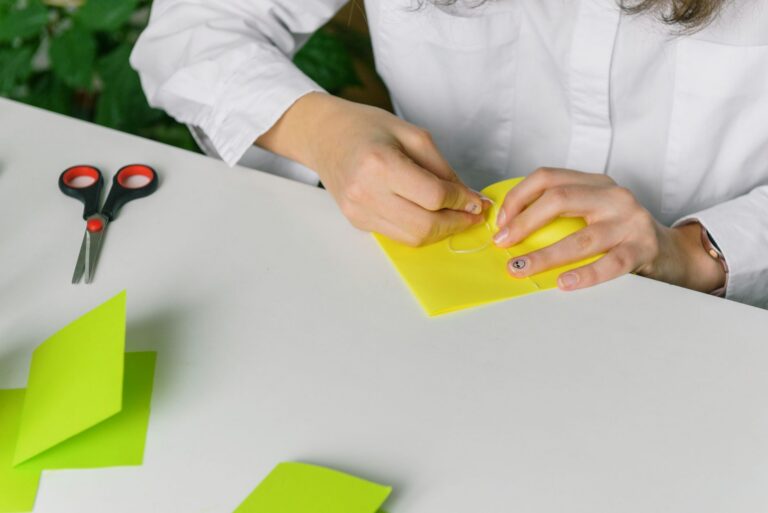
- Attach the background. Run your glue stick around the edges of the paper, not the middle. This stops the paper from buckling. Press it down from the centre outwards to push any air bubbles to the sides.
- Build your focal point. This is the star of the card — a die-cut shape, a stamped image, a photo, or a hand-drawn illustration. Cut it out, then play with positioning before gluing. Move it around. Try it high, low, off-centre.
- Add dimension with foam pads. Stick small foam squares behind your focal piece instead of gluing it flat. This lifts it off the card and creates a shadow that makes the whole thing look professional. No foam pads? Stack two layers of cardboard from a delivery box.
- Layer your embellishments. Add washi tape strips, a ribbon bow, or a few tiny buttons. The rule of odd numbers works wonders here — three small elements look better than four. Keep some empty space. Clutter kills a design.
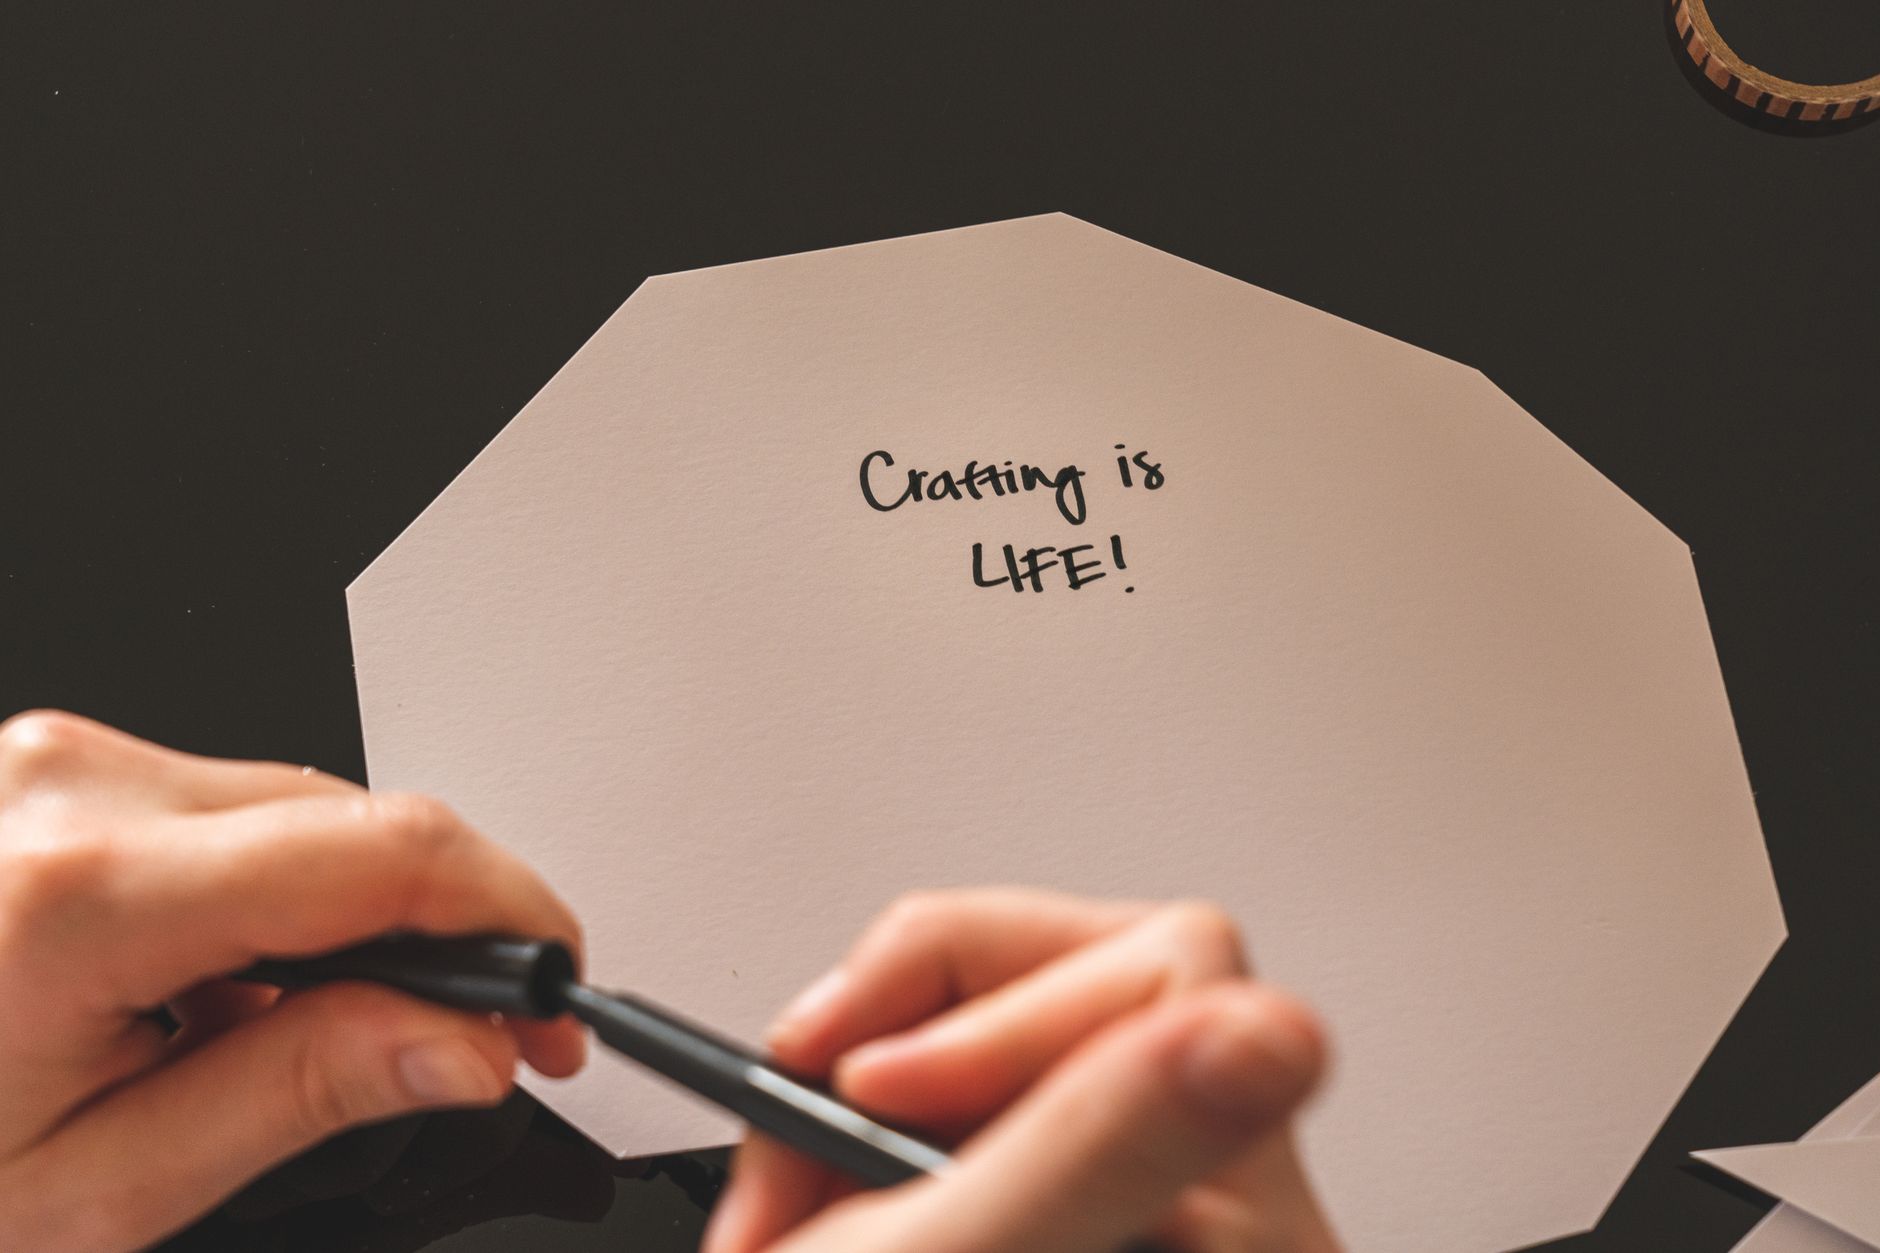
- Write your message inside. Pencil it first if you’re worried about mistakes. Keep it warm and personal. A simple “thinking of you” beats a forced poem every time.
- Let everything dry flat. PVA glue warps paper if you handle it too soon. Give it ten minutes under a heavy book. This flattens the card and sets the glue properly.
- Check the envelope. Make sure your card fits. If it’s too bulky from embellishments, you’ll need a larger envelope or a padded mailer. Learn from my mistakes.
Beginner Tips
The biggest mistake I see in workshops? Over-gluing. People squeeze on a fat line of PVA, press the paper down, and watch it curl up like a dying leaf. Less is genuinely more. A thin, even layer holds better than a thick blob.
Second mistake: working on a flat, hard surface with no protection. Glue seeps under the edges and bonds your card to the table. Use a cutting mat, a sheet of greaseproof paper, or even a magazine you don’t love.
Third: rushing the design. You wouldn’t build a house without a plan. Spend two minutes arranging your pieces before anything gets stuck down. Move them around. Take a photo with your phone so you remember the layout you liked.
And here’s one that surprises people — don’t aim for perfection. The slightly crooked button, the handwritten title that wobbles a bit? That’s the charm. A machine made the perfect card. You made this one.
Creative Variation
Once you’ve made a few basic cards, try a collage card. Instead of one focal image, tear small pieces of patterned paper, old maps, sheet music, or fabric scraps and overlap them across the card front. Glue them down in a patchwork, then add a single stamped word or a handwritten phrase on top.
This variation is wonderful because it’s almost impossible to mess up. Torn edges look better than cut ones — they add texture and softness. And every card comes out completely different, which means you can make a stack for a craft fair or a charity stall without repeating yourself once.
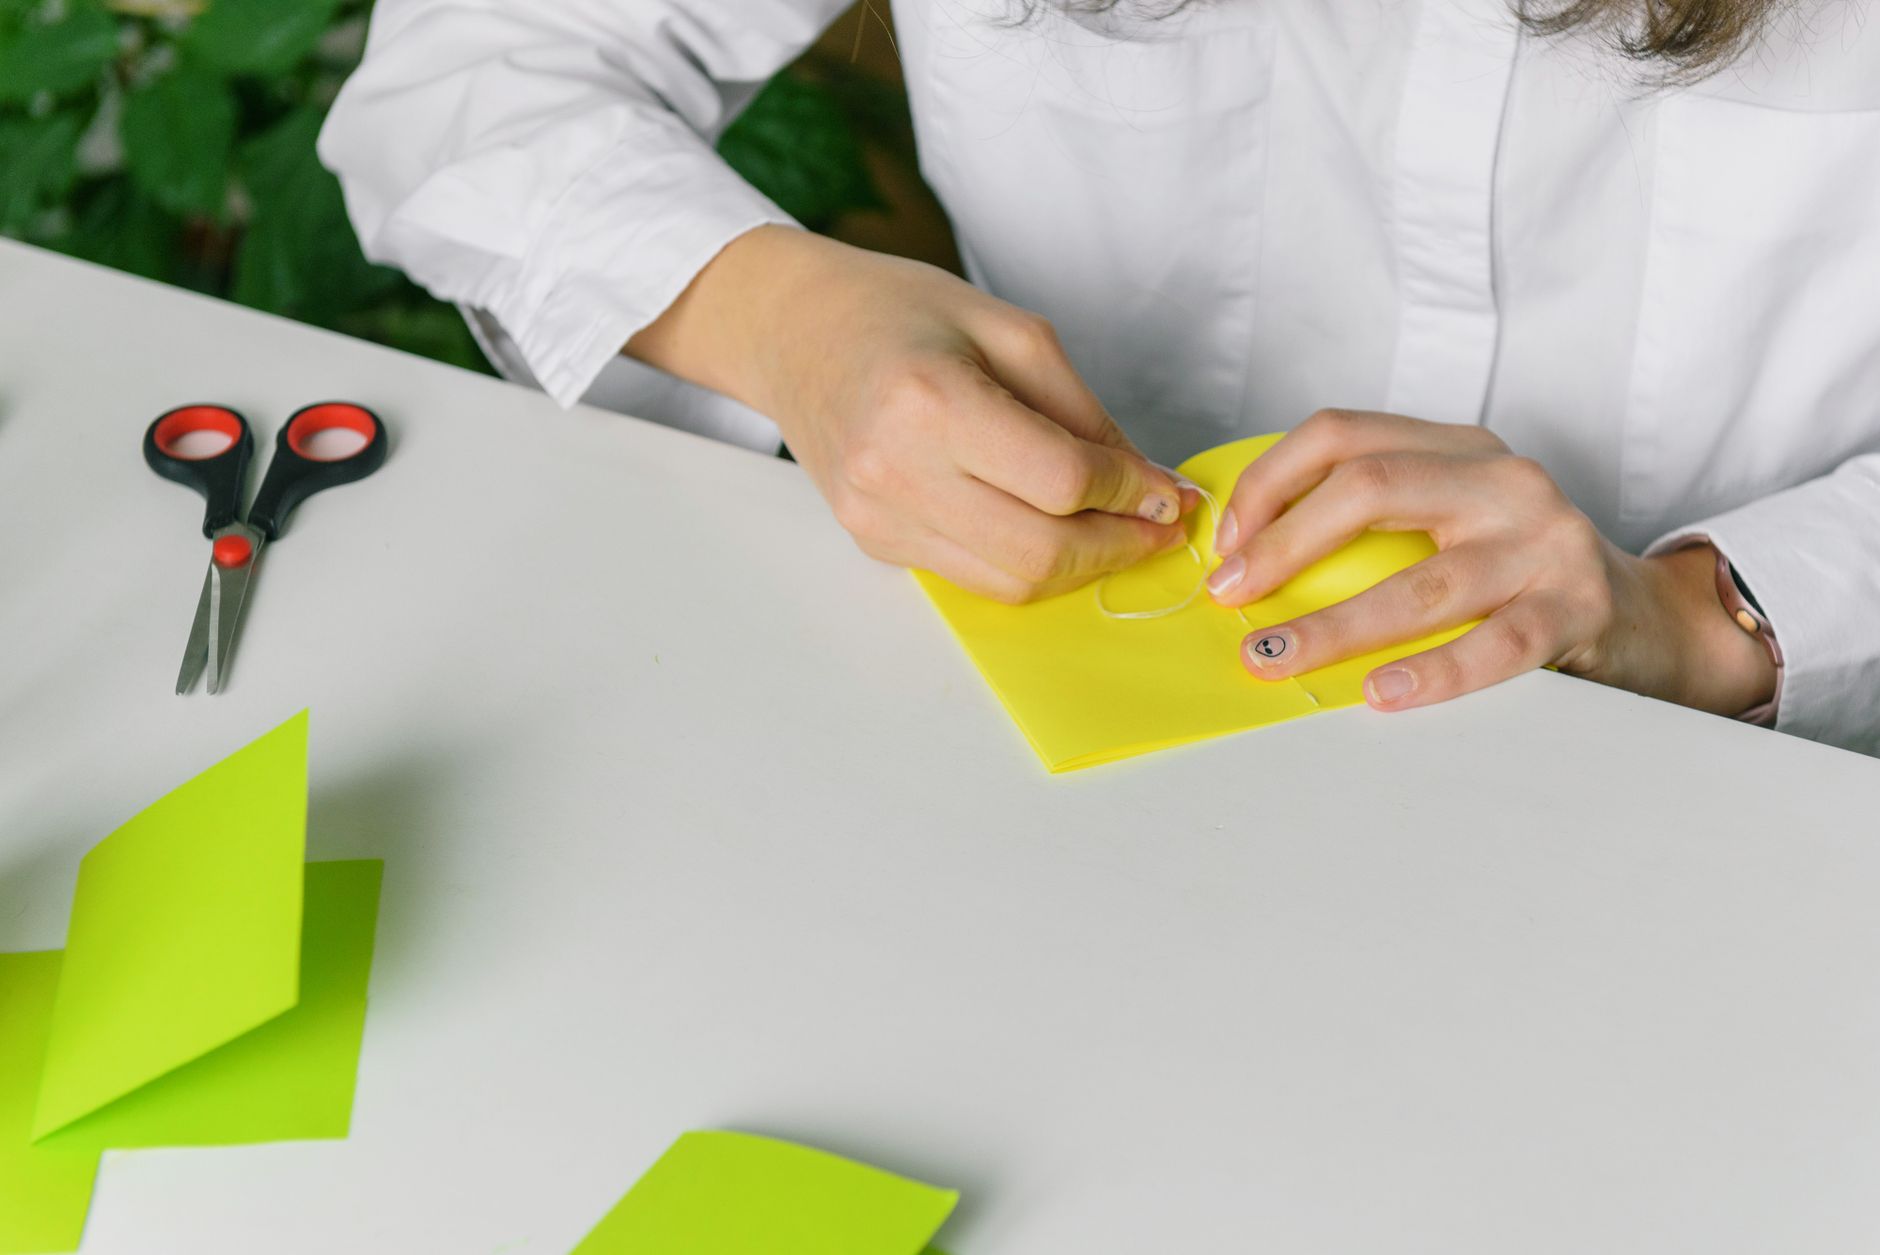
Want to push it further? Add a stitched border with a sewing machine, or hand-stitch with embroidery thread and a needle. The holes are easy to poke through cardstock with a paper piercer or a thick needle. Slow, meditative, and the result looks like something from a boutique.
Troubleshooting
My card is warping. Too much wet glue. Next time use a glue stick or double-sided tape for large areas, and press the finished card under a heavy book for an hour. You can sometimes rescue a warped card by misting the back lightly with water and pressing it flat overnight.
The glue is showing through. This happens with thin paper and liquid glue. Switch to a tape runner or glue stick for delicate papers. If it’s already dried, cover the smudge with a small embellishment — a flower, a sticker, a stamped shape. Call it a design feature.
My handwriting looks messy. Write on a separate piece of paper, cut it to size, and glue it inside. Or print your message on the computer. Nobody said the words have to be handwritten — they just have to be yours.
The embellishments keep falling off. Buttons and heavier items need strong adhesive. Use a hot glue gun or strong craft glue, not a glue stick. And give them time to set before you handle the card.
The design looks flat and boring. Add layers. Mat your focal image onto a slightly larger piece of contrasting card. Add foam pads for height. Include a texture — ribbon, twine, or a torn edge. Depth is what separates a nice card from a stunning one.
Making cards is one of those rare crafts where the supplies cost pennies and the results feel priceless. You don’t need a dedicated craft room or a degree in fine art. A kitchen table, a glue stick, and half an hour is enough to make someone’s day.
Start with one card. Just one. Pick a person you love and make something for them this week. The first one might be a bit rough around the edges, and that’s completely fine. The second will be better. By the fifth, you’ll be hooked, and your friends will start asking when their birthday card is coming. That’s a lovely problem to have.