Beginner Stained Glass Basics: Copper Foil Guide
The smell of flux hits you first — sharp, a bit like hot metal and pine resin. Then the solder snaps from matte grey to a bright liquid silver bead that rolls exactly where your iron pushes it. That moment, right at the start, is when most people fall in love with stained glass. I’ve watched it happen in church halls and community centres for fifteen years now. Your hands are shaking slightly. You’re half-convinced you’ll ruin everything. Then a seam fuses and you think: oh. I can actually do this.
Stained glass has a reputation problem. People assume you need a dedicated studio, a kiln, and years of apprenticeship. You don’t. The copper foil method — the one I teach to absolute beginners — needs a table, a few hand tools, and about two hours of your afternoon. This tutorial walks you through making your first small panel: a simple suncatcher or a 15cm square. It’s a craft that rewards patience over talent, which means it suits almost everyone. If you’ve ever looked at a window and wondered how the light gets trapped in there, this is your on-ramp.
Materials List
- Glass — start with 3mm art glass. Buy a beginner’s assortment pack (roughly 6–8 sheets of mixed colours) rather than full sheets. Alternative: many studios sell scrap bags by weight; perfect for practising cuts.
- Glass cutter — a standard oil-fed pistol-grip cutter. Alternative: a pencil-style cutter works fine for small pieces, just keep it oiled.
- Running pliers — for snapping along score lines. Alternative: flat-jaw pliers with a strip of masking tape on the jaws to protect the glass.
- Grozing pliers — for nibbling away stubborn edges. Alternative: none, really. This one’s worth buying; it’s cheap and you’ll use it constantly.
- Copper foil tape — 5/32″ or 7/32″ width, with adhesive backing. Alternative: lead came, but save that for later projects; foil is far more forgiving.
- Solder — 60/40 tin-lead, thin gauge. Alternative: lead-free solder, which flows a little hotter and needs slightly more patience.
- Flux — liquid or paste. Alternative: gel flux is less messy for beginners.
- Soldering iron — 100W with a chisel tip. Alternative: a 60W works for small panels if you pre-tin your tip and work steadily.
- Safety gear — safety glasses, a dust mask for grinding, and nitrile gloves. Non-negotiable.
- Extras — a glass grinder (borrow one if you can), a fid or craft stick for burnishing foil, a marker pen, a cork-backed ruler, and a surface to work on: a cheap cork board or a sheet of plywood.
Step-by-Step
- Draw your pattern. Sketch a design no bigger than 15cm square with a maximum of eight pieces. Fewer pieces means fewer seams, which means fewer places to go wrong. Use a ruler, keep curves gentle, and remember every line you draw becomes a line of solder.
- Make two copies. One stays whole as your master. Cut the other into individual pieces with sharp scissors — these are your templates.
- Trace onto glass. Lay each paper template on your glass and trace around it with a marker. Leave a 1–2mm gap between pieces when you position them; the foil needs that breathing room. Glass is slippery, so trace one piece at a time.
- Score and break. Hold the cutter upright, press firmly, and draw one continuous line — one pass only, no going back. Then place the running pliers on the score line and squeeze gently. It should crack along the line with a satisfying little tick.
- Groze the edges. Nibble off any sharp or lumpy bits with your grozing pliers. Aim for edges that are straight-ish, not perfect. The foil hides a lot.
- Grind (optional but recommended). Run each edge against the grinder to smooth it and true up the shape. Wear your glasses. Rinse and dry every piece — grinding dust stops the foil sticking.
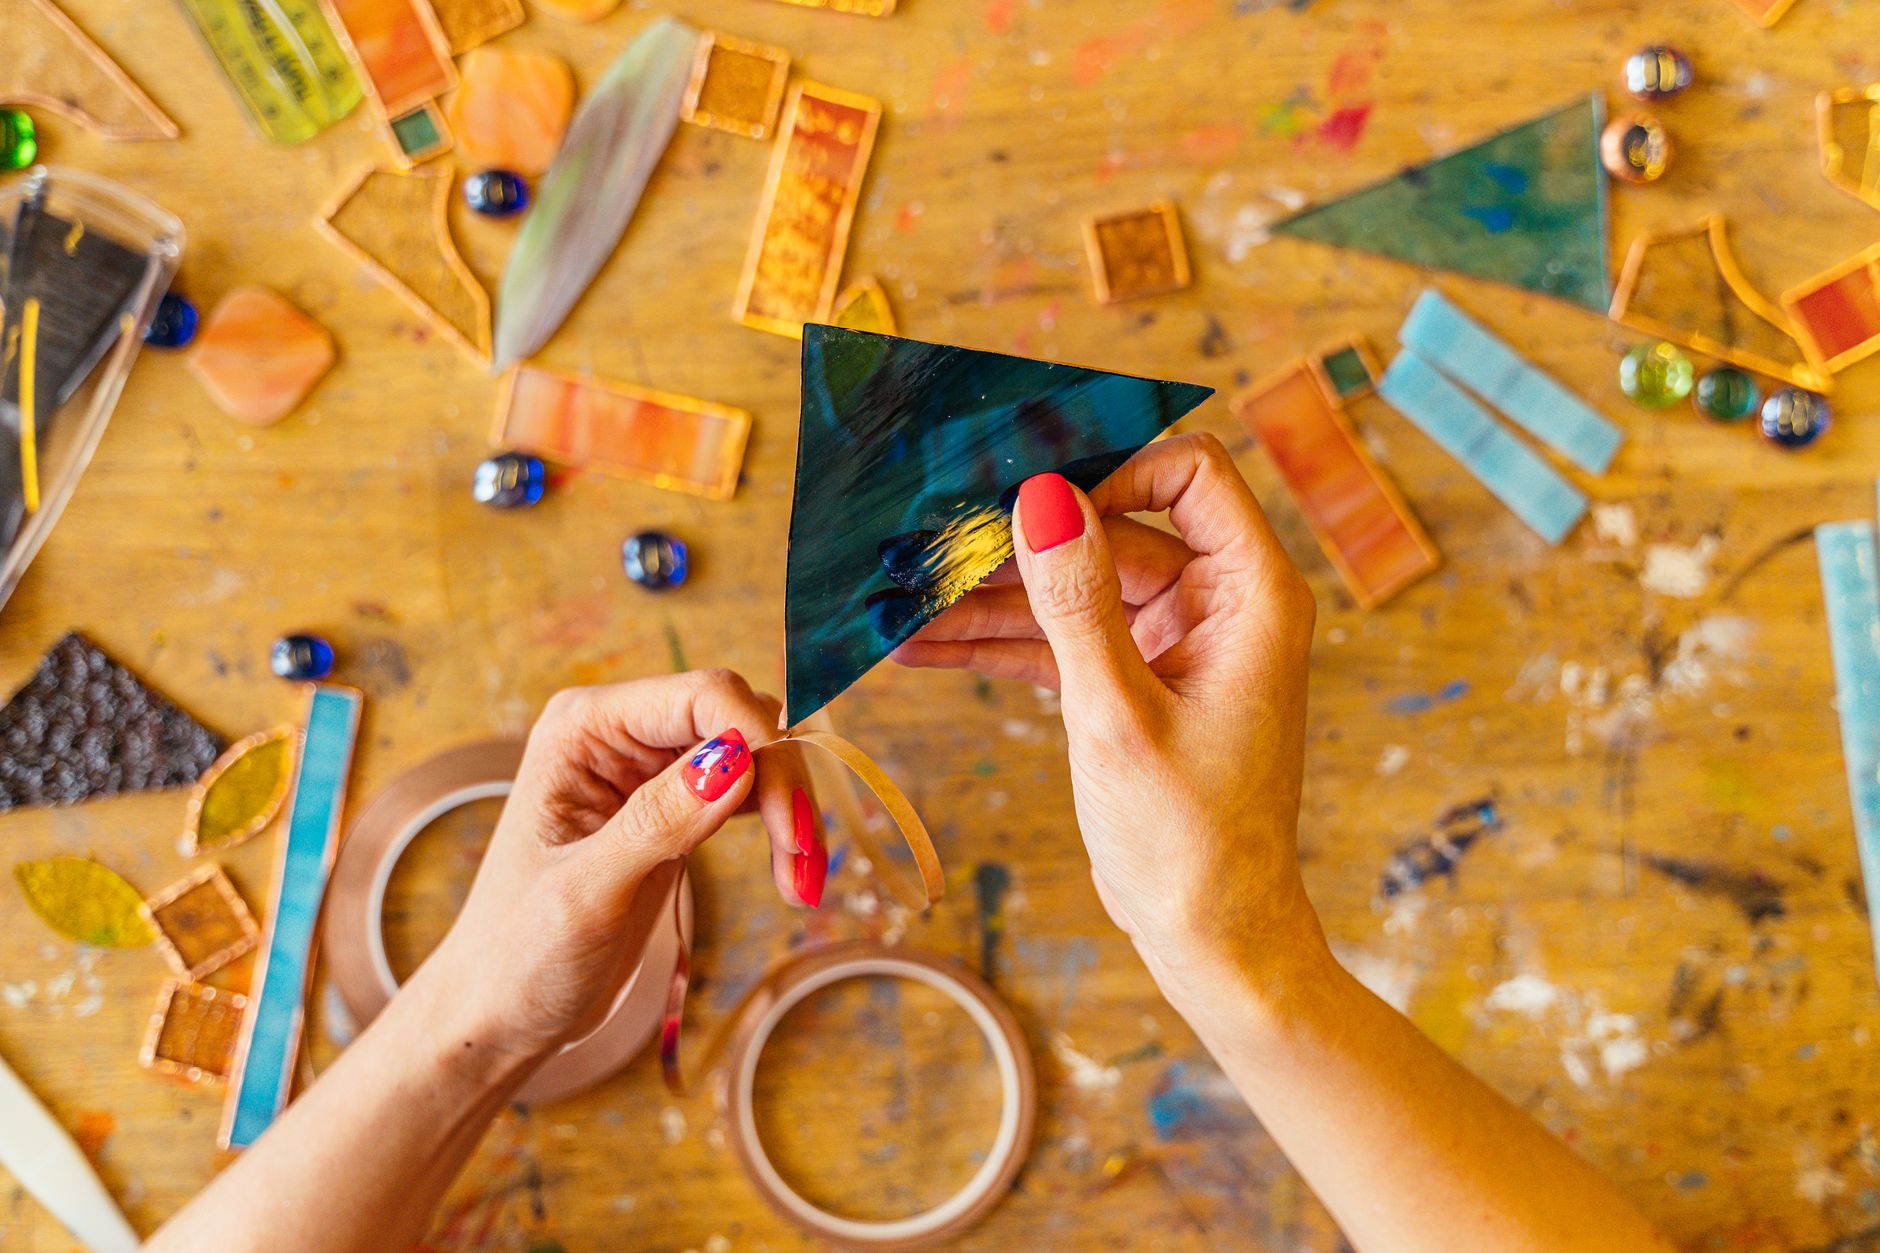
- Wrap in foil. Centre each piece on a strip of foil and press it down on all sides. Burnish with a fid or craft stick so it hugs the glass tightly. Aim for an even border of about 3mm on each face. Lumpy foil means lumpy solder.
- Assemble on your pattern. Lay the master drawing under a sheet of clear glass or on your board, then place the foiled pieces face-up, matching the drawing. Nudge them until the gaps look even.
- Tack solder the seams. Flux a few seams, then touch the hot iron and solder to each one for a second or two. Just enough to hold. Work around the panel, flipping it carefully as you go.
- Run the seams. Go back and solder each seam fully, drawing the bead along with the iron. Keep the iron moving; lingering overheats the glass. Aim for a smooth rounded bead, not a flat smear.
- Flip and repeat. Turn the panel over and solder the back seams the same way.
- Add an edge bead. Run solder around the outer border so the panel has a clean frame. This also strengthens the whole piece.
- Clean up. Wash the panel in warm soapy water with a soft brush to remove flux residue. Dry thoroughly. Flux left on will eat into the solder over time.
- Finish. Optional: apply patina to darken the solder, then wax the panel with carnauba wax to protect it. Attach a hanging loop or a small chain and hang it where the light hits.


Beginner Tips
Score once. This is the single biggest mistake I see. People go over the same line twice thinking it’ll help, and it doesn’t — it dulls the break and makes a mess. One firm, confident pass. If the break goes wrong, start again on a fresh area of glass.
Don’t over-solder. A bead the width of a matchstick is plenty. Piling solder on feels productive but it makes the panel heavy and ugly, and it can crack the glass from heat stress. Move the iron steadily and let the solder flow rather than pushing it around.
Keep your iron tip clean. Wipe it on a damp sponge every few seams and re-tin it. A dirty tip won’t take solder and you’ll spend ten minutes wondering why nothing’s sticking.
Here’s a counter-intuitive one: don’t aim for a tight fit. Beginners try to jam pieces together so there are no gaps, and the panel ends up warped and hard to solder. A small, even gap is what you want — the solder bridges it and gives you a proper seam. Loose is good.
Also, cut more glass than you need. Glass breaks unpredictably, and having spares means you’re not tempted to force a bad piece into place.
Creative Variation
Once you’ve made one plain panel, try a two-tone design where the light does the work for you: pick one opalescent glass and one clear or cathedral glass, and alternate them so the suncatcher throws patterned light across the wall. Opalescent glass is milky and diffuses light; cathedral glass is transparent and lets colour through. Combining them in a simple checkerboard or stripe pattern looks far more designed than it actually is. My students love this because it teaches you how different glasses behave without asking you to draw anything complicated. Pick your two sheets, cut identical shapes, and let the materials argue with each other.
Troubleshooting
The glass won’t break along the score. Your cutter was probably dull or you pressed too lightly. Try running pliers on the line, or tap gently underneath the score with the cutter’s ball end. If it still won’t go, score a fresh line a few millimetres over.
The break runs off course. Happens to everyone. Usually the score was uneven or the glass had a hidden flaw. Set that piece aside for a smaller element and cut a new one.
Solder won’t stick. Almost always flux or heat. Re-flux the seam, clean your tip, and give it a moment longer. Cold solder joints look dull and lumpy — they should be shiny.
The panel cracks during soldering. Too much heat in one spot. Back off, let it cool, and work in shorter passes. Small panels are especially prone to this, so keep the iron moving.
Foil peels off. The glass was dirty or damp. Clean and dry it fully, then re-wrap. Burnish harder this time.
Nothing here is unfixable. That’s the joy of the craft — glass is forgiving of rework, and mistakes become design quirks. Every wobble in a seam tells the story of the afternoon you made it, and honestly, that’s part of the charm. Nobody falls in love with a machine-perfect panel. They fall in love with one that has a little human grit in it.
So gather your scraps, clear the kitchen table, and give it a go. Your first panel won’t be perfect and it shouldn’t be — mine had a seam so lumpy it looked like a caterpillar. Hang it in the window anyway. The light will find it. Then make the next one. That’s how everyone I know started, and it’s how you’ll start too. Have you got a window that’s been waiting for something?