Bead Jewelry Making: Beginner Bracelet Tutorial
There’s a small dish on my workbench that holds about forty beads I’ve dropped over the years. Each one has a story — the turquoise cube that shot off my pliers in 2019, the tiny garnet that rolled under the sofa and stayed there for a month. Every beader has a dish like this. The good news? The beads on your finished bracelet don’t need to be the ones that fell. Bead stringing looks fiddly from the outside. And yes, your first few knots will be lumpy. But the actual skills involved are three: thread beads, tie a knot, trim the ends. That’s it. Everything else is practice, patience, and a little quality control. By the end of this tutorial you’ll have a finished piece you can wear or gift, and the confidence to make twenty more.
Why bother making your own jewelry when beads cost money and shops sell finished bracelets for less than the supplies? Because you get to choose. Your favourite colours, your wrist size, a clasp that actually closes, and a design that matches the necklace you already own. It’s also a genuinely calming hobby — stringing beads has a rhythm to it that quietens a busy mind. And a handmade bracelet is one of the few gifts that always lands.
Materials List
- Beads. I use 6mm or 8mm round beads for a beginner bracelet — big enough to handle, small enough to look elegant. A 7-inch bracelet needs roughly 22–24 eight-millimetre beads. Alternatives: wooden beads, glass pearls, or a mixed bag of leftover beads in similar sizes. Avoid anything smaller than 4mm for your first go.
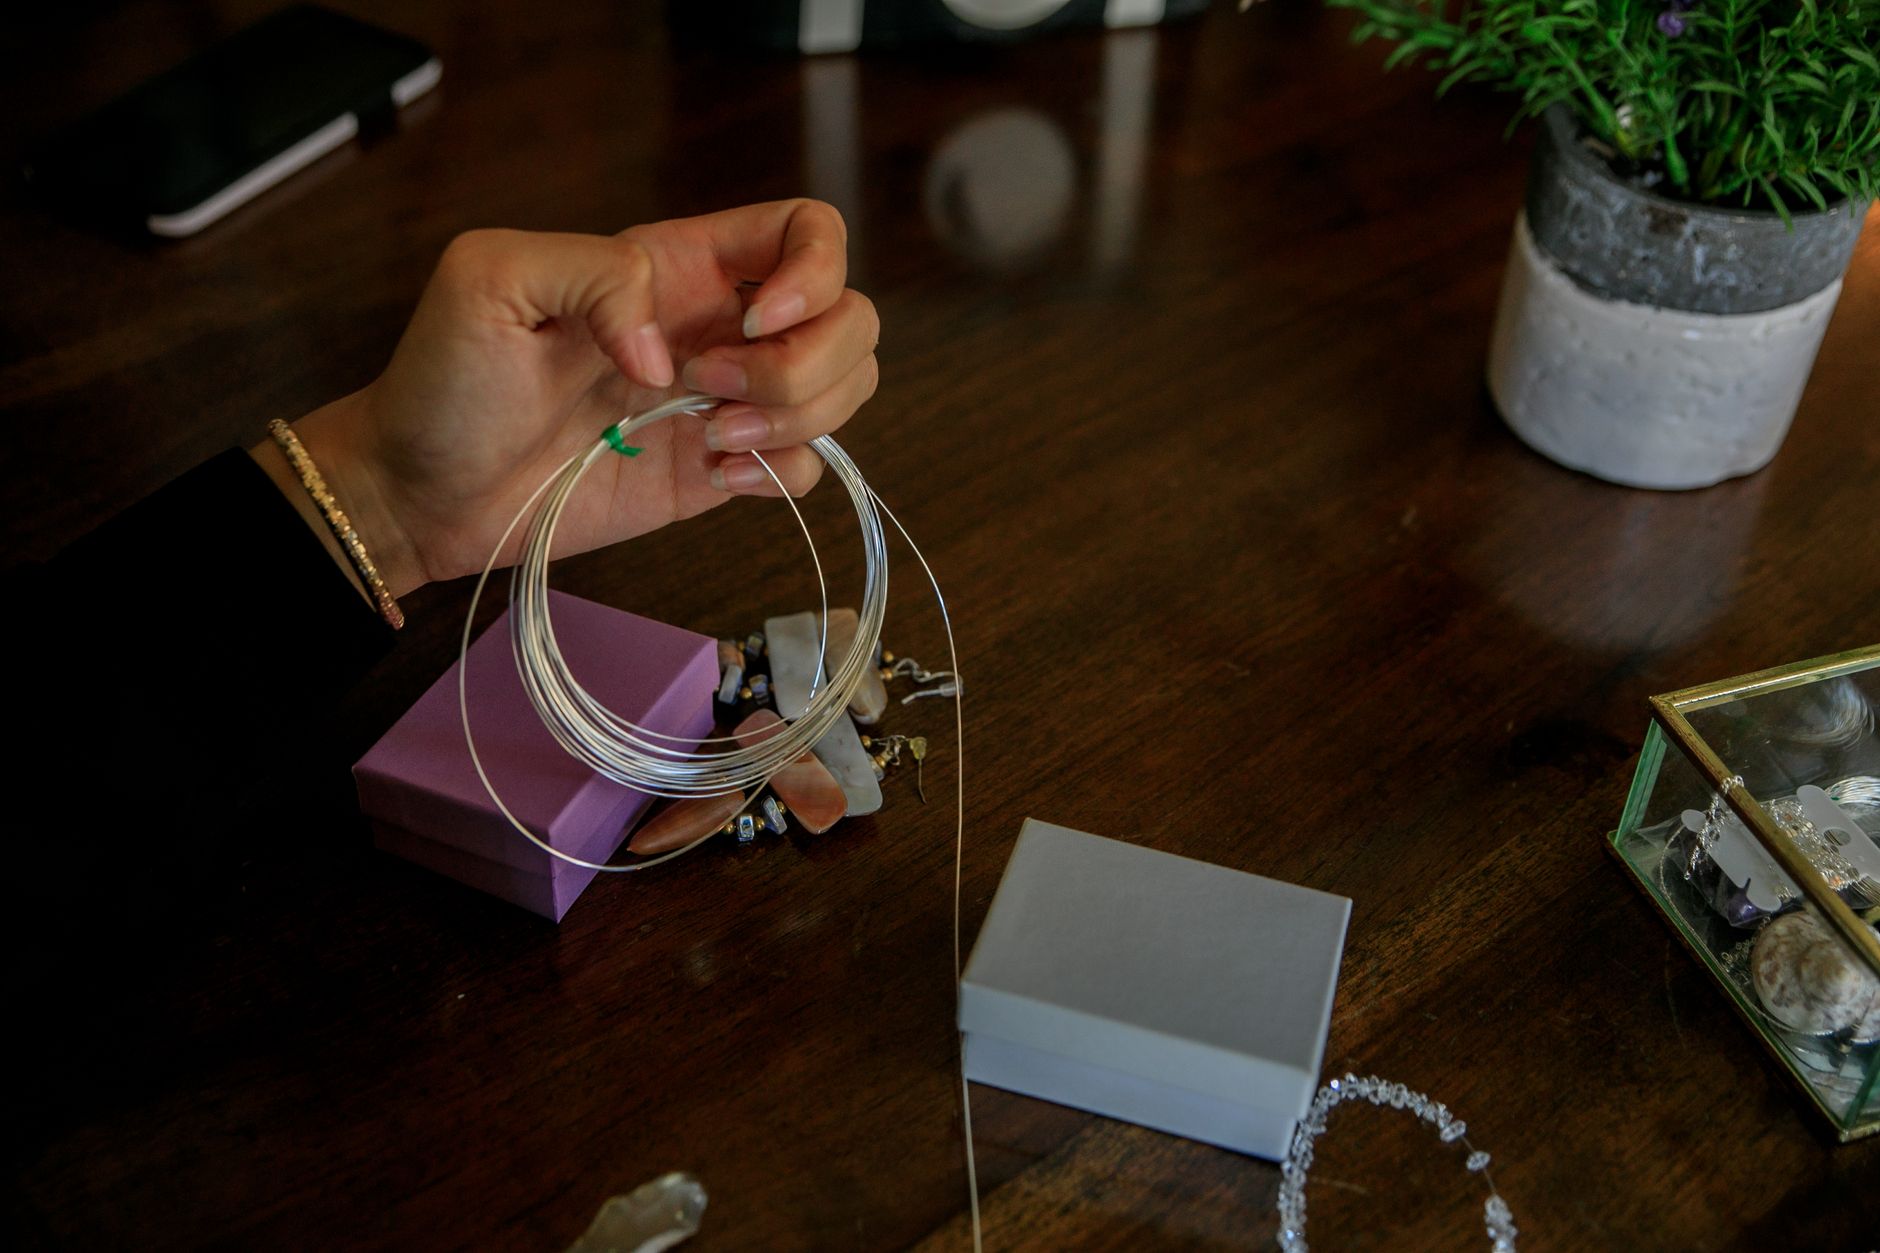
- Beading wire. I recommend 0.5mm or 0.6mm nylon-coated stainless steel beading wire. It’s flexible, strong, and holds a knot. Alternatives: elastic cord if you want a stretch bracelet (use 0.8mm), or waxed cotton for a knotted look — but cotton wears out faster.
- Two crimp beads. Small metal tubes that lock the wire closed. Alternative: skip these and tie a surgeon’s knot, which is slightly bulkier but works fine.
- A clasp. A lobster claw and jump ring set is the easiest to fasten. Alternative: a toggle clasp, which is simpler to operate but can slip on a loose bracelet.
- Two jump rings. For attaching the clasp to the crimps.
- Crimp pliers or flat-nose pliers. Alternative: chain-nose pliers from any hardware shop.
- Round-nose pliers for opening jump rings.
- Beading needle. Optional, but a thin needle helps if you’re using elastic cord.
- Bead mat or a tea towel. Stops beads rolling off the table.
- Small scissors or wire cutters.
- A ruler and a pen. Yes, really. Measuring saves you a re-string.
Step-by-Step
- Measure your wrist. Wrap a strip of paper around your wrist where you want the bracelet to sit, mark where it overlaps, and lay it flat against a ruler. That’s your wrist measurement. Add 1 inch for a comfortable fit — so a 6-inch wrist gets a 7-inch bracelet. Write the number down. If you’re making a gift and don’t know the size, 7 inches suits most adult wrists.
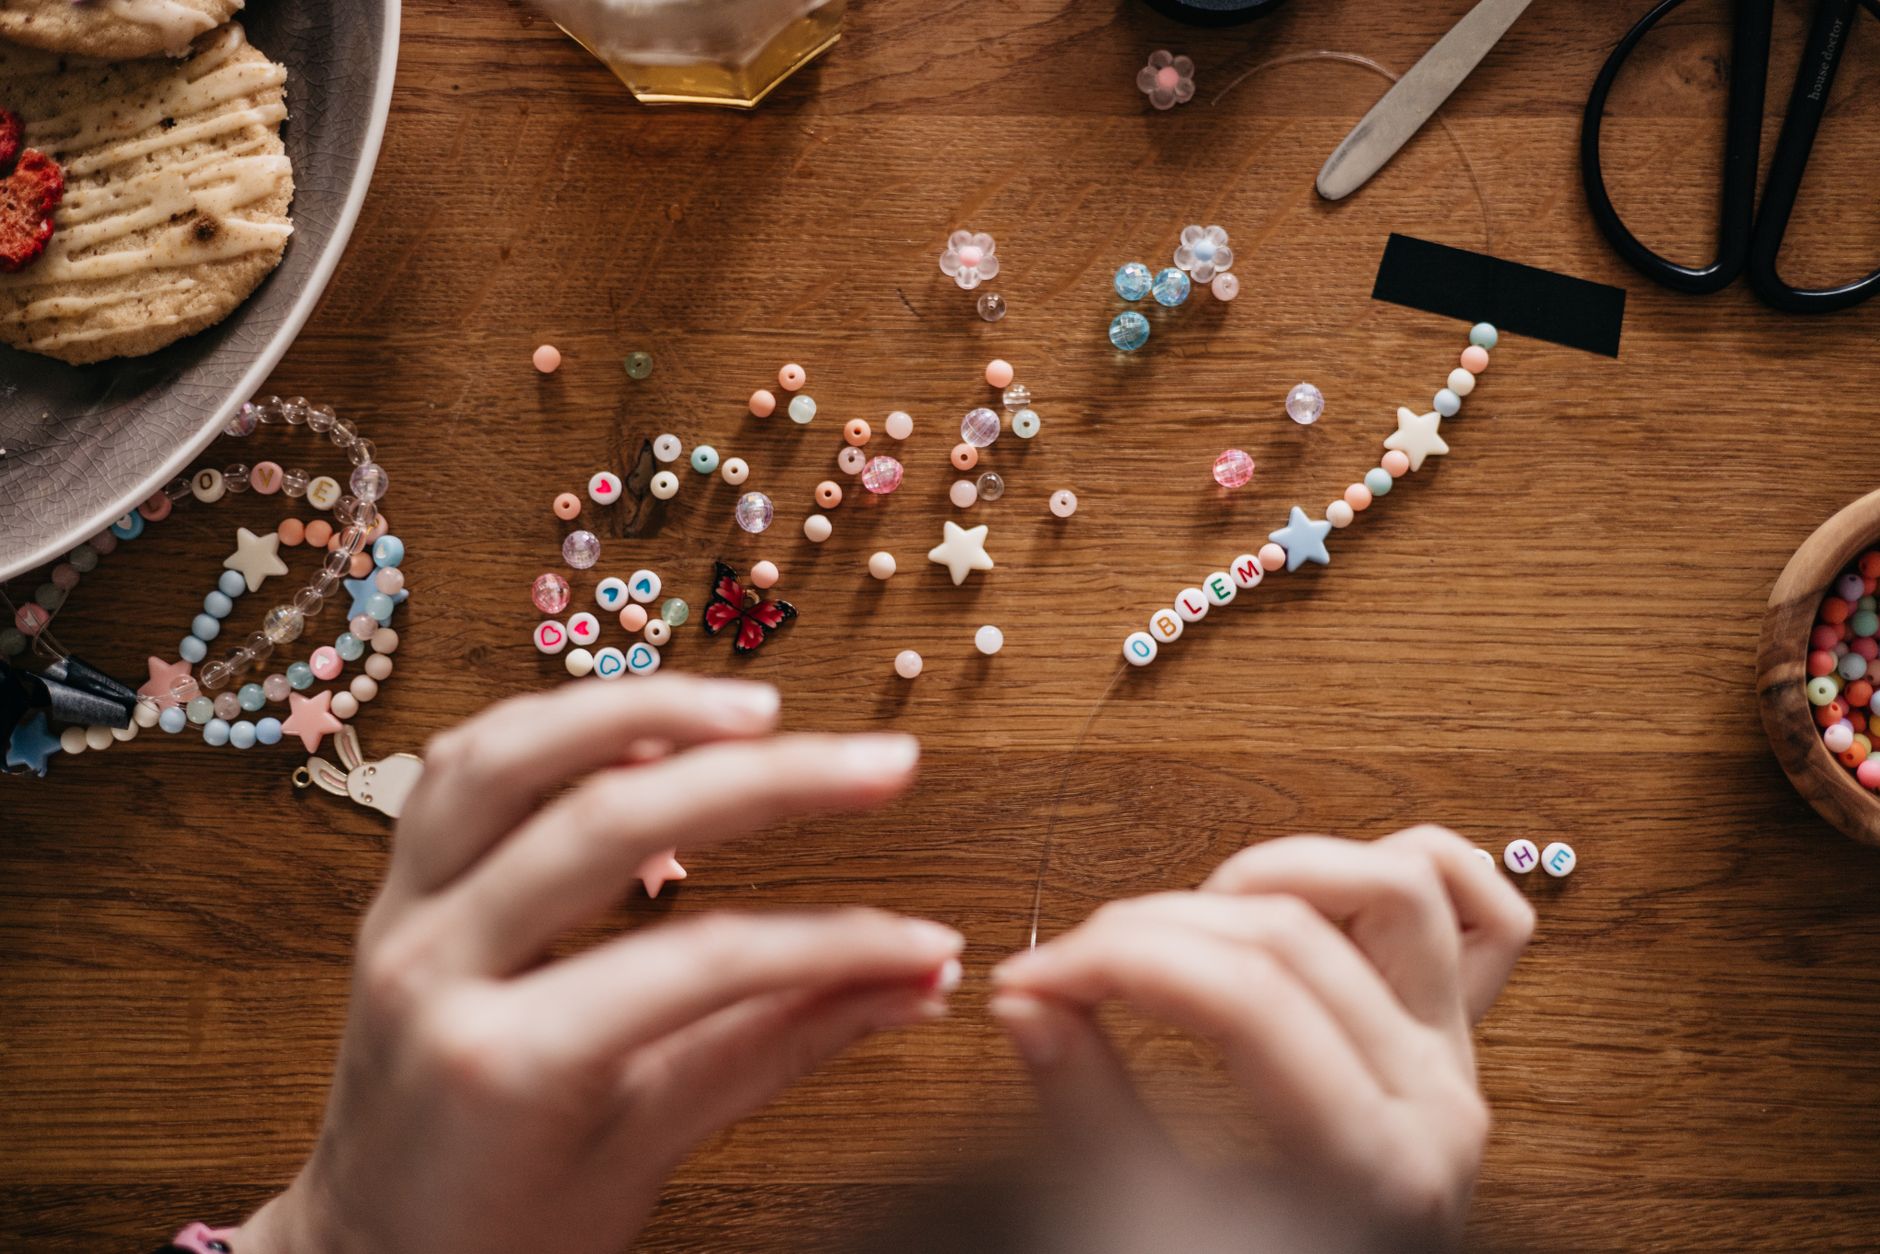
- Lay out your beads. On your beading mat, arrange the beads in the order you want them on the bracelet. Do this before you thread anything. It’s much easier to rearrange a flat layout than to un-string twenty beads because you don’t like the third one from the left.
- Cut your wire. Cut a piece of beading wire about 3 inches longer than your bracelet length. For a 7-inch bracelet, cut 10 inches. The extra length gives you room to work and tie off.
- Add the first crimp and clasp. Thread one crimp bead onto the wire, then the small loop of the lobster clasp (or the toggle ring), then pass the wire back through the crimp bead. You now have a small loop holding the clasp.
- Squash the crimp. Slide the crimp up so it sits snugly against the clasp loop, leaving a tiny bit of slack. Grip it with your crimp pliers and squeeze firmly. You want a neat flat crimp, not a mangled blob. If you’re using flat-nose pliers, squeeze twice — once across the width, once along the length.
- String your beads. Thread the beads onto the wire in your laid-out order. Push them down towards the crimp as you go. Leave about 2 inches of bare wire at the far end.
- Test the fit. Hold the bracelet loosely around your wrist before you finish it. The beads should wrap comfortably with a little breathing room. If it’s too short, add beads; too long, remove some. Do this now — not after you’ve crimped.
- Add the second crimp and jump ring. Thread the second crimp, then a jump ring, then pass the wire back through the crimp bead and through the first two or three beads. Pull the wire snug so the beads sit close together with no gaps, then squash the crimp with your pliers.
- Trim the tails. Snip the leftover wire as close to the beads as you can without cutting the main strand. Tuck any stubby end inside the nearest bead hole if it pokes out.
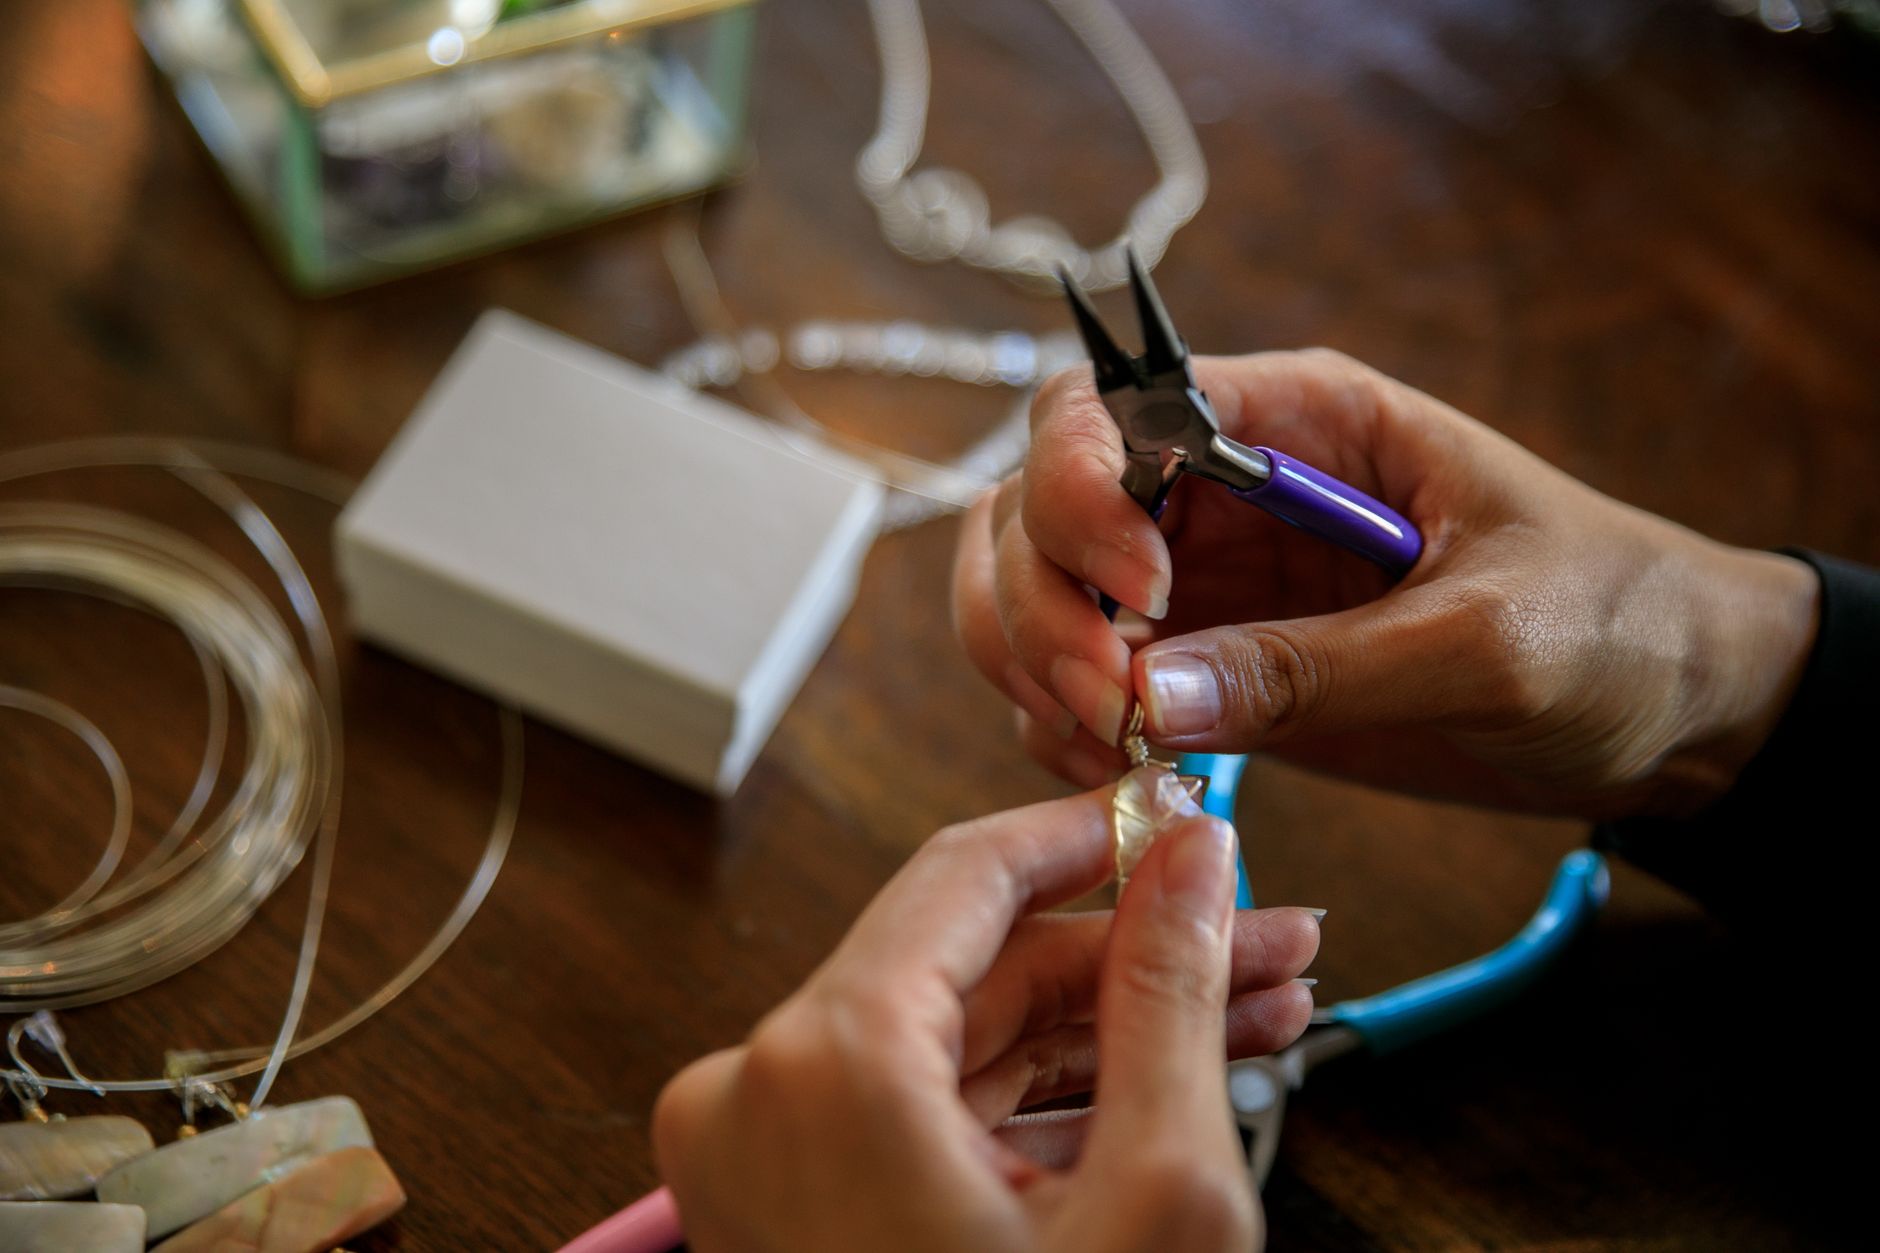
- Open and attach the other jump ring. If your clasp needs a jump ring on the other side, use two pliers to twist the ring open — never pull it apart sideways, or it won’t close properly. Slide it onto the crimp loop, twist it shut, and check that it’s flush.
- Check every connection. Give the bracelet a gentle tug at both ends. Nothing should slide, and the crimps should hold firm. Roll the bracelet between your palms to check the beads sit evenly.
Beginner Tips
The mistakes I see most often in workshops are almost always the same five, and every single one is easy to avoid once you know about it.
Don’t crimp before you test the fit. I’ve watched people finish a beautiful bracelet only to find it won’t go over their knuckles. String everything, try it on loosely, and only then commit to the crimp. It takes thirty seconds and saves a whole re-string.
Leave a little slack. A bracelet strung drum-tight will snap the first time you flex your wrist. You want the beads to move slightly when you roll the bracelet — not a lot, just enough that the wire has somewhere to go.
Match your bead holes to your wire. If the beads slide around loosely on the wire, they’ll wear against each other and the wire will fray at the crimp. A 0.6mm wire suits most 6–8mm beads with standard holes. If your beads have big holes, add small seed beads as spacers.
Use sharp cutters. Blunt wire cutters crush the wire instead of cutting it, which leaves a frayed end that’s almost impossible to thread back through a crimp. If your cutters leave a flattened tip, replace them.
Don’t over-tighten the crimp. Squeeze it once, firmly, then stop. Crimping the same bead three or four times weakens the metal and it can crack. One good squeeze is stronger than several nervous ones.
One more thing: work over a tray or a tea towel. Beads bounce. You’ll thank me.
Creative Variation
Here’s the one I’d try first: make a bracelet with a deliberate “feature bead” — one larger or differently coloured bead placed off-centre, roughly a third of the way around. It’s a tiny change, but it turns a plain string of beads into a design that looks intentional. Pick a bead in a contrasting finish, or a single glass pearl among matte stones, and build the rest of the pattern around it. The asymmetry catches the eye and stops the bracelet looking like it came from a kit. Once you’ve done one, try a second with two feature beads placed opposite each other. You’ll start noticing the same trick in jewellery shops everywhere — and you’ll know exactly how it’s done.
Troubleshooting
The wire snapped at the crimp. This usually means the crimp was squeezed too hard or the wire was kinked during tightening. Cut the bracelet apart, salvage the beads, and re-string with a fresh length of wire. Kinks are the enemy — always pull wire smoothly, never in sharp jerks.
The crimp slid loose. Either it wasn’t squeezed firmly enough, or the wire was too thin for the crimp’s inner diameter. Match your crimp size to your wire — a 0.5mm wire needs a crimp rated for 0.5mm. Re-string with one size smaller crimp if needed.
The bracelet is too long or too short. If it’s not yet crimped, adjust the bead count. If it’s already finished, you can sometimes add a short chain extender to the clasp end for extra length. Shortening a finished bracelet means re-stringing, I’m afraid. Measure twice.
Beads are sliding around and leaving gaps. Your beads have holes larger than your wire. Add small seed beads between the main beads as spacers, or switch to a thicker wire.
The clasp won’t open smoothly. Check the jump ring isn’t twisted. A jump ring opened sideways and closed badly will jam the lobster claw. Twist it open and shut properly with two pliers, and it’ll work every time.
Beads are chipping where they touch. That’s friction, and it means the bracelet is too tight. Add a little slack on the next one, and consider small seed beads as cushions between the larger beads.
None of these problems are disasters. Every one of them has a fix, and most of them teach you something you’ll remember on the next bracelet.
Making a beaded bracelet is one of those crafts that looks harder than it is. You’ve measured, laid out, strung, crimped, and checked — and now you have something real in your hands. The first one might take an hour. The second will take twenty minutes. By the fifth, you’ll be designing patterns in your head while the kettle boils. That’s the lovely thing about beads: they’re forgiving, they’re cheap to practise with, and every bracelet you finish teaches you something the last one couldn’t. So pick a colour you love, sit somewhere with good light, and make a start. I’d love to see what you come up with — and if a bead rolls under the sofa, don’t worry. It’ll turn up in a year, and you’ll have a story for your own little dish.