How to Make Greeting Cards: A Beginner’s Guide
There’s a particular sound a bone folder makes when it presses a crease into cardstock. A soft, satisfying crackle — like the world’s quietest bubble wrap. I’ve watched grown adults freeze the first time they hear it, then look up grinning. That tiny noise is the moment a flat piece of paper becomes something you can hold. Card making is full of moments like that. And here’s the thing: you don’t need a studio, a Cricut, or a drawer full of expensive dies. Paper, something to cut it with, and about forty minutes. That’s it.
Making cards by hand is one of the most forgiving crafts I teach. A wonky fold still folds. A smudged ink line becomes “character.” But the real reason I keep coming back to cards after two decades of workshops? You’re making something that lands in someone’s actual hands. Not a scroll, not a like — a physical object that says I thought about you. That’s worth forty minutes. Ready to make your first one?
Materials List
- Cardstock for the base — 200–300gsm (roughly 80–110lb). Too thin and it buckles; too thick and it won’t fold cleanly. No cardstock? A cereal box works beautifully for rustic cards, and watercolour paper scraps are lovely too.
- Paper for layers — plain copy paper, old book pages, sheet music, wrapping paper, magazine pages. Honestly, whatever’s in your recycling bin is probably fine.
- A craft knife and cutting mat — or scissors. Scissors are completely fine for beginners, especially for curved shapes.
- A bone folder — or the back of a butter knife, or your thumbnail (my first hundred cards were folded with my thumbnail, and they survived).
- Glue — a glue stick for large flat areas, PVA or white craft glue for anything dimensional. Double-sided tape is the pro shortcut if you hate waiting for glue to dry.
- A ruler — metal if you have it, plastic if you don’t.
- A pencil — for marking on the back, never the front.
- Pens — a fine-liner or gel pen for writing and doodling.
- Optional but lovely — washi tape, a rubber stamp, ink pad, hole punch, embroidery thread, a few buttons, ribbon ends, confetti.
Step-by-Step
- Cut your base to size. For a standard A6 card (the classic greeting card size, about 10.5 × 14.8cm), cut a rectangle of cardstock to 21 × 14.8cm. That’s the A6 size doubled, because you’re going to fold it in half. Measure twice, cut once — and mark on the back with pencil so any stray line stays hidden. If you’re using scissors, cut slowly and let the blades do the work; don’t close them all the way, or you’ll get chewed edges.
- Score the fold line. Lay the cardstock flat, landscape orientation, and measure to the exact middle — 10.5cm in from either short edge. Now press your bone folder (or butter knife back) firmly along that line using your ruler as a guide. You’re not cutting, just compressing the fibres. This one step is the difference between a crisp card and a lumpy one. Skip it and you’ll get a fold that cracks and won’t lie flat. Trust me, I learned that the hard way in front of a room of twelve people.
- Fold and burnish. Bring the top edge down to meet the bottom edge, holding the paper slightly bowed so the edges meet before the crease closes. Then press the fold with your bone folder, working from the centre outward. Run it twice. Flip the card over and burnish the other side too. You should hear that little crackle. If your card rocks back and forth instead of lying flat, turn it over and fold against the crease gently.
- Plan your layout on scrap paper. Before you touch the good card, tear a piece of scrap to the same dimensions and play with your layers. Where does the focal point go? A good rule for beginners: keep everything inside a 1cm margin from the edges. Let one element dominate — a big circle, a bold stamped word, a single dried flower. Two or three elements is plenty. Five is a muddle.
- Cut your layers. Cut your chosen papers to size. A mat layer slightly smaller than the card face (say 9.5 × 13.8cm) gives you a clean border without measuring precisely — the card base does the framing for you. For circles, trace around a mug or a jam jar lid. Nobody will know.
- Glue down from the bottom up. Start with the largest layer. Glue stick works here — apply to the back of the paper, not the card, so you don’t get glue where you don’t want it. Press down from the centre outward to push out air bubbles. Then add your next layer. For anything raised or chunky, use little dots of PVA and hold for thirty seconds.
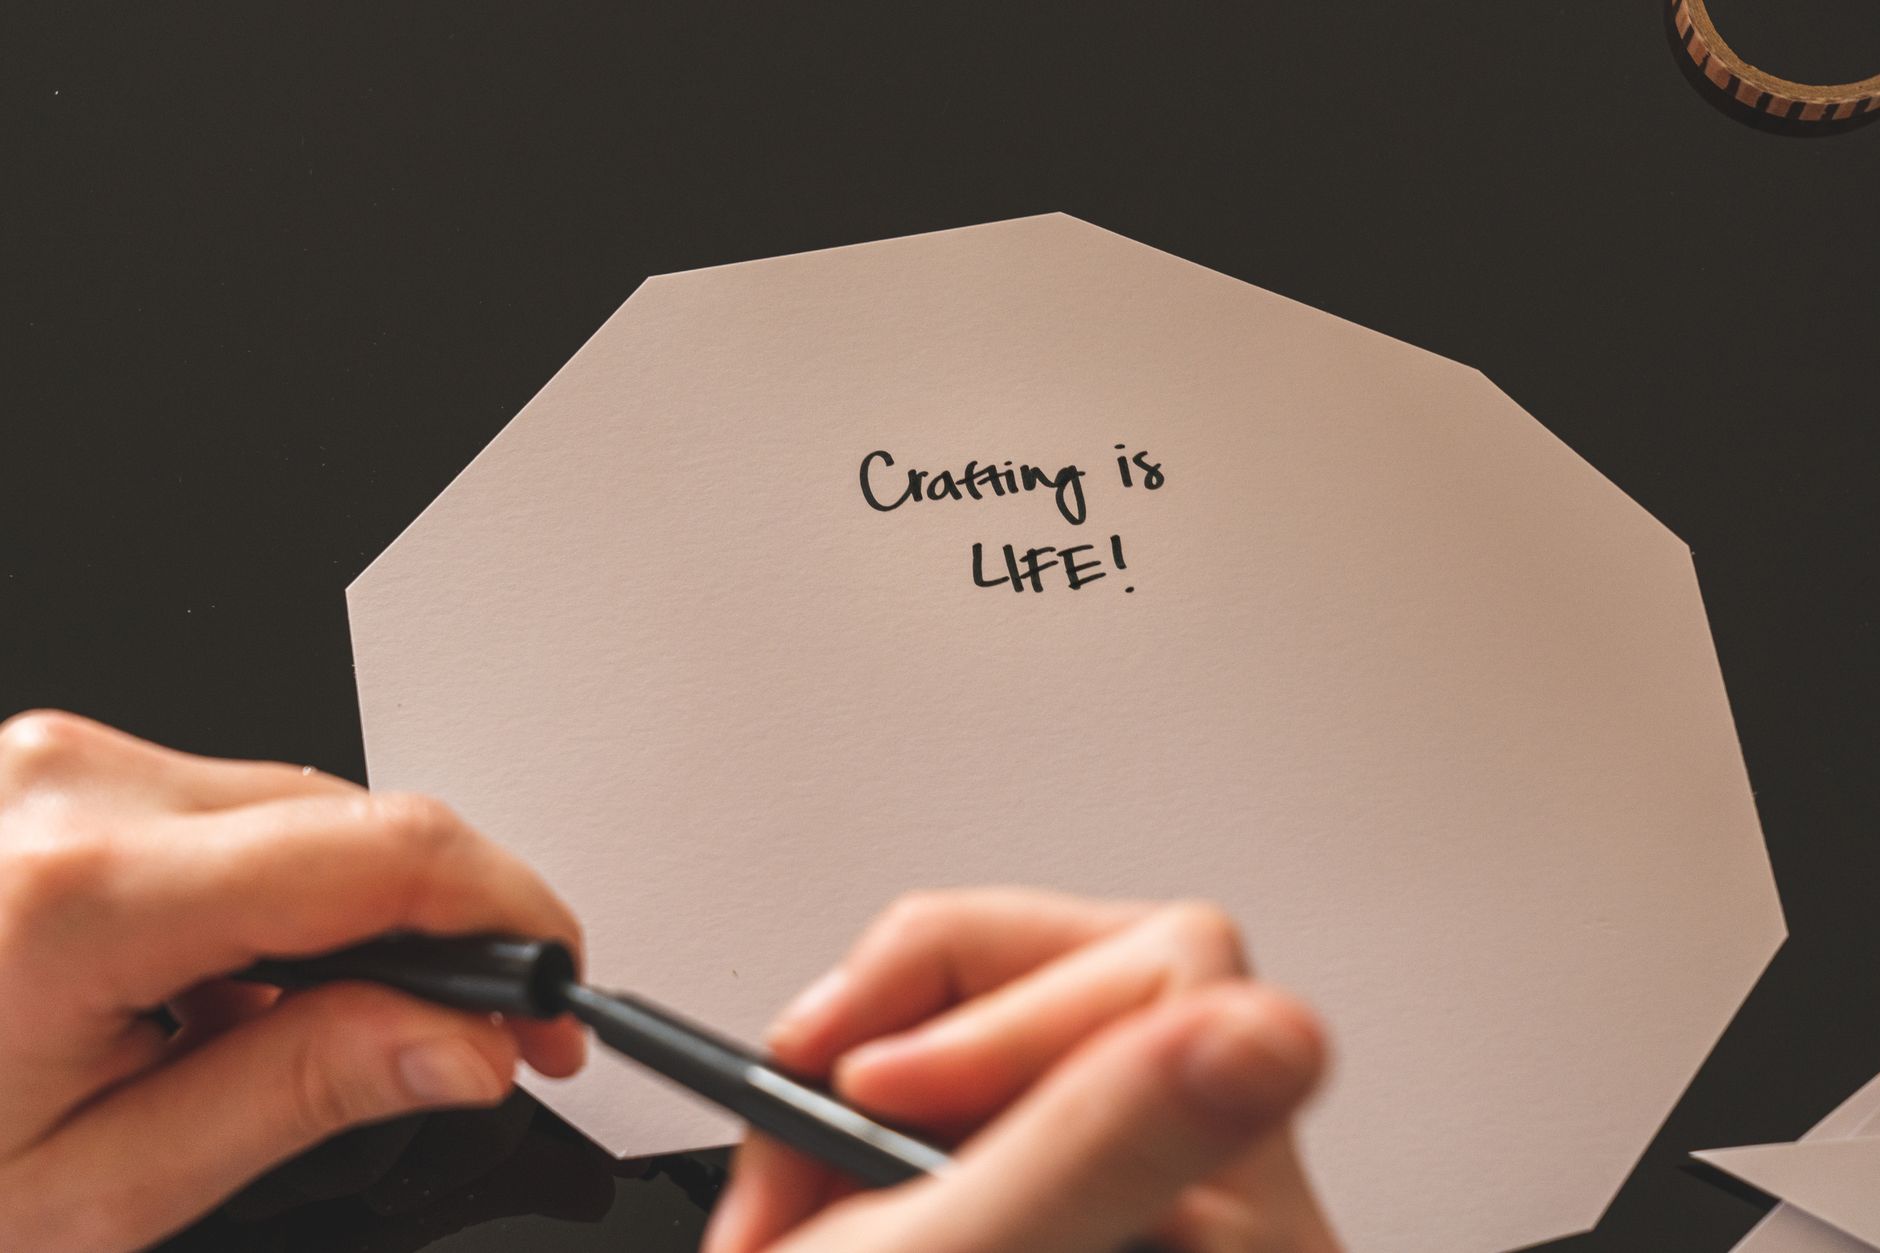
- Add your focal element. This is your star: a stamped greeting, a hand-lettered word, a collage of tiny shapes. If you’re stamping, practise on scrap first — the pressure that gives a clean impression is lighter than you think. If you’re hand-lettering, pencil it in first and go over it with the pen once you’re happy. Wobbly letters look charming when they’re confident. Erase the pencil lines once the ink is dry.
- Write the inside. Do this before you finish decorating the front, so you don’t smudge anything. A blank card is a lovely thing, but a card with your handwriting in it is better. Keep it short. One honest sentence beats a paragraph of pleasantries.
- Let it dry flat. Glue needs time. Pop the card under a heavy book for ten minutes — this flattens any warping from the glue and gives you a chance to tidy up. Then check your edges, trim any overhang with the knife against the mat, and you’re done.

Beginner Tips
The first mistake almost everyone makes is over-decorating. I see it every workshop: a beautiful stamped centre, then a ribbon, then a button, then three more buttons, then glitter. By the end the card looks like a small craft avalanche. Stop while it still looks like one idea. You can always add more on the next card.
Glue sticks and heavy paper don’t mix. If you’re layering cardstock onto cardstock, use double-sided tape or PVA. Glue stick is for paper-weight layers only, or your card will peel apart in the post. And this one hurts — don’t press your stamp down and wiggle it. One firm, even press, then lift straight up. Wiggling gives you a double image and a sad little ghost line. Finally, cut your cardstock with the knife, not scissors, if you can. Scissors curve. Knives don’t. A ruler and a knife give you edges that meet up perfectly, which makes every layer after that easier.
Creative Variation
Here’s my favourite twist: make the card from something that already has a history. Cut a card base from an old map, a page of an atlas, or a vintage sewing pattern. Layer a plain white panel over the busy background, and suddenly you’ve got a card that looks designed — because the pattern was already there. Save the offcuts. A strip of map along the bottom edge of a plain card, with a single stamped word above it, is one of the most popular cards I’ve ever taught. It takes ten minutes and looks like a small piece of art.
Another variation worth trying: make it interactive. A flap that lifts to reveal a message, a pocket holding a tea bag, a pop-up element that springs up when the card opens. These feel like magic to the person receiving them, and they’re not hard — a simple fold-and-slot pop-up takes about five minutes once you’ve practised. Start with a plain card, then add one moving part. That’s all it takes.
Troubleshooting
My card won’t lie flat. The fold wasn’t scored deeply enough, or the grain of the paper is running the wrong way. Try folding it the other direction and burnishing hard. If it’s already decorated, press it under a heavy book for an hour and it’ll usually settle.
My glue is showing through. You’ve used too much, or you’re gluing translucent paper. Use less, spread it right to the edges, and work on a scrap sheet. For vellum, use double-sided tape only — glue will always show.
My stamped image is patchy. Either the stamp is new and needs priming (rub it over with your thumb or a soft eraser a few times), or your ink pad is dry, or you pressed unevenly. Practise on scrap, and press with the flat of your hand over the whole stamp at once.
My layers are wonky. This is usually a measuring problem, not a cutting problem. Cut your mat layer 1cm smaller than the base on each side, and centre it by eye before you glue — measure the border with your ruler if you want, but trust your eye too. A slightly off-centre layer reads as intentional if the rest is neat.
My card is warped. Too much wet glue on one side. Next time use less, and always press the finished card flat under a book while it dries. Warped cards still get sent. Nobody has ever refused one.
One counter-intuitive thought before you go: don’t aim for perfect. The cards people keep — the ones that end up on mantelpieces and in shoeboxes — are never the technically flawless ones. They’re the ones with a slightly crooked fold and a message in real handwriting. Perfection is forgettable. Your wobbly lettering is not.
So clear a corner of the table, find some paper, and make one card this week. Start with a single fold and one stamped word. Then send it to someone who’d least expect it. That’s the whole craft, really — a small, physical proof that you were thinking of them. And if your first card comes out a bit lumpy? Good. That’s what the second one is for.