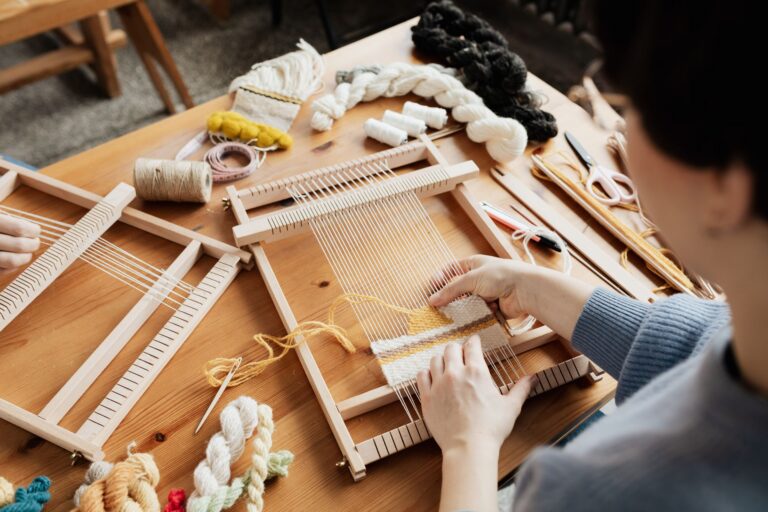
Tie Dye Techniques for Beginners: Start This Afternoon
Your hands are stained indigo up to the wrists. The garden hose is dripping onto the patio, and a plastic bag full of crumpled cotton sits in the sun like it’s got a secret. That’s tie dye. Not the perfect, symmetrical, Instagram-ready version you see online — the real one, with gloves that tear and colours that bleed where you didn’t plan. I’ve taught this to teenagers, retirees, and one very determined eight-year-old, and the mess is always the best part. If you’ve been putting it off because it looks fiddly or expensive, put that down right now. You can start this afternoon with a t-shirt, a bucket, and about an hour of actual work.
Why bother? Because tie dye is one of the few crafts where the materials are cheap, the mistakes are fixable, and you end up with something you’ll actually wear. It teaches colour mixing, patience, and the joy of opening a soggy bundle to see what happened. And honestly? A handmade shirt beats another plain white one any day.
Materials List
- White cotton t-shirts or fabric — 100% cotton works best because the dye binds to plant fibres. Check the label: a 60/40 cotton-poly blend will give you paler, washed-out results. Old shirts you already own are perfect for a first go. Charity shop finds are cheap and pre-shrunk.
- Fibre-reactive dye kit — the powder or liquid kind made for cotton. A beginner kit with three or four colours, soda ash, and gloves usually costs under £20. Alternative: cold-water dyes work too, but they need longer to set. Avoid food colouring — it fades in two washes, I promise.
- Soda ash (sodium carbonate) — usually included in kits. It’s the fixative that makes colour stick. Alternative: washing soda from the supermarket does the same job.
- Rubber gloves — the thin disposable kind. Buy more than you think. They split.
- Elastic bands — the thick ones from broccoli bunches are ideal. String works too, and so do hair bobbles.
- Buckets or a plastic tub — one for the soda ash soak, one for rinsing. Old ice cream tubs are fine.
- Squeeze bottles — for applying dye precisely. Alternative: spray bottles, pipettes, or just drizzle from a spoon (messier, still works).
- Plastic sheeting or a bin bag — to protect your table or patio.
- Paper towels and a permanent marker — for labelling colours and mopping up.
Step-by-Step
- Wash your fabric first. Run your shirts through a hot wash with no fabric softener. Softener coats the fibres and blocks dye from getting in. Dry them completely — damp fabric dilutes the soda ash soak.
- Soak in soda ash. Mix about one cup of soda ash per gallon of warm water in your bucket. Submerge the shirts and leave them for 20 minutes. Wring them out gently — you want them damp, not dripping. Put your gloves on now and keep them on.
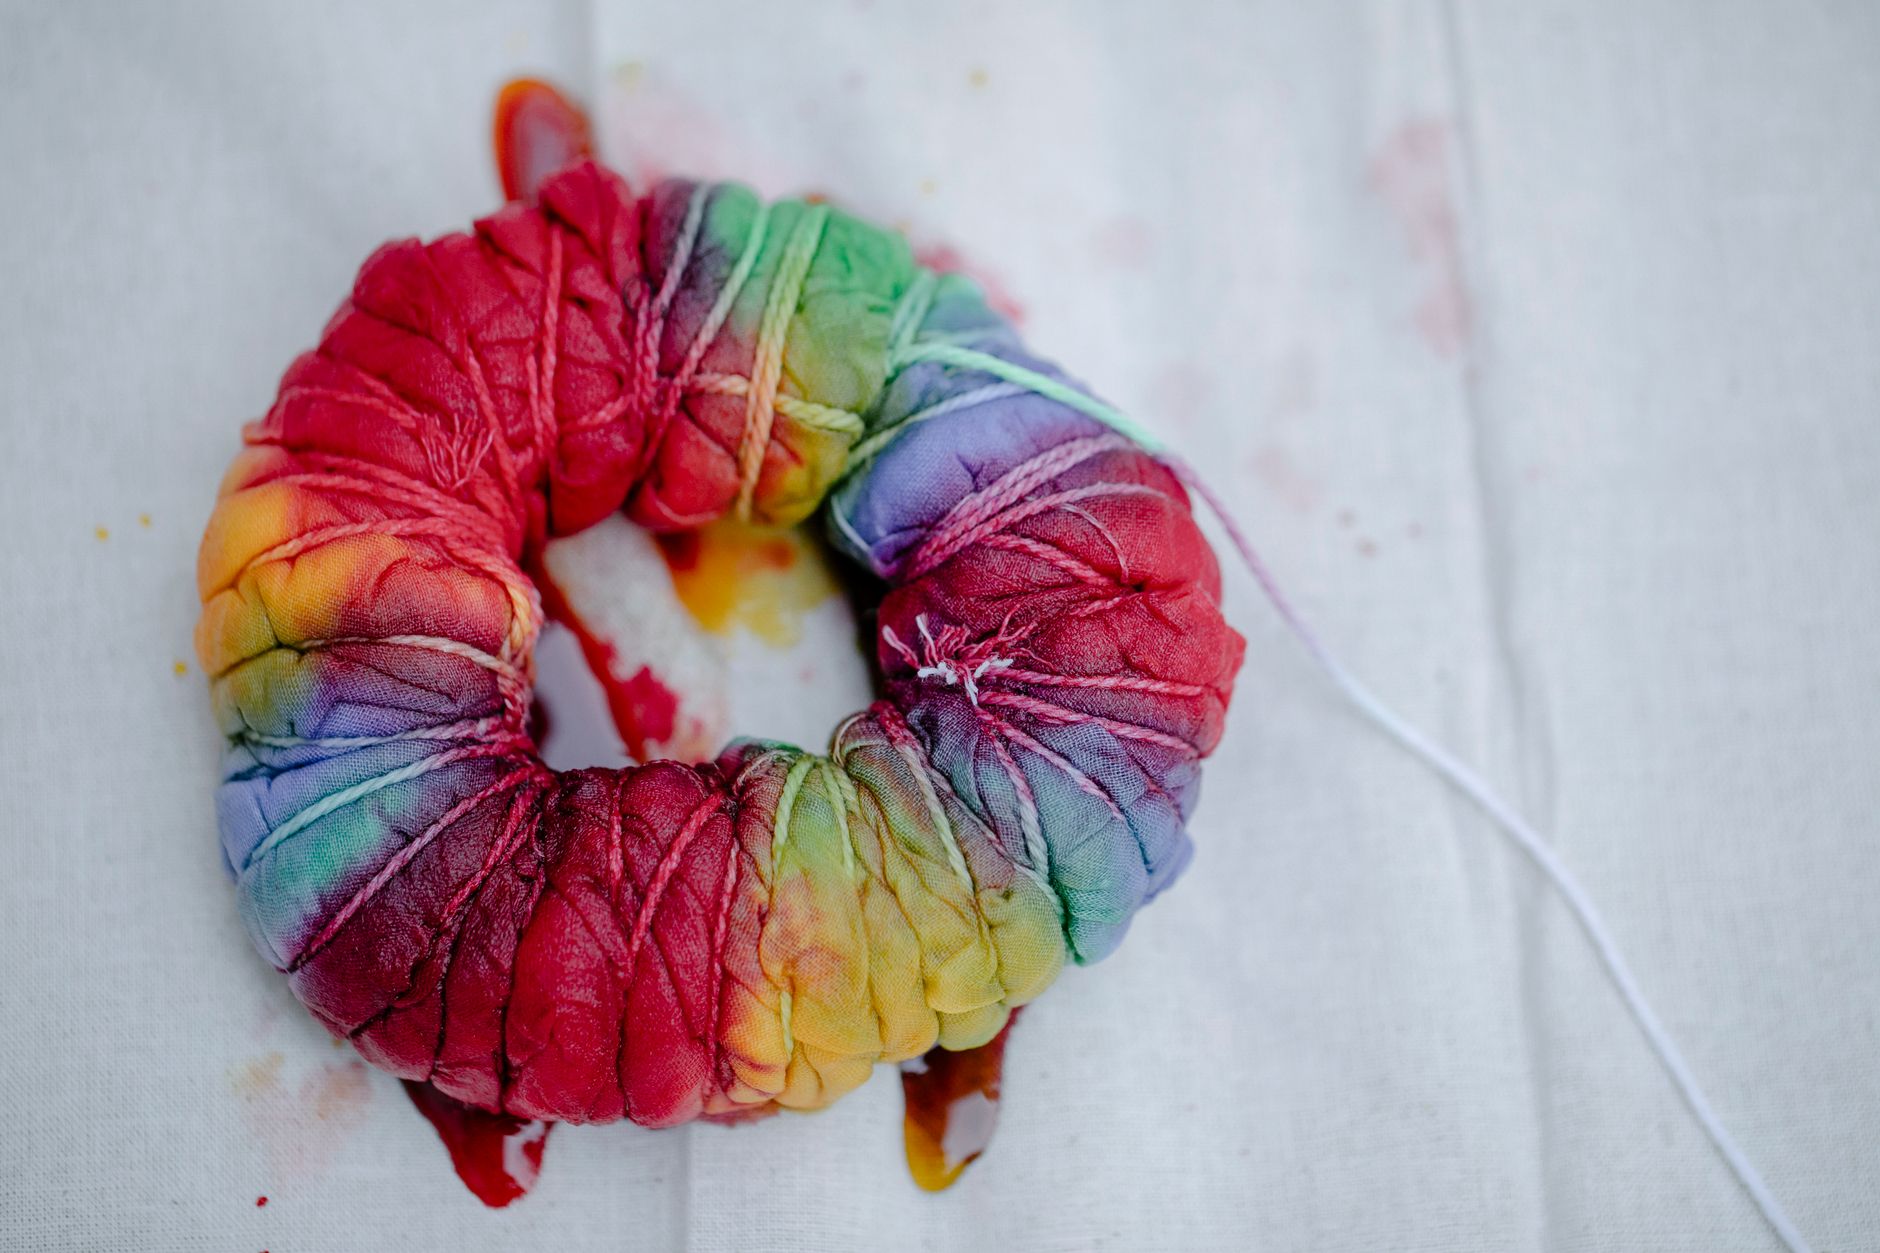
- Choose your pattern and tie it. This is the fun bit. For a classic spiral, pinch the centre of the shirt and twist clockwise until it collapses into a flat disc, then wrap elastic bands around it like a pie chart — six to eight bands crossing the centre. For stripes, fold the shirt accordion-style and band it every few inches. For a bullseye, pinch a point and band at intervals down the cone. Tie tightly. Loose bands mean blurry edges.
- Wet the bundle. Quick dunk in plain water and squeeze out the excess. Damp fabric takes dye more evenly than dry.
- Apply the dye. Work over your plastic sheeting. Fill squeeze bottles with dye mixed according to the kit instructions — usually a teaspoon of powder to a cup of water. Squirt dye into the sections between bands, rotating the bundle as you go. Don’t be shy: you want the dye to soak through the layers, not just sit on top. Flip the bundle and do the other side.
- Wrap it up. Slide the dyed bundle into a plastic bag or wrap it in cling film. This keeps it damp so the dye can react. Label it if you’re doing several.
- Wait. Leave it somewhere warm for at least 6 hours, ideally 12 to 24. Overnight is easy. The longer it sits, the deeper the colour. Don’t peek — opening the bag stops the reaction.
- Rinse, then rinse again. This is the step people rush. Put on gloves and rinse each bundle under cold running water, still banded, until the water runs mostly clear. Then cut the bands off and rinse more. Cold water first stops the dye from bleeding into the white areas.
- Wash and dry. Wash each piece separately in cold water with a little detergent. Tumble dry or hang out. The colour will lighten slightly as it dries — that’s normal.
Beginner Tips
Mistakes happen. Here are the ones I see most often, so you can sidestep them.
- Don’t skip the soda ash. I know it feels like an extra step. Without it, your colours will fade to pastel within three washes. It’s the difference between tie dye and a stain.
- Tie tighter than feels right. Your bands should dent the fabric. If you can slide a finger under them, they’re too loose.
- Use less water in your dye mix. A concentrated mix gives vivid colour. Runny dye spreads and muddies.
- Don’t mix too many colours in one spot. Red and green next to each other make brown. Stick to two or three colours per bundle for your first attempt.
- Rinse in cold water only. Warm water opens the fibres and lets dye escape into your white patches.
- Wear old clothes and cover your surfaces. Dye splashes. It stains grout. It stains fingernails for days.
Creative Variation
Here’s one that surprises people: try dyeing with ice instead of liquid. It’s called ice dyeing, and it gives you soft, speckled, watercolour-style results that look nothing like traditional tie dye. Scrunch your soda-ashed shirt into a loose pile in a colander or on a rack over a tray. Cover it with a layer of ice cubes. Sprinkle powdered dye over the ice — just a pinch of each colour, spaced out. As the ice melts, it carries the dye down through the fabric in slow, unpredictable streaks. Leave it overnight, then rinse and wash as normal. The colours split into unexpected shades, so a single “navy” powder might give you blues, greens, and greys. It’s less controlled than squeeze-bottle dyeing, which is exactly why I love it. Have you ever watched ice melt and thought “that would make a great shirt”? Now you will.
Troubleshooting
- My colours look pale and washed out. Either you skipped the soda ash, used fabric with polyester in it, or didn’t leave the dye long enough. Next time, soak properly, check the fibre content, and give it a full 24 hours.
- The white areas turned muddy. Dye leaked under loose bands, or you rinsed in warm water. Tie tighter and rinse cold.
- The pattern is blurry, not crisp. Bands weren’t tight enough, or the fabric was too wet when you applied the dye. Damp is good; soaking is not.
- The colour faded after the first wash. Very common with cold-water dyes or insufficient setting time. Wash in cold water with a colour-safe detergent, and avoid drying in direct sunlight.
- My hands are stained. Wear gloves next time. For now, lemon juice and salt, then wash with dish soap. It fades in a few days.
- The shirt shrank. Cotton shrinks in hot washes. Pre-wash in cold and dry on low heat.
You don’t need a perfect spiral or a colour wheel that makes sense. Tie dye rewards the brave and the slightly chaotic. Start with one shirt, one pattern, and two colours. Open that soggy bundle on the patio and see what happened — and then tell me about it, because I genuinely want to know. The best shirts I’ve ever made were the ones I almost ruined.