Soap Making at Home: Easy Melt-and-Pour Guide
The smell hits before you even open the mould. Clean, faintly sweet, a little like a garden centre after rain. That first batch of homemade soap — still warm, wrapped in a tea towel on the kitchen counter — is one of those small victories that makes you feel like a proper maker. My first loaf was lumpy. Uneven at the edges. Absolutely perfect to me. You don’t need a dedicated studio or a chemistry degree. A jug, a stick blender, and a free afternoon will get you further than you’d think. Let’s make something lovely together.
Why bother when shop soap is cheap? Because you control every ingredient that touches your skin. You scent it exactly how you like, and you end up with something genuinely useful to give away. A batch costs very little once you have the basics, and it lasts for months. It’s also just deeply satisfying — a proper craft that rewards patience and gives you something real at the end.
Materials List
I’m going to teach you melt-and-pour soap making here. It’s the safest, most forgiving way to start, and it lets you focus on the fun stuff — colour, scent, swirls — without wrestling with lye. Cold-process is a whole other adventure. Let’s walk first.
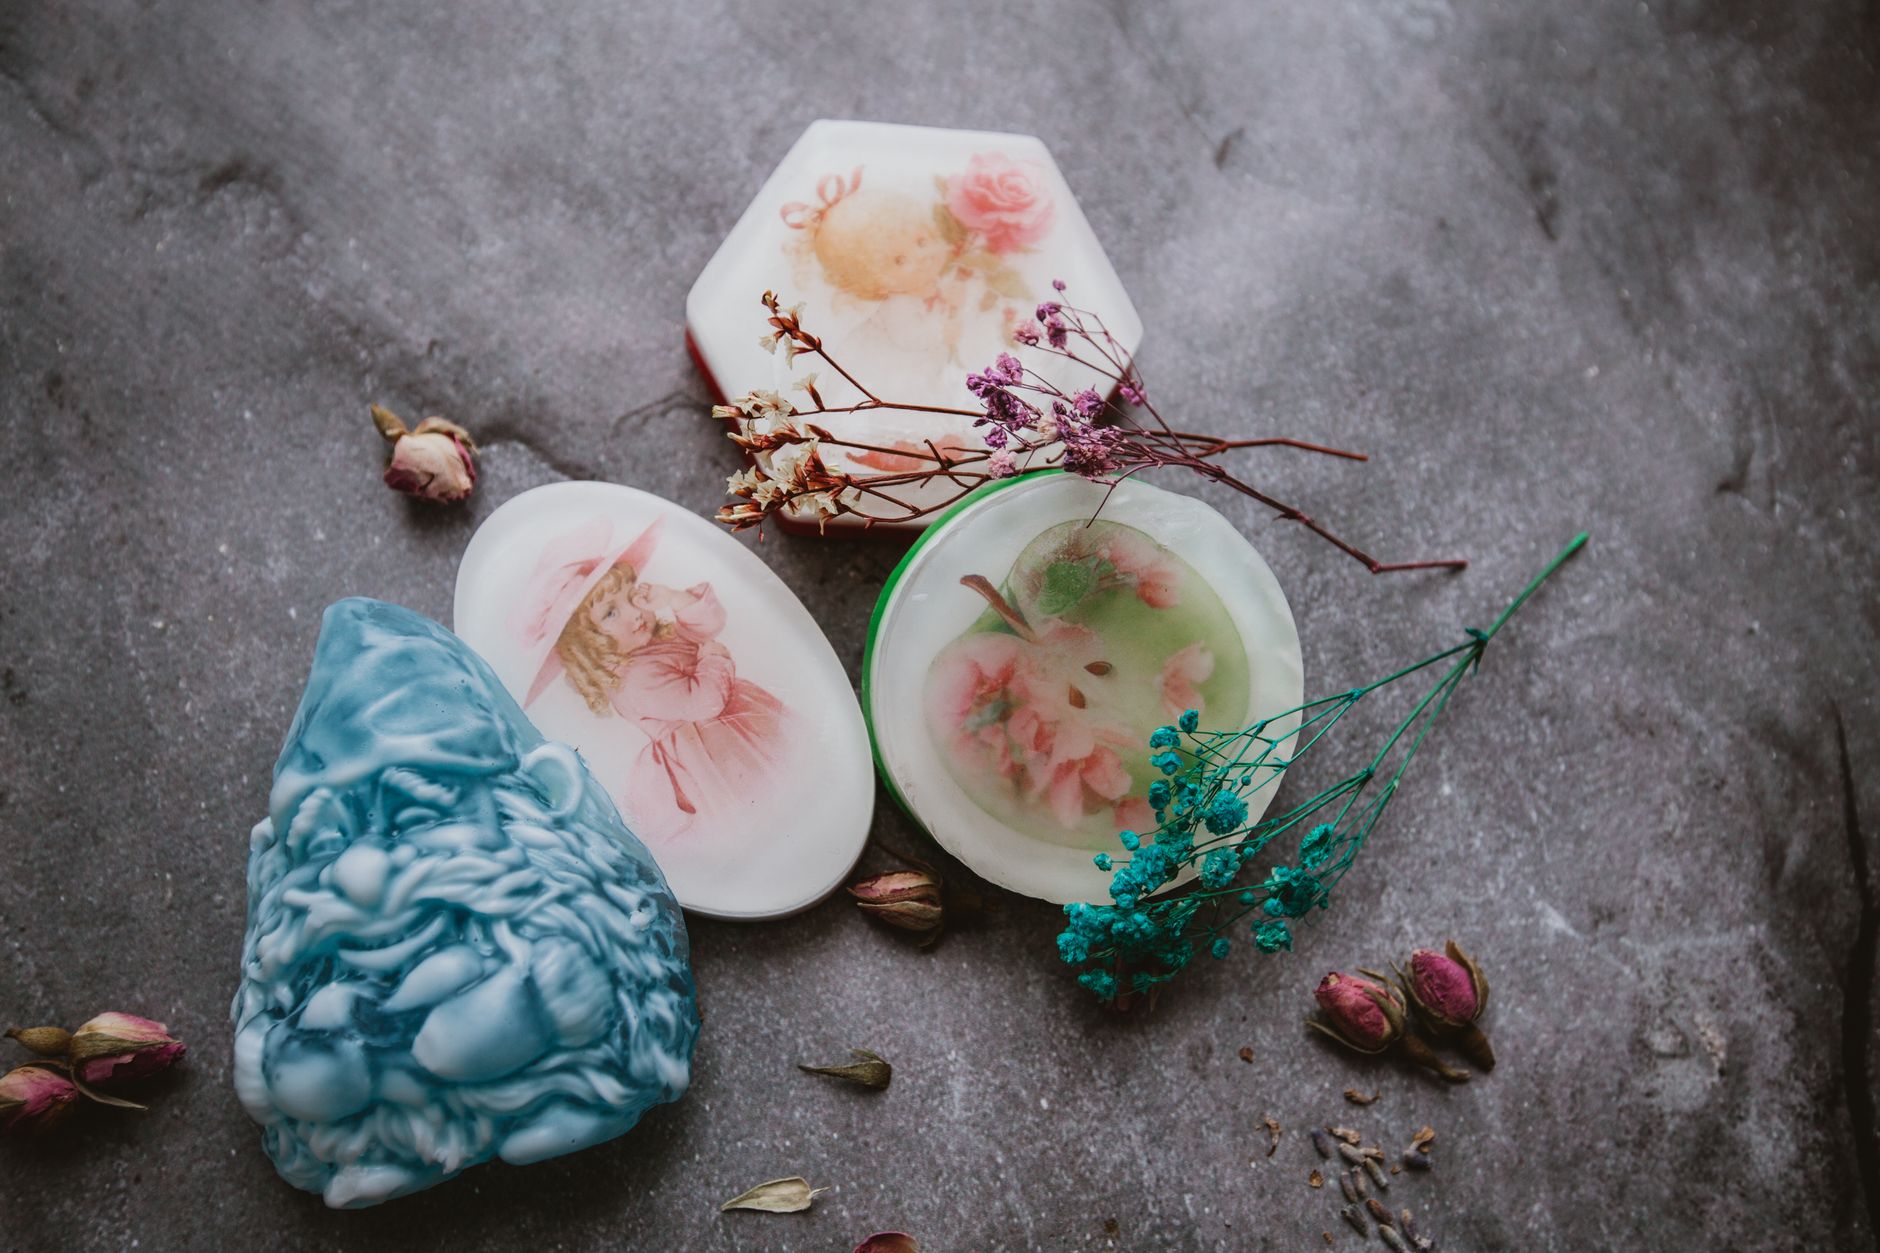
- Melt-and-pour soap base (500g to 1kg): Look for a “clear” or “shea butter” base. Clear is brilliant for embedding things; shea or goat’s milk gives a creamier, more luxurious bar. Any craft supplier or online soap shop stocks it. A block of plain glycerin base from a hobby store works fine too.
- A heatproof jug or bowl: A large glass measuring jug is ideal. It needs to hold at least double your base volume so you can stir without sloshing. A Pyrex jug is perfect; a metal bowl over a pan works as a double-boiler alternative.
- A stick blender (optional but lovely): Not essential for melt-and-pour, but brilliant for mixing colour evenly and for swirling. A silicone spatula or whisk does the job if you don’t have one.
- Silicone moulds: Loaf moulds give you a classic bar you slice yourself; individual cavity moulds give you ready-made shapes. Silicone is non-negotiable for easy release. A clean, lined cardboard box also works as a makeshift loaf mould — line it with baking parchment.
- Fragrance or essential oil: Soap-safe fragrance oils are formulated for the job. Essential oils work too — lavender, peppermint, and orange are lovely starters. Use about 1–2% of your base weight, so roughly 5–10g per 500g of base. Don’t overdo it.
- Colourant: Mica powders, soap-safe liquid colours, or even a little cocoa powder for a natural tan. A tiny pinch goes a long way. Avoid food colouring — it can bleed and morph over time.
- Rubbing alcohol in a spray bottle: This is your secret weapon for popping surface bubbles. Isopropyl alcohol is ideal; a high-strength clear spirit works in a pinch.
- A sharp knife: For slicing a loaf into bars. A large chef’s knife or a soap cutter if you’re fancy.
- Scales: Digital kitchen scales accurate to the gram. Soap making is forgiving, but weighing your base and fragrance keeps things consistent.
- Newspaper or a silicone mat: For protecting your work surface. Melted soap is sticky and gets everywhere.
Step-by-Step
- Set up your space first. Clear a counter, lay down newspaper or a silicone mat, and gather everything within arm’s reach. Melted soap sets fast, so you don’t want to be rummaging for the fragrance oil with a jug of hot base going tacky. Put your moulds out, open your colourants, and have your alcohol spray ready. Five minutes of prep genuinely saves the whole batch.
- Weigh and chop your base. Weigh out your soap base — 500g makes about four to five decent bars. Cut it into small cubes, roughly 2cm, so it melts evenly. Big chunks mean hot spots and a longer wait. Pop the cubes into your heatproof jug.
- Melt gently. Microwave in 30-second bursts on a medium setting, stirring between each one. Or set the jug in a pan of simmering water over a low heat. Either way, stop as soon as it’s just melted — no boiling, no scorching. Overheated base goes rubbery and develops a skin. Stir slowly to avoid whipping in air bubbles.
- Let it cool a touch. This is the step everyone skips, and it’s the one that matters. Let the melted base sit for a minute or two until it’s warm but not hot — around 50–55°C, or when you can hold the jug comfortably for a few seconds. Adding fragrance to scorching base burns off the scent; adding colour to a cool base makes it seize into lumps.
- Add colour. Start with a tiny pinch of mica or a couple of drops of liquid colour. Stir gently, then check the shade against a white saucer — it looks lighter in the jug than it will in the bar. Build up slowly. You can always add more; you can’t take it out.
- Add fragrance. Stir in your fragrance or essential oil, again slowly, folding rather than whisking. If the base starts to thicken suddenly, you’ve added too much or it’s too cool — a quick blast in the microwave for 10 seconds will loosen it.
- Pour into moulds. Pour in a steady stream from a low height to minimise bubbles. For a loaf mould, pour down the side or over the back of a spatula. Fill to about a centimetre from the top. Tap the mould gently on the counter a few times to release trapped air.
- Spritz and settle. Spray the surface lightly with rubbing alcohol — this pops surface bubbles and gives you a smoother top. Then leave it alone. Don’t poke it, don’t move it. It’ll set in 30–60 minutes at room temperature.
- Unmould and cut. Once fully firm and cool to the touch, flex the silicone mould to release the soap. For a loaf, turn it out onto a board and slice into bars about 2.5cm thick with a sharp knife, using a gentle sawing motion. Wipe the knife between cuts for cleaner edges.
- Cure and store. Melt-and-pour soap doesn’t need weeks of curing like cold-process, but 24–48 hours on a rack lets excess moisture evaporate and gives you a harder, longer-lasting bar. Wrap in cling film or a paper band, and store away from humidity. It keeps for months.
Beginner Tips
The mistakes I see most often are all fixable, and most of them come from rushing. Here’s what to watch for on your first go.
- Don’t overheat the base. If it’s bubbling or steaming hard, it’s too hot. Rubberiness and a plasticky texture are the tell-tale signs. Melt on medium, in short bursts, and stir patiently.
- Respect the temperature before adding extras. Fragrance and colour both behave badly in base that’s too hot or too cool. Warm-but-not-hot is the sweet spot.
- Go easy on the fragrance. More is not better. Over-scented soap can irritate skin and the scent turns sharp. Stick to the 1–2% guideline.
- Skip the food colouring. It looks tempting and it almost always disappoints — bleeding, fading, or turning an odd shade. Use soap-safe colourants.
- Spray the alcohol, don’t drown it. A light mist is enough to pop bubbles. Flooding the surface can leave a cloudy film.
- Be patient before unmoulding. If it feels at all soft or tacky in the middle, give it another 20 minutes. Prying early gives you a mangled bar and a dented mould.
- Keep water out. A single drop of water in your melted base can cause it to seize or create pockets. Dry your tools thoroughly.
Here’s a counter-intuitive one: don’t aim for perfectly smooth, bubble-free soap on your first few batches. Chasing a flawless finish makes you fuss and over-handle the base, which causes more problems than it solves. Slightly rustic bars with a few tiny bubbles look handmade in the best way. Perfection can wait. Are you ready to embrace the wonky bar?
Creative Variation
Once you’ve nailed a plain batch, try a two-tone swirl — it’s the variation that gives the most dramatic payoff for the least extra effort. Melt your base and split it between two jugs. Colour one with a mica and leave the other plain, or colour them in two shades that sit nicely together (think soft peach and cream, or sage and off-white). Scent both the same so they don’t fight. Pour the first colour into your loaf mould, then pour the second in a zigzag over the top. Take a chopstick or skewer and drag it gently through the two colours in an S-shape — two or three passes, no more. Over-swirling muddies the colours into a single shade. Tap, spritz, and let it set. When you slice the loaf, every bar reveals a slightly different pattern, which is half the fun. Try embedding a few dried lavender buds or a thin layer of a contrasting base at the bottom, too — just make sure anything you embed is dry, or it’ll weep and spoil.
Troubleshooting
Things go sideways. It’s fine. Here’s how to rescue the common ones.
- The base seized into lumps when I added colour or fragrance. It was too cool, or you added too much at once. Scrape it back into the jug and microwave in 10-second bursts, stirring, until it loosens. Add extras a few drops at a time next time.
- My soap has a layer of white film on top. That’s usually a reaction to alcohol sprayed too heavily, or a skin forming from cooling too slowly in a cold room. It’s cosmetic and safe — you can wipe it with a damp cloth or just trim the top.
- The bars are soft and crumbly. Likely overheated base or too much liquid fragrance. Let them sit on a rack for a few extra days; if they’re still soft, the batch is best used as chunky hand soap rather than pretty bars.
- Bubbles everywhere. You whisked air in or poured from too high. Stir slowly with a spatula, pour low, and tap the mould firmly. Surface bubbles respond well to a light alcohol mist.
- It won’t come out of the mould. It’s not set enough, or the mould isn’t true silicone. Give it more time; if it’s still stuck, a few seconds in the freezer shrinks the soap slightly and it should pop out. Never force it with a knife.
- The scent faded. You added fragrance to base that was too hot. Re-melt gently and add a little more once it’s cooled to the right temperature.
- Colours bled together. You swirled too much, or the base was too warm when you poured the second colour. Work cooler and swirl less.
None of these are disasters. Soap is one of the most forgiving crafts out there — a wonky batch still washes your hands beautifully, and every mistake teaches you something the next batch benefits from.
So there it is: a jug, some base, a mould, and an afternoon. You’ll make a few lumpy bars, learn the feel of the base as it cools, and by your third batch you’ll be swirling like you’ve done it for years. The best part isn’t even the soap — it’s that quiet moment when you slice into a loaf and see the pattern you made with your own hands. Gather your bits, give it a go this weekend, and don’t forget to save one bar for yourself. You’ve earned it.